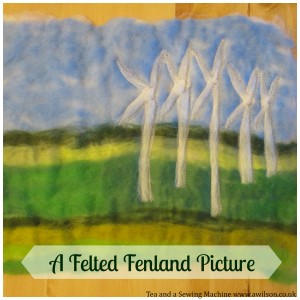
 One of the reasons I wanted to take up wet felting was because I felt (haha!) that the fenland landscape round here would lend itself well to the process. Because it is so flat around here, you can see for miles, and the fields give a kind of striped effect.
As the process of wet felting involves layering the wool up and down and side to side, the side to side layer would allow me to create that stripy effect easily.
I tried with with a picture of the beach at Hunstanton. It’s been nearly two years and I still haven’t finished it! Deciding to embroider it by hand was possibly a bad idea as it takes ages. The stripiness has worked well here.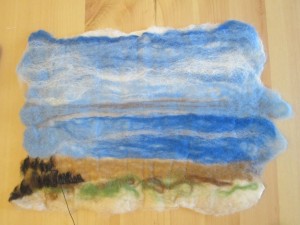
This picture I made back in the autumn. 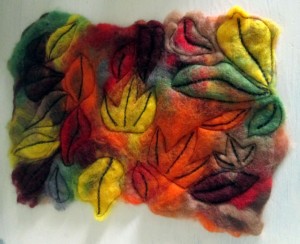 As I was going for leaves here, it was more blotchy than stripy. Doing most of the embroidery with the sewing machine meant that I actually finished it! You can read about it here: An Autumn Felted Picture and An Autumn Felted Picture Part 2.
We live in such a beautiful place it was hard to choose somewhere as a starting point for a fenland landscape! I decided in the end on Tydd Gote wind farm.
I know that many people do not like wind farms and find the turbines unsightly. I however really like them! During the Middle Ages the landscape would have been dotted with windmills that powered the pumps that drained the fens of water. The windmills have mostly gone now and, although the turbines are not draining the fens, nevertheless I like to think of them as a modern day equivalent! They are harnessing the energy of the wind in the same kind of way.
How To Make a Felted Fenland Landscape
1. Using white wool roving, I made the first layer. As the third picture layer would need to be a side to side layer, I started laying the tufts from left to right rather than up and down. I pulled off tufts of wool about 10 cm long and spread them out a bit before placing them on the bubble wrap and the bamboo mat. The bits all needed to overlap a bit.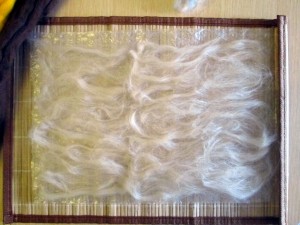
2. To make the second layer, I did exactly the same but instead of the tufts going side to side, I put them going up and down.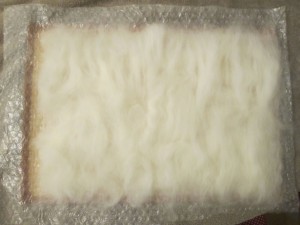
3. The third layer was the picture layer. I started with the sky, then layered up different shades of green for the fields. 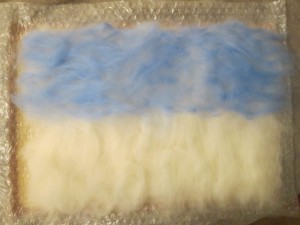
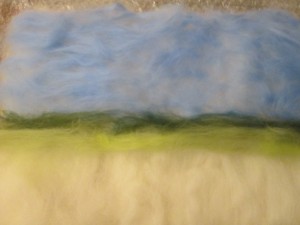 I combined some of the shades to give the impression of one side being slightly darker.
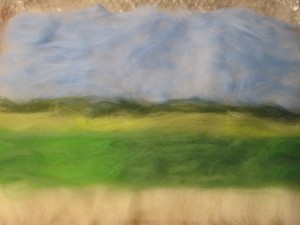
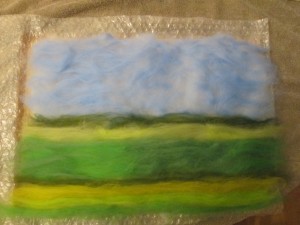
4. Before adding the turbines, I wanted to felt the background a bit first, so I covered the picture with the sheer fabric and rubbed it all over with warm soapy water.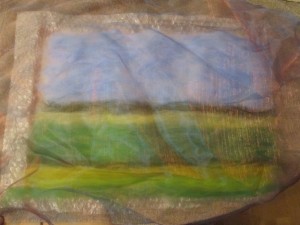
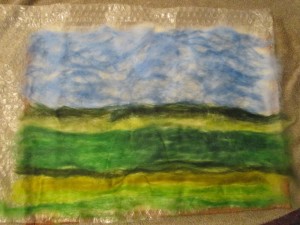 I rolled it all up with the piece of foam tubing and rolled it backwards and forwards a few times.
5. Once the fibres had started to felt together, I added the turbines. I used a longer piece of wool for the main bit and shorter lengths for the blades. Then I continued felting until the fibres were all stuck together.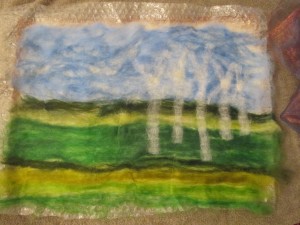
6. The turbines looked a little bit indistinct, so using a zigzag stitch on the sewing machine I sewed around them. I used white for the front of the turbines and grey for the back.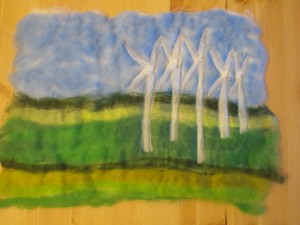
I can’t decide if it needs something else. What do you think?
I love working with felt. The process is very satisfying and even if you are not artistic in the traditional sense (I can’t draw at all!), it is easy to get pleasing results.
If you would like a more detailed tutorial on how to make felt, I’ve included one here.


Wow! This is so pretty! Thanks for linking up! #MMWBH
Thank you!
That was really interesting – I have all the stuff now to start wet felting but as yet only done dry felting. I think your picture has worked very well. Maybe a little person or something for perspective against the turbines?
Ooh yes, that would work, or perhaps an animal 🙂
Amazing little scene, looks great! I love felting but I’ve never made anything like this, I love it! Creative Blessings, Tracy x
Thanks Tracy 🙂
It looks amazing, thanks for sharing
Thanks!
Felting looks like fun, do have an embellisher but only used once. Love the pictures
Thank you! It is fun 🙂
I love all the different shades of green you have used, I’m in Suffolk and surrounded by fields. I don’t mind the turbines, they don’t look as ‘romantic’ as traditional windmills but they look very striking in the landscape.
Striking is the right word 🙂 The shades of green are one of things I love about living here.
This is a GREAT post – I’ve been admiring felted landscapes in the blogosphere for a while now and this is a really good step-by-step – thank you!! xx
Thank you 🙂
What a great tutorial! I have been curious about felt works, and this post surely gave me a clear idea of what this process entails! Thanks for sharing this,
#CreativeMondays
Thank you! I hope you have a go!