Last time I posted, I wrote about crocheting cables. You can read about that here!
I was so happy that I’d figured out how to crochet cables I had to make something!
Having the attention span of a gnat, it needed to be something small and quick. So I made a phone cosy. I wasn’t sure whether a phone cosy was a real thing, but I checked with Mr Google and he said it was.
The phone cosy has a cable on one side, worked over 4 stitches. To make the cable, you will be crocheting double trebles for the part where it crosses over, on the wrong side. On the right side, you will be crocheting trebles round the post of the stitch. The rest of the phone cosy is worked in trebles.
The dimensions of the cosy fit my phone which is a Moto G 3rd generation. You might need to adapt the pattern for your own phone. Although as crochet is stretchy, it shouldn’t be a problem unless your phone is either ridiculously huge or unbelievably tiny.
I used super chunky yarn and a 5.5 mm hook
. These are affiliate links.
Also please be aware that being British, I have used British crocheting terms.
How to Make a Crocheted Phone Cosy
1. Make 13 ch.
2. Starting with the 4th ch from the hook, crochet 1 tr (US dc) into each ch until the end of the row.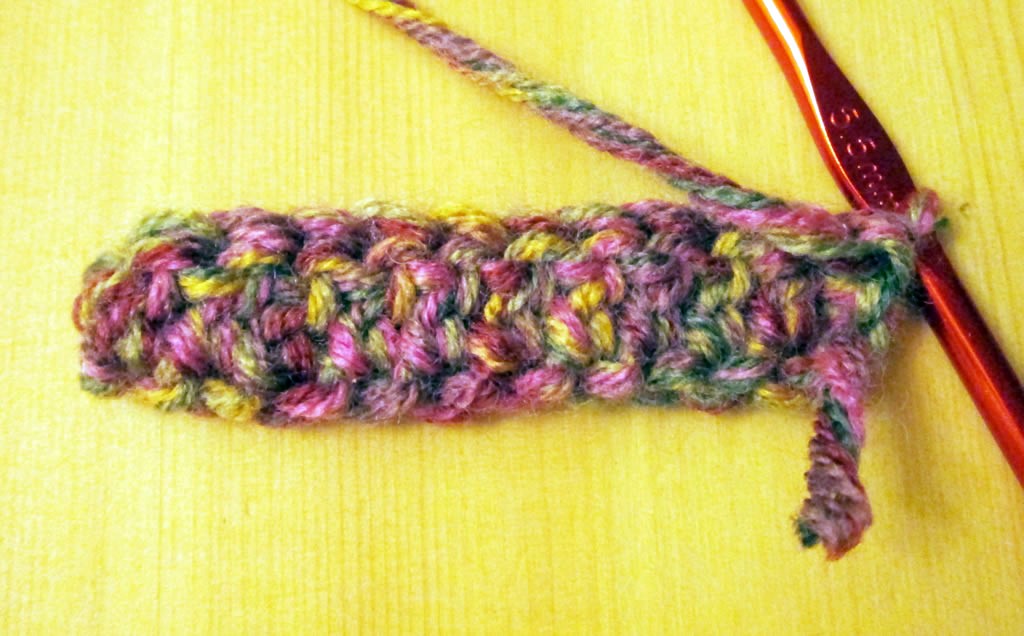
3. 3 ch, then 1 tr into 2nd stitch from hook. To start the cable, miss 2 stitches, then 1 dtr (US tr) into each of the next 2 stitches. 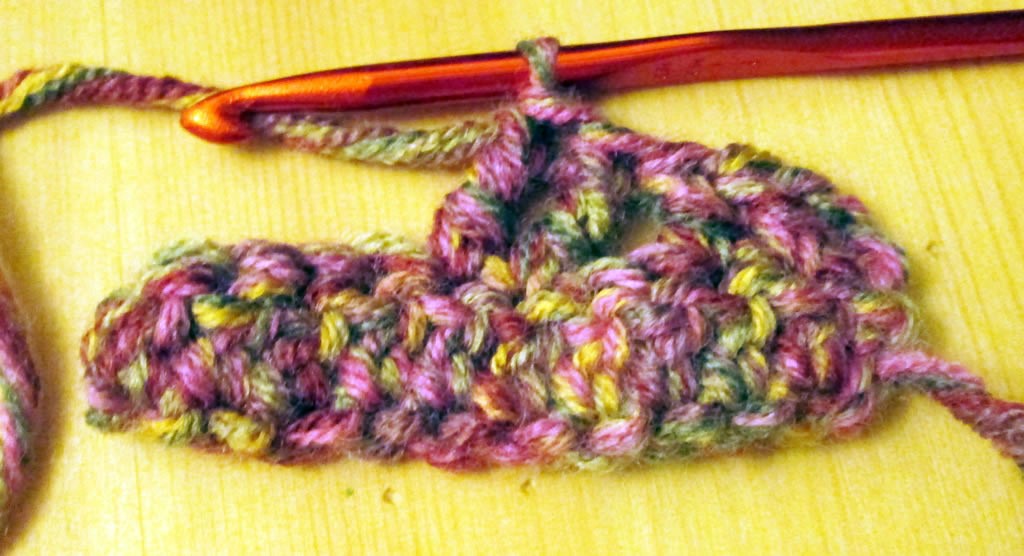 Go back to the stitches you missed and, keeping your hook at the front of your work, dtr into the first stitch you missed, going in through the back of the stitch.
 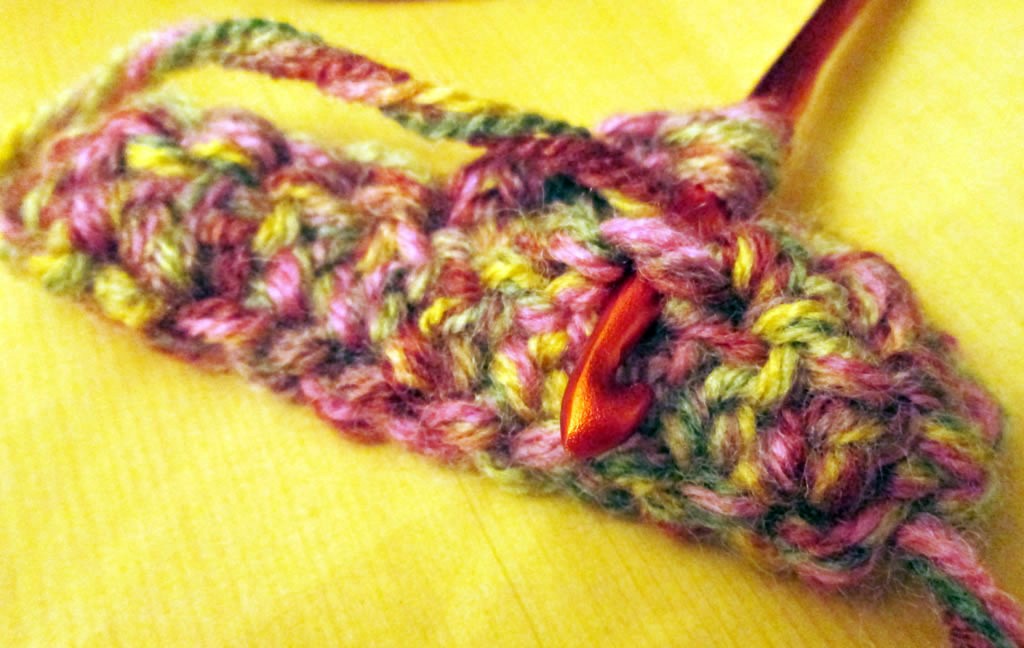 Repeat for the other stitch you missed. Miss out the next 2 stitches (you’ve already worked those!), tr into the next stitch, 1 tr into each stitch to the end of the row.
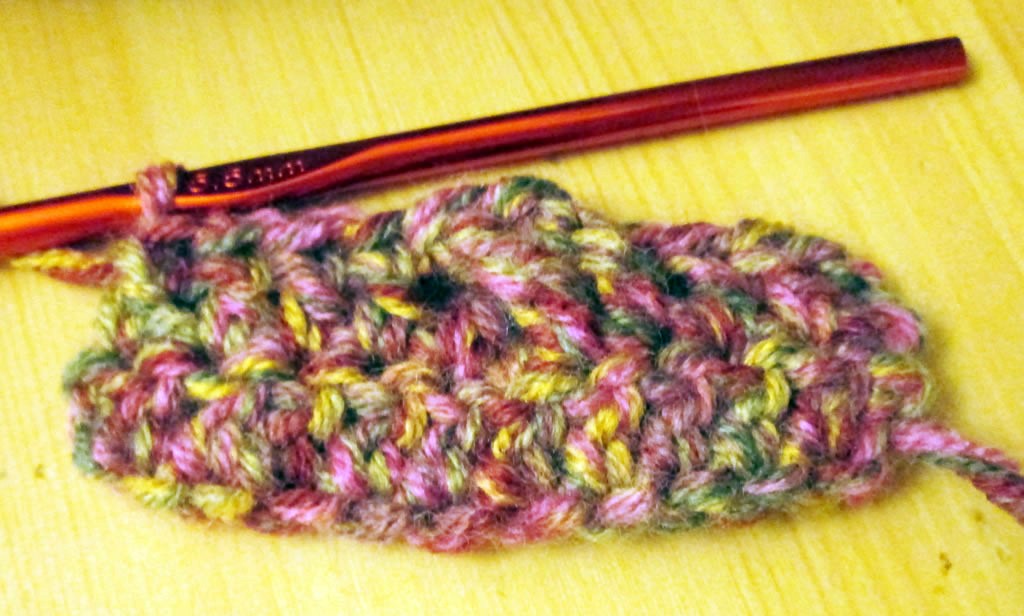
4. 3 ch, then 1 tr into 2nd stitch from hook. 1 tr into each of the next 4 stitches. 1 tr round the post of each of the next 4 stitches. 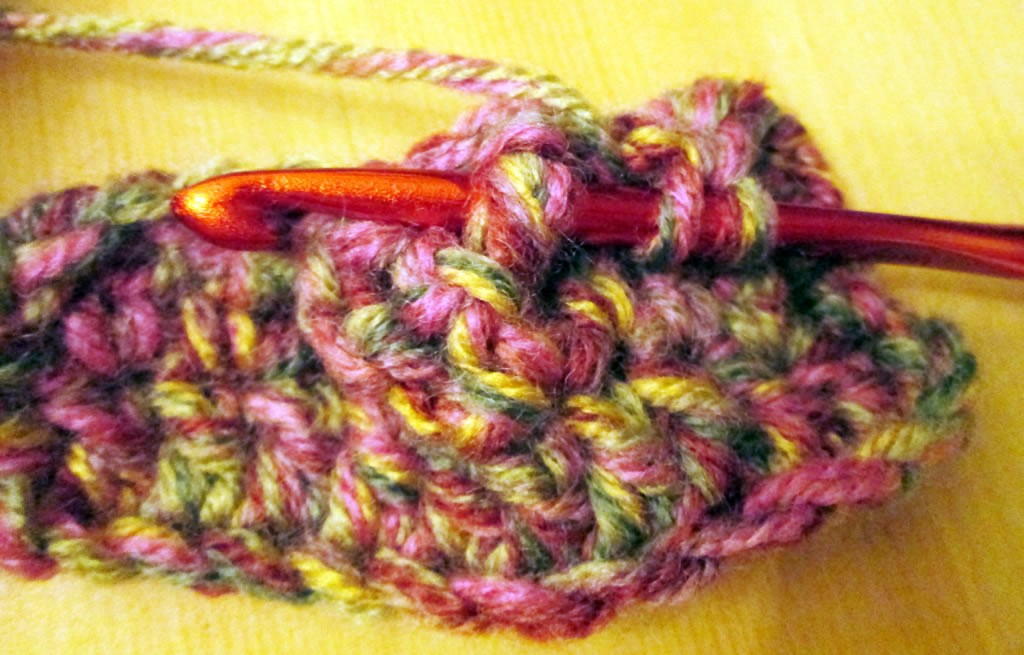
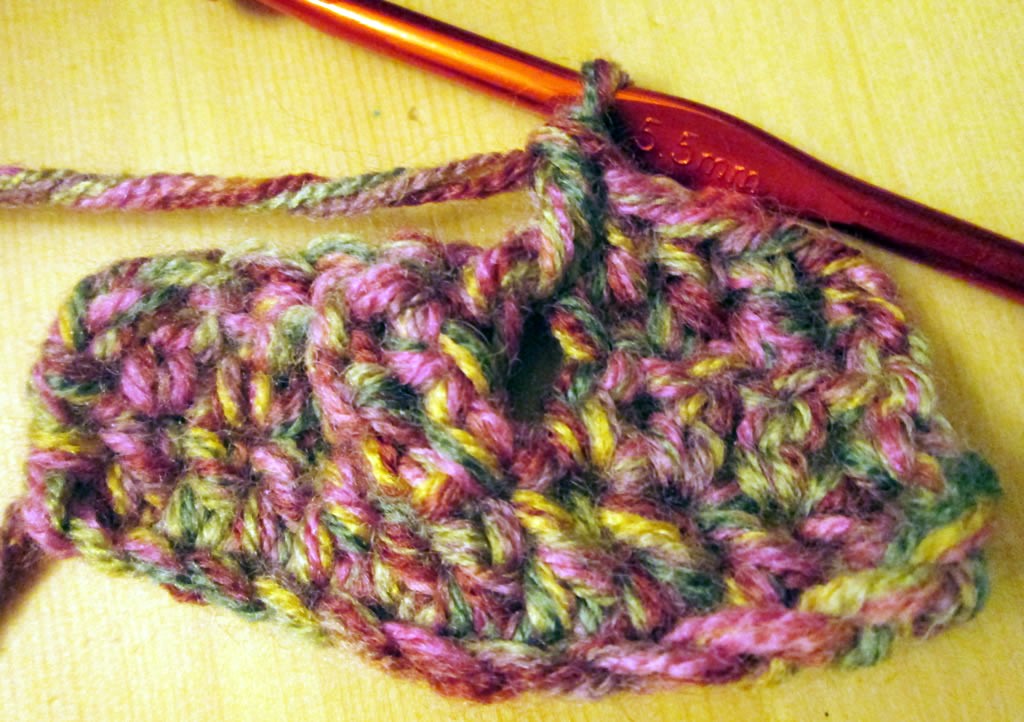
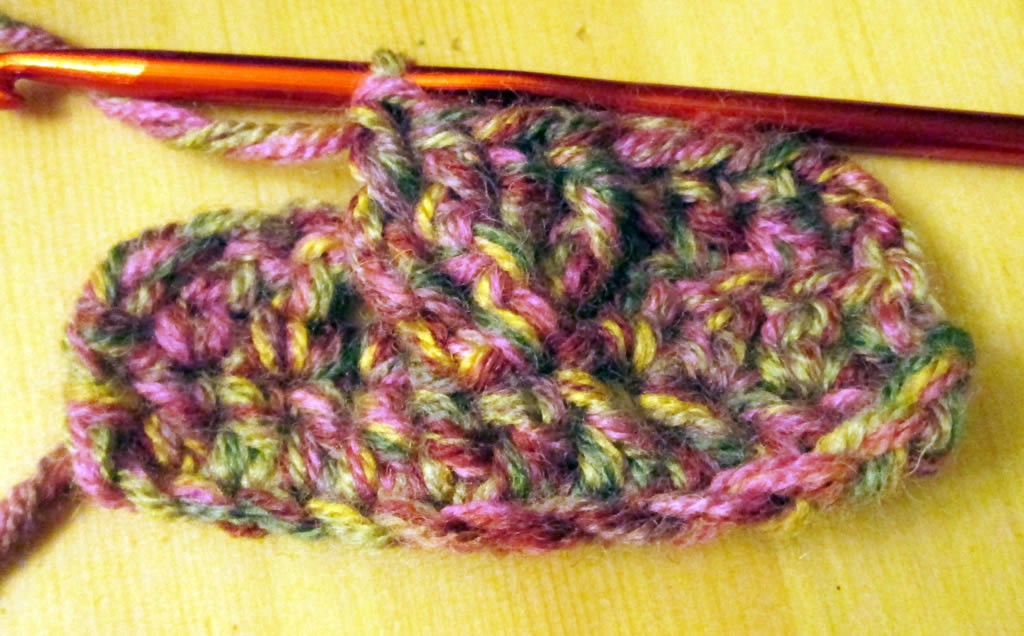 Tr to the end of the row.
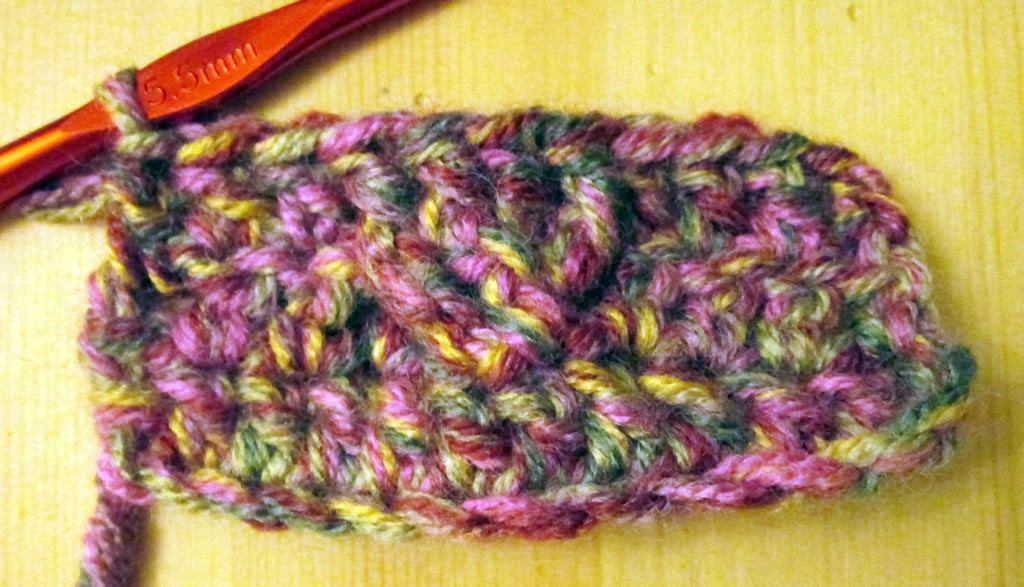
If you would like a more detailed instructions for crocheting cable stitch, you can find a tutorial here.
Repeat rows 3 and 4 until your work measures 37 cm.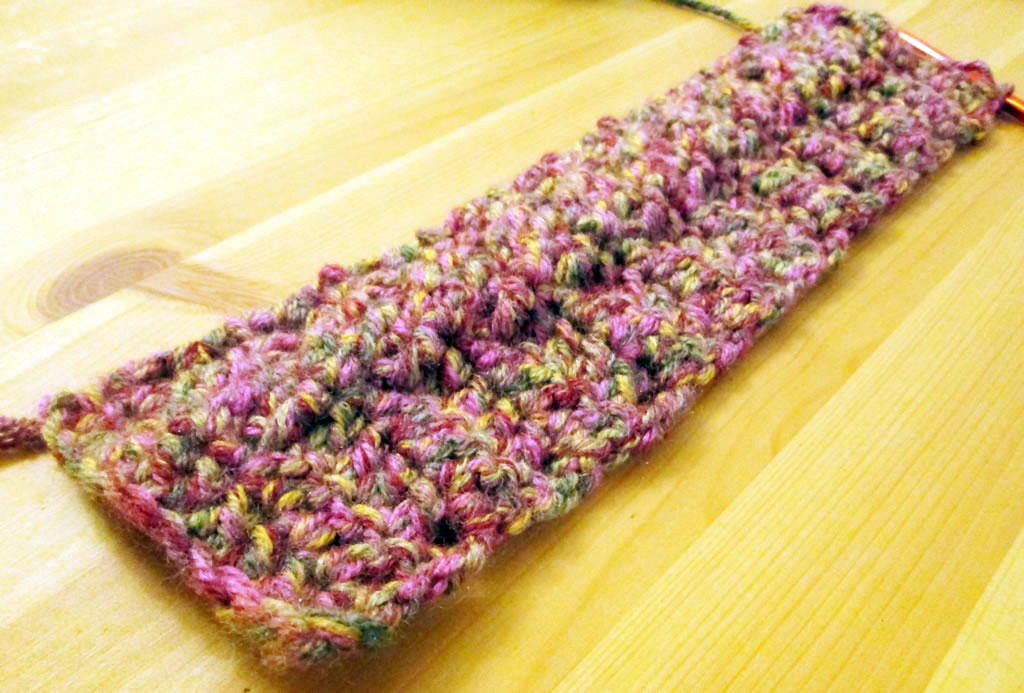
5. Fold over 14 cm with the cable on the left. Pin the sides, then slip stitch them together.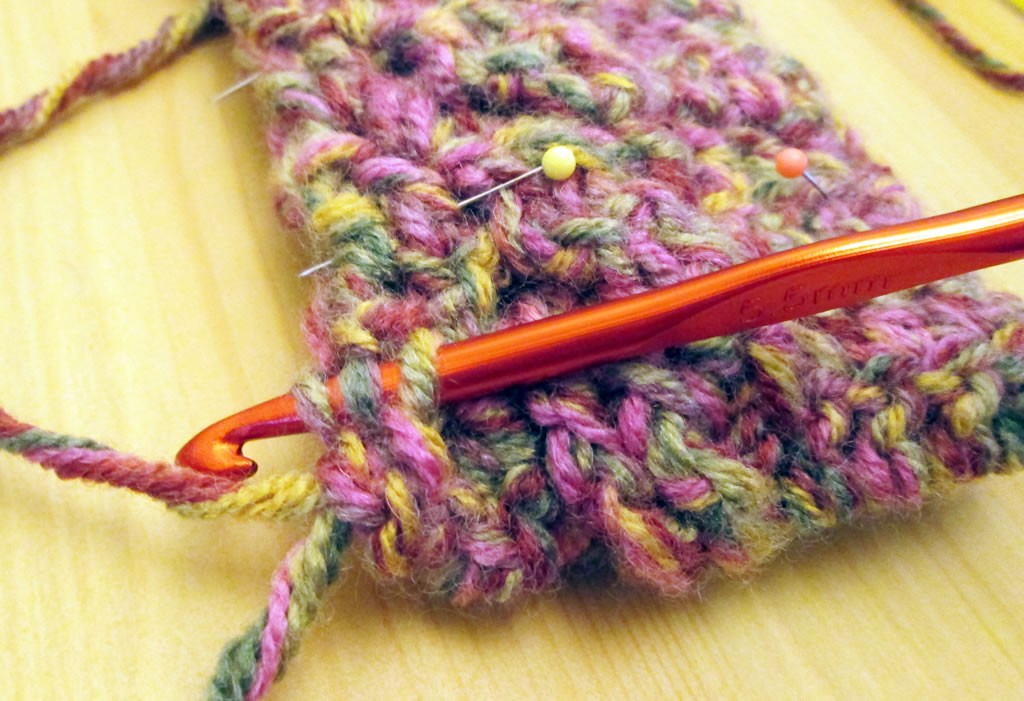
6. With the phone inside the cosy, fold the top over and mark with a pin where the buttons will need to go. Sew on the buttons.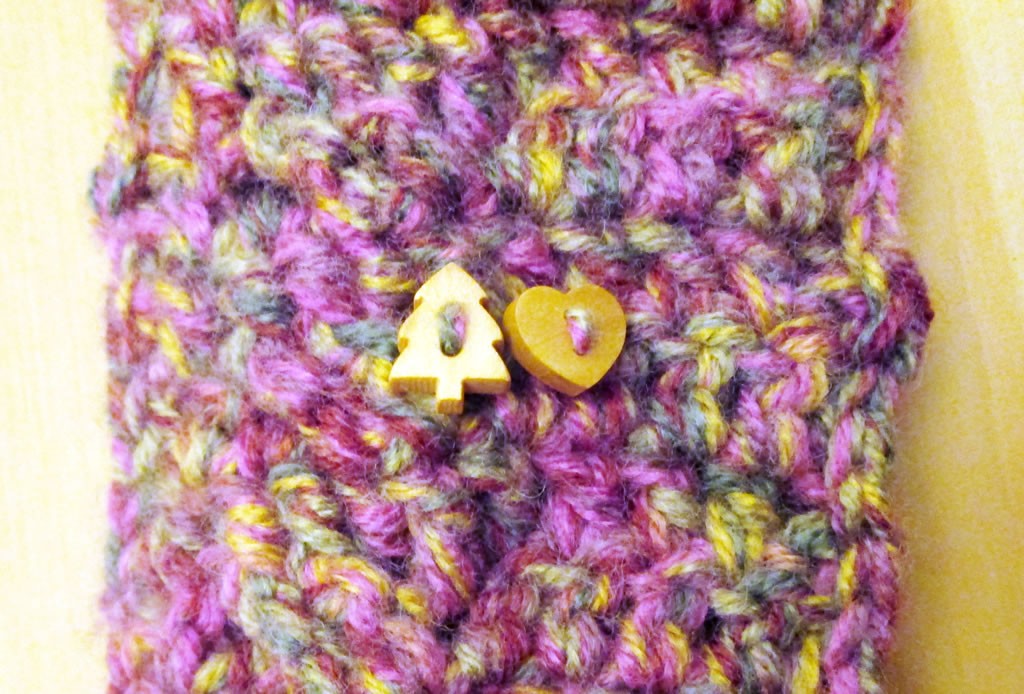
7. On the edge of the flap section, find the 5th stitch in from the right. Reattach the yarn and crochet 6 chains (you might need more if your button is enormous!). Slip stitch the end of the chains to the 5th stitch in from the left.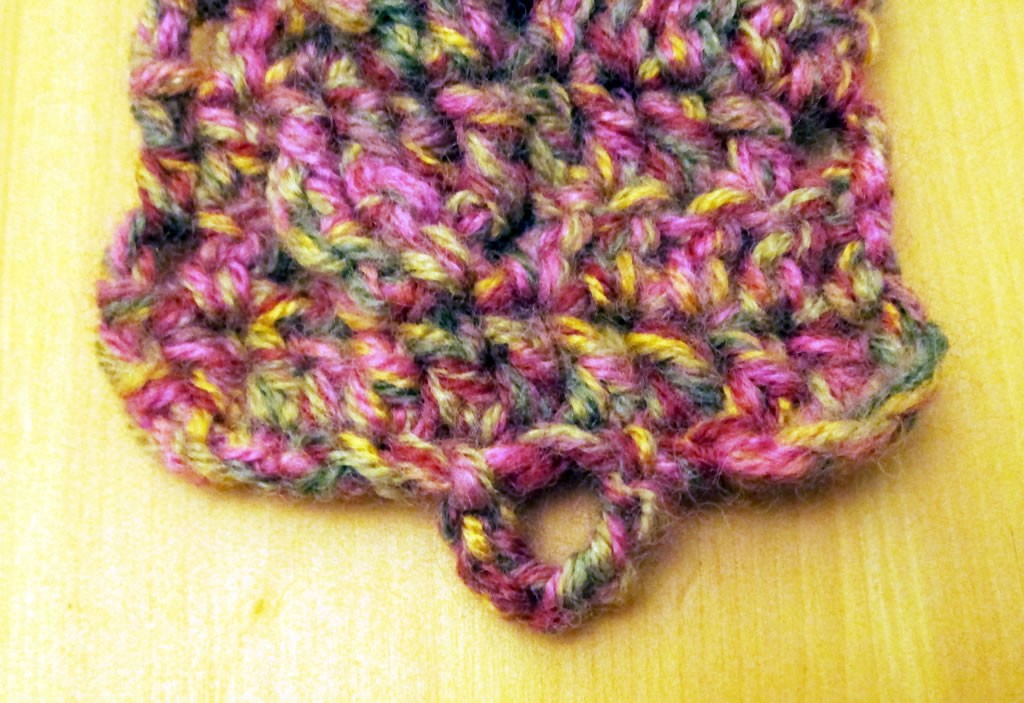
8. Put your phone in its cosy and enjoy how snuggly it looks!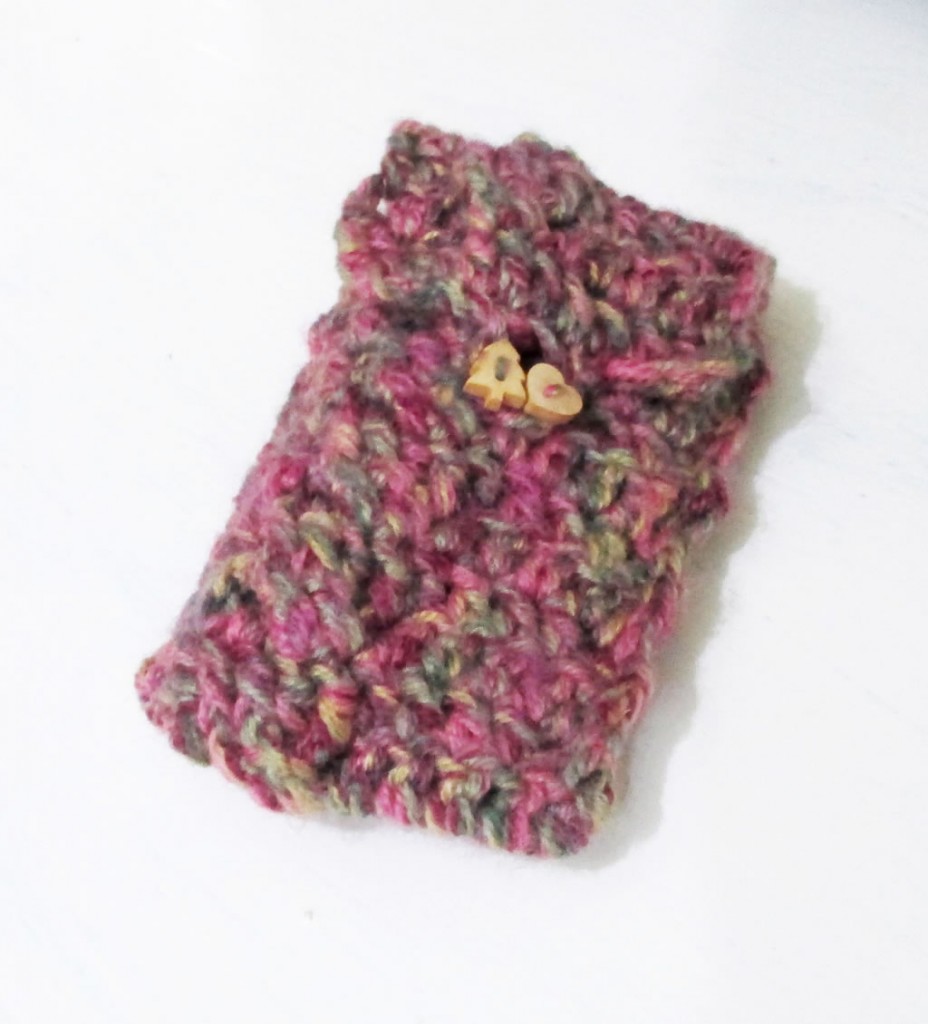
If you liked this post you might also like this:
If you sign up for the monthly email, you can download a pattern for a crocheted purse!
If you are interested in extending your knowledge of crochet stitches, I’ll be launching an ecourse entitled The Ultimate Guide to Crochet Stitches in January. By signing up for the monthly newsletter you won’t miss out, plus you will be offered the course for half price!


I love the colours of this yarn, the buttons are so super cute. 🙂
That’s what I thought too 🙂
Looks good:)
Thank you 🙂
I love the colour of your cosy, thanks for sharing another tutorial.
I love anything pink!
love those sweet buttons, and so happy to see you on craft schooling sunday, thanks for sharing!
I love the buttons too! Thank you.