Easy To Sew Pumpkins Tutorial
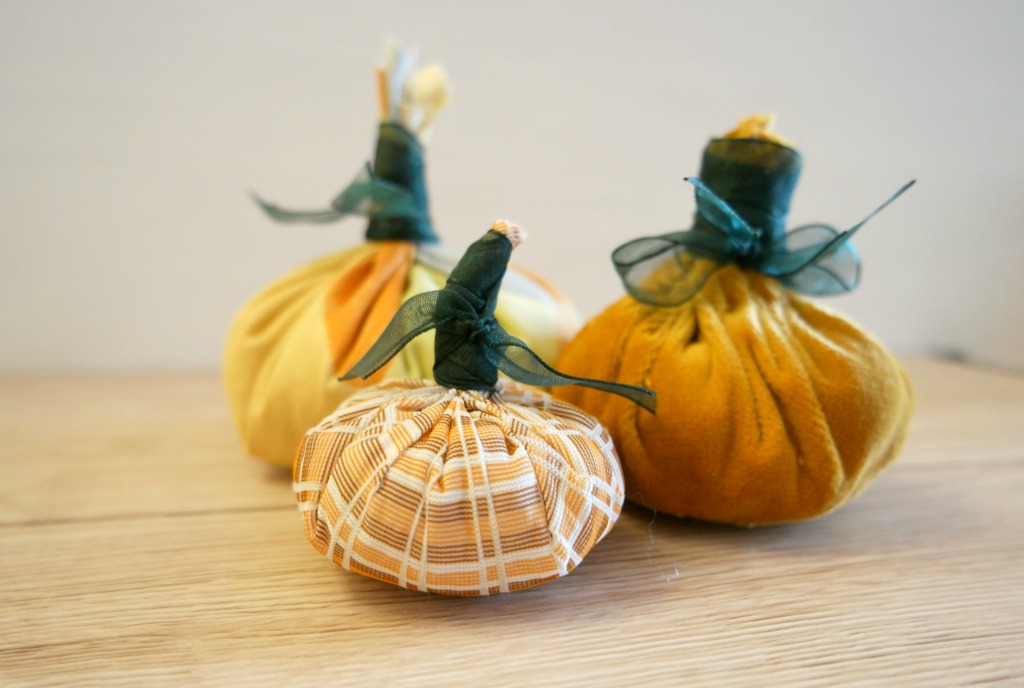
I’ve gone a little bit pumpkin mad this autumn.
Having returned from a trip to New England recently, I can see why pumpkins mean autumn for lots of people.
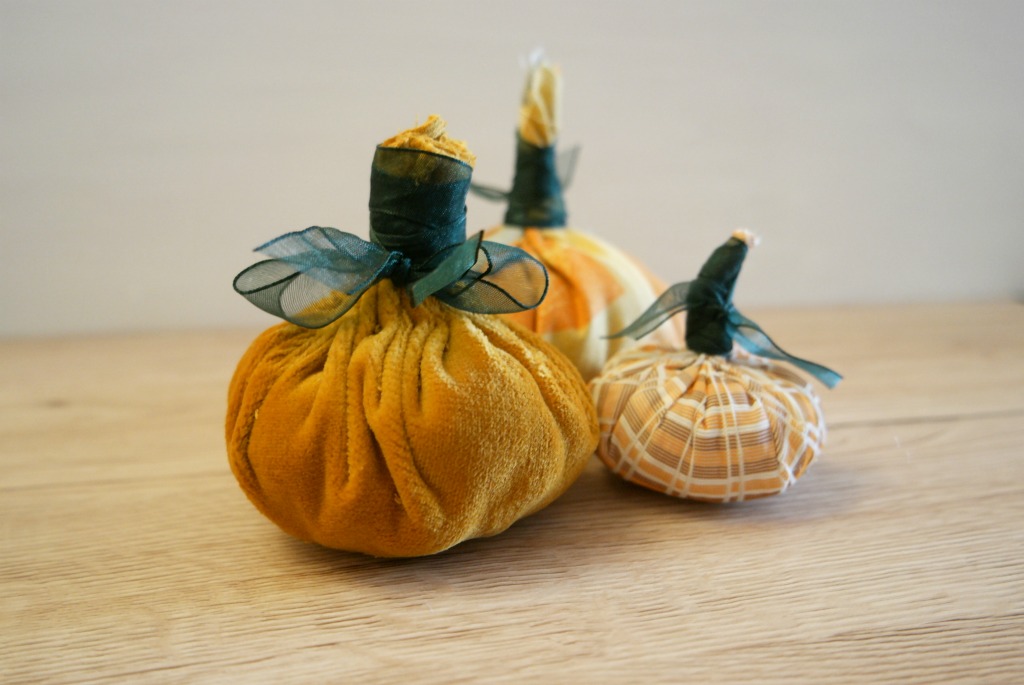
I actually don’t like eating them very much (although pumpkin spice latte is delicious!), but I love the orange and their lovely squashy shape! My boys dismissed my suggestion of having pumpkin shaped cushions as weird, so I’ve restricted myself to making small ones.
The weather’s turned colder now and winter’s on its way. So here’s one last pumpkin tutorial before they go away and we get ready for the next thing!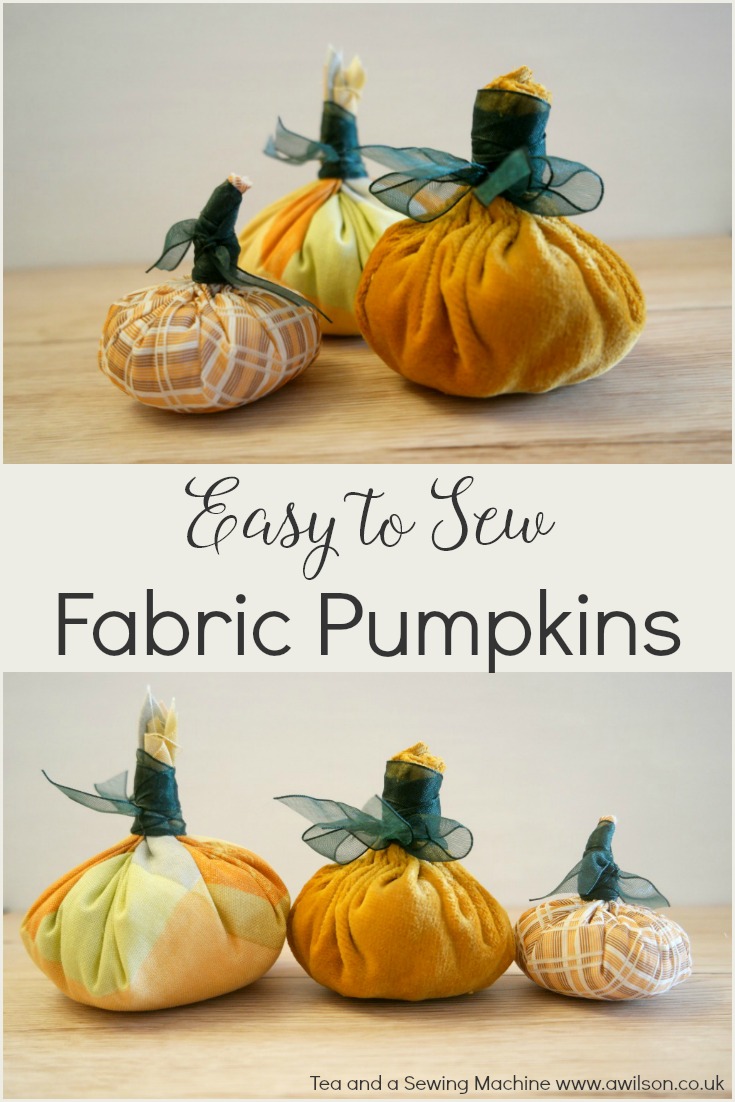
How to Make Easy To Sew Pumpkins
You Will Need
Fabric scraps in pumpkin colours (I got this bag of remnants from Ebay. This is an affiliate link), strong thread or sewing thread doubled, a needle, ribbon, rice or barley or nut shells, polyester filling.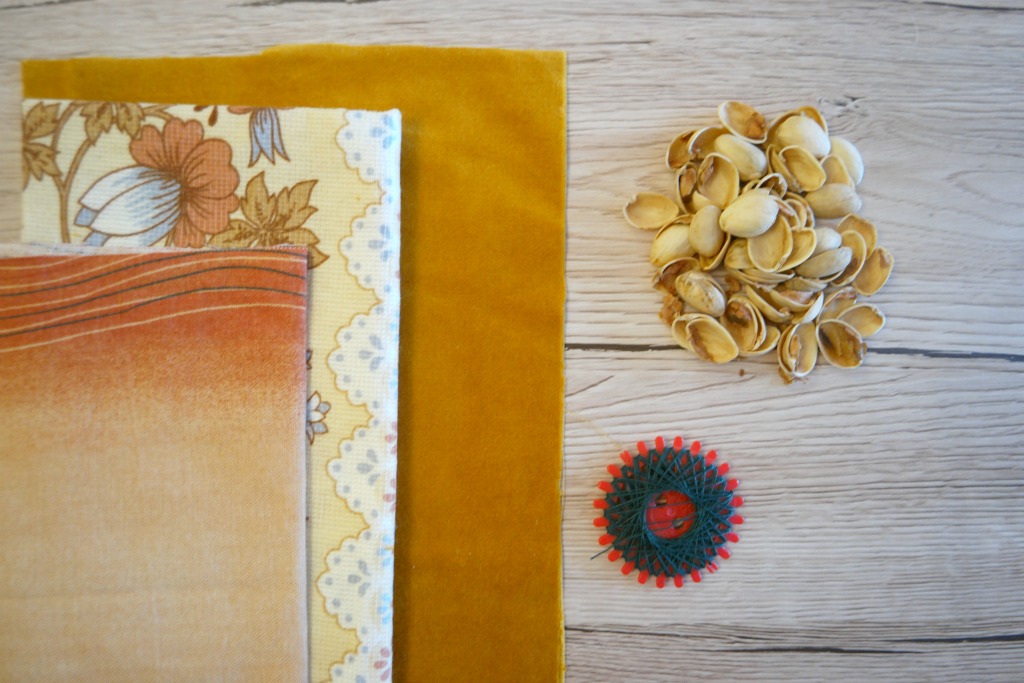
How To Make
1. Draw round a bowl onto the wrong side of the fabric. For smaller pumpkins you could use something smaller than a bowl, and for larger pumpkins use something larger. You could use a plate, or for much bigger pumpkins, a bucket.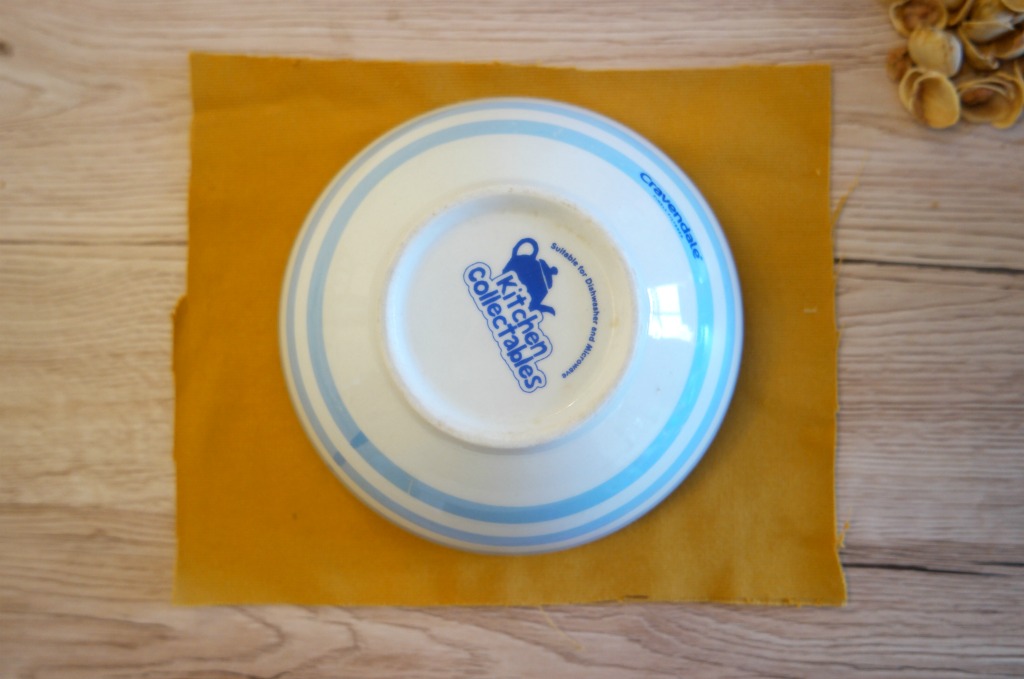
2. Using strong thread, sew a running stitch along the circle than you’ve drawn. Don’t knot the ends!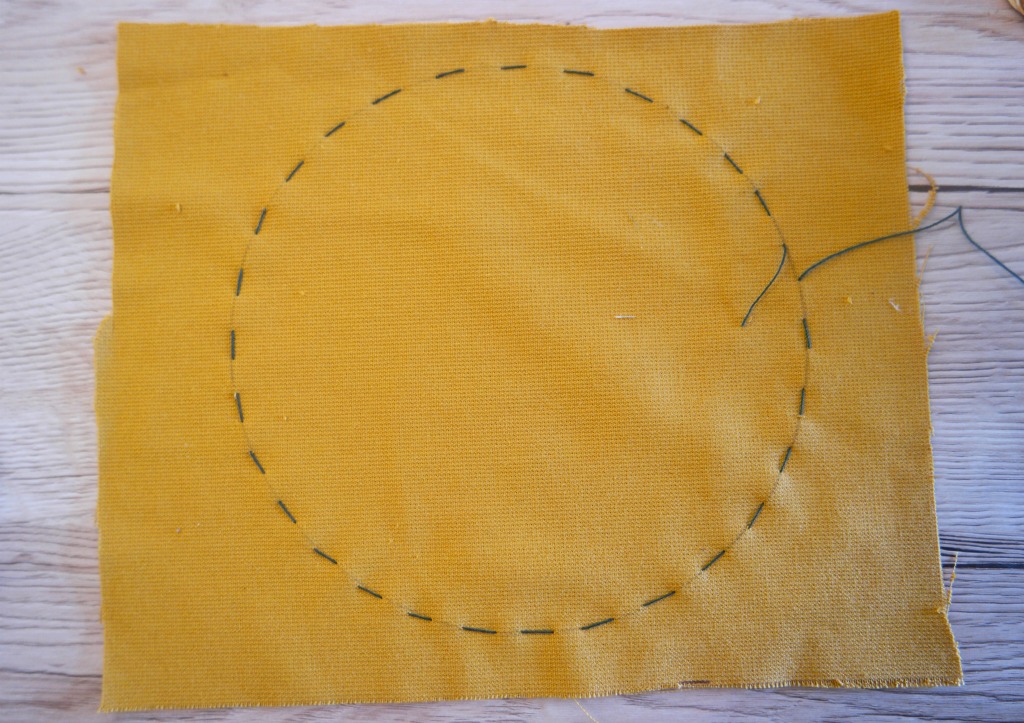
3. Pull the thread to gather the stitches. Once you have a bowl shape, put your filling in.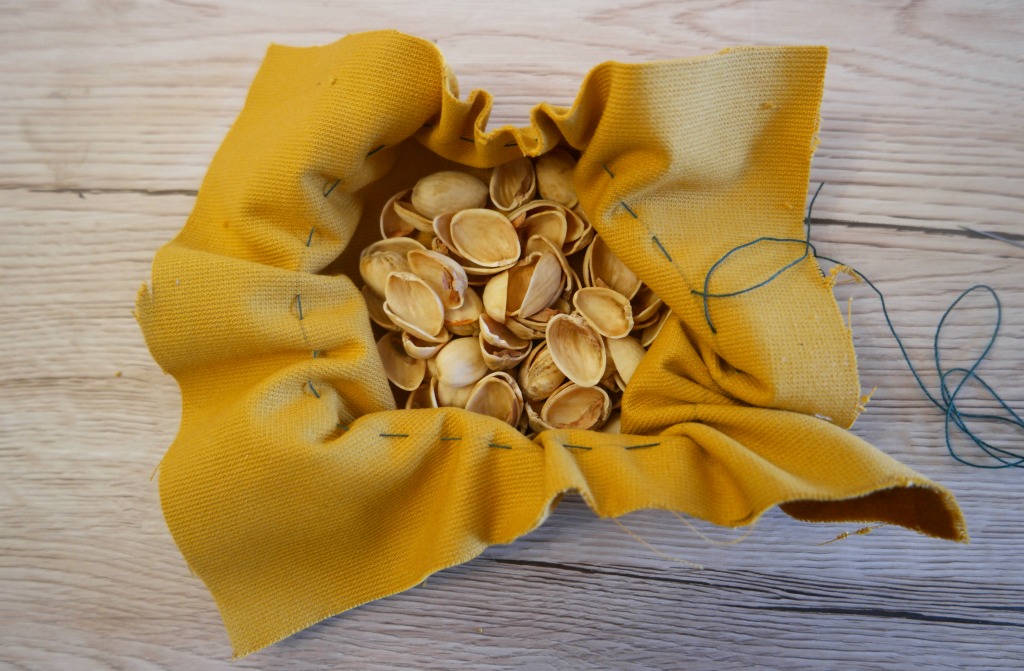
4. Pull the threads some more so that there is a small hole at the the top. Push some polyester filling in through the hole. This is to give the pumpkin a round and squishy shape.
5. Pull the thread tight and wrap it around the top of the pumpkin a few times. Tie the ends of the thread.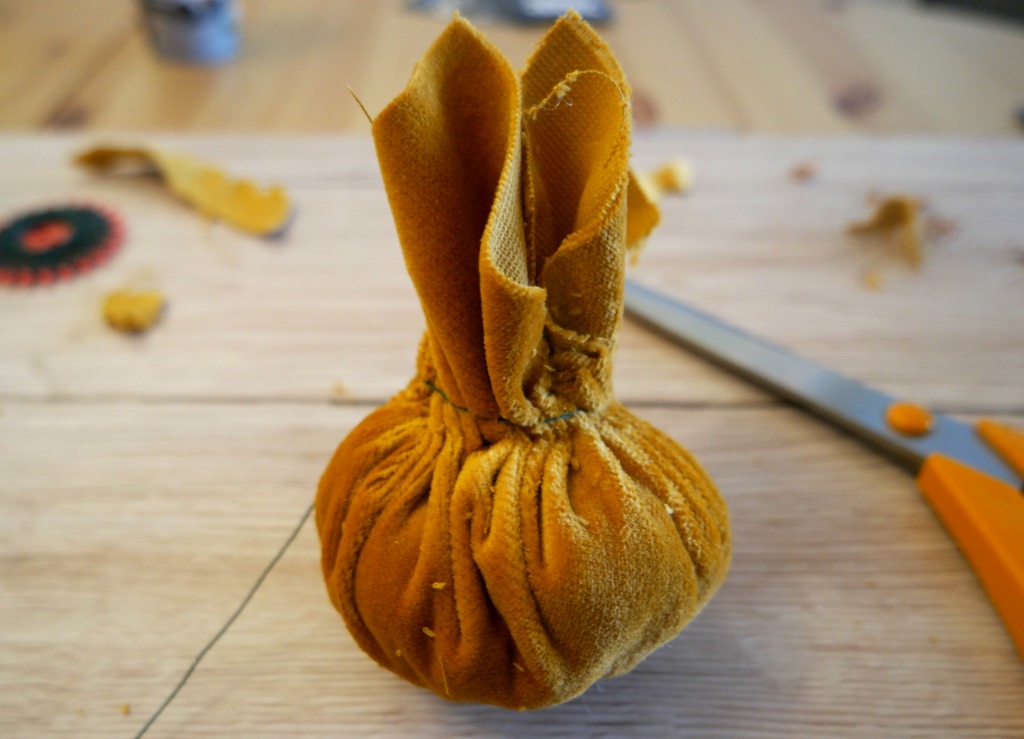
6. If the top is very bulky, trim some of the bulk away. Then wrap ribbon around it tightly to make a stalk. Tie the ribbon tightly.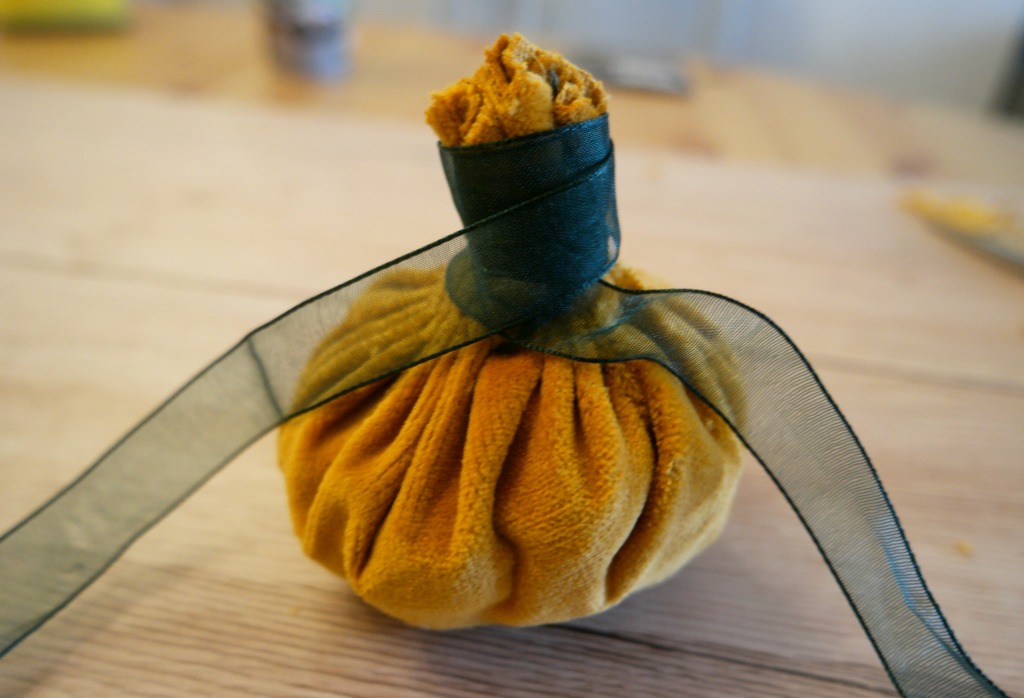 I think I’ll make some large ones next year whatever my boys say!
[contact-form][contact-field label=”Name” type=”name” required=”true” /][contact-field label=”Email” type=”email” required=”true” /][contact-field label=”Website” type=”url” /][contact-field label=”Message” type=”textarea” /][/contact-form]


Leave a Reply