How to Sew a Cushion With a Pocket
My son Aidan is a boy after his mothers’ heart.
Like me, he prefers the colder months, and when the weather gets cold, he likes to curl up in an armchair near the fire and read.
Along with sewing and cuddling my babies, this is also one of my favourites!
Recently Aidan has taken to removing all the cushions from the chair in his room and putting them in his bed, along with a couple of blankets. This has had the unfortunate side effect of making the chair look anything but cosy, so I offered to make him some cushions just for his bed.
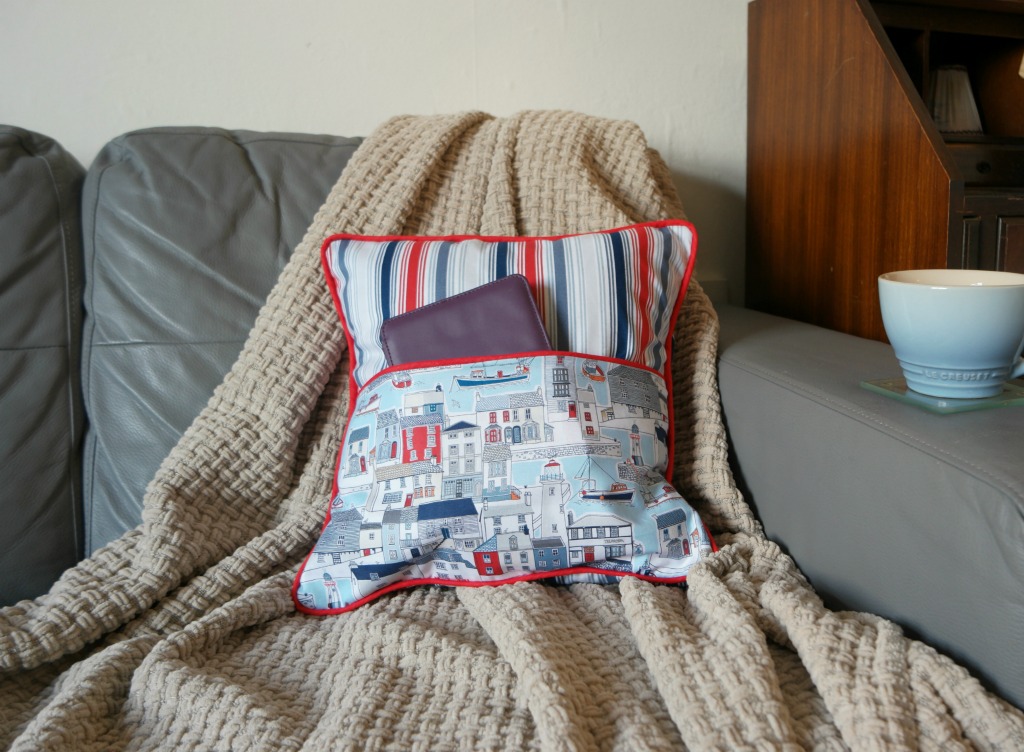
As Aidan is an avid reader and is rarely seen without a book, I decided to make him a cushion with a pocket. There are usually a lot of books in his bed, and this way he can keep his kindle safe (I know how easily those things can break from past experience!).
The cushion is easy to make and has an envelope back. I added some piping because I like piping on a cushion, but you could leave this out if if you wanted to.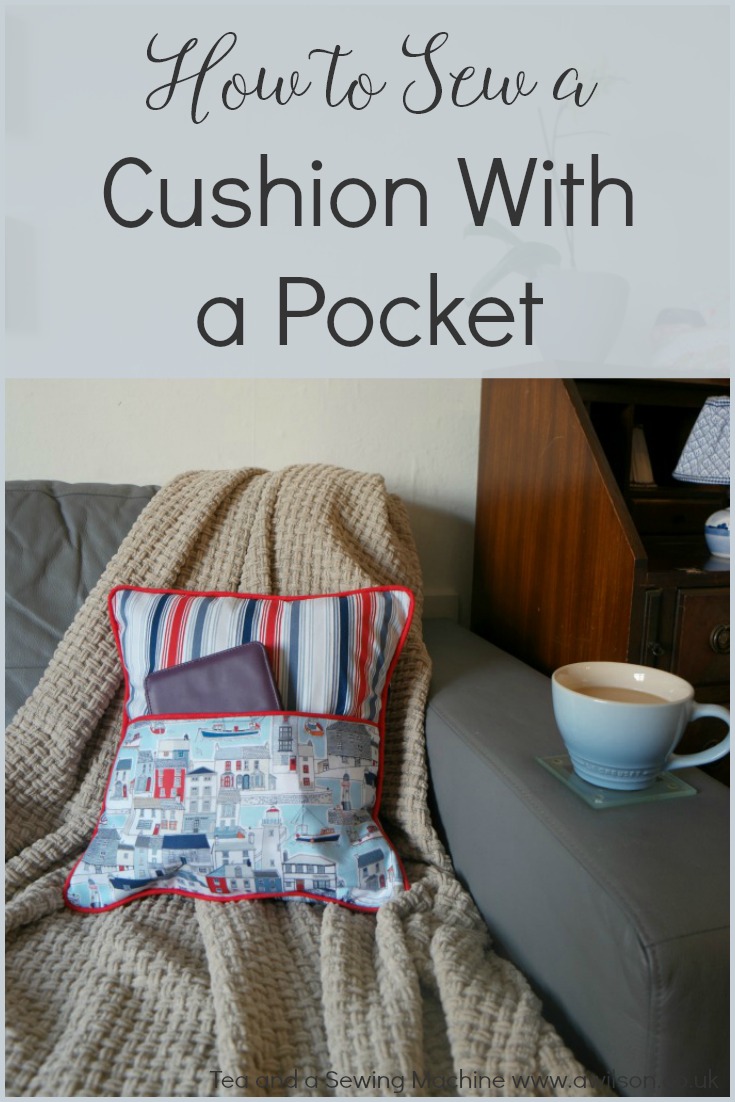
The finished cushion with a pocket measures 34 cm x 34 cm. I used half a metre of the striped fabric and one FQ of the houses and boats.
If you wanted to make it for a full sized cushion pad, you would need more fabric. I’ve included the measurements below.
For the fabric, I wanted to use something with a seaside theme and this is perfect! It’s Marina by Makower and it came from Ebay (this is an affiliate link).
Sewing a Cushion With a Pocket
You Will Need
Half a metre of the striped fabric and 1 FQ of the pocket fabric (you will need more if you want to make a full sized cushion), bias binding (the wider the better!), piping cord, a cushion pad. A zip foot is also useful.
As I still have some old pillows knocking around that I don’t know what to do with, I upcycled one into a cushion pad. The tutorial for this will appear over the next week or 2!
Cutting Out
From the stripy fabric, cut a front piece 36 cm x 36 cm and 2 back pieces 36 cm x 27 cm. If you’re using half a metre, fold it in 3 to get the width, then measure each piece to get the length (this is what I did).
To make a full sized cushion, you will need to cut 1 piece 42 cm x 42 cm and 2 pieces 42 cm x 30 cm.
To cut the pocket, you will need 2 pieces 36 cm x 20 cm, or for a full sized cushion, 42 cm x 26 cm.
From the bias binding and the piping cord, cut 150 cm for the outside edge, plus 40 cm for the pocket. For a full sized cushion you will need 175 cm for the outside and 45 cm for the top of the pocket.
Sewing Up
1. Make your piping. Fold the bias binding in half and slip the piping cord inside. If you have a zip foot, put it on your machine, then sew the piping cord inside the bias binding. There are detailed instructions for making piping here if you need them.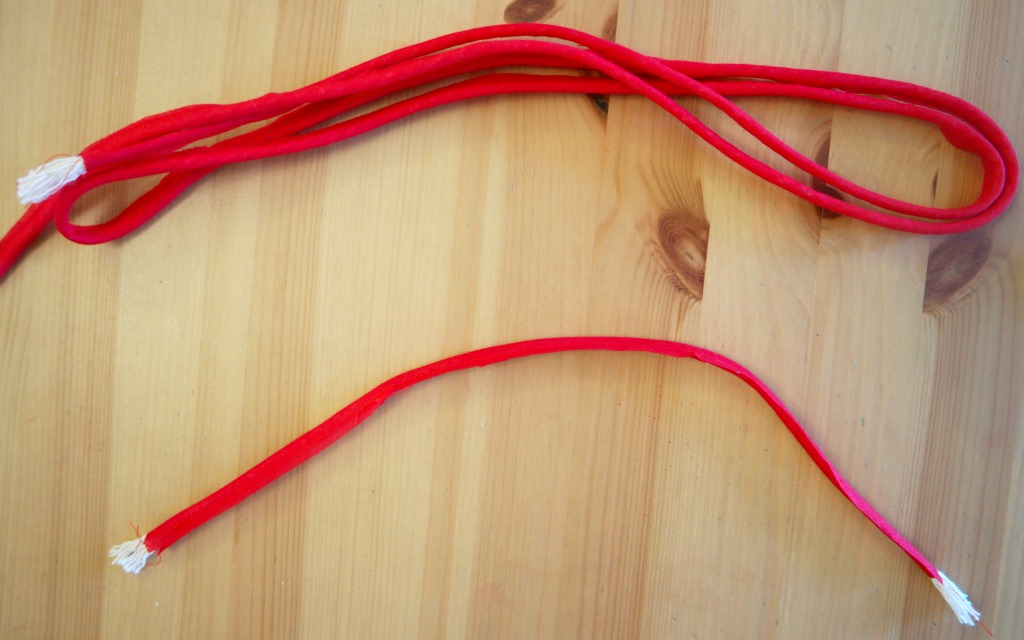
2. Take the pocket pieces. Place the shorter length of piping along the top edge of one of the pieces on the right side. The piping needs to be on the inside and the edge of the bias binding needs to be aligned with the top edge of the cushion.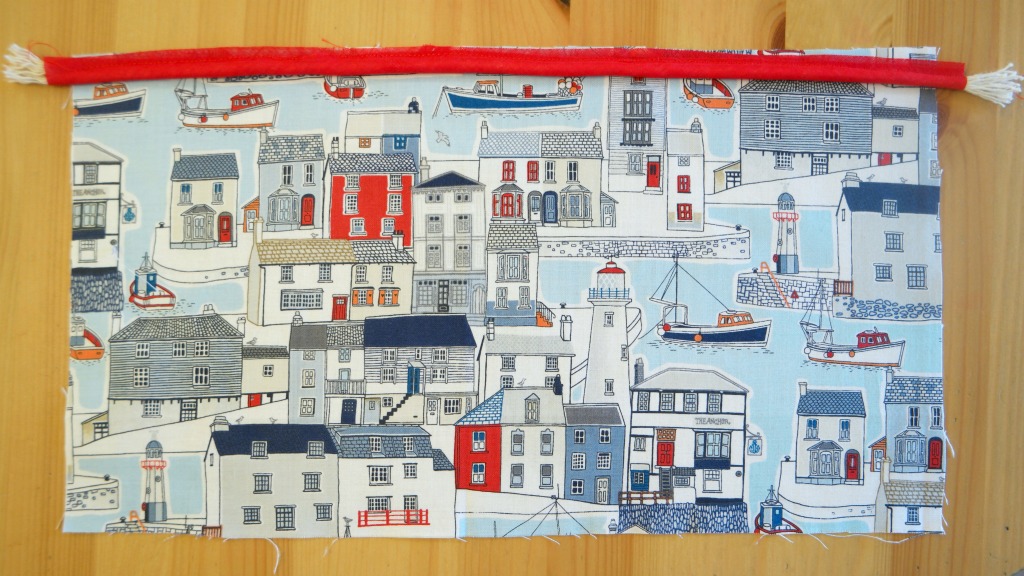
3. Pop the other pocket piece over the top so that the right sides and the top edges are together. Pin, then sew, taking care to catch the bias binding in the seam. Turn the pocket the right way out and press.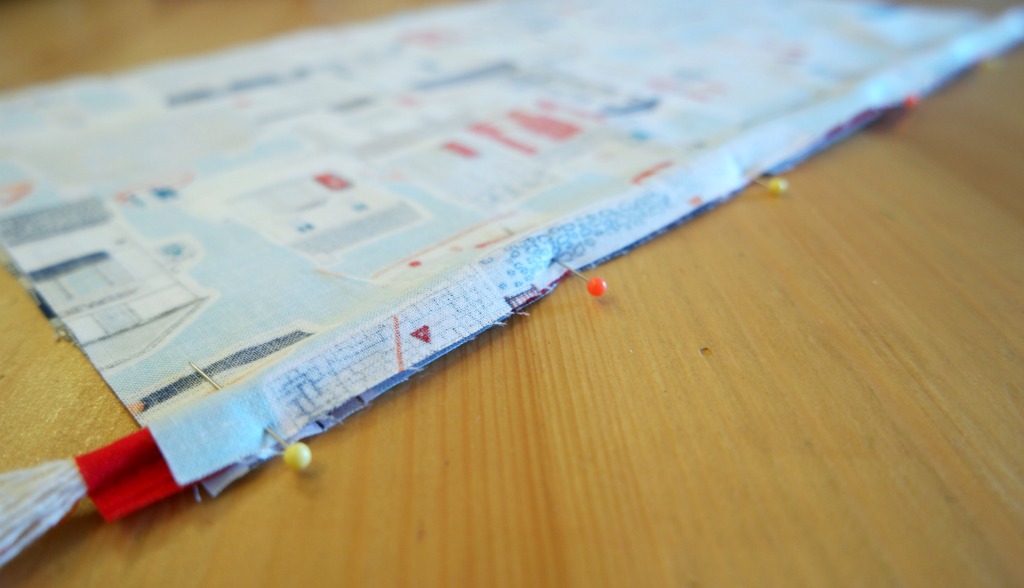
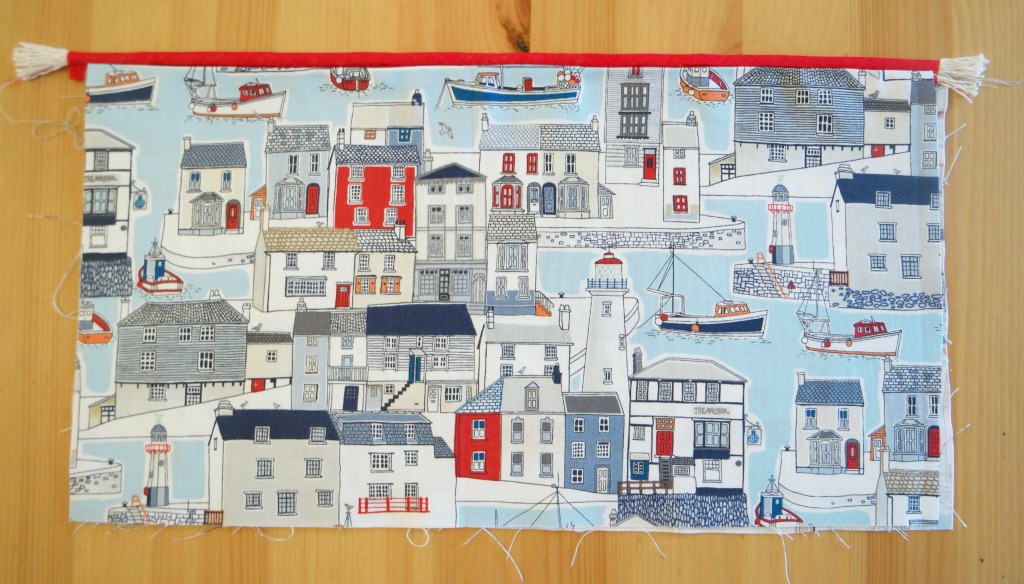
4. Place the pocket piece on the front of the cushion front, right way up. Check that the sides and bottom edges are together. Pin it in the centre to hold it.
5. Pin the piping to the cushion front and the pocket, on the right side. You will need to snip the bias binding to get it go round the corners. 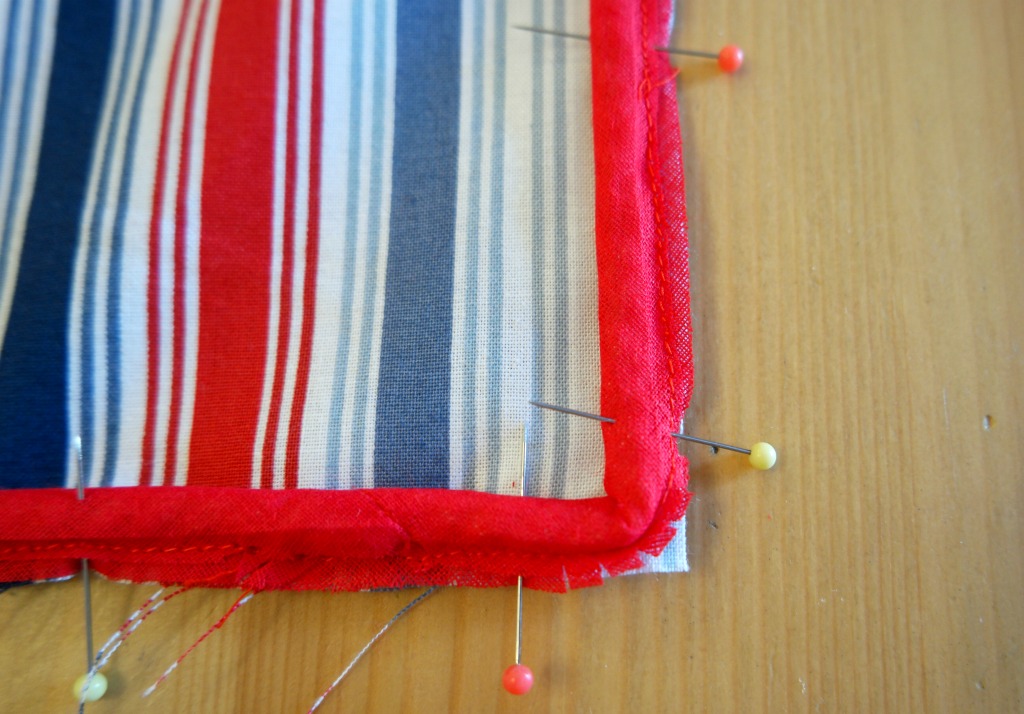 When you get back to where you started, trim the piping so that the ends meet, then overlap the bias binding with the piping inside.
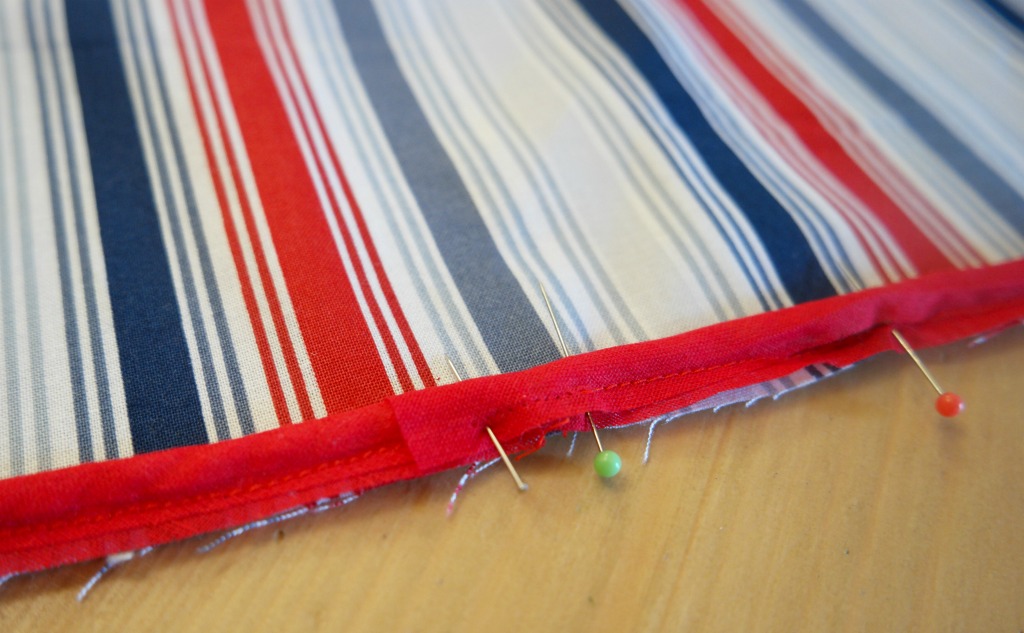
6. Sew the piping to the cushion front.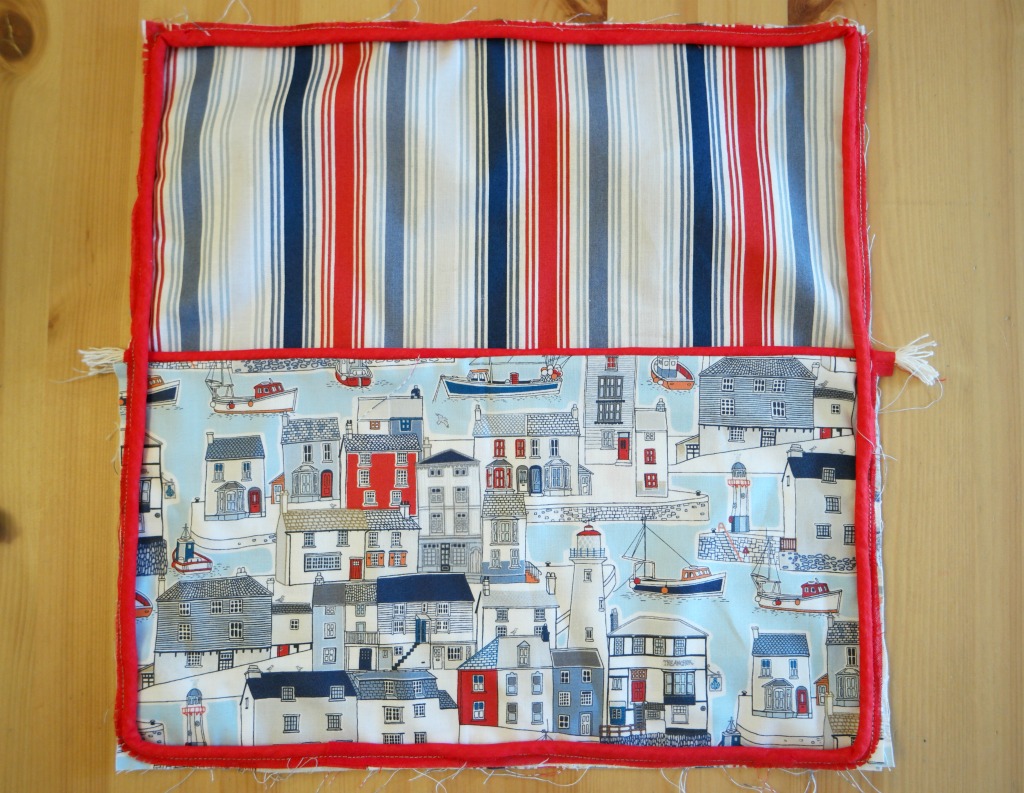
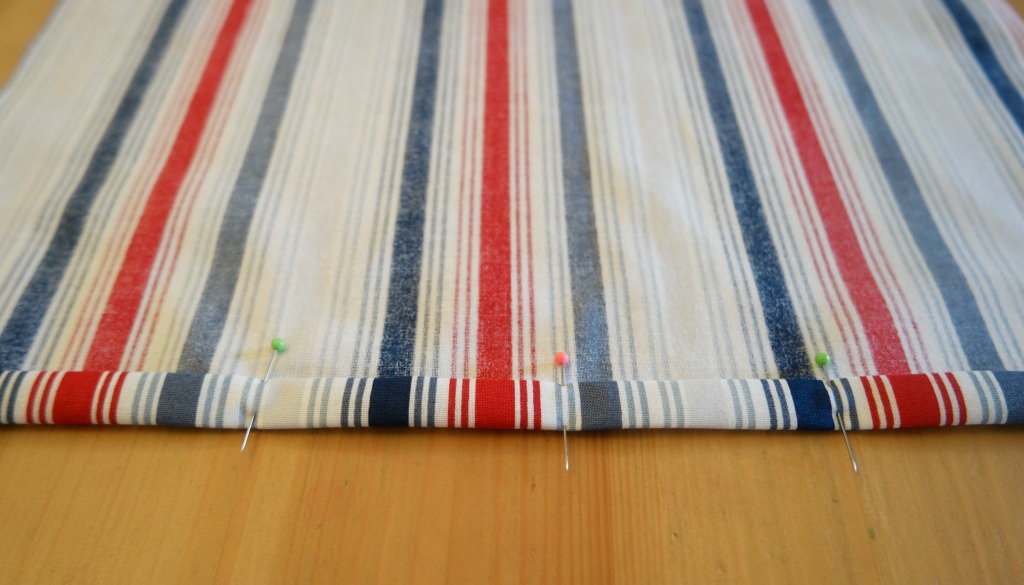
8. With the right sides together, pin the top back piece to the cushion front. Check that the sides and the top edges are aligned and that the hemmed edge is somewhere in the middle. 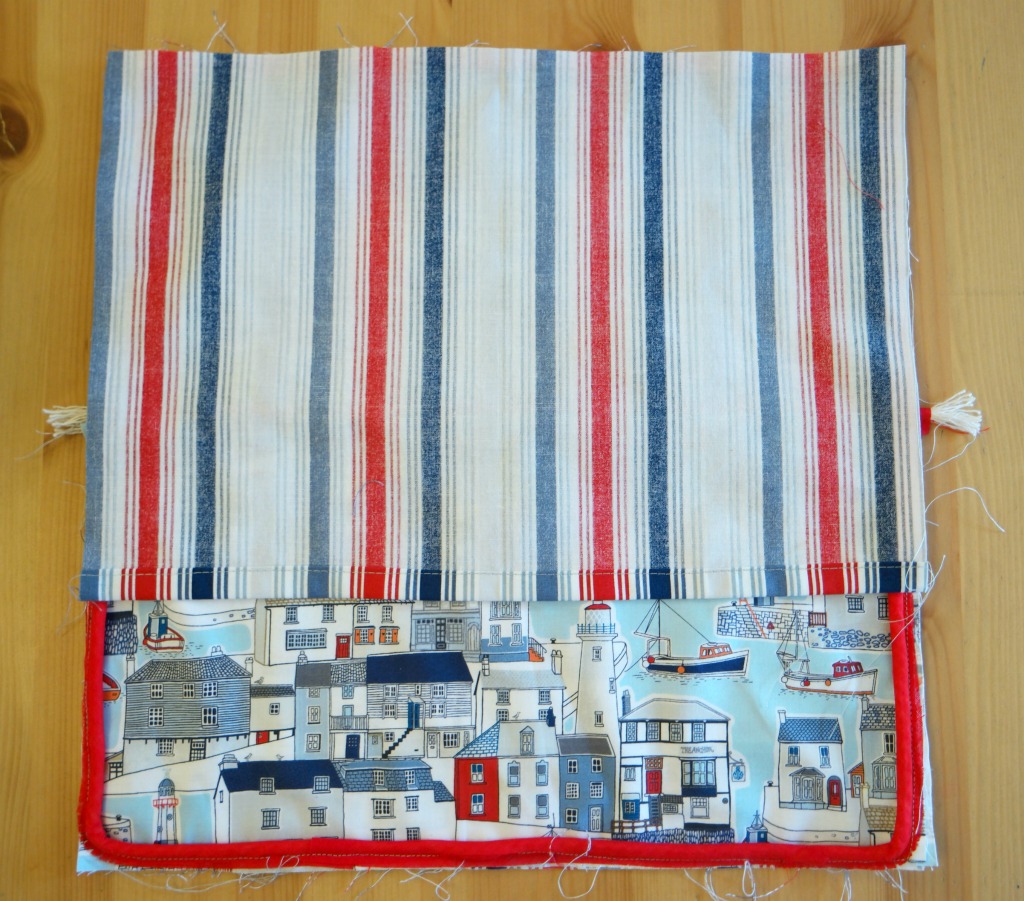 Then take the bottom back piece and pin it to the cushion front, overlapping the top back piece and with the sides and bottom edge aligned.
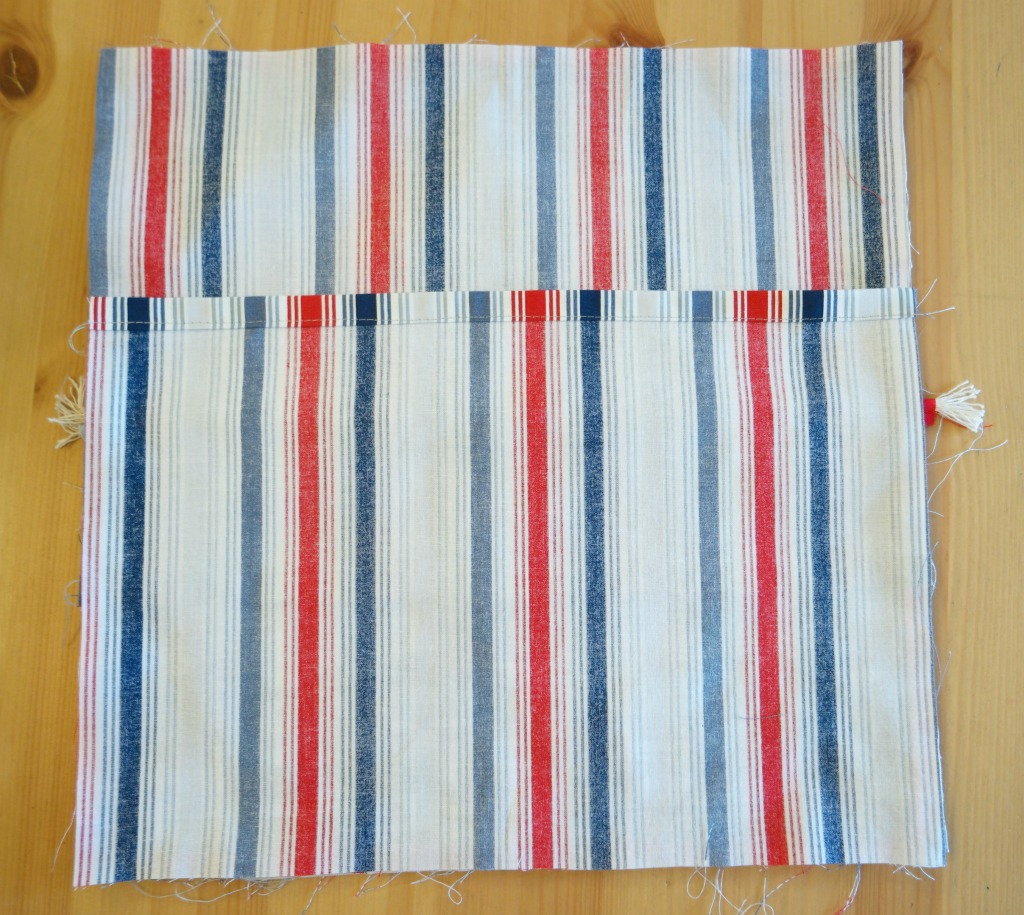
9. Sew all the way round the cushion. Check the seams to make sure that the piping and the pocket pieces are caught in the seams. Trim the seams and cut across the corners. Turn out and pop the cover on the cushion pad.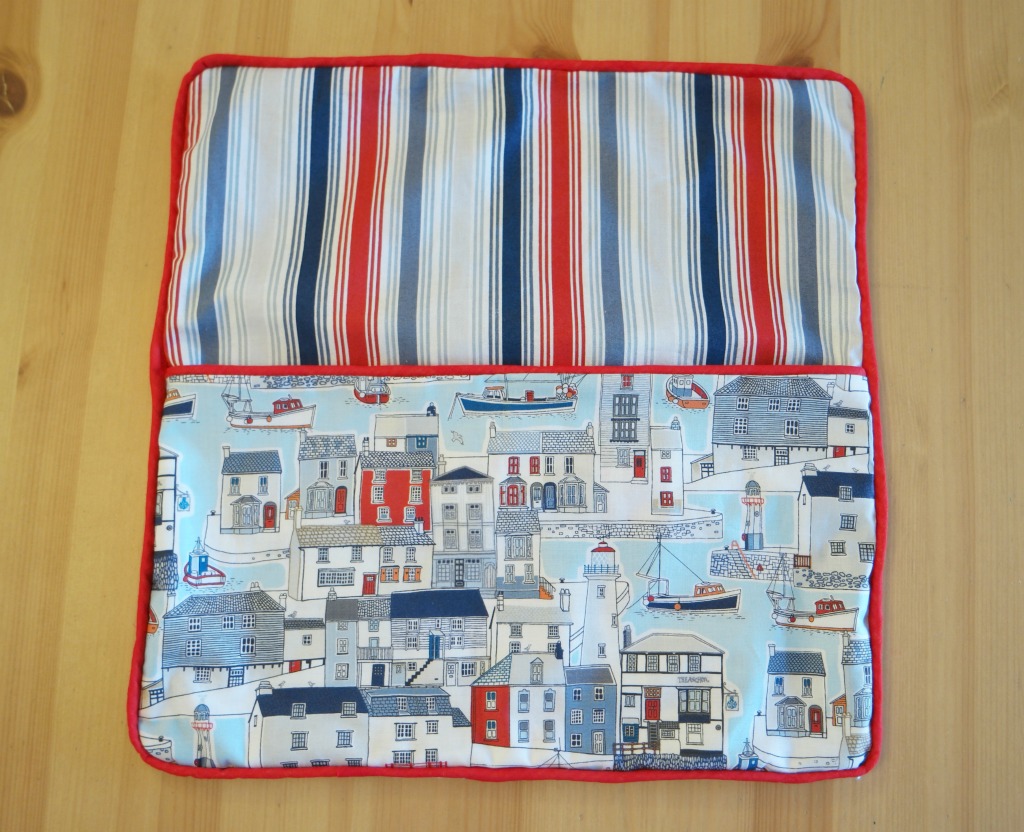
Now you have a cushion with a pocket! This could be adapted so you could personalise the cushion with appliqued letters, or you could sew the pocket in half to make 2 smaller pockets.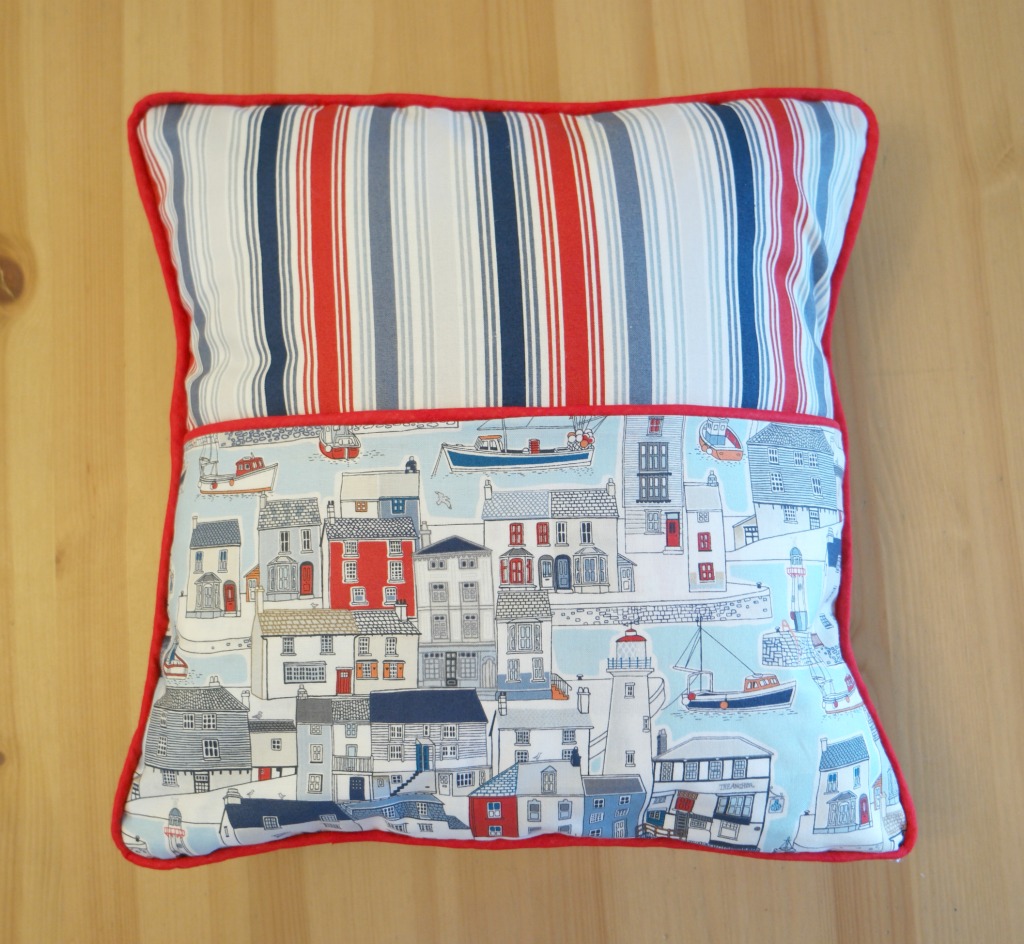
Here’s a cosy corner all ready for somebody to curl up in with a book. Although I don’t think I’ll be letting Aidan use my new favourite mugs that came from Love the Sales!
You might also like these cushion tutorials:
Linking up here.


Hi Anna!
Just thought I’d leave a quick message to say I’ve stopped by this evening ( all the way from feedly – I’ve added you to my Blog feed some time ago!) . I love your website and your tutorials and I’ve just noticed that you’re local to me! I have lived in Norfolk all of my life, in King’s Lynn, and have just moved to Cambridgeshire last year. Keep up the great work,
Best Wishes
Rachel xx
Hi Rachel, it’s funny just how many readers I have that aren’t too far away, as well as the others on the other side of the world! I’ve just had a look at your fb page, love the tree cushion xx
I should make one of these for my daughter who just cannot fall asleep without her books nearby. Cute idea! Visiting from A Round Tuit party.
Thank you!
Great cushion, I love your choice of fabrics the pocket with come in very useful I’m sure but I bet you end up finding some sweet wrappers in there! x
Lol at the sweet wrappers! Perhaps I’ll hide a snack for myself 🙂