How to Sew a Reversible Wrap Skirt
In my quest for a neat and tidy house, I have realised that the best way to achieve this is to have less stuff.
With 6 of us in a small house, this is not easy! But I know that there are things I can do to make things much better.
Having too many clothes can be an issue. How many of us have opened a wardrobe bulging with clothes and immediately thought, “I have nothing to wear!”?
I’m trying to cut mine right down to a few things I wear all the time and get rid of things that hardly see the light of day (or refashion them into something else, like I did with this top!).
So to maximise on wardrobe space and keep actual outfits to a minimum, I’ve made a reversible wrap skirt, so it’s 2 skirts in 1!
The good thing about a wrap skirt is that they are easy to adjust. All you have to do is check that the button is in the right place. And if you gain or lose weight, it’s easy enough to move the button.
It’s a good project for a beginner as it’s easy to make and it doesn’t matter too much if your measurements are a bit off.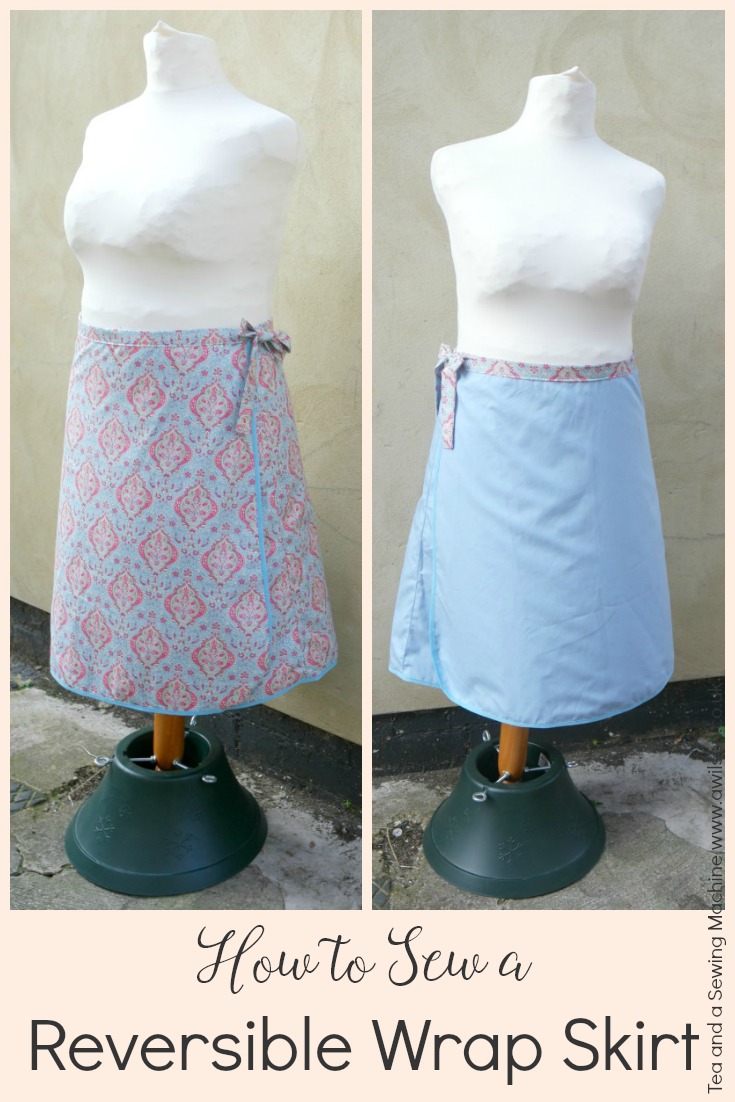
Making a Reversible Wrap Skirt
I have included some affiliate links.
You Will Need
Some large pieces of paper (pattern paper is ideal but you could use newspaper), pencil, ruler, tape measure, french curve
(optional) cotton fabric for the outside, contrasting cotton fabric for the inside (2 metres of each will be plenty), bias binding, 2 buttons.
Drafting the Pattern Pieces
To draft the pattern pieces for a reversible wrap skirt, you will need your waist measurement and your measurement from your waist to your knee. You’ll also need to decide how wide you want the skirt to be at the bottom.
On a folded piece of pattern paper, measure down the fold the same length as you would like your skirt to be. Now draw a line outwards from the top of where you marked. The length of this line will need to be your waist divided by 4, and it will need to go upwards slightly.
From the bottom of where you marked on the fold, draw another line your desired skirt width. This will also need to go upwards.
Join the end of this line to the end of the other horizontal line. Both the horizontal lines will need to curve gently.
If you are unsure about drawing the bottom edge, take your tape measure and find the halfway point along the waistline. Measure down to your desired skirt length. You could do this ¼ and ¾ of the way along as well. This will help you to draw the curve so that the skirt is the same length all the way across.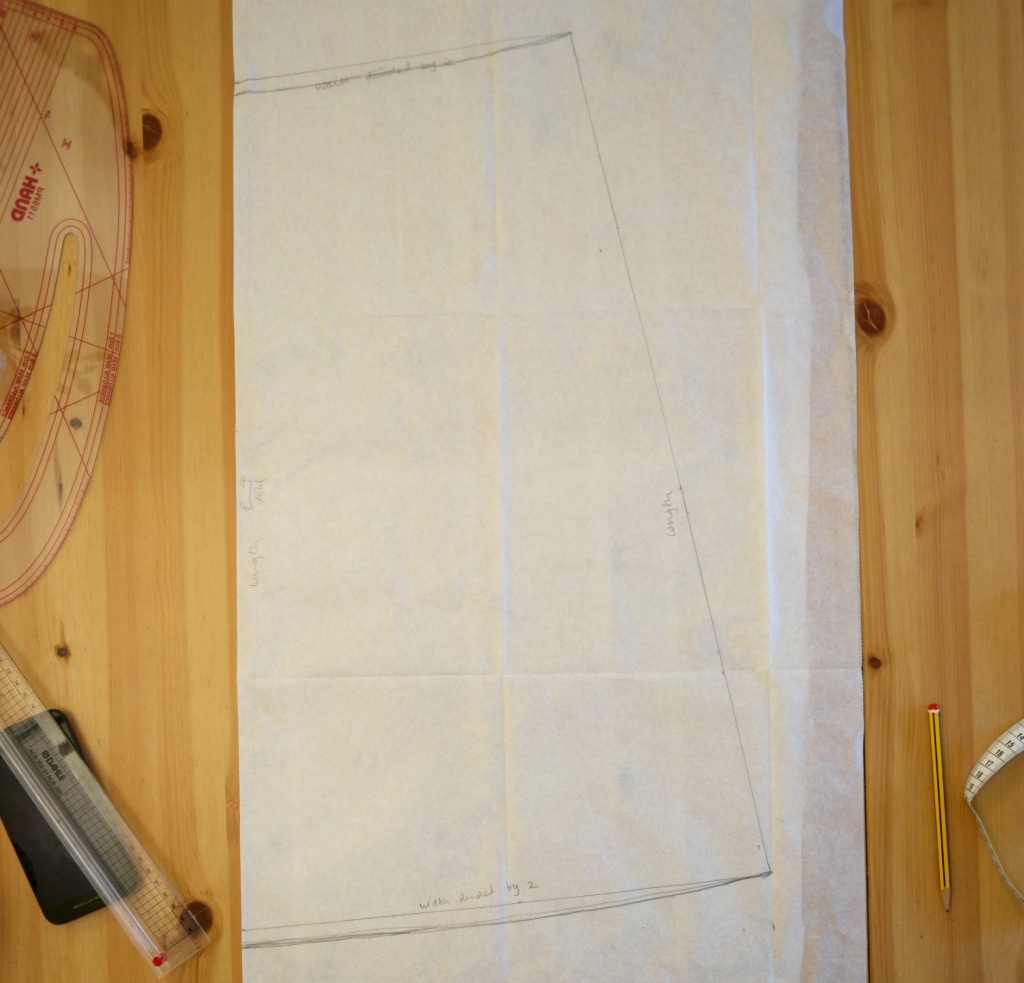
This is half of the skirt back. To draft the skirt front pieces, you will need to draw around this so that you have one complete skirt. Using a French curve (or a plate if you don’t have one), round off one corner.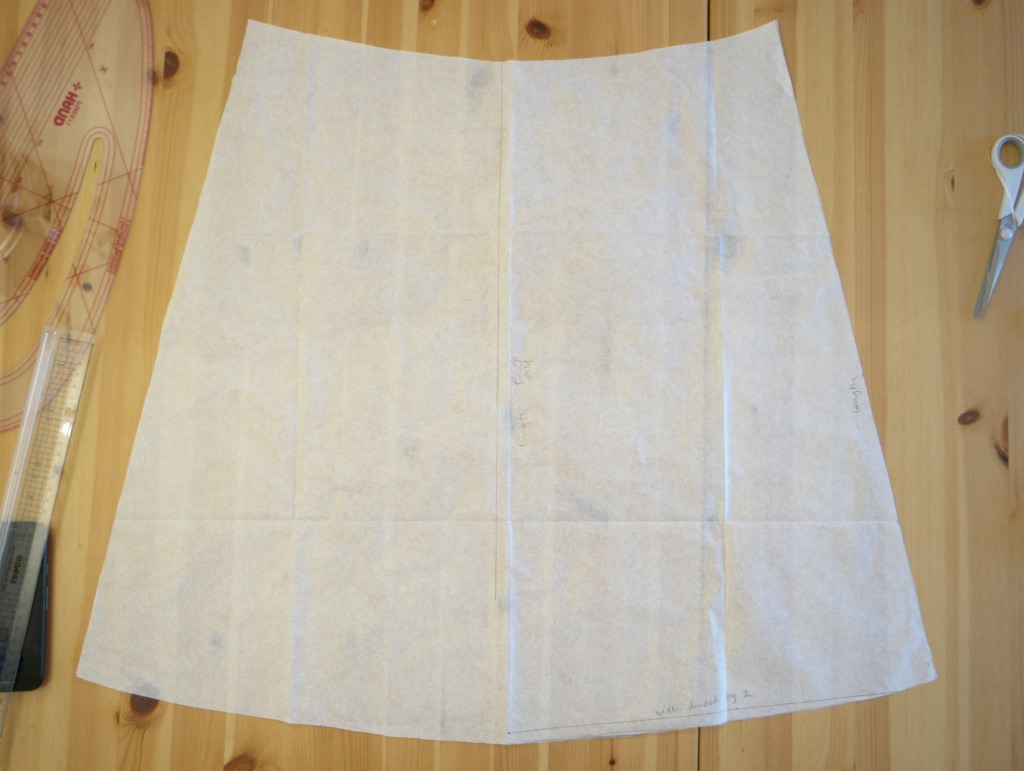

Cutting Out
From both outer and inside fabric, you will need to cut 2 skirt front pieces on folded fabric, and 1 skirt back piece.
You will also need to cut a waistband 10 cm wide and long enough to go around the top of the skirt, plus 40 cm extra for tying. You might need to cut this in a couple of sections and sew them together.
For the ties, cut 2 more pieces 10 cm wide and 40 cm long.
Sewing Up
1. Take the outer skirt pieces and sew the front sections to either side of the back. Make sure you sew the straight edges as the curved edges need to be at on the outside. Trim the seams and press them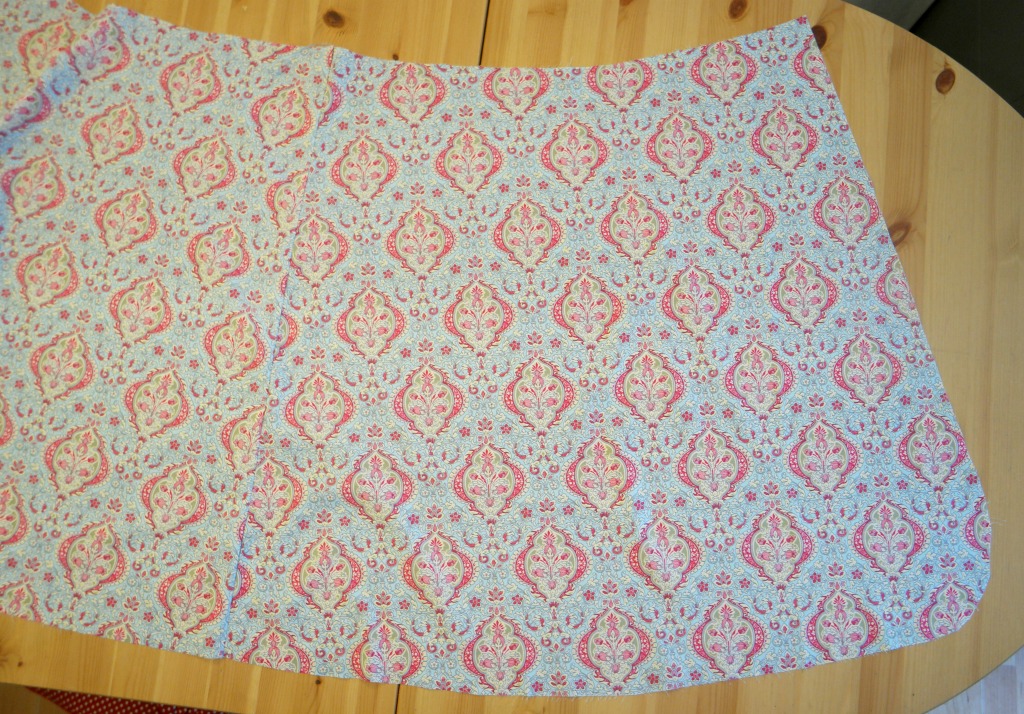
Do the same with the inside skirt pieces.
2. Pin the outer to the inside with the wrong sides together, matching the seams.
3. Starting up at the top of the skirt, pin one end of the bias binding to the inside of the skirt. The raw edges will need to line up and it will be easier if you fold the bias binding in half lengthways before sewing.
Don’t worry about pinning it all the way round. Just pin it at the start then sew, keeping close to the fold.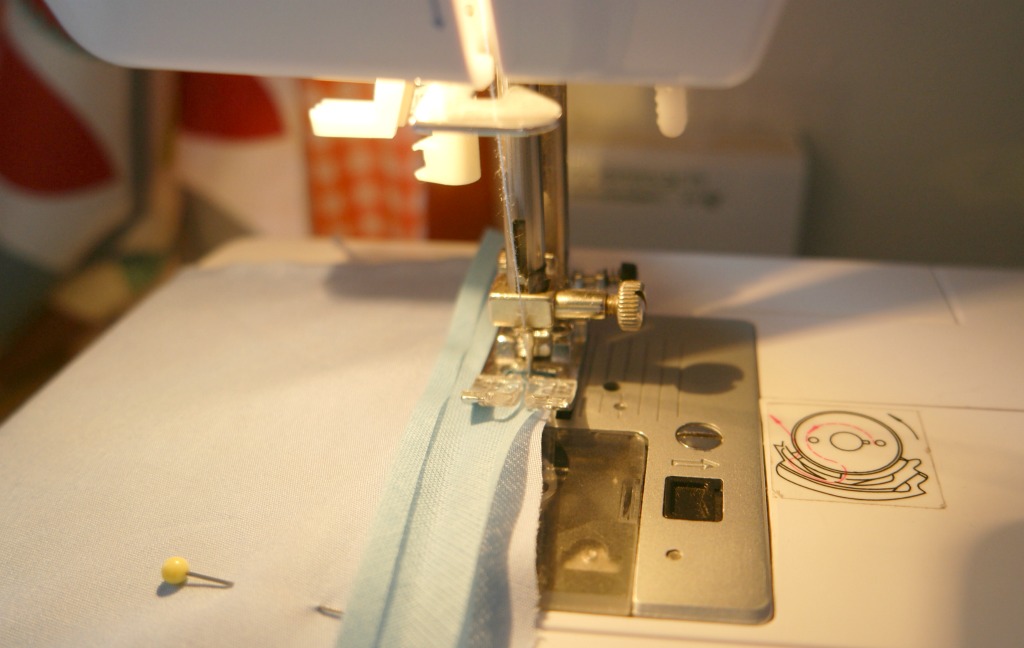
4. Fold the bias binding over the raw edges and top stitch all the way round. If you remembered to fold the bias tape in the previous step, you will find this much easier!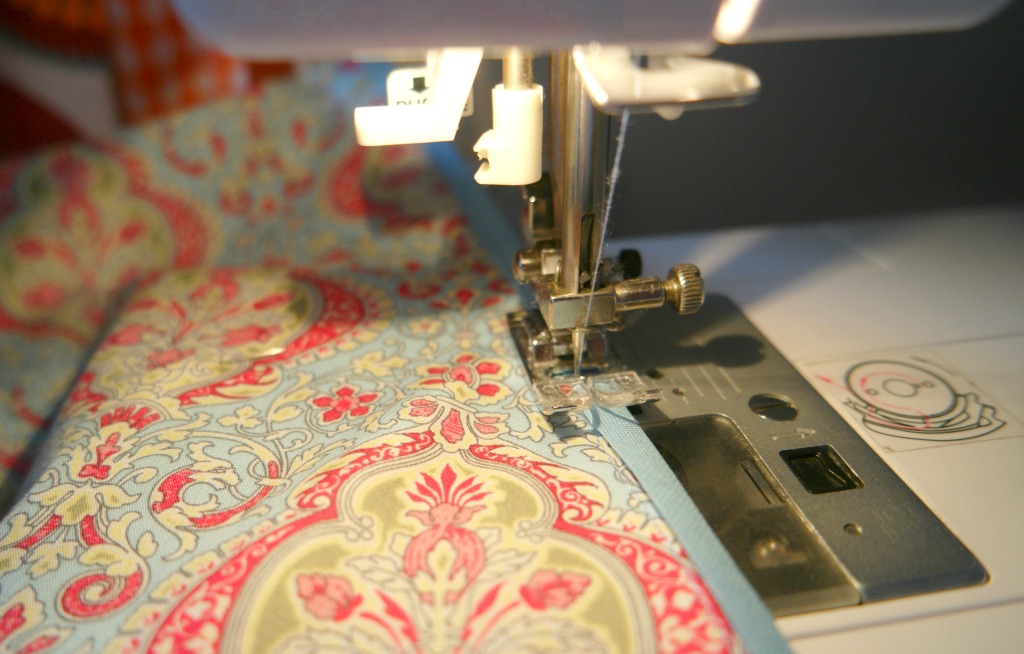
5. To make the waistband, join the sections together if you haven’t already.
Fold it in half lengthways and press. 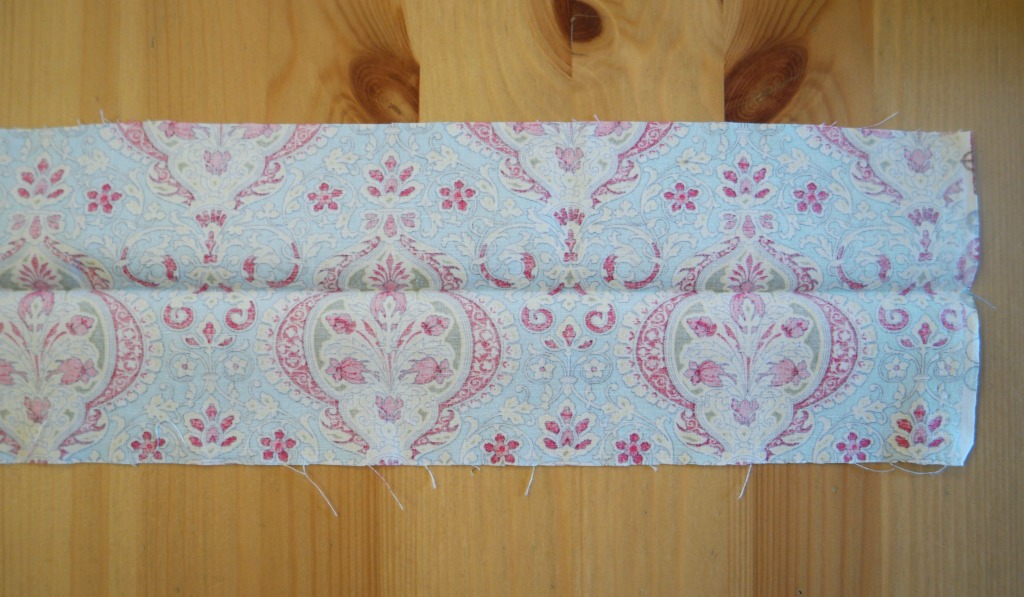 Open it out, then fold the raw edges into the middle. Press again.
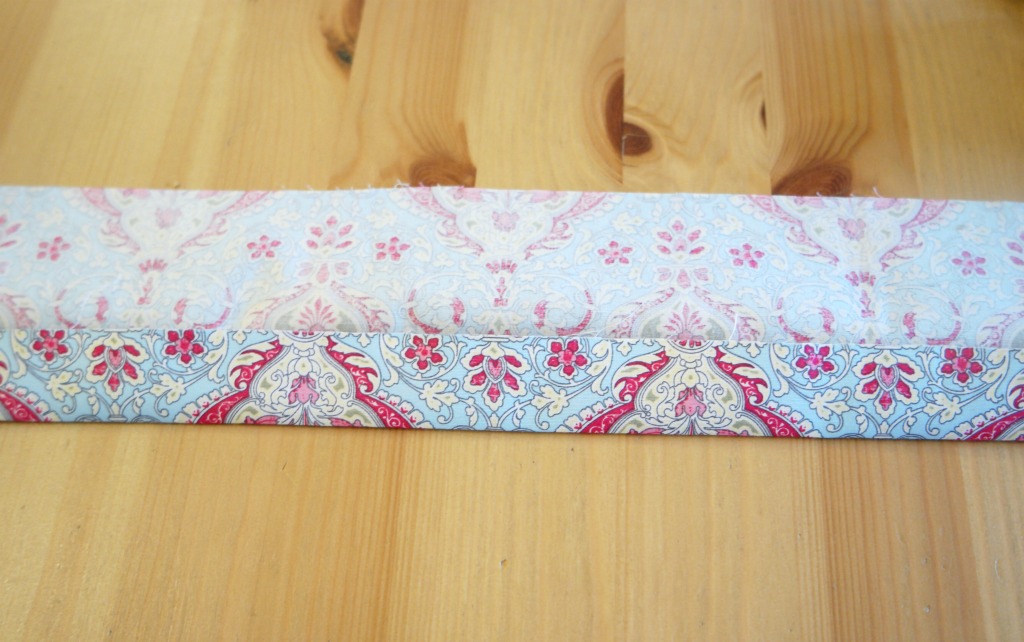
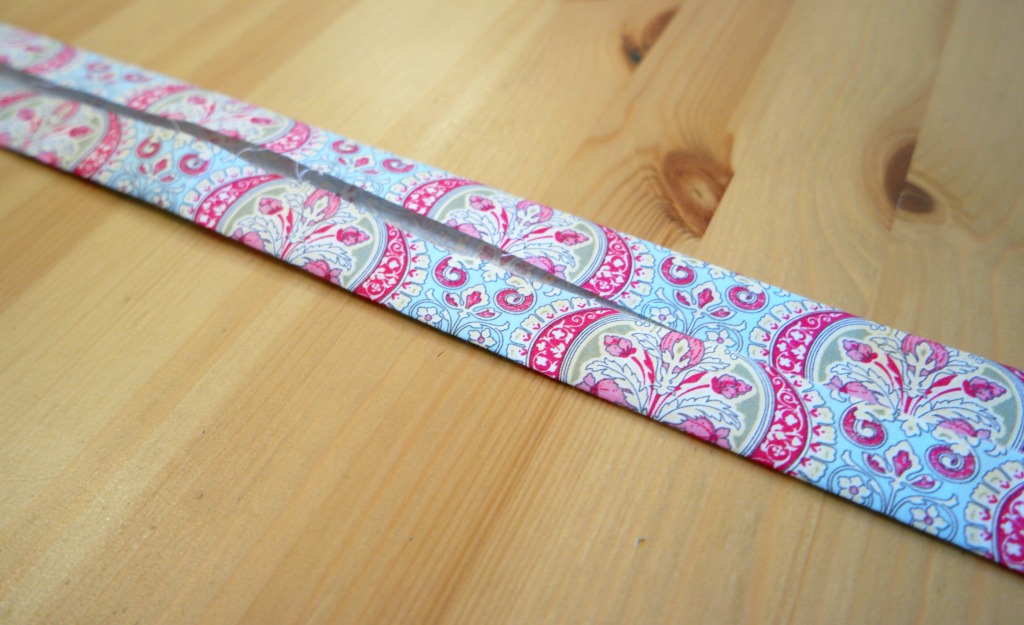
Fold it in half lengthways again and press.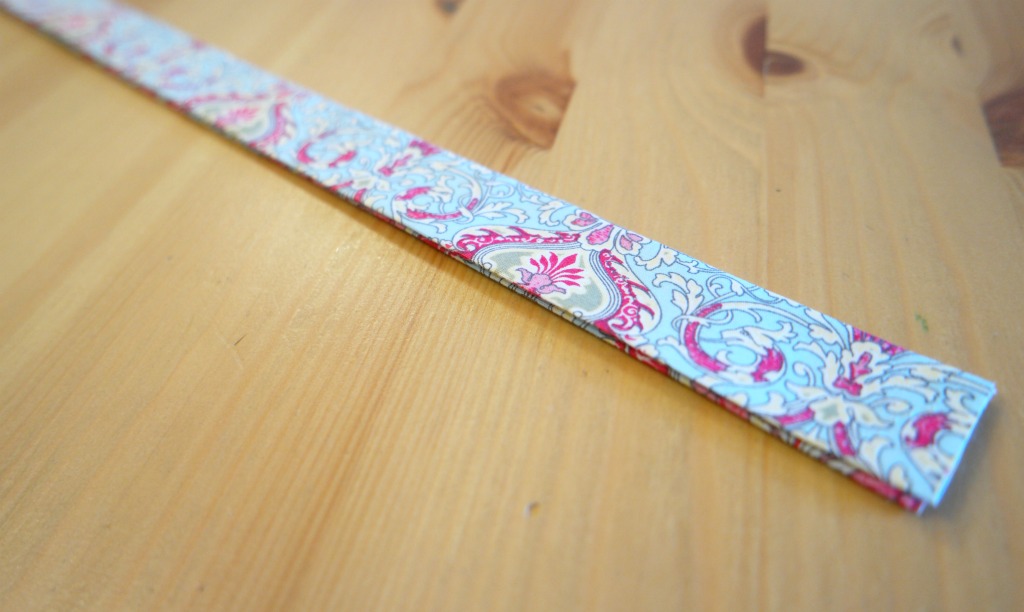
6. Starting at the left side of the skirt, fold the end over, then pin the raw edge of the waistband to the top of the skirt on the inside. Sew it to the skirt. Don’t worry about the extra for the tie at the moment.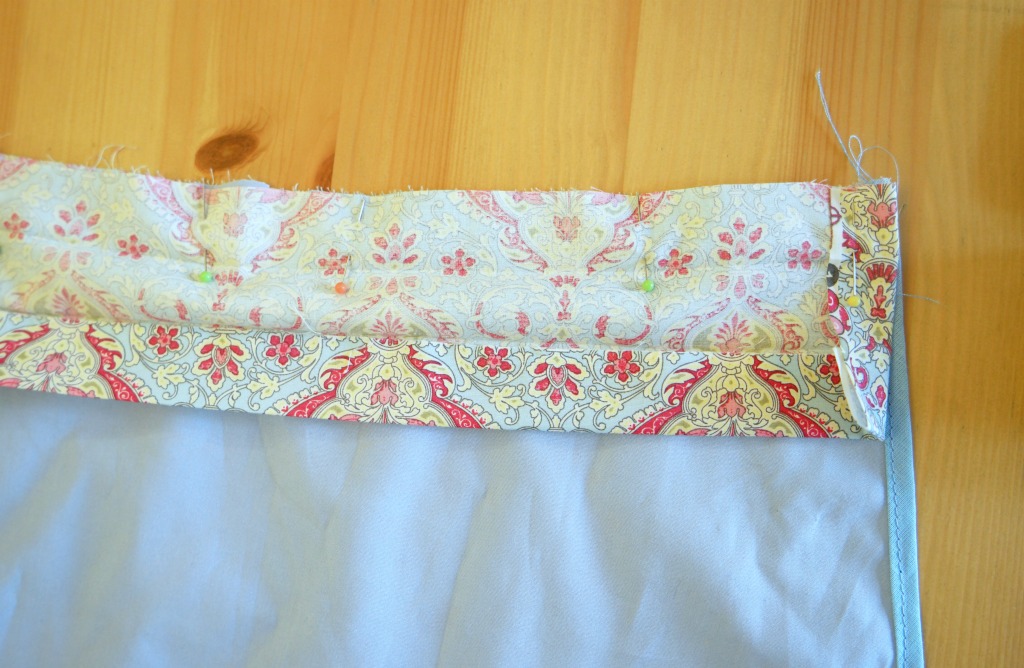
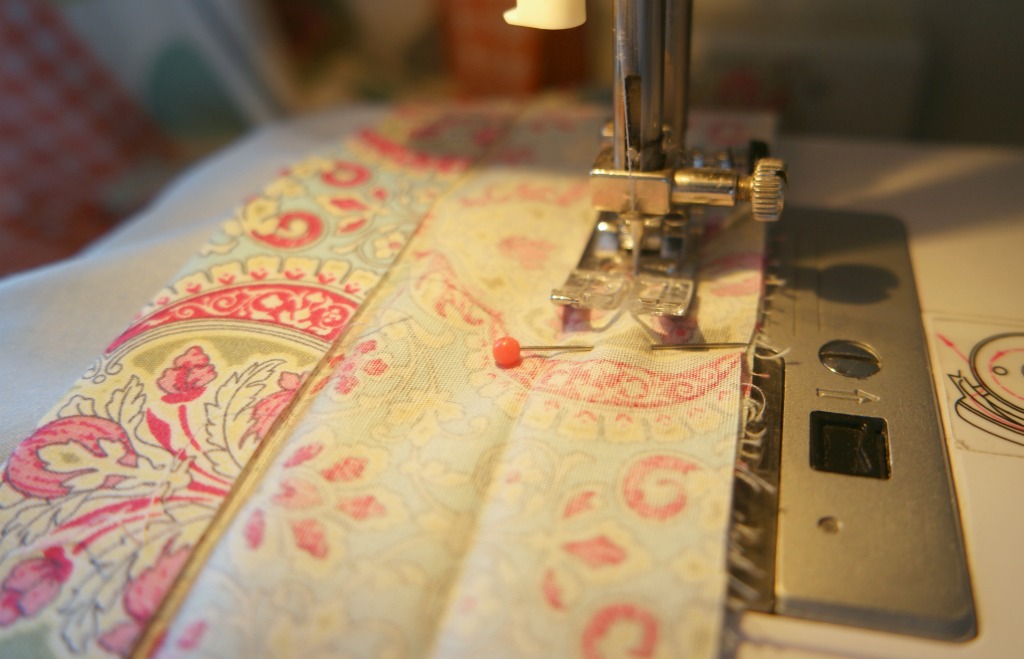
7. Fold the waistband over the raw edges and pin. Top stitch all the way round. When you get to the tie, keep going, stopping 3 or so cm before the end. Tuck the end in, then stitch over it.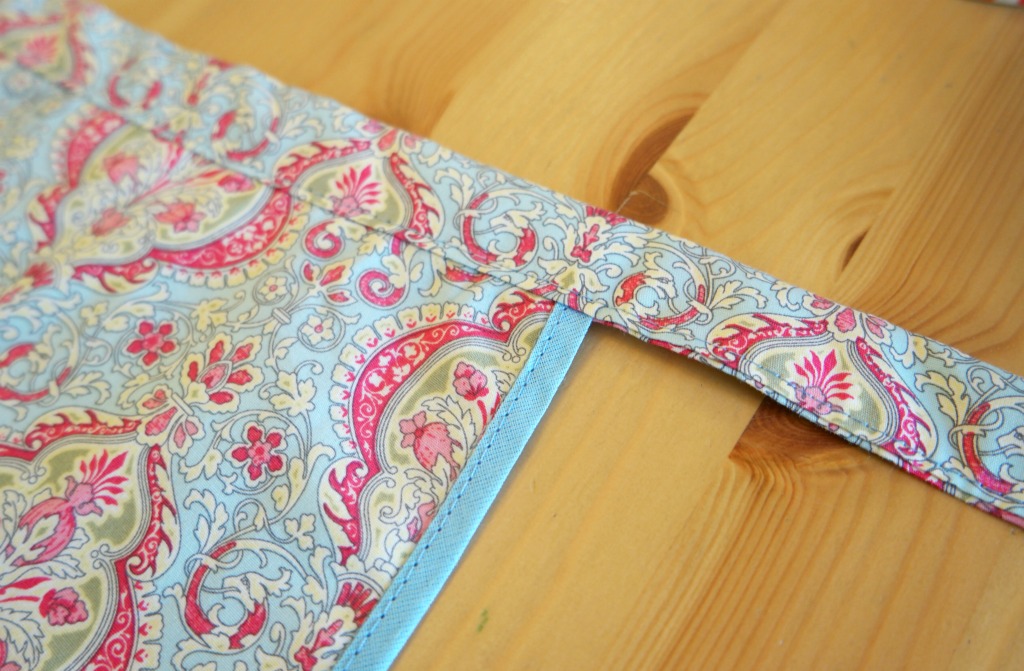
8. Make the ties in the same way as the waistband. Fold the strips in half lengthways, press, then open them out. Fold the raw edges into the centre and press again. Tuck the ends in a couple of cm, then sew along the open edge.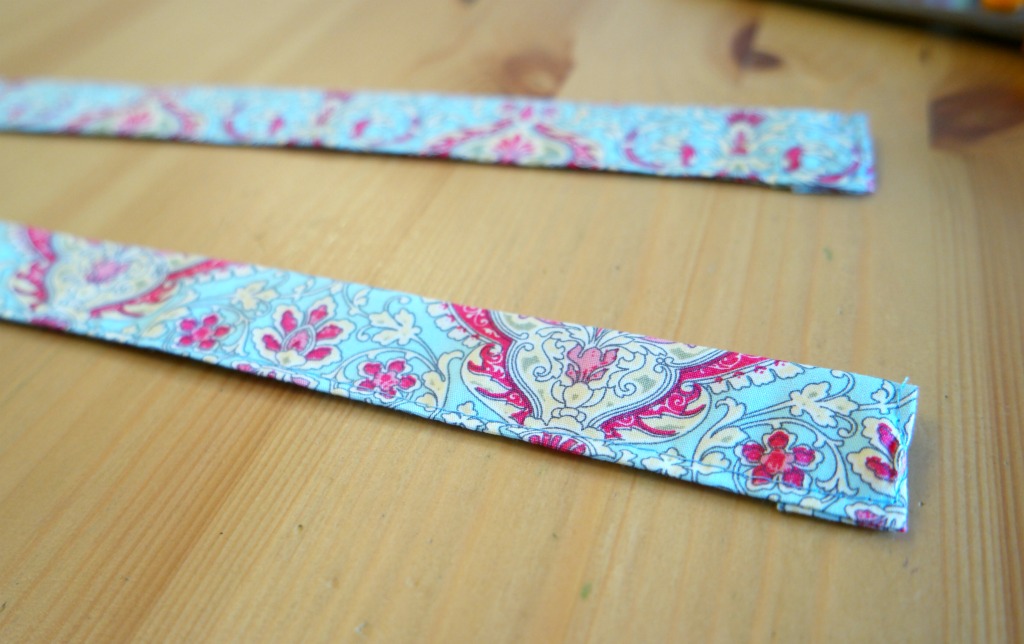
9. Sew the ties to the waistband at the left hand side seam. You will need to sew one to the outside of the skirt and one to the inside.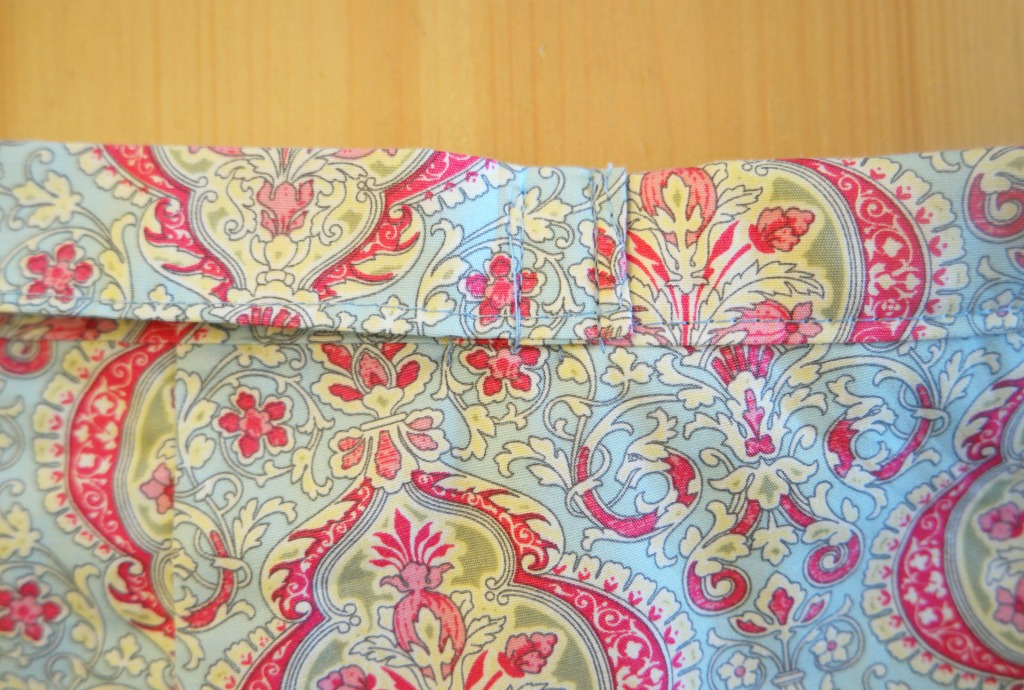
10. Try the skirt on so you can establish where the buttons need to go. If your measuring was accurate, it should be roughly where the other side seam is. Sew a button onto both sides.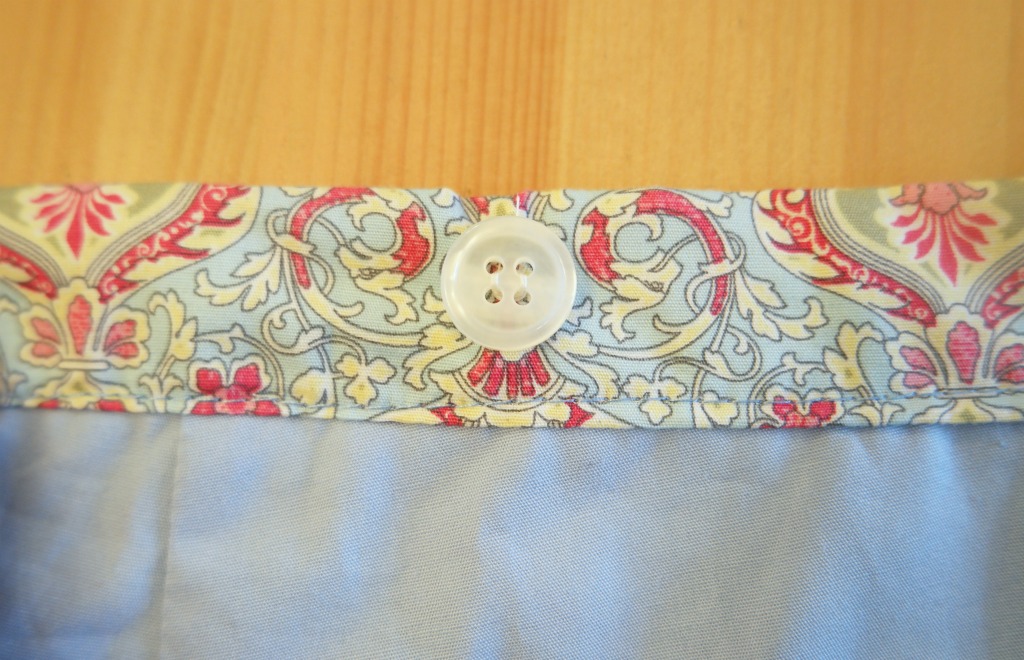
On the part of the skirt opposite the button, make a loop by making chains with doubled thread. Attach the end close to where you started. If you need a tutorial showing how to do this, there’s a good one here.
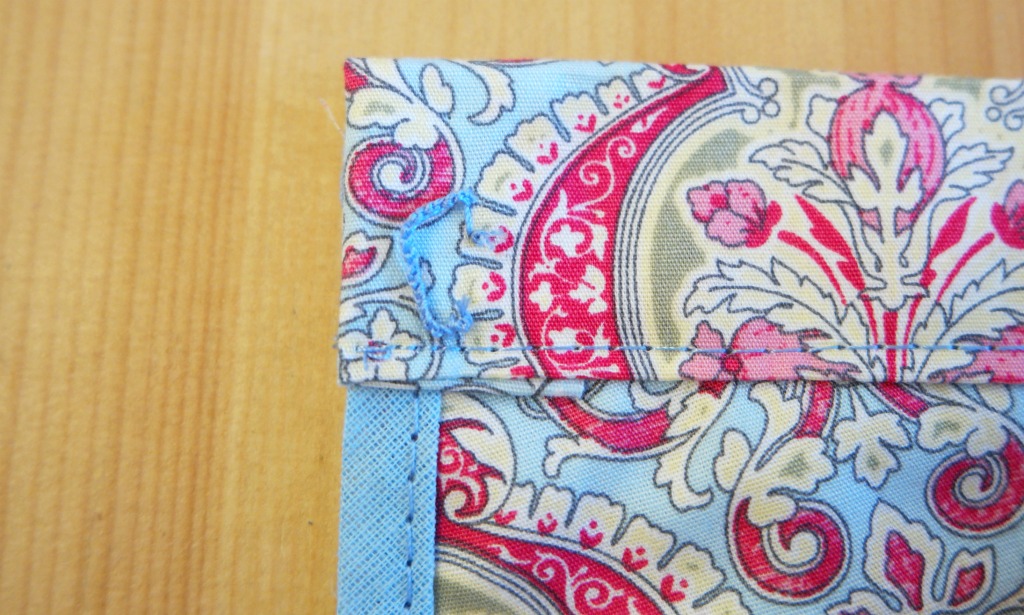 Run the iron on your reversible wrap skirt one last time and it’s ready to wear!
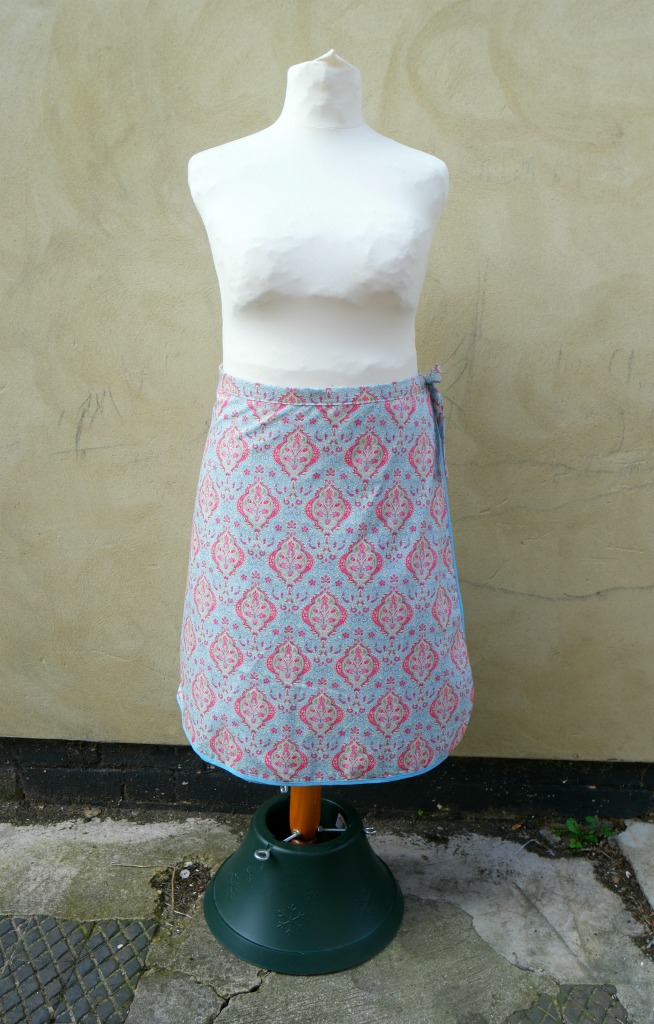
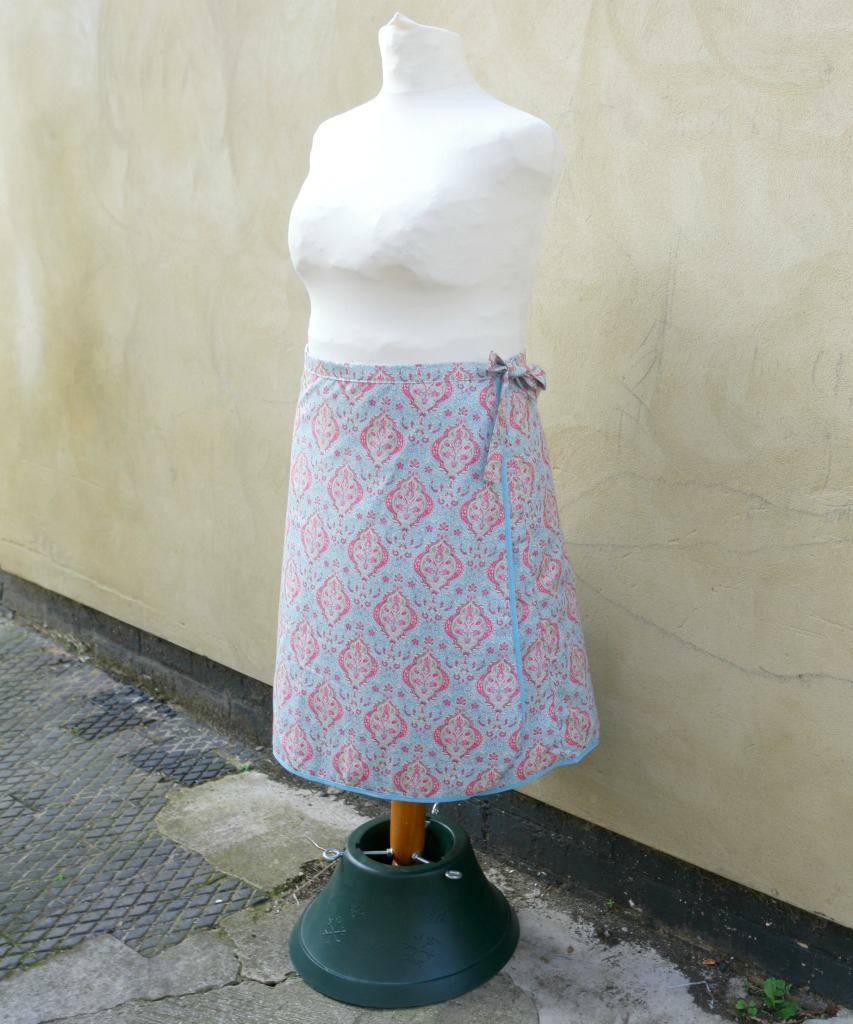
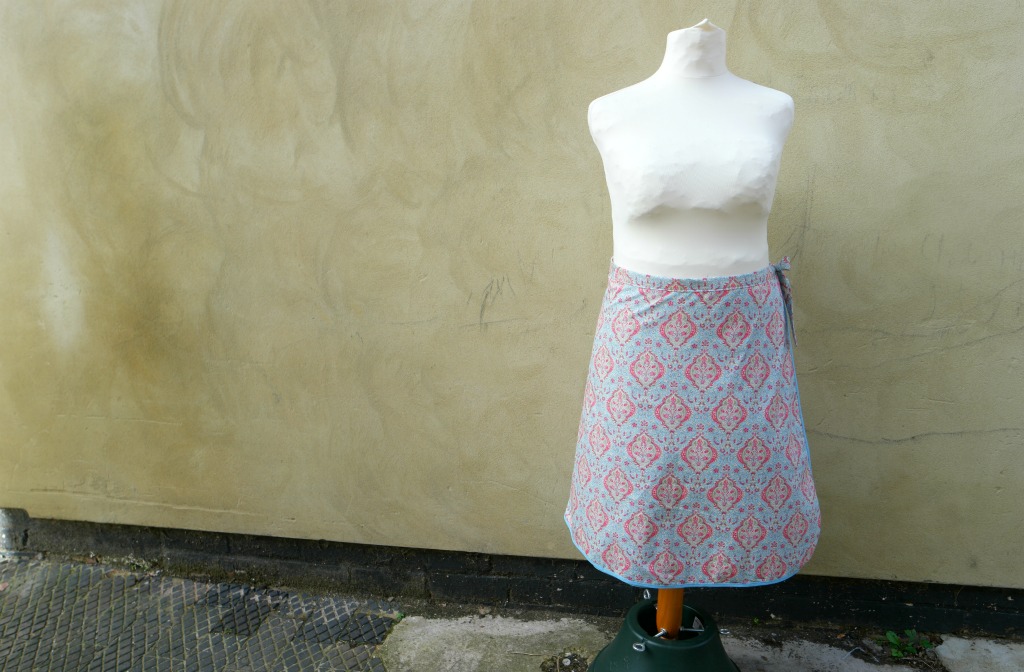
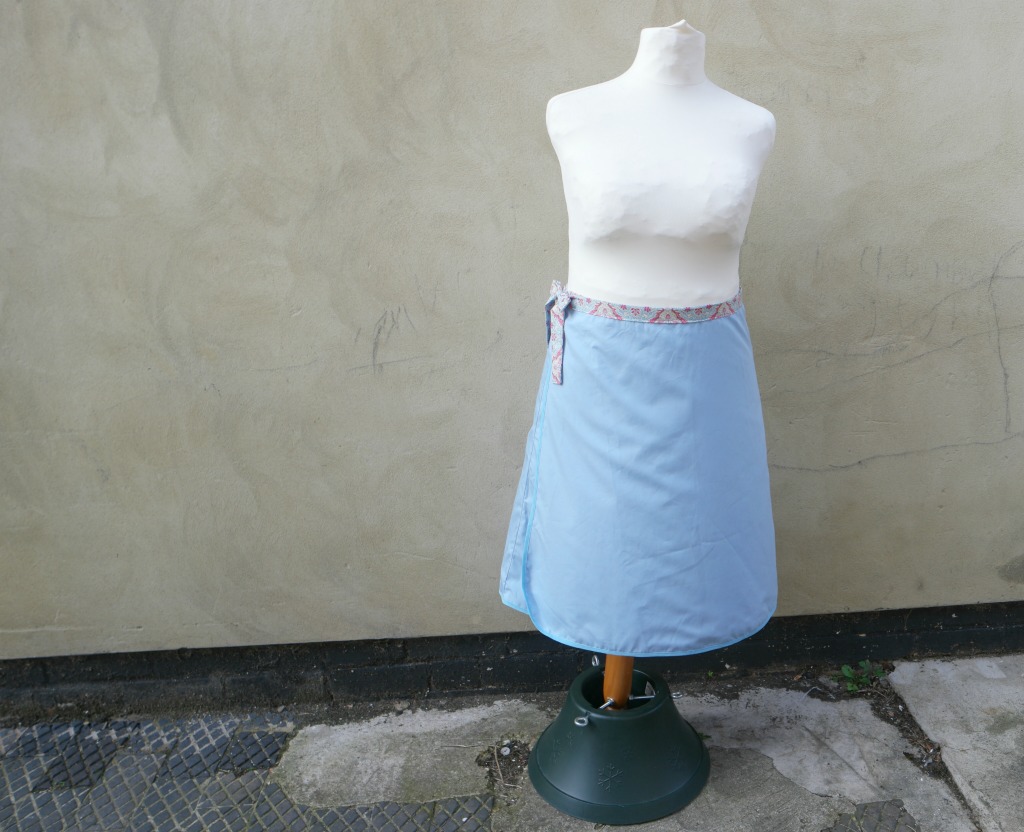
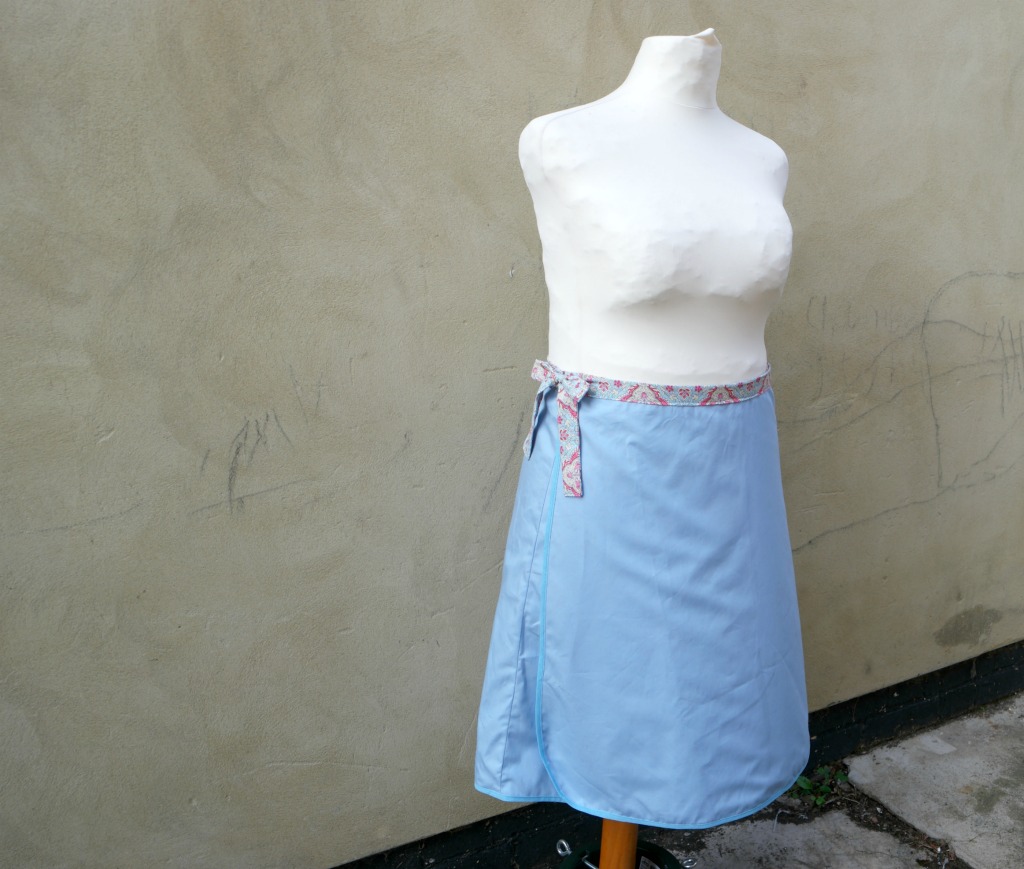
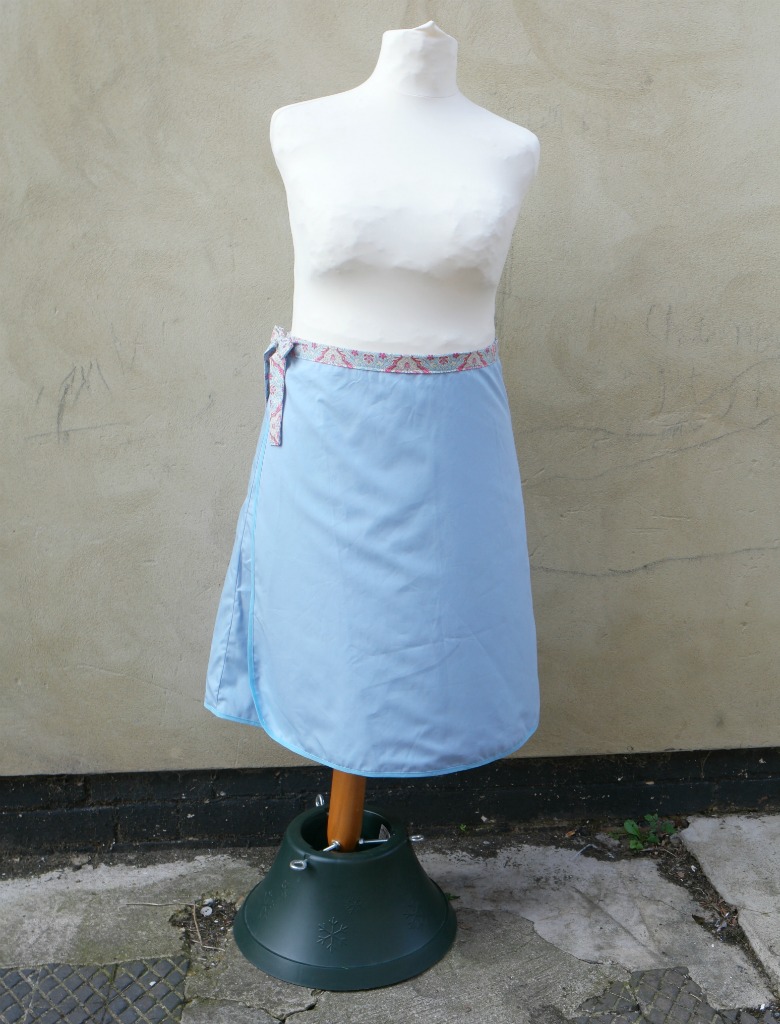
This reversible wrap skirt could be adjusted to make a lined skirt for the colder months.
If you liked this post, you might also like these:
Making Trousers Without a Pattern
Cherry Blossom Dress Without a Pattern
Linking up here.


Hi. I have been trying to find a pattern with a reversible wrap skirt. I am so glad I found your post. Now I can use up all my cotton fabric I have. Thank you once again.
You used such lovely fabric for this, it’s beautiful.
I used to make a lot of wrap around skirts, (which I do still wear) but haven’t made a new one for years. Now I just need to go through my stash and find soemthing suitable!
Julie recently posted…Glitter Hand Lettered Greetings
Thanks Julie, I had a difficult time choosing!
Sometimes the simplest things are the best. I’m now inspired to make one of these for this summer. I think skirts are so much more comfy on hot days than shorts! thanks!
I agree that simplest is often best!