How to Sew a Hem With Bias Binding
Whenever I make something with a curved hem, my favourite way to finish it is to sew the hem with bias binding.
As bias binding stretches with the curved edge, it’s perfect for finishing a hem on a circle or half circle skirt. I also often use it for finishing armholes and necklines as well.
Usually I sew the bias binding on so that it is visible. But while I was watching the Great British Sewing Bee last year, I discovered that there’s actually another way to sew a hem with bias binding, so that the binding is not visible on the outside.
I love the idea of this because it’s like having a bag with a pretty lining. Other people might not see it but I know it’s there!
I’ve been wanting to try it out for a while, and the opportunity presented itself a couple of weeks ago when I was turning this top into a dress.
I was happy with the results, although I could have used a narrower bias binding. If I had, the results would probably have been neater, as the stitching is quite high up and I think it would look nicer if it was closer to the bottom of the hem.
Here’s how to sew a hem with bias binding if you want to have a go yourself!
Sewing a Hem With Bias Binding
You Will Need
Enough bias binding to go around the hem of your skirt (the 16 mm stuff will be fine, you don’t need it to be very wide), plus a bit extra, an iron and ironing board, usual sewing supplies.
Binding the Hem
1. Take one end of your bias binding and open it out a bit. Unless you’re sewing something small, leaving it on the roll or folded up will be easiest.
2. Starting somewhere that won’t show too much (the side’s a good place), pin one end of the bias binding to the edge that you are binding. The right sides need to be together, so pin it face down to the right side of your skirt.
Don’t worry about pinning it right the way round. Just a few cm to get you started will do fine.
3. Ensure that the edges are aligned, then sew the rest of the bias binding to the right side of the skirt. Keep the stitches as close as you can to the fold nearest to the edge, without actually sewing over the fold.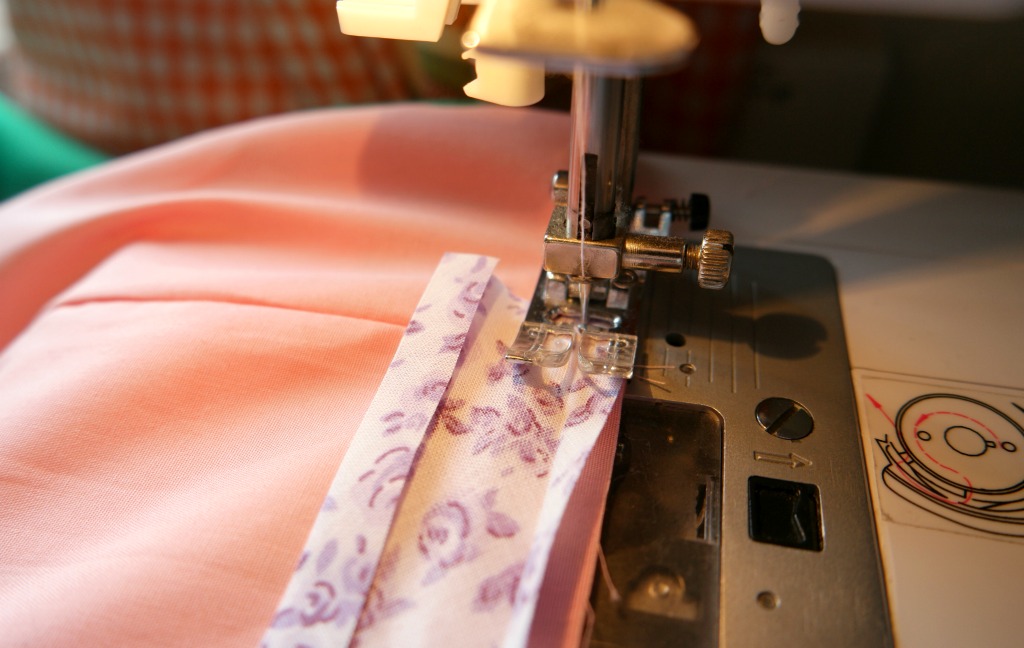
When you get back to where you started, sew a little bit more so that the ends overlap.
4. With the iron, press the seam you have just sewn away from the bias binding and towards the skirt. Turn it over and press it again to make sure that the seam is nice and neat.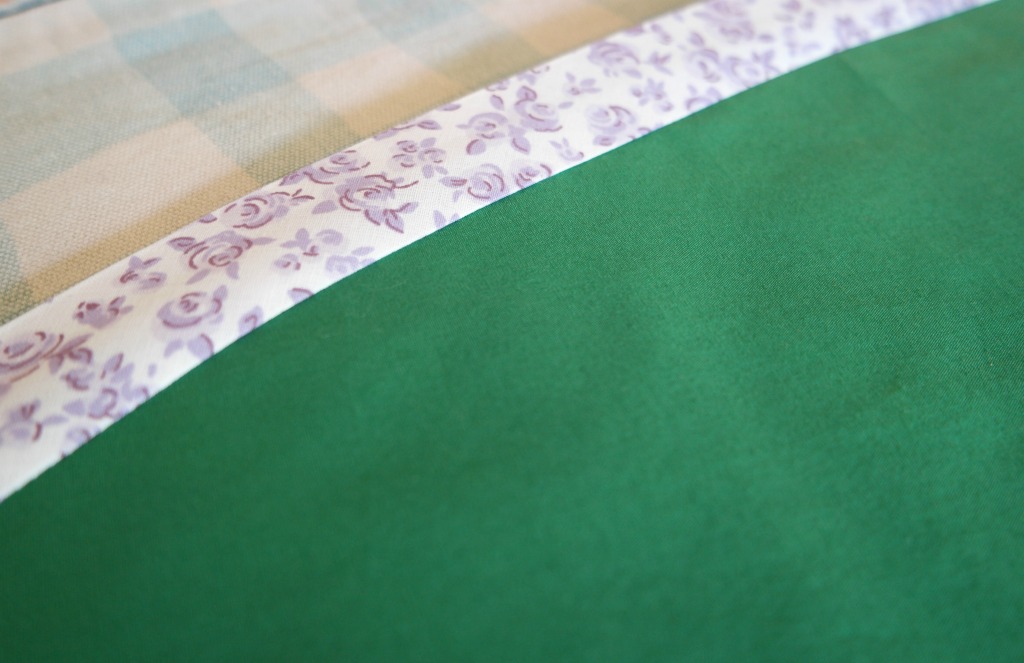
5. Now fold the bias binding over so that it is underneath, and press again.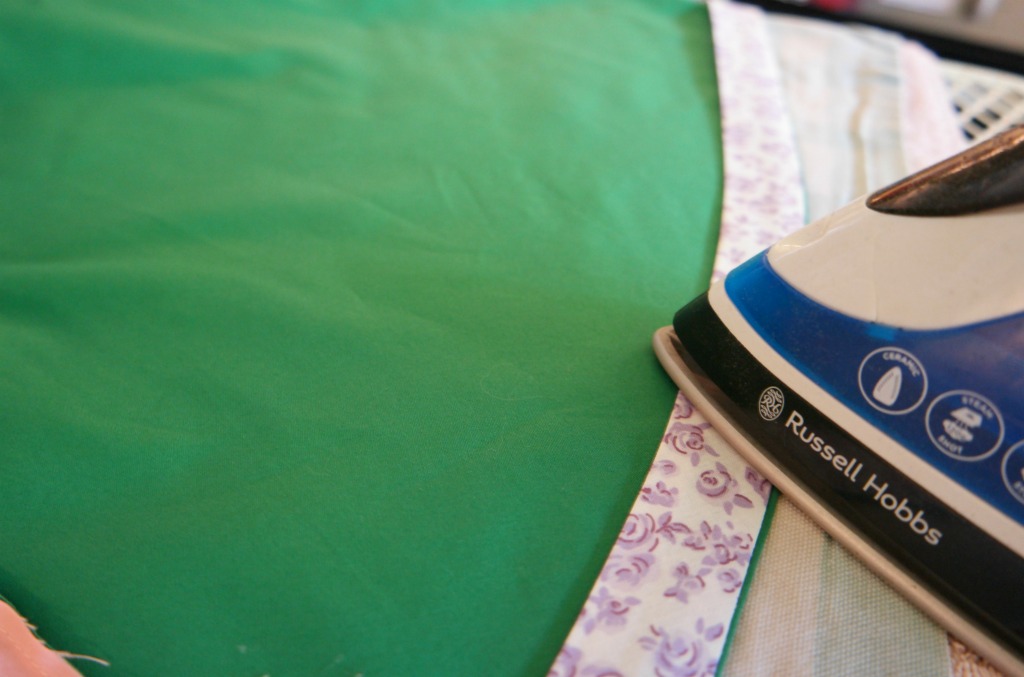
6. Keeping close to the other folded edge this time, sew the bias binding in place.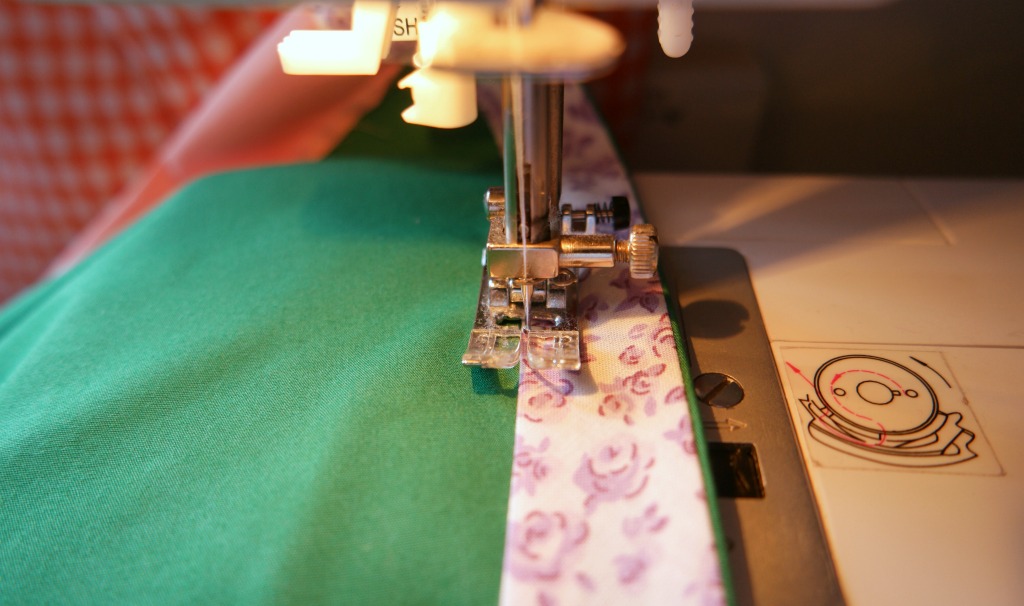
There you have it! One bound hem where the bias binding is not visible.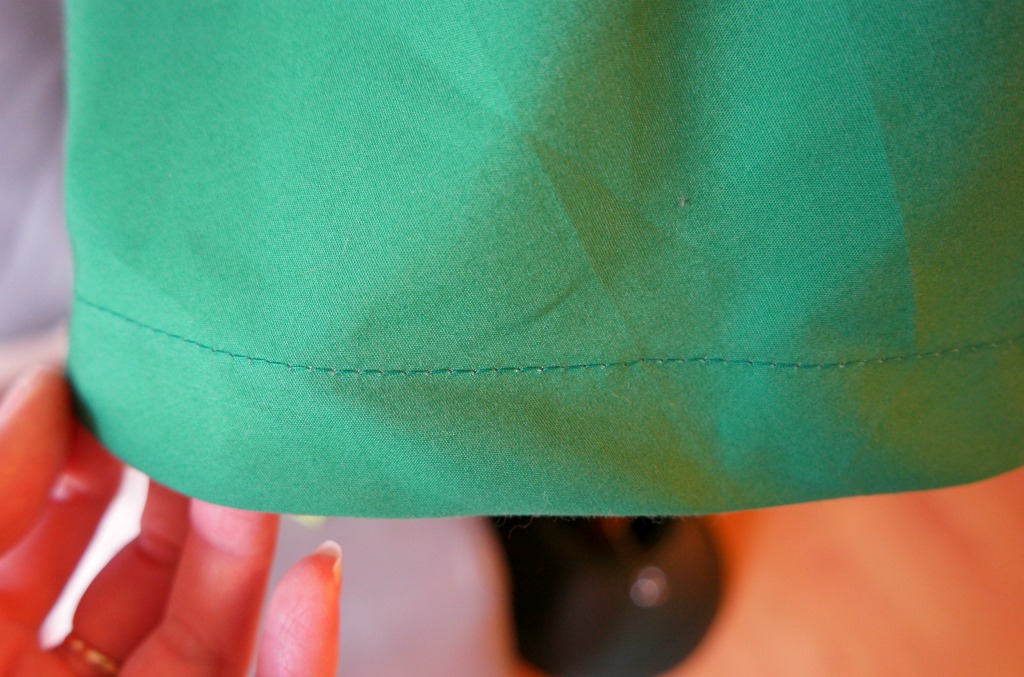
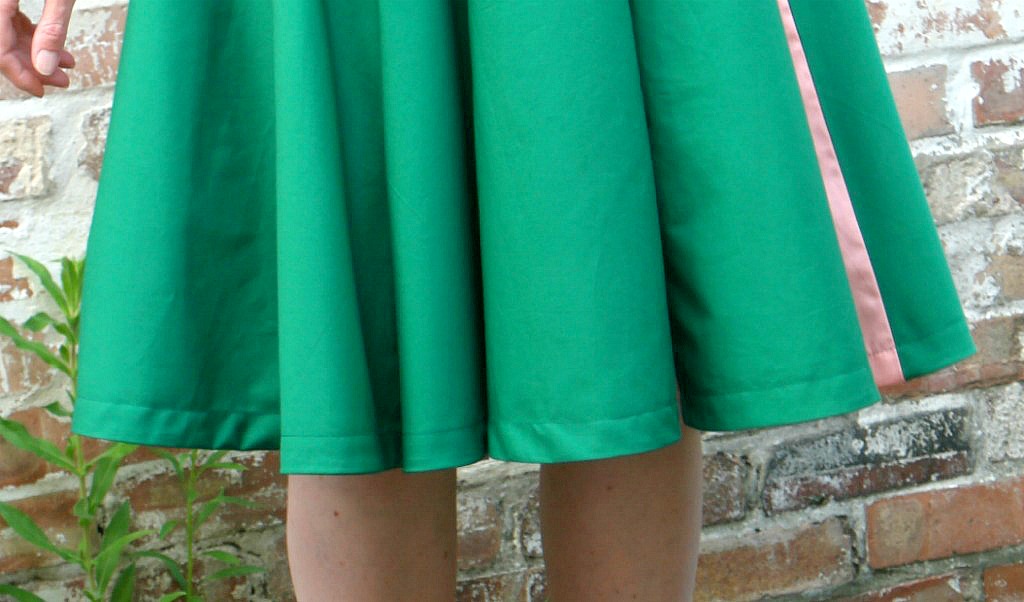
I love the idea of having pretty bias binding on the inside that nobody knows is there! Here are some links to bias binding on Minerva Crafts. These are affiliate links.
Linking up here.


Great tutorial – thank you! I also understitch the seam to the bias binding before turning which I find helps to fold it neatly to the inside. It’s that one extra step but it does make a difference in making for a nice, crisp turn.
Thanks Kathleen that’s a good suggestion 🙂