How to Sew Darts
If you haven’t tried to sew darts before, the idea of them can be off putting and you might be tempted to avoid them.
This can be said of a number of other sewing techniques as well! But they’re one of those things that once you understand their purpose and you know what to do, they’re not scary at all and are actually useful!
In this post I’ll be explaining what darts are, what they are for and how to sew them.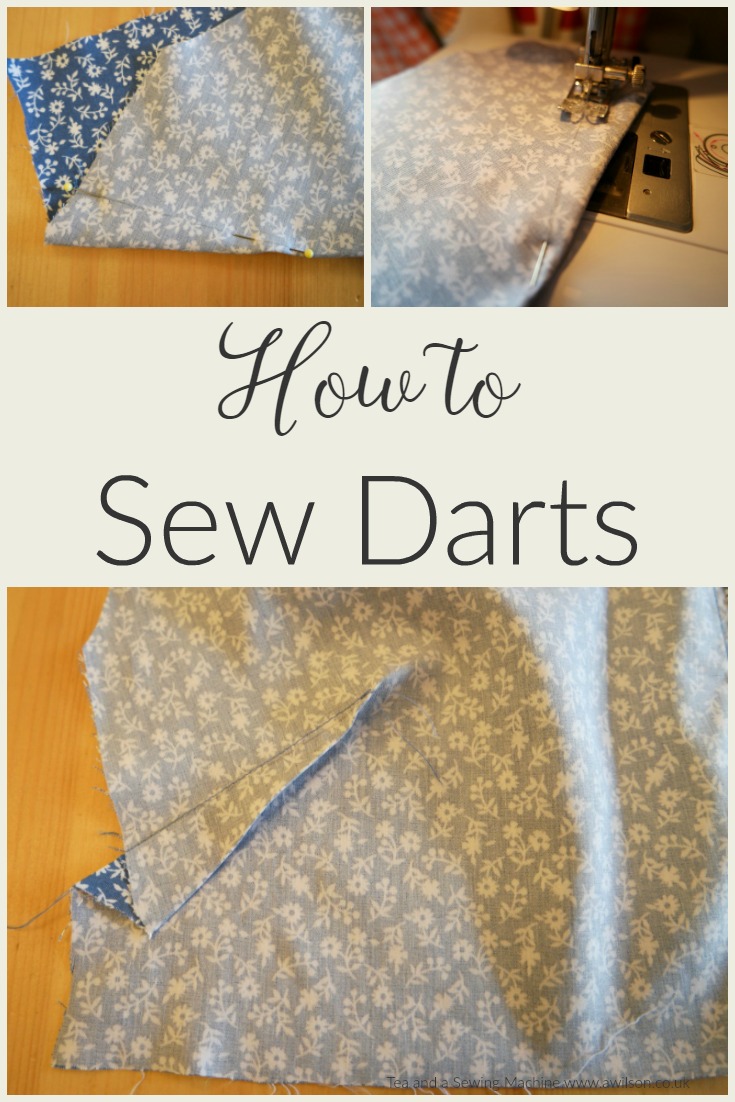
What is a Dart?
Never mind men of a certain age and a certain physique in the pub throwing sharp things at an impossibly small board!
In the context of sewing, a dart is a small, triangular shaped tuck usually found in tops, bodices and the tops of skirts.
Their purpose is to give the garment some shape. It enables you to turn a flat piece of fabric into a 3D thing that also allows for curves and that fact that women’s bodies are not cuboid.
When making clothes for yourself, darts are essential. Without them, there’s a good chance that the thing you are making will end up looking shapeless.
Where Do the Darts Go?
If you look at the clothes in your wardrobe, or if you look on a pattern, you will probably find that darts are used in several places.
The first place is usually at the side of the boob area. The dart starts in the side seam and usually moves diagonally upwards.
Depending on your dimensions, these darts will usually be 6 – 10 cm in length and about 4-5 cm wide at the side seams.
The second place is in the front of a bodice, from the waistline moving upwards and usually 8-10 cm either side of the centre. These tend to be thinner and longer.
Sometimes there will be darts on the back of the bodice too.
Occasionally you might find darts in the skirt. These will start in the waist and move downwards.
In dresses that don’t have a separate skirt and bodice, you might sometimes find double pointed darts. These are where 2 triangles are joined together to make a diamond shape. The widest part of the diamond will usually be in the waist area.
How Do I Sew Darts?
Once you’ve finished cutting out your fabric, sewing the darts is one of the first things you will need to do.
Transfer the dart from the pattern to the fabric. The easiest way to do this is to mark the point, then the legs, then join them up.
To mark the point make a hole in the pattern with a pin, wiggle it about a bit to make the hole bigger, then rub a piece of tailors’ chalk over the hole to leave a mark on the fabric.
Mark the open end of the dart (often referred to as the dart legs), with chalk or pins.
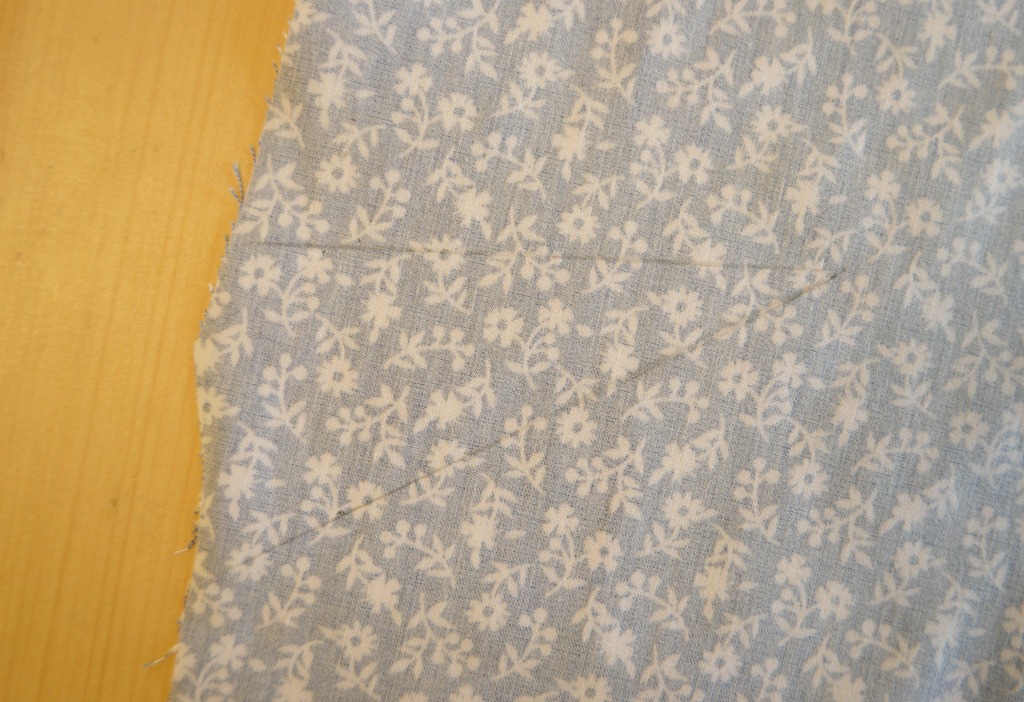
Join the legs to the point, with chalk again, or a vanishing ink fabric pen (affiliate link) or a pencil. I used a pencil.
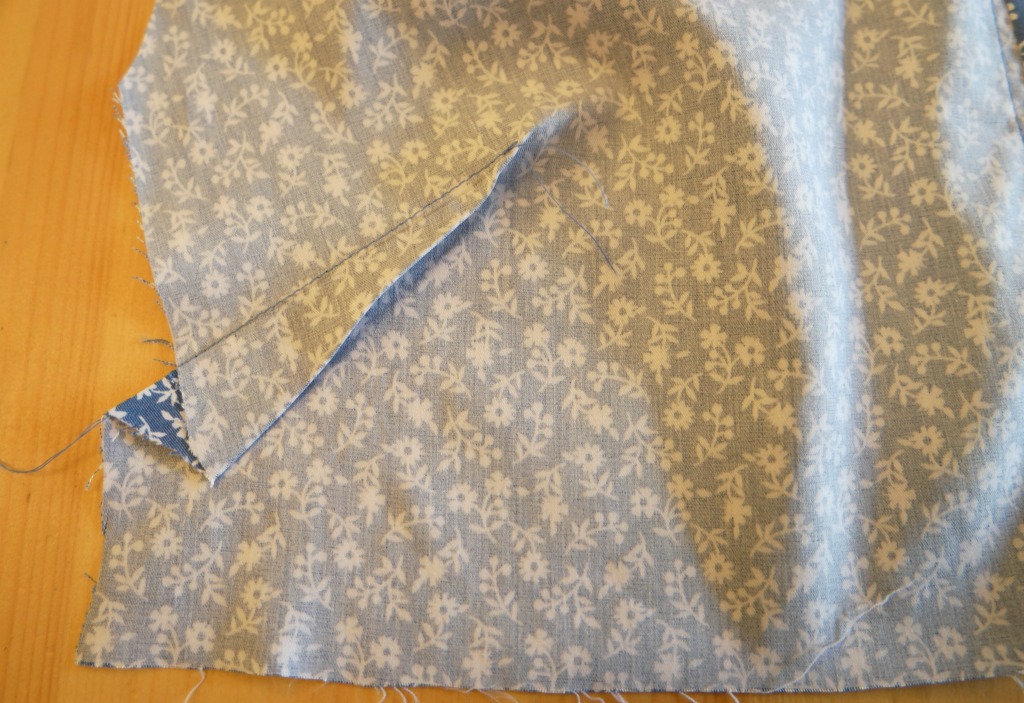
Fold the dart in half so that the legs are together and pin.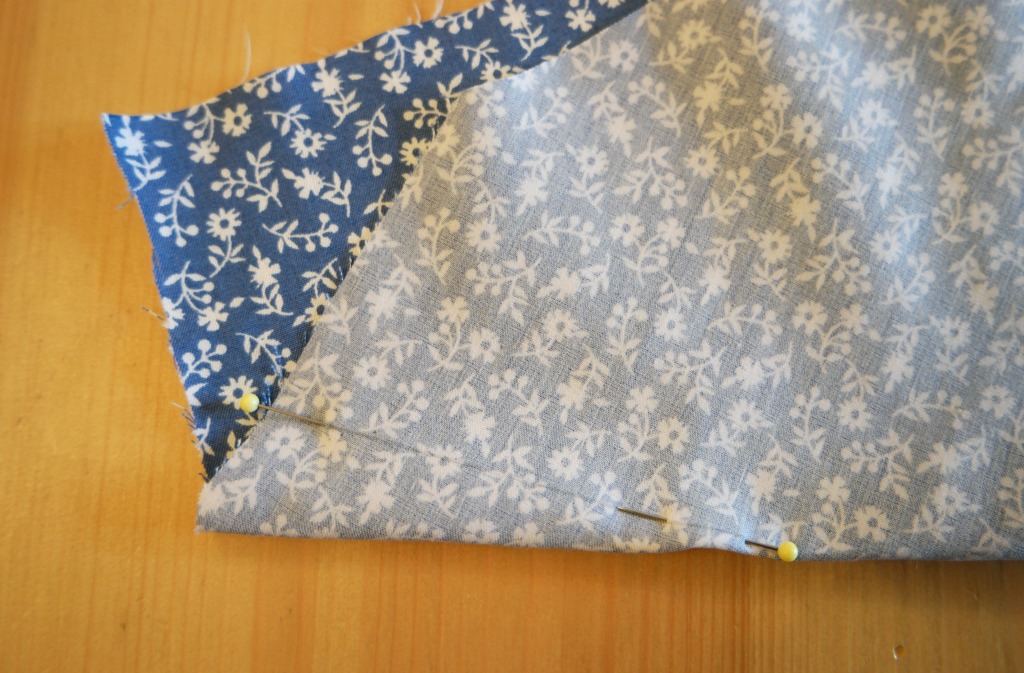
Starting at the open end of the dart, sew along the legs. 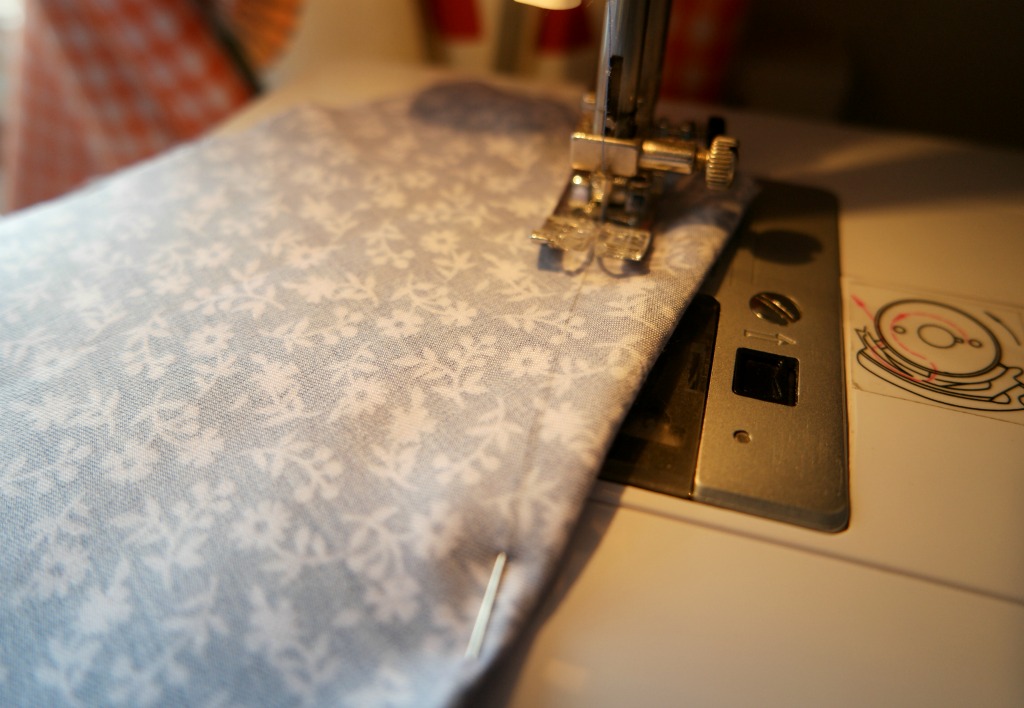 Don’t backstitch as it might cause puckering and bumpiness! At the point end, you might like to pull the threads to the wrong side instead, just don’t pull too tightly.
If the dart is moving in an up and down direction, press it towards the side seams.
To get them nice and neat, you might like to use a tailors’ ham. You can get them from Amazon here(affiliate link) or if you fancy a project, there’s a lovely tutorial from Sew Ready here, with a free pattern.
Some other tutorials you might like:
Cherry Blossom Dress Without a Pattern
Setting Yourself Up For Success: 15 Tips For Successful Sewing


Leave a Reply