How to Turn a Pillow Into a Box Cushion With Piping
One of the things I would love to have in my home is a reading nook.
Lots of us living in a small house means that at the moment, there isn’t space for the any of the lovely ones I’ve seen on Pinterest.
However, I’ve decided that I might be able to squeeze a reading nook into my smaller boys’ bedroom.
They have a wooden chest in one corner that is home to the Thomas the Tank Engine wooden railway. It’s sturdy enough for them to sit on and it’s already next to a bookcase!
All this little corner needs is a splash of paint on the chest to smarten it up a bit, some cushions and possibly a lamp. So Phase 1 of Project Reading Nook is making cushions for them to sit on!
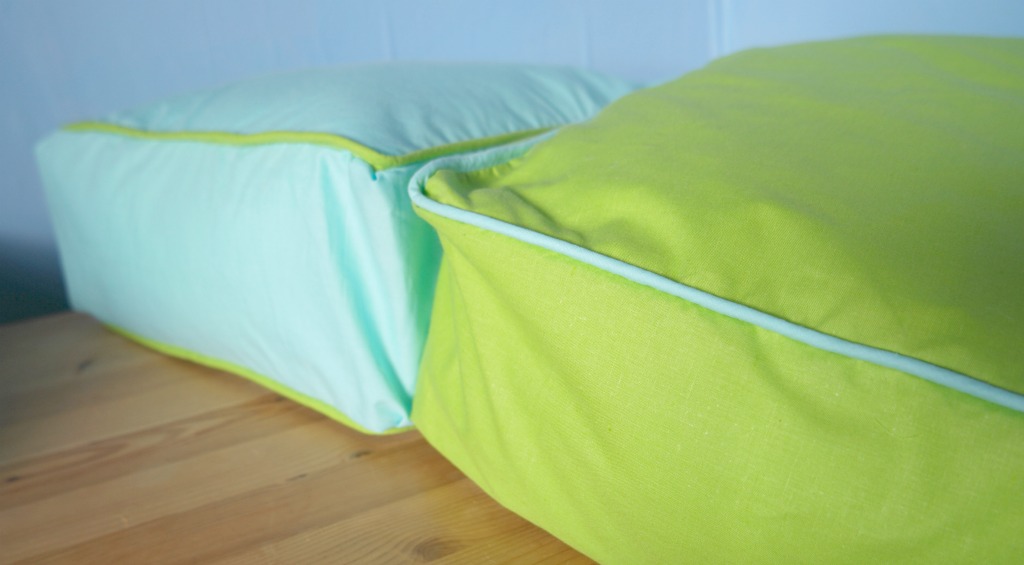
We recently bought some new pillows, but as the old ones still had some life left in them, I was reluctant to throw them out. So I decided to turn these old pillows into some new cushions for my boys’ reading nook.
I love a bit of piping on a cushion! If you’ve never made piping before, it’s quite easy and you can find a tutorial for it here.
I need to say at this point that Pam from Threading My Way made some beautiful cushions with contrast piping which I spotted on Facebook a couple of months ago. I have pinched her idea of making the piping in a contrasting colour! You can see her lovely cushions here.
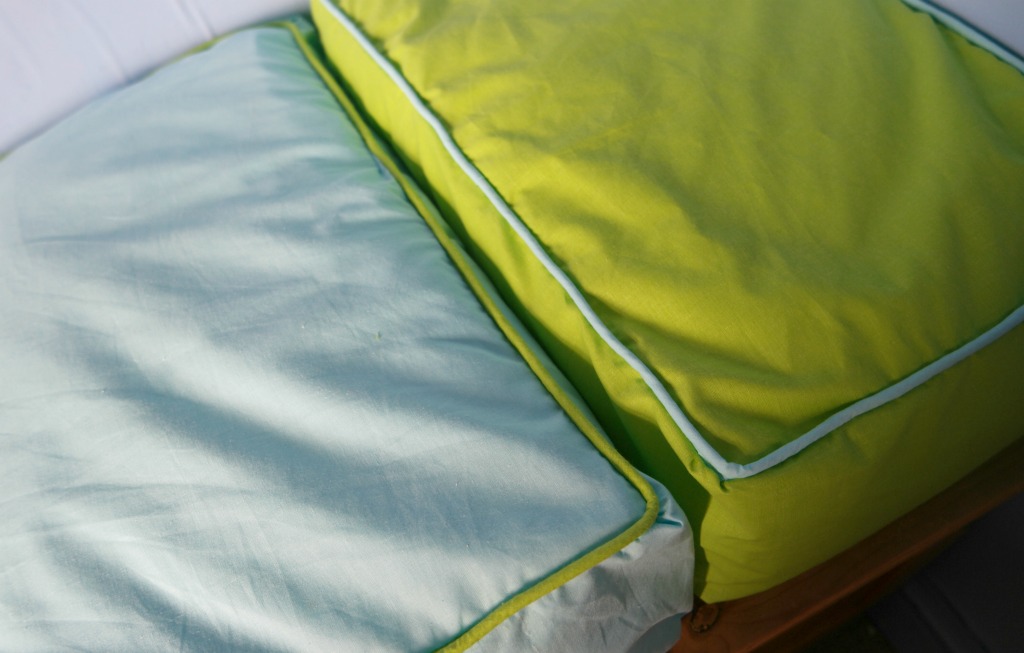
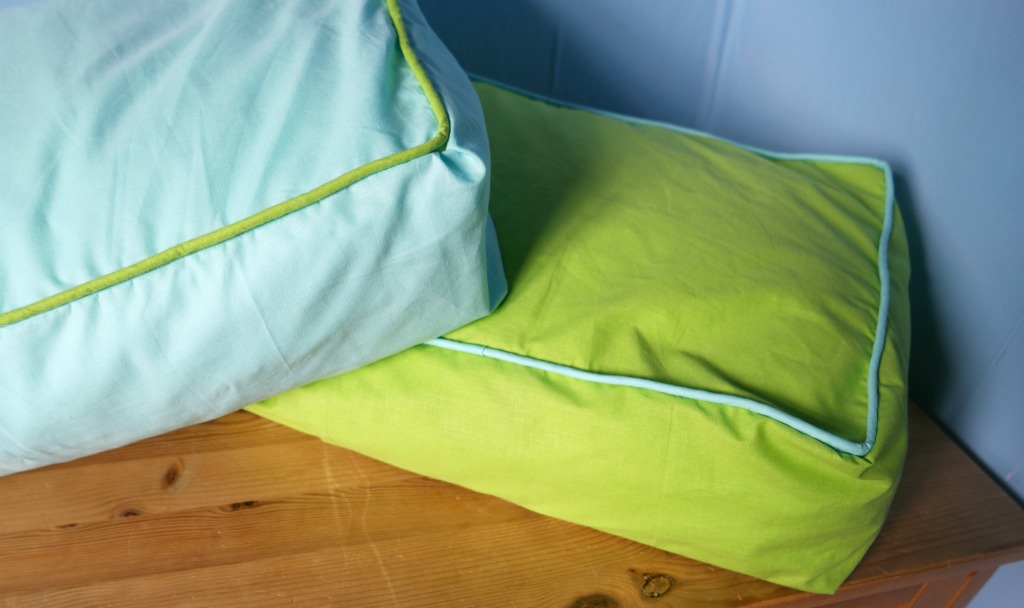
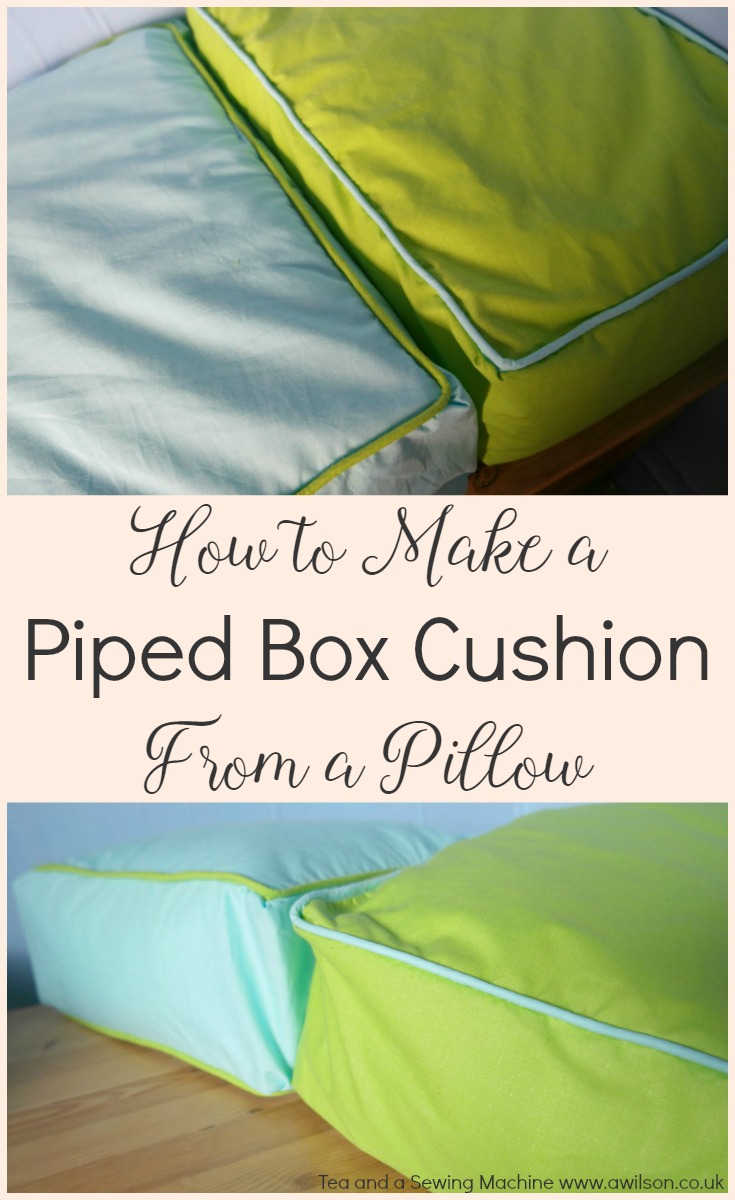
Here’s how to turn a pillow into a box cushion with piping!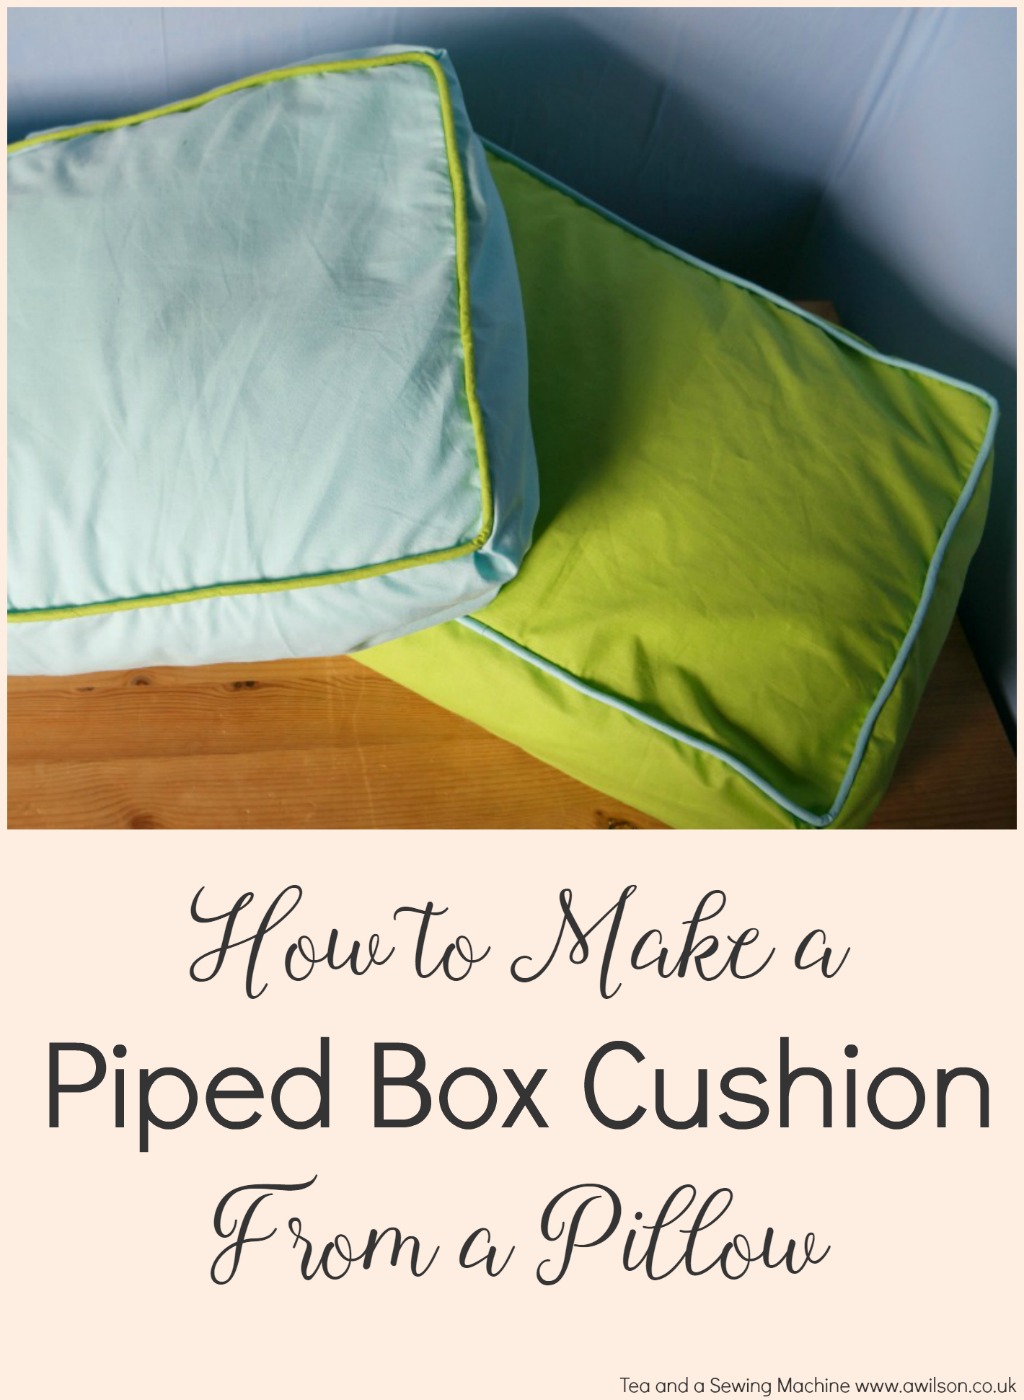
How to Turn a Pillow Into a Box Cushion With Piping
I have included some affiliate links.
You Will Need
A feather pillow for each cushion, 1 m cotton fabric per cushion (there’ll be some left over), fabric for bias strips if you’re making contrast piping and 5 m piping cord per cushion. A zip foot is useful as it will allow you to sew close to the cord.
Making the Pillow the Right Shape
If you’re using an old pillow, you might want to wash it first.
Despite what is says on the label, it is possible to wash a feather pillow. Put it on a hot wash, then into the tumble drier. It will take quite a lot of drying, but once the feathers are dry the pillow will become fluffy again. Two pillows in my tumble drier took about an hour and a half.
To make the pillow into a box shape, take one of the corners. Squash the corner so that the edges of the pillow are together. Measure up 7.5 cm from the corner and pin. Sew across the corner. 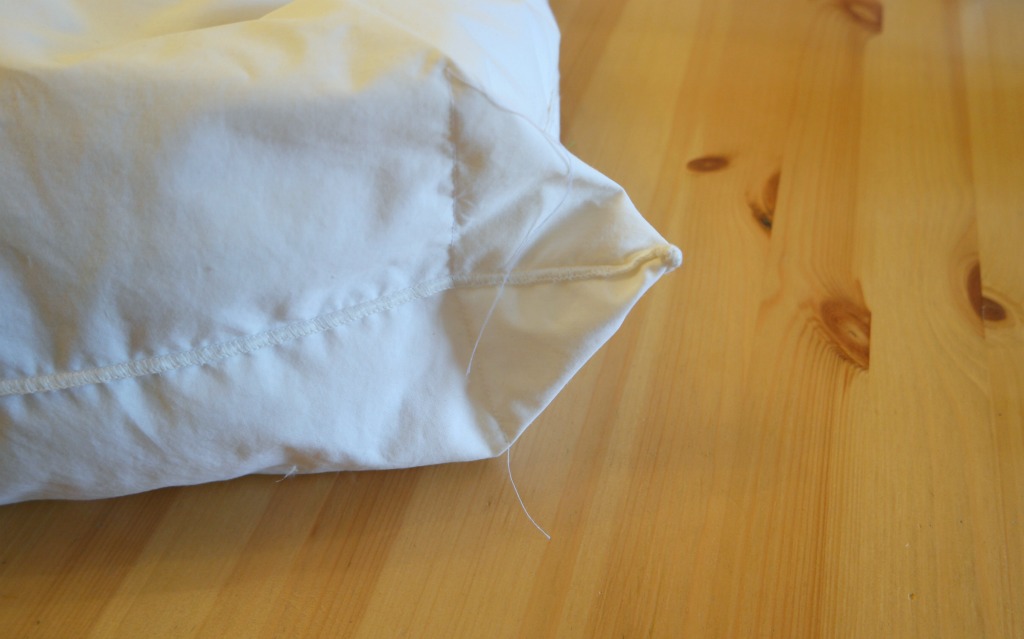 Cut the corner off. Repeat for the other corners.
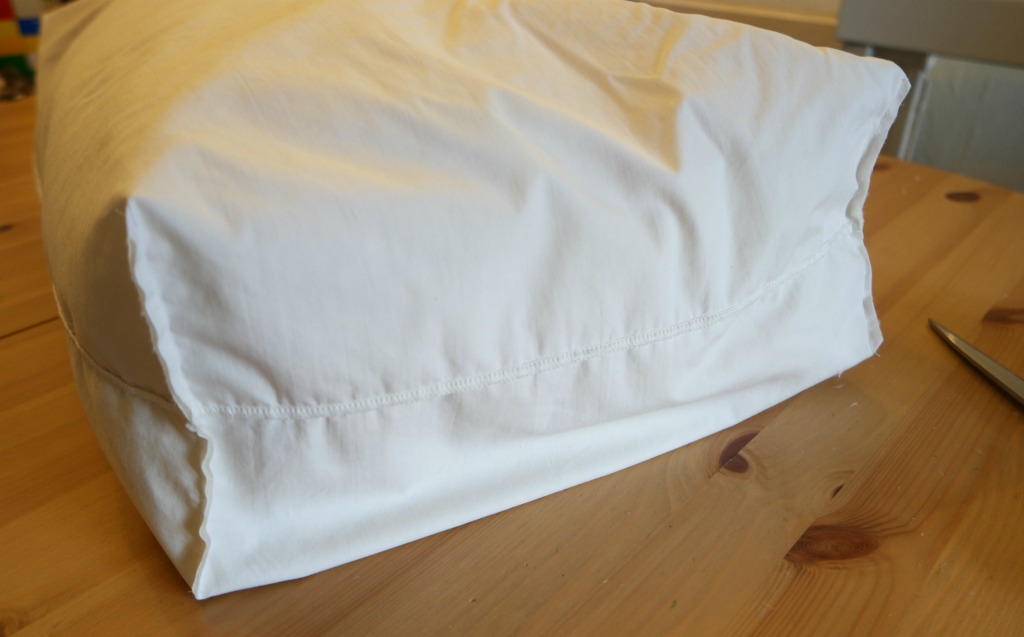
Your pillow is now a box shaped cushion pad!
Making the Piping
There’s a tutorial showing how to do this here. For a standard sized pillow, you will need about 5 m of piping.
Sewing the Cover
1. Cut 1 rectangle 34 cm x 54 cm and 2 squares 34 cm x 34 cm. For the side pieces, cut 2 rectangles 93 cm x 17 cm.
2. Take the 2 side pieces and sew them together along one of the short edges. Hem the other 2 short edges.
3. Hem both the square pieces along one edge. Arrange them so that the hemmed edges overlap and that they are the same size as the rectangular piece.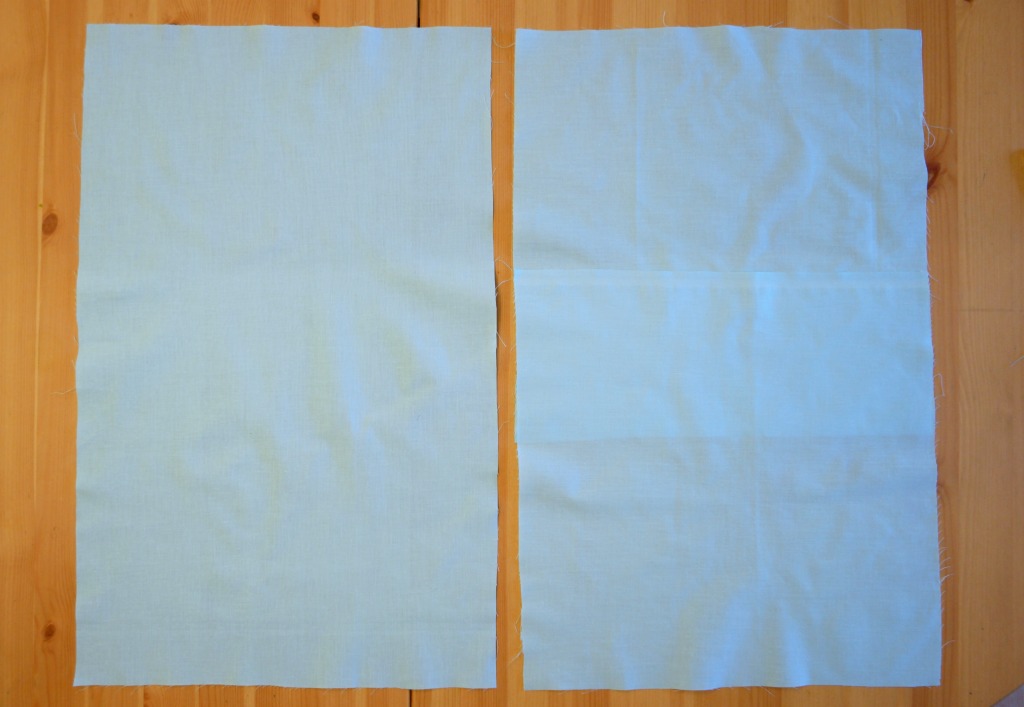
4. Pin the piping around the edge so that the cord is on the inside. 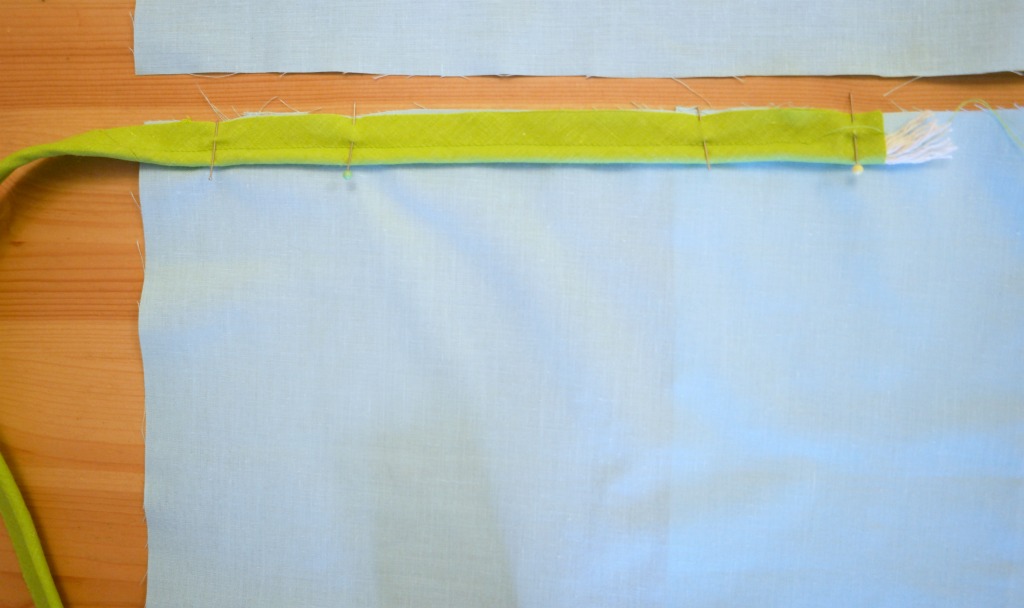 When you get to a corner, snip the bias strip so that it bends around the corner neatly.
 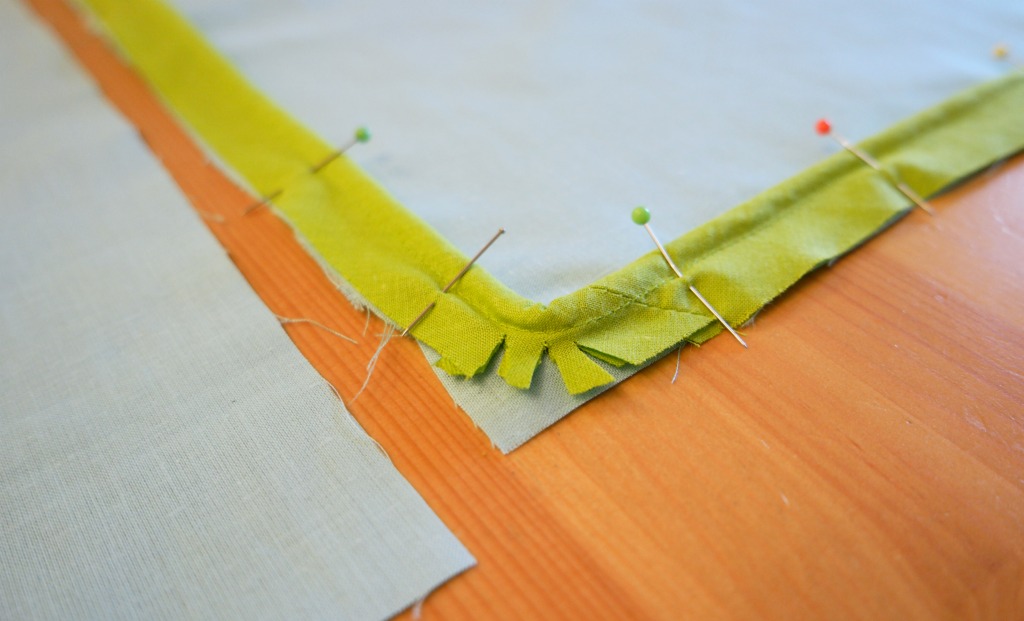 Once you have got all the round, cut the cord so that the ends meet.
 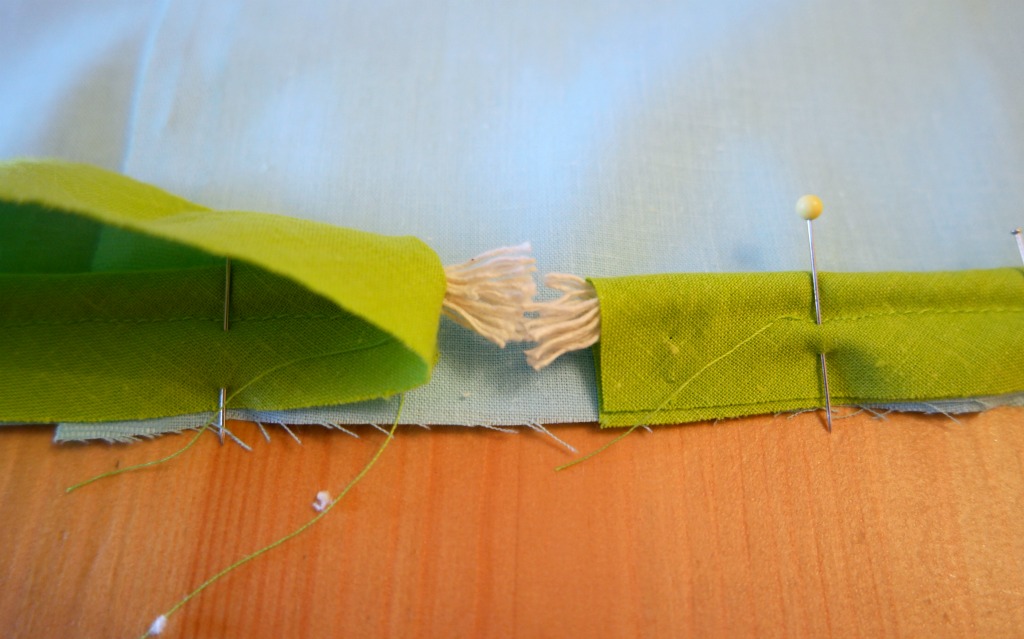 Fold over one end of the bias strip and slip it over the other end. Pin in place.
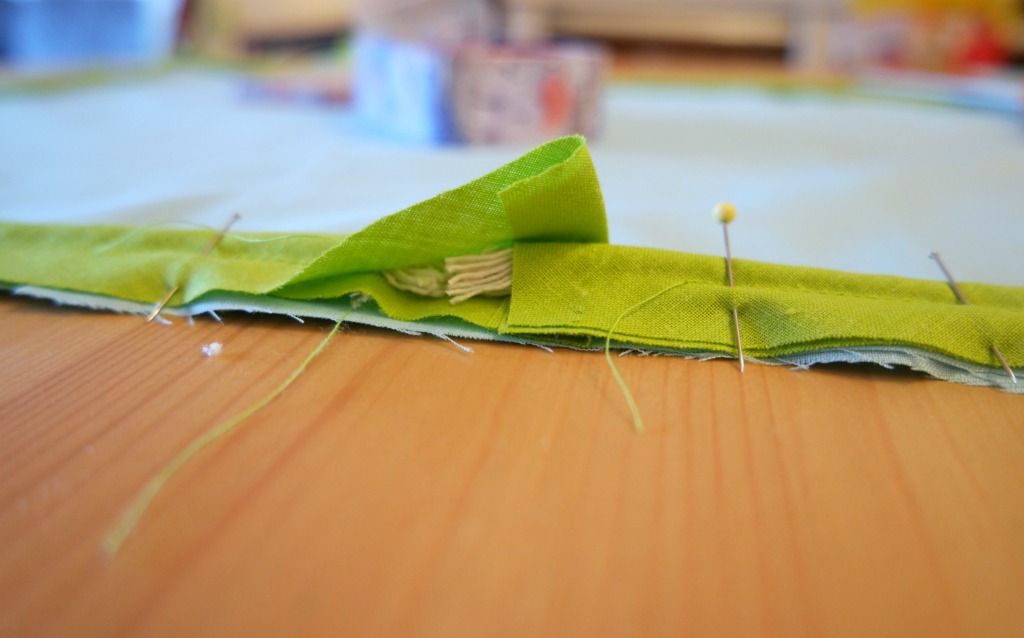
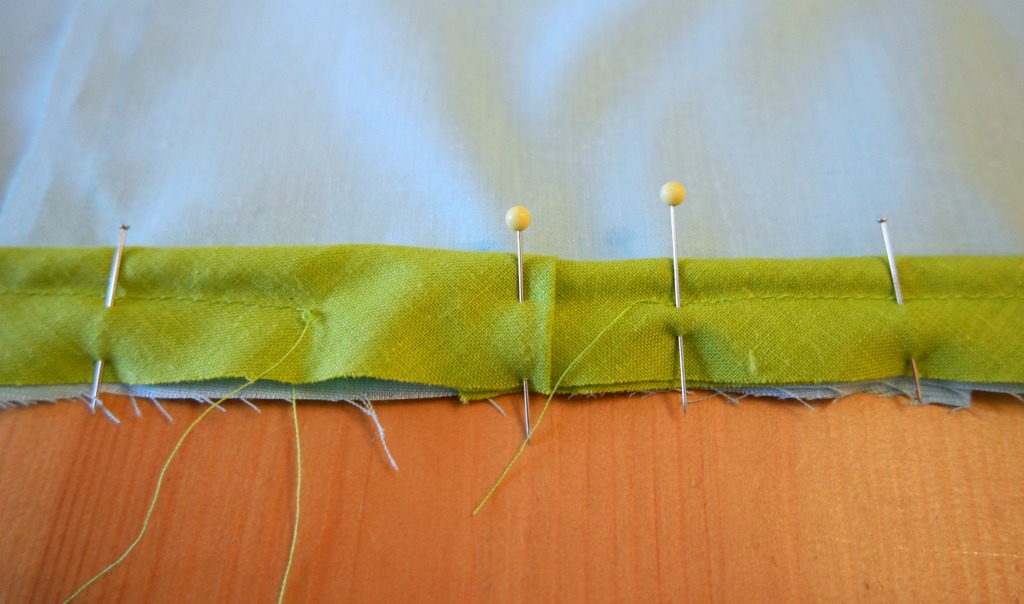
5. Sew the piping to the bottom section.
6. Pin, then sew the piping to the top section in the same way.
7. With the right sides together, pin the side piece all the way round the bottom section. When you get back to where you started, the ends will overlap. Sew the side to the bottom.
8. Sew the top piece onto the side in the same way.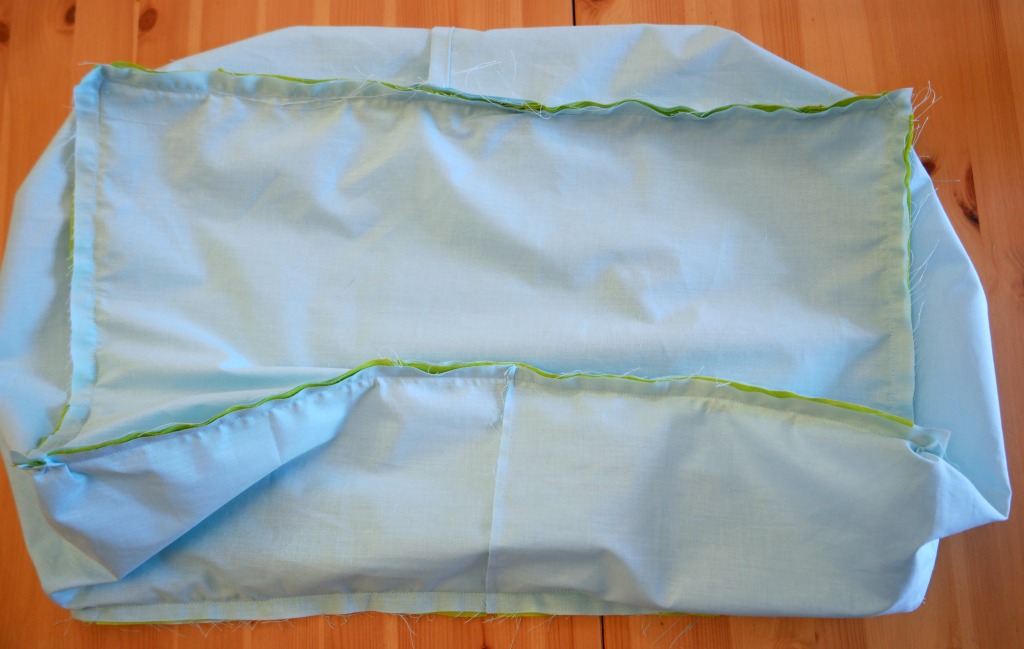
9. Trim the seams and turn the cushion cover the right way out. Stuff the cushion into the cover. You’ve successfully upcycled an old pillow into a box cushion with piping!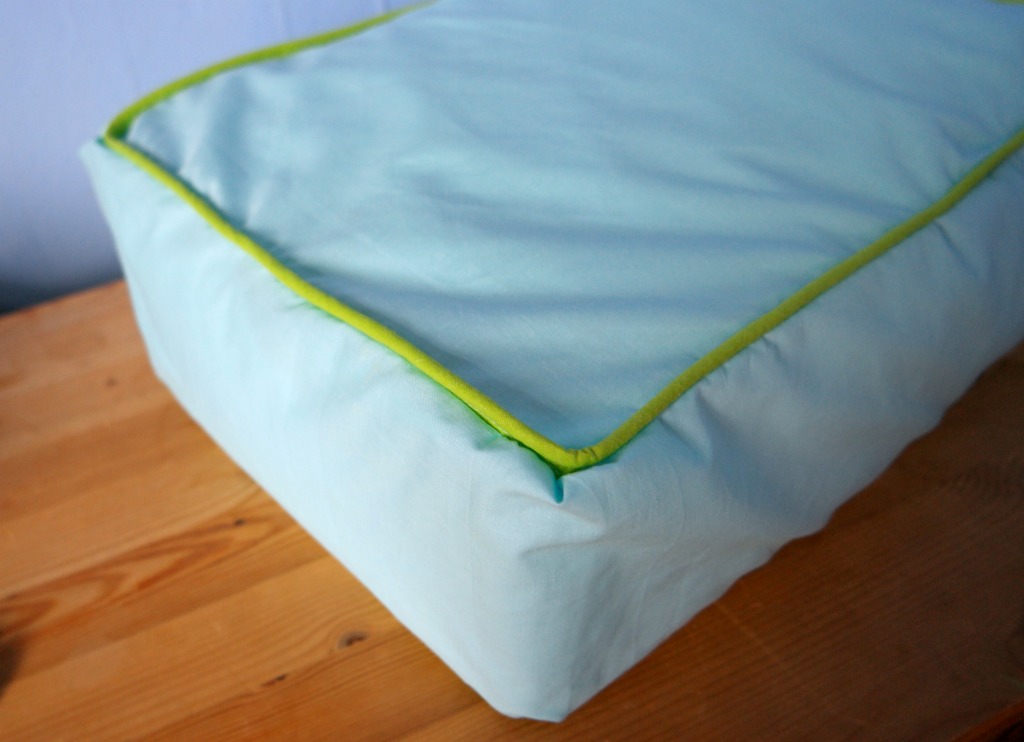
Tips
If your pillow is a bit flat, even after washing, just make your cover slightly smaller. That way, the feathers will be more squished up and the whole thing will look plumper.
If you don’t want to make your own bias strips, you could use bias binding instead.
If you are in a hurry, it’s possible to buy piping that can be sewn straight in.
Linking up here.


I’ve been looking to replace the cushions that were on the window bench and this solves all the problem!
Thank-you so much for the tutorial!
Melodie
They would be perfect for a window bench!
This is brilliant, If I could sew like you I’d have made these for the reading snug in our new holiday lodge. It’s a great idea, looks stylish and would have been perfect for what I wanted!
Thank you for sharing with me on #Trash2Treasure

Fiona Cambouropoulos recently posted…Win a Pop N Jump from Summer Infant UK
Thank you 🙂
I used to make reading nooks in classrooms simply by adding a bunch of cushions for the kids to sit on and lean on. Large and elaborate is not necessary. Piping takes cushions up a notch, doesn’t it. Yours look great, Anna. Thanks so much for the kind words and link back.

Pam @Threading My Way recently posted…Upcyle a Button Down Shirt into Useful Storage Bags
All you need is a cosy corner 🙂