How To Sew Piping
Piping is a fab way to give a professional looking finish to your sewing projects. But it’s also something that can be a little bit intimidating if you haven’t tried it before.
I felt intimidated by the idea of sewing piping until I tried it! But I decided in the end that I wanted the nice look that piping would give more than I was put off trying something new!
Adding piping to a cushion is a good place to start if you haven’t made it before. It’s not to fiddly just to add some to the edges, and you can use the nice thick stuff.
So I’m going to show you how to sew piping!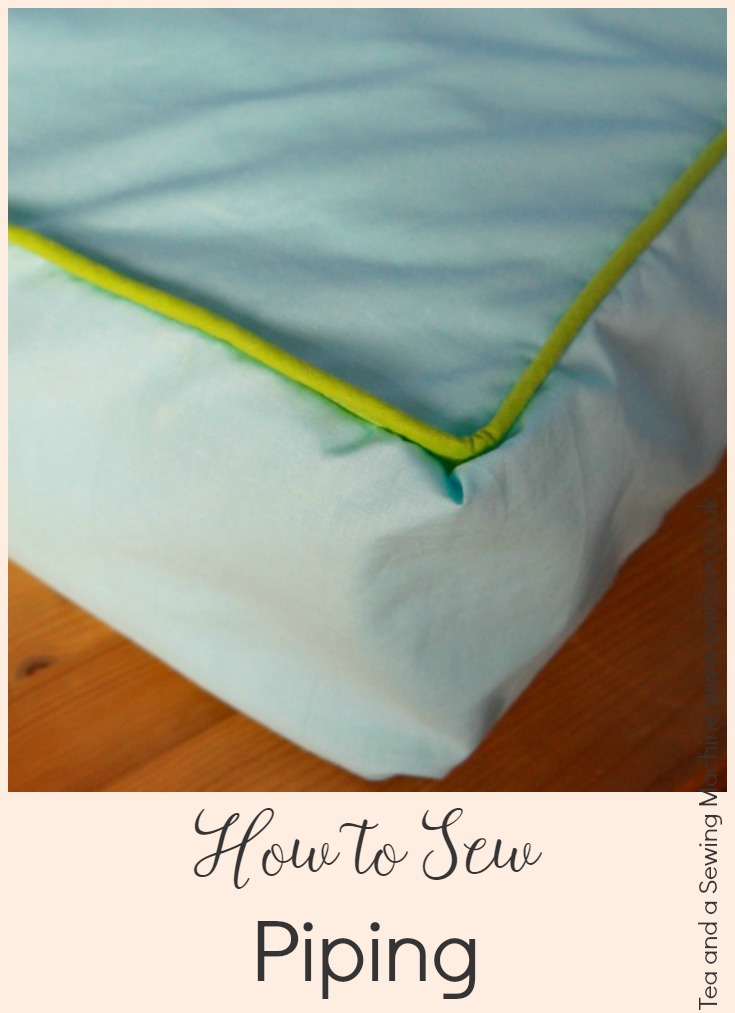
You don’t need anything special, just some fabric (or some bias binding if you don’t want to make your own strips) and some piping cord. A zip foot is useful, and if you have a rotary cutter
, you might find it quicker for cutting the strips (these are affiliate links).
How To Sew Piping
The first thing to do is to make the bias strips. Cutting the strips on the bias will allow the fabric to stretch a little bit, which is exactly what you will want it to do if your project has curves and corners!
If you don’t want to make your own strips, you could use bias binding instead. You’ll need to get the 25 mm kind, or wider if you can get it.
It’s easy enough to make your own strips though! Making bias binding can be fiddly, but cutting the strips isn’t the fiddly part. You can make them wider than bias binding, which makes sewing the piping easier, and they will match your project perfectly.
Making the Bias Strips
The width of the bias strips will depend on the thickness of the piping cord you are using. They need to be wide enough to cover the piping cord when folded in half, plus a bit extra so that it can be sewn into the seam allowance. I used thick cord for my project, so I needed my strips to be wide.
It’s easier to make your strips wider than you need and then cut them down, than to find that they are not wide enough!
1. Take a large square of fabric and fold in half on the diagonal. Pin.
2. Measure 2 cm away from the fold, all the way along. Draw a line with a pencil or a fabric pen.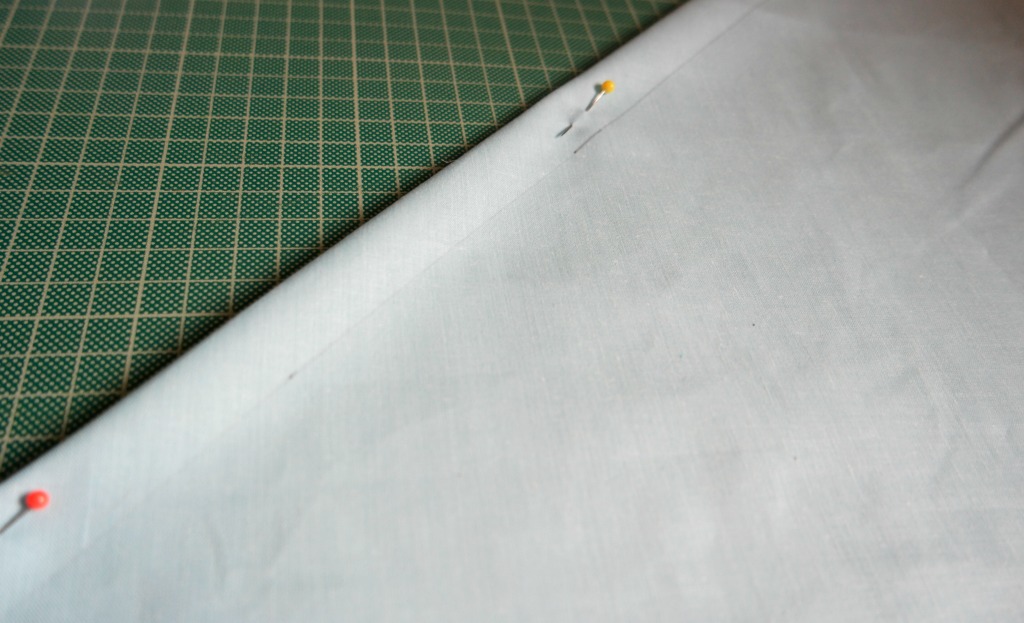
3. From the line you have just drawn, measure 4 cm away from it all the way along. Draw another line.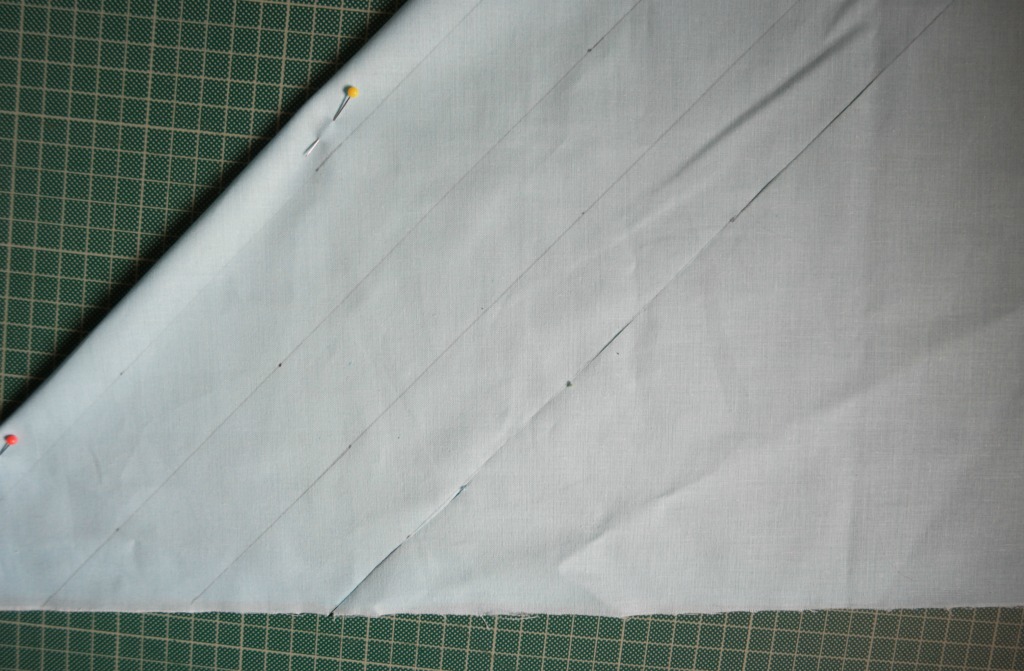
If you need more bias strips, draw more lines 4 cm away from the last one.
4. Cut along the lines. This is easiest with a rotary cutter (affiliate link).
5. Join the strips together by pinning them at right angles and sewing across from corner to corner. Cut the corner off.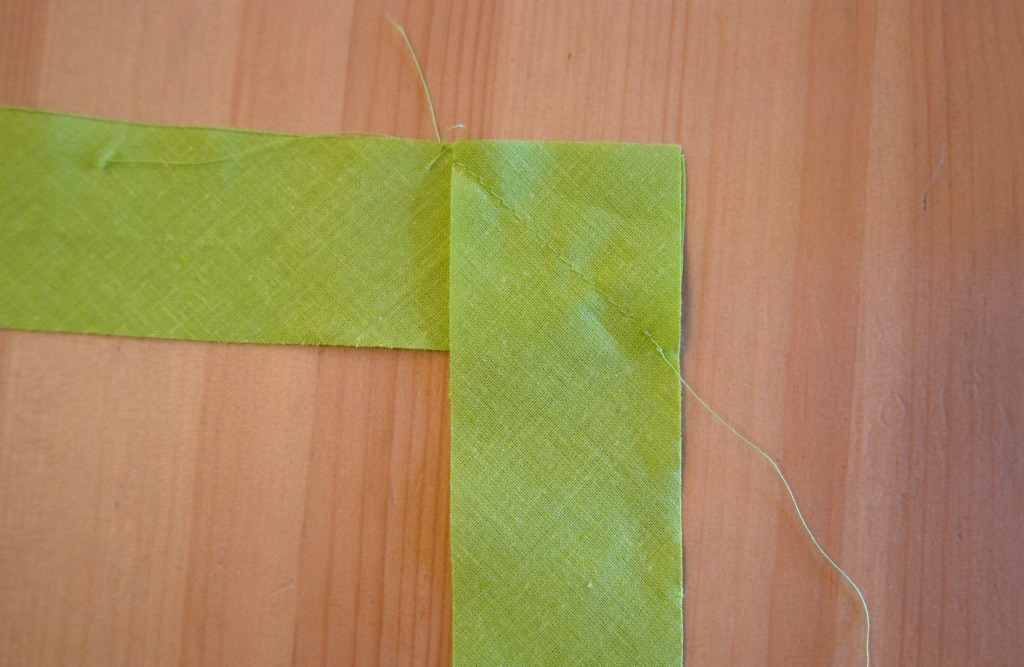
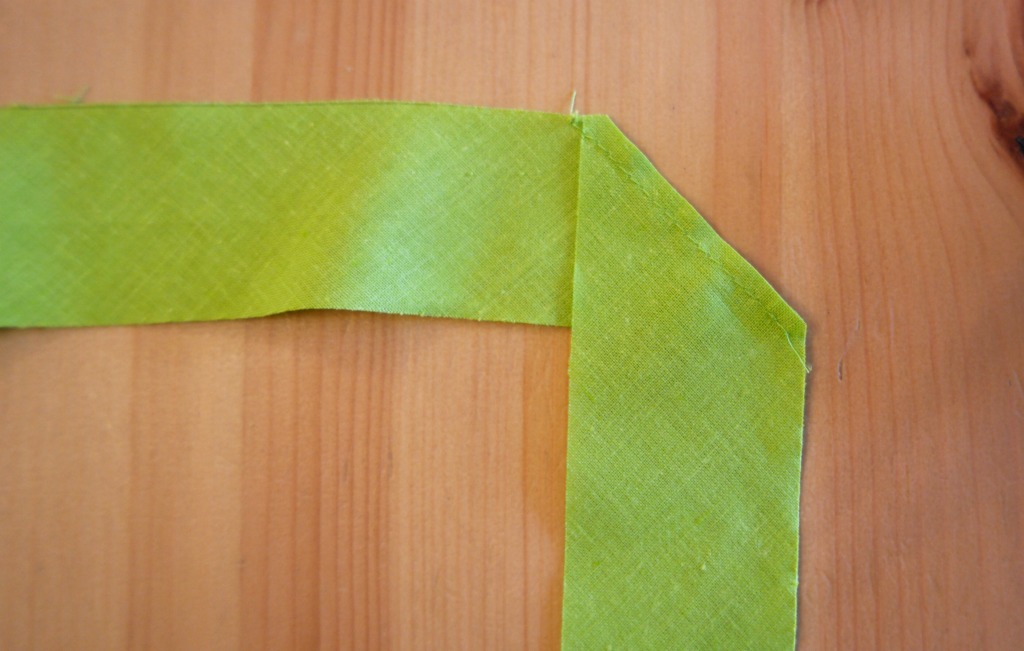
Now that your bias strips are ready, you can sew in the piping cord!
Making the Piping
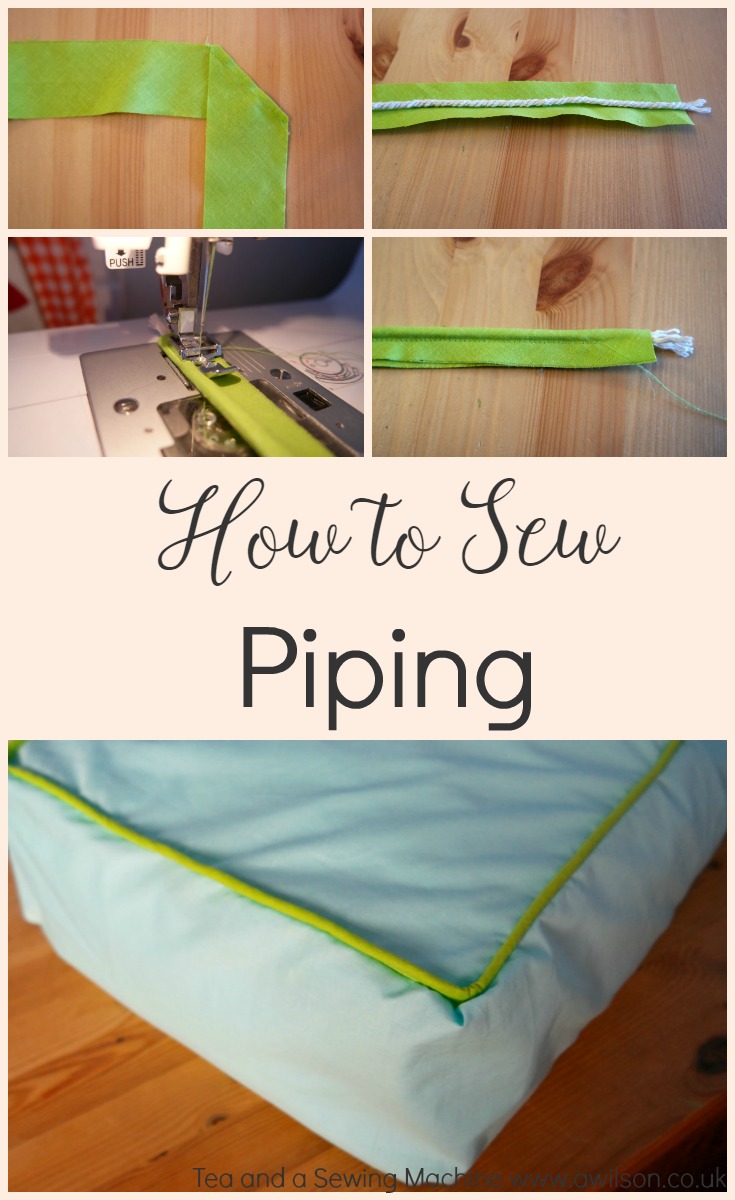
Fold the bias strip in half lengthways and press with your finger. You don’t need a proper crease here, it’s just to get the cord in the middle.
Pop the cord inside the bias strip so that the cord is protruding beyond the end of the strip.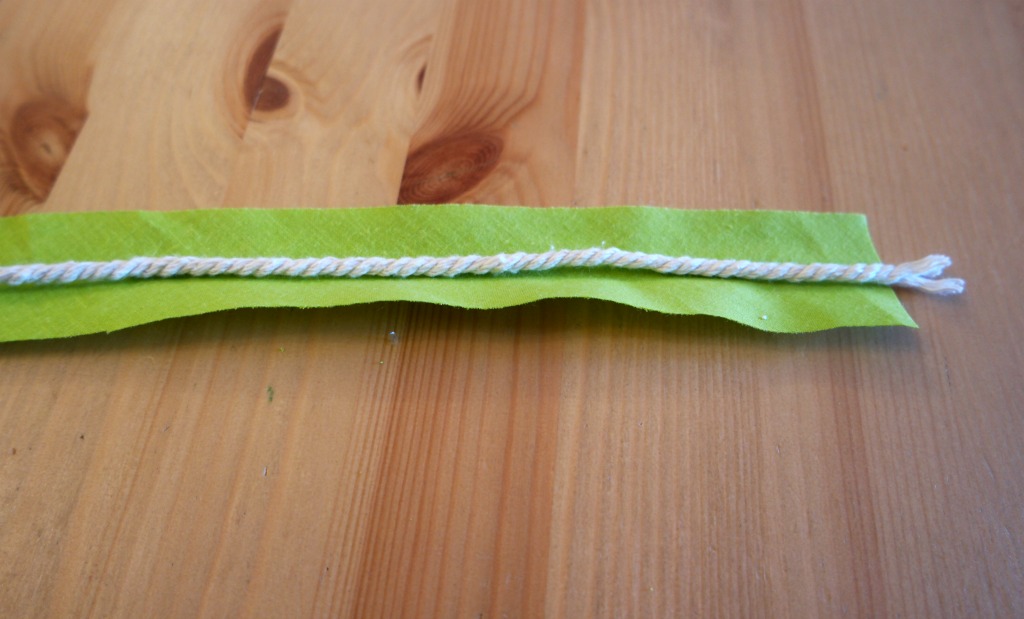
Sew along the folded bias strip close to the cord so that the cord is enclosed inside the bias strip. If you have a zip foot, using it will allow you to get closer to the piping cod than an ordinary foot will.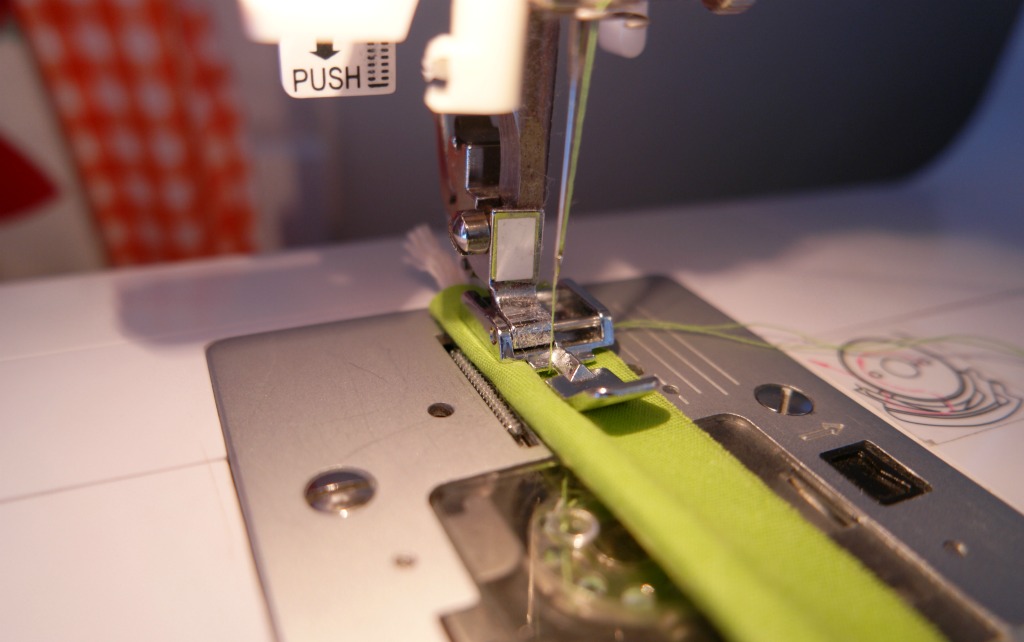
Leave a couple of cm free at the ends. You’ll need to be able to fold one end over the other when attaching the piping to your project.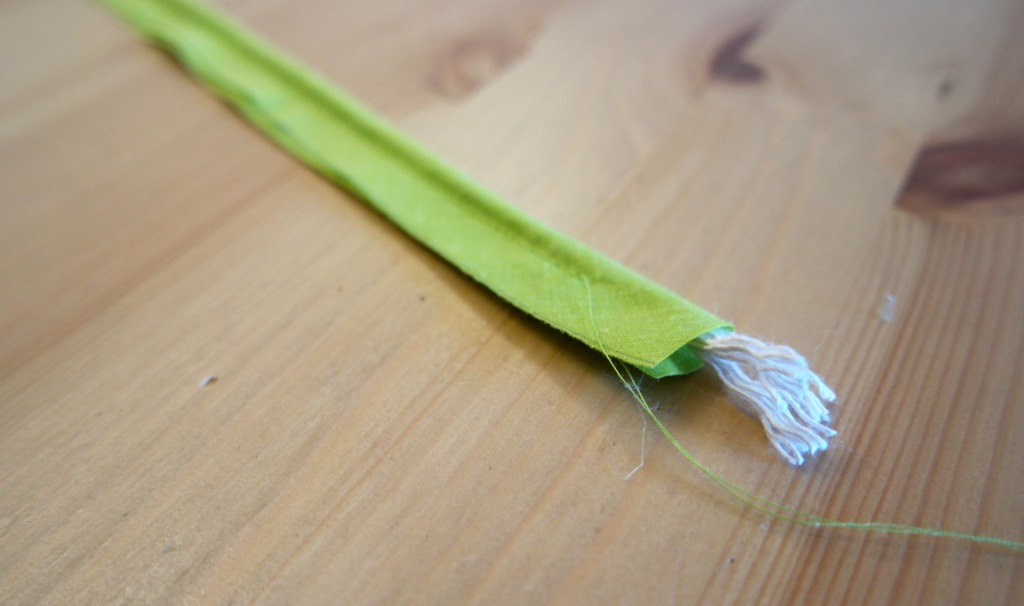
Now you know how to sew piping, you need a project! Here’s a tutorial for a piped box cushion.


That looks great! I just got myself a sewing machine and my first project is to sew covers for my throw pillows. I really want to add pipings on them which is how I stumbled on your post. Thanks for sharing your tips! 🙂
You’re welcome! Cushions are a good place to start 🙂