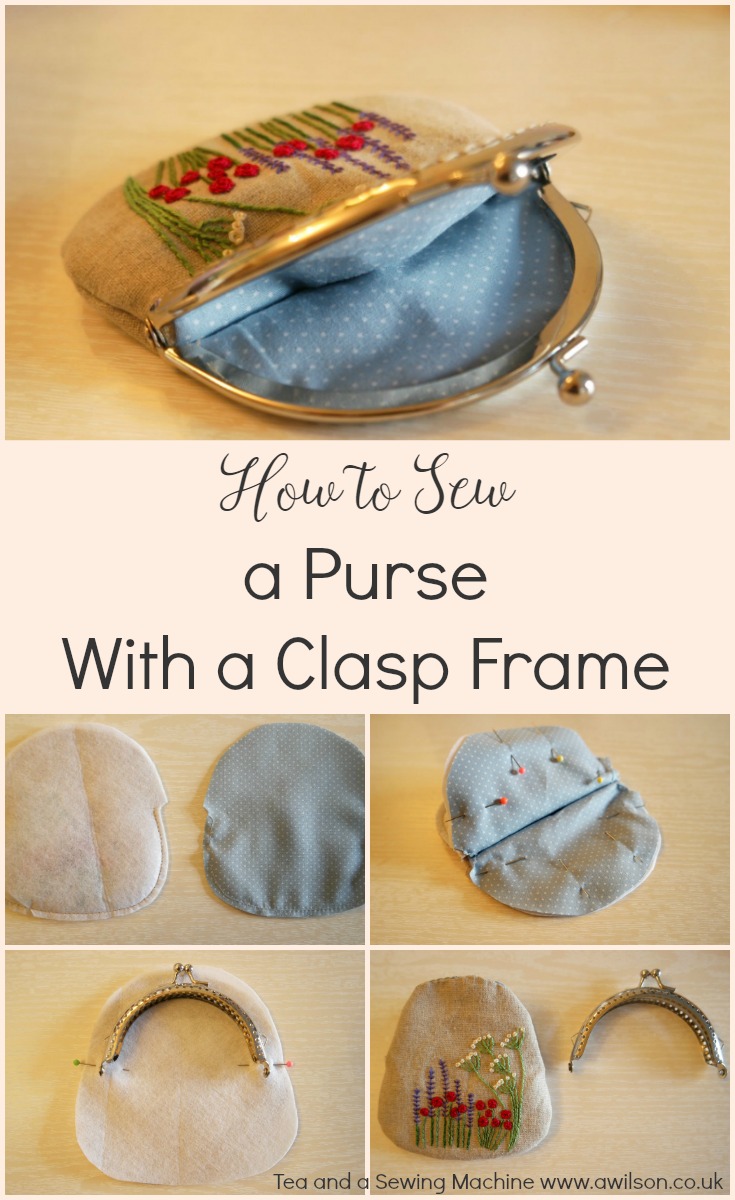
How to Sew a Purse With a Clasp Frame
Over the last few weeks I’ve been working on a piece of embroidery, and I needed a quick and easy project where I could use it.
Having the attention span of a goldfish means that longer projects tend not to get finished. A little purse with a clasp frame was just the thing as they are easy and quick to make, and it would show off the embroidery perfectly!
The instructions below show how to do the embroidery, then how to make the purse, including drafting the pattern.
There’s a separate tutorial showing how to sew in the frame, and I’ve included a link once we get to that stage.
If you want to make the little purse without the embroidery, you can just skip the embroidery part!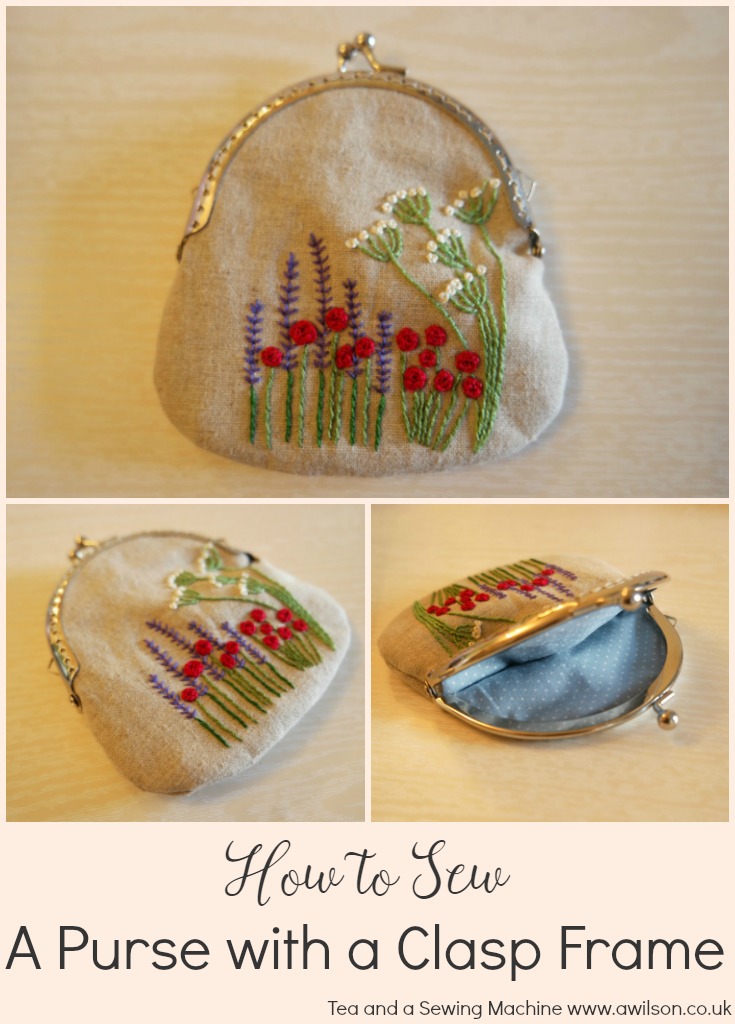
How to Sew a Purse With a Clasp Frame
You Will Need
Fabric for outer and lining, interfacing, a small purse clasp frame (affiliate link), embroidery thread and needle, an embroidery hoop (optional), usual sewing supplies.
Embroidering the Purse Front
As it’s a small thing, it’s probably easiest to do the embroidery first before cutting out. That way you’ll have something to hold onto, and it will be big enough for your embroidery hoop if you are using one.
If you want to use my design, you can download it for free here.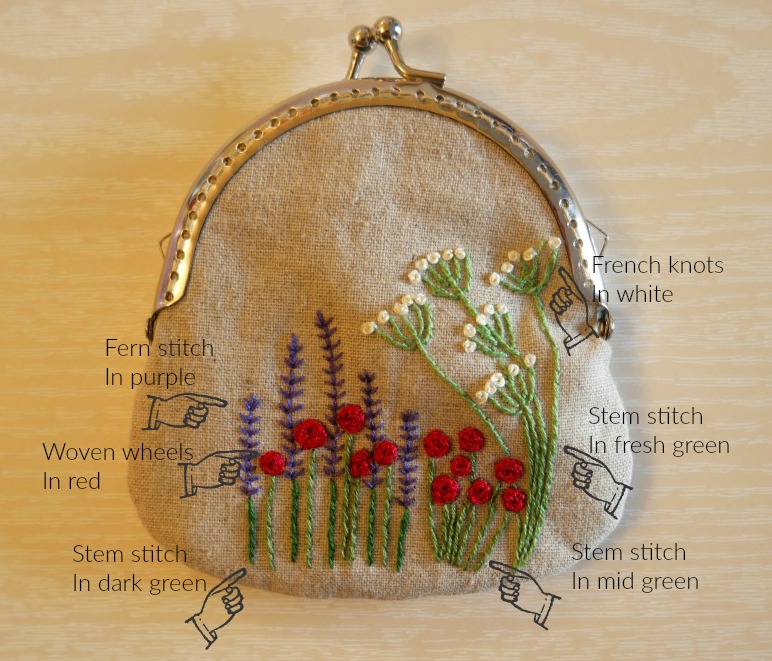
The stitches I have used are lazy daisy stitch, woven wheel stitch, stem stitch, fern stitch and French knots. If you are unsure of how to sew these stitches, each link will take you to a tutorial for that stitch. If you’ve never tried them don’t be put off! Just have a practice first on a scrap bit of fabric.
Drafting the Pattern
Your purse will need to be the right size and shape for your purse frame. The easiest way to ensure this is to make your own pattern.
1. Take your clasp frame, a piece of paper and a pencil.
2. Draw around the top of the frame. Mark where the top of the hinges are.
3. For the rest of the purse, you can make it whatever shape you like! To check that both sides are the same, draw one half, then fold it in half and trace it onto the other half.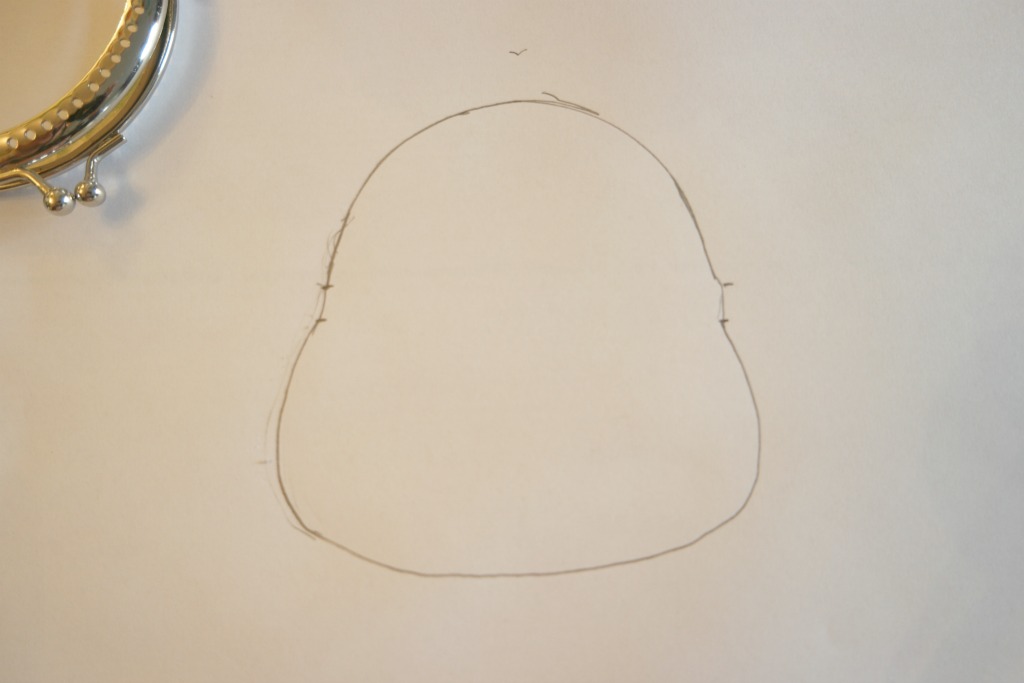
If you are embroidering it first, you will need to make sure that your purse is big enough to accommodate the embroidery, including a 1 cm seam allowance.
4. Draw around your purse shape, this time adding an extra cm. This is your pattern piece!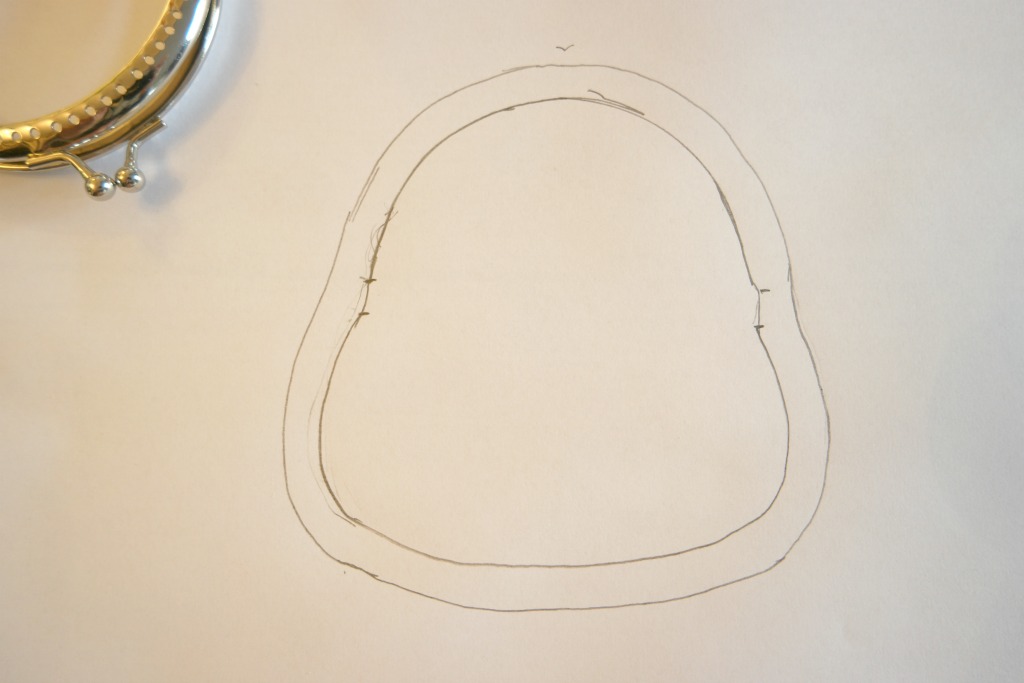
Cutting Out
Using your purse shape, cut 2 pieces from the outer fabric, including the embroidery, 2 pieces from the lining and 2 pieces from interfacing.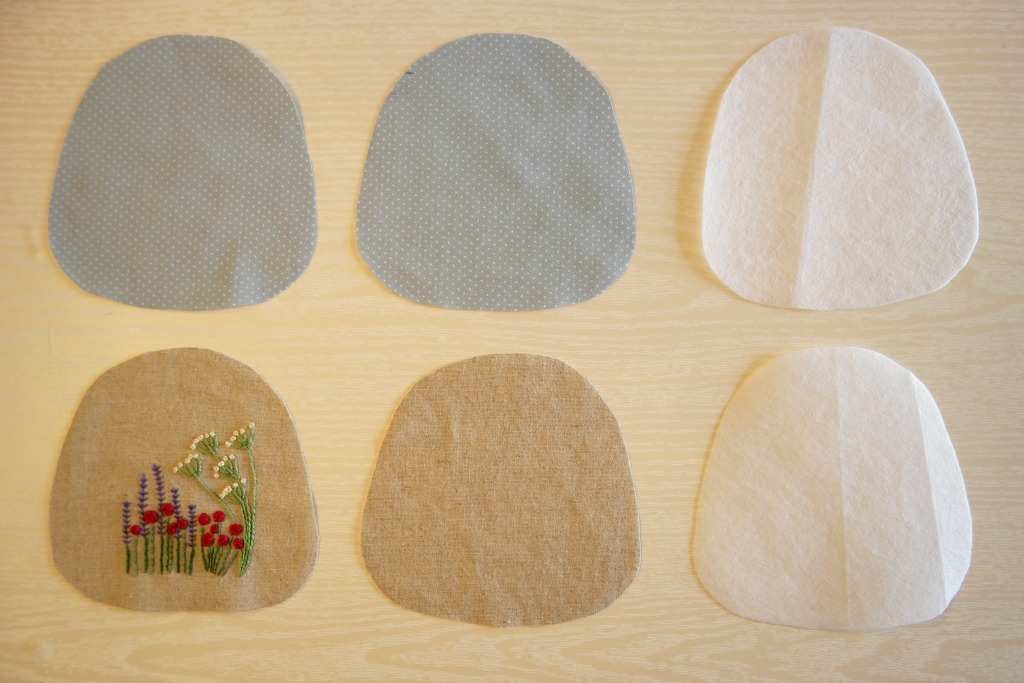
Sewing Up
1. Place one of the purse pieces on top of an interfacing piece with the right side up. Take the other outer piece and place that on top of the outer piece so that the right sides are together. Place the other piece of interfacing on top.
2. Take the clasp frame and line the top of the bobbles up with the top edge of the purse. Check that it is centred and that the distance all the way round the top between the clasp and the purse pieces is roughly the same.
3. Using pins, mark where the top of the hinges are on the purse pieces.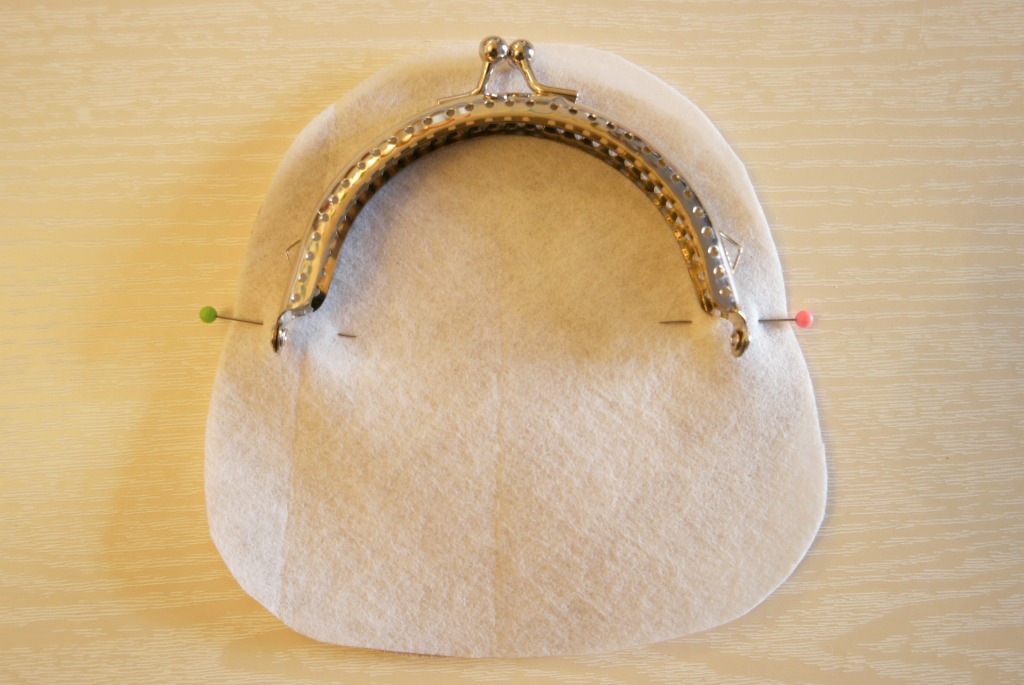
4. Sew the bottom of the purse outer between the pins. Repeat for the lining.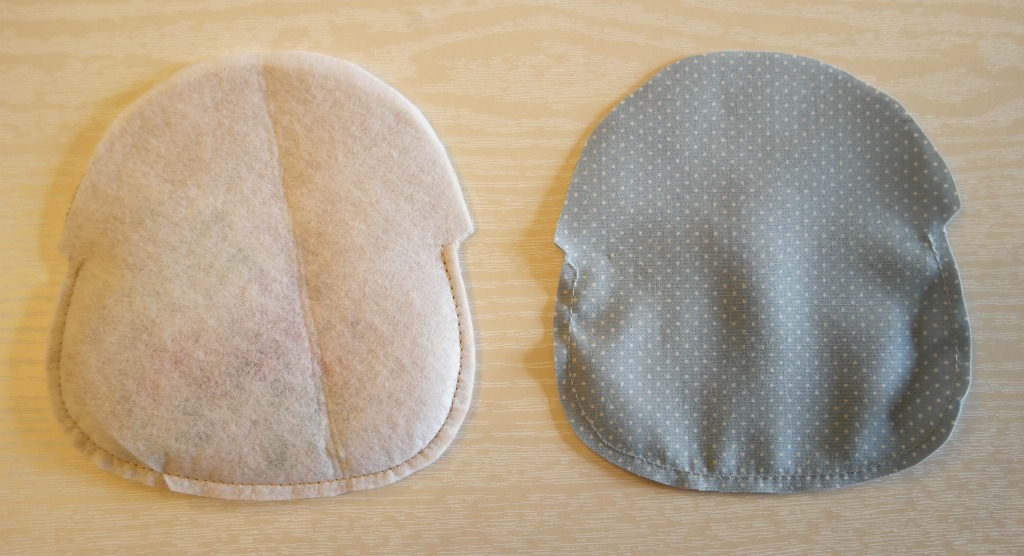
5. Pop the purse lining inside the outer so that the right sides are together. Pin the lining to the outer. Leaving an opening on one side, sew the lining to the outer.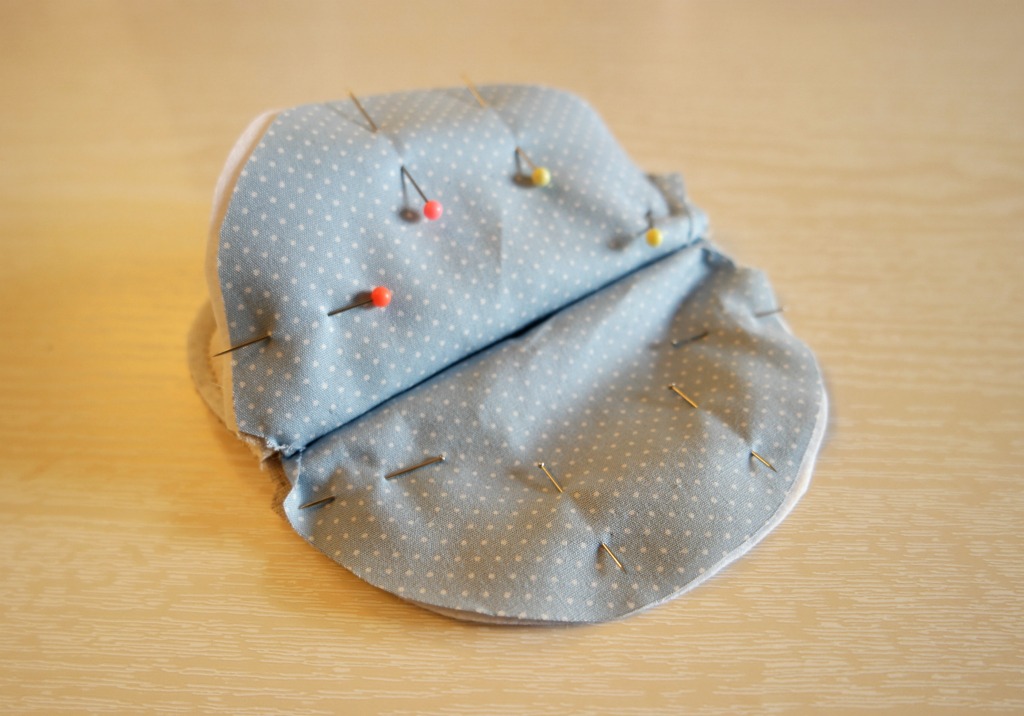
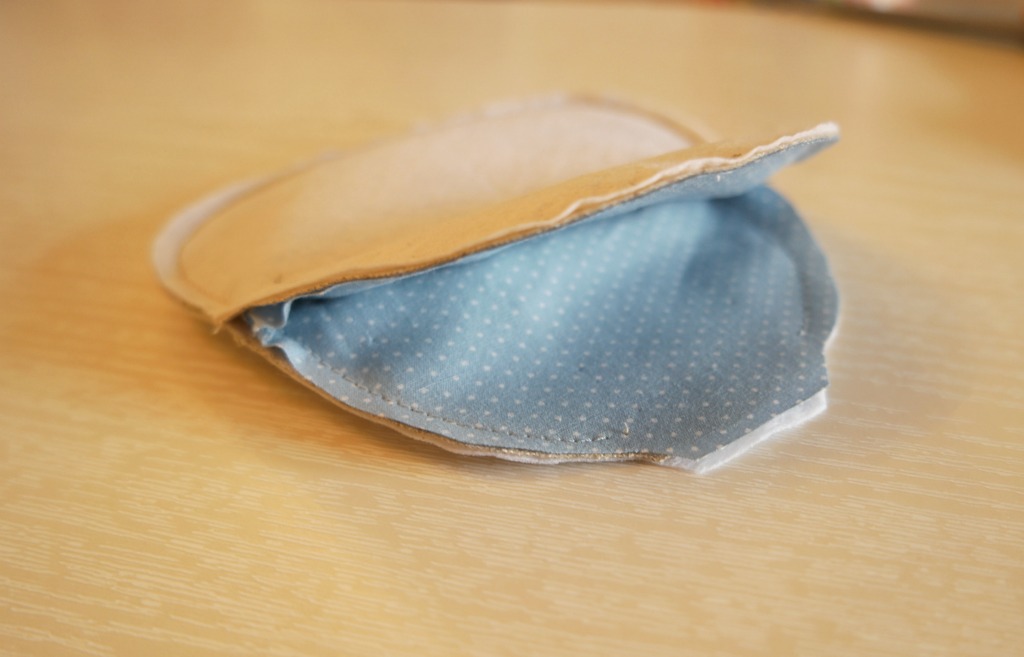
6. Turn the purse the right way out. Slip stitch the opening.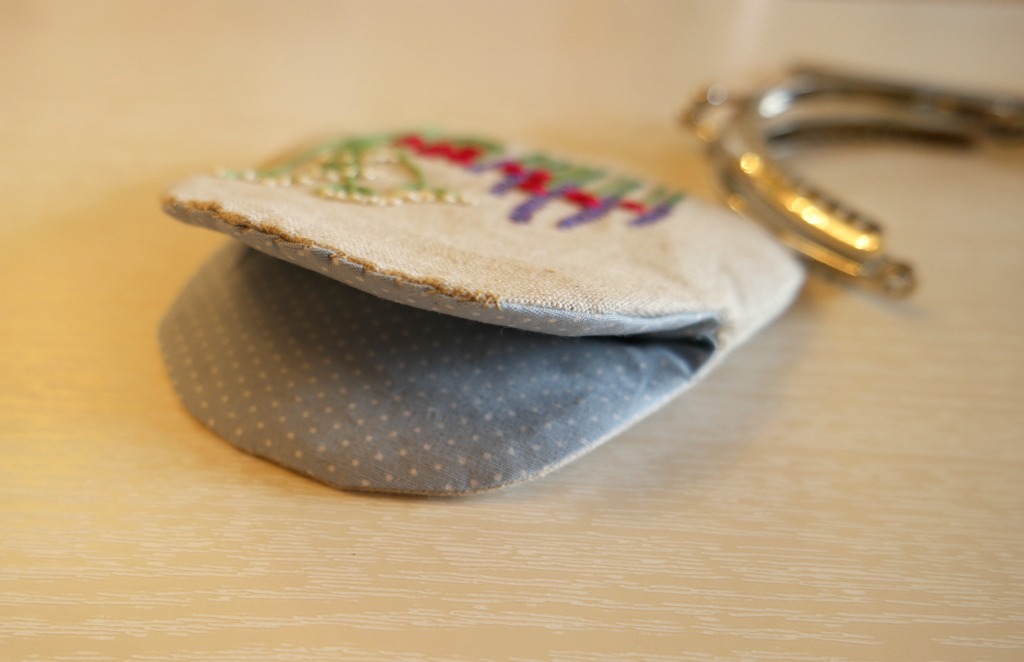
To attach the purse frame, you will need to find the centre of the top edge of your purse and the centre hole on the purse frame. Starting at the centre, sew the purse frame to the purse. When you get to the hinge, go back to the centre and sew the other side. Repeat for the other half of the purse frame. There’s a detailed tutorial showing how to do this here.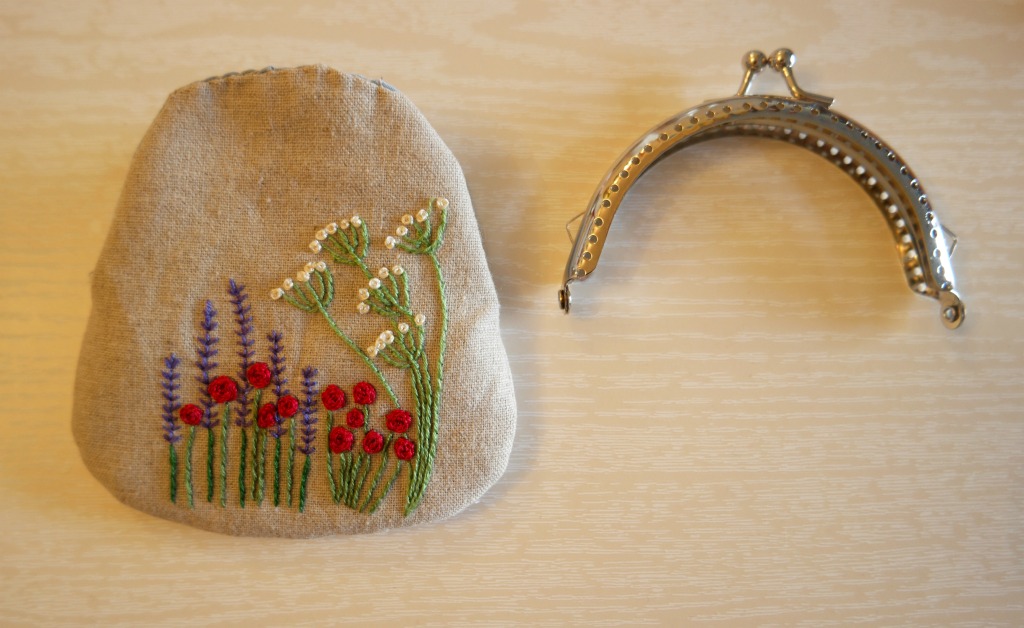
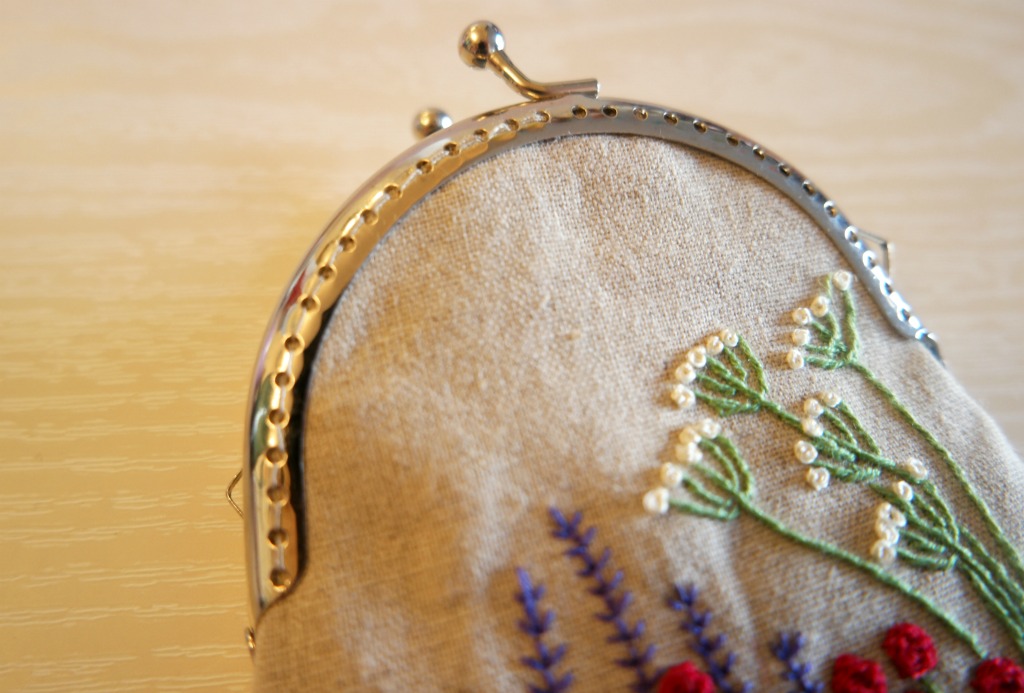
I have some kits for this purse for sale on Etsy. They include everything you need, with the same fabric that I used and the embroidery design already printed onto the fabric. If you would like to take a look, they are here.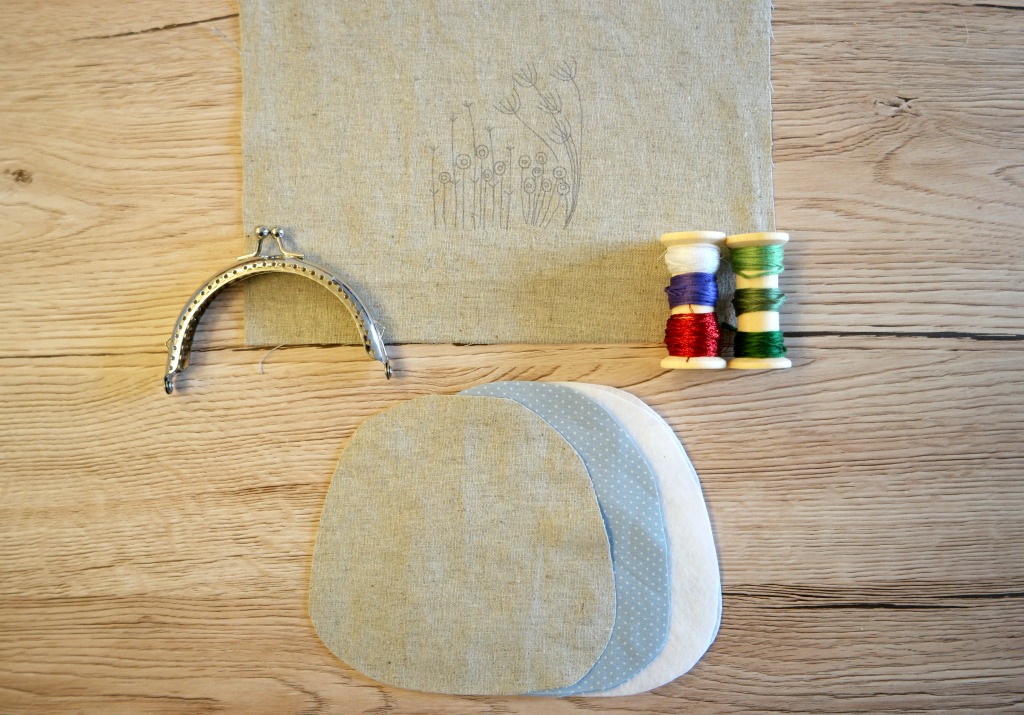
If you liked this tutorial showing how to sew a purse with a clasp frame, you might also like this tutorial for an embroidered daisy pouch.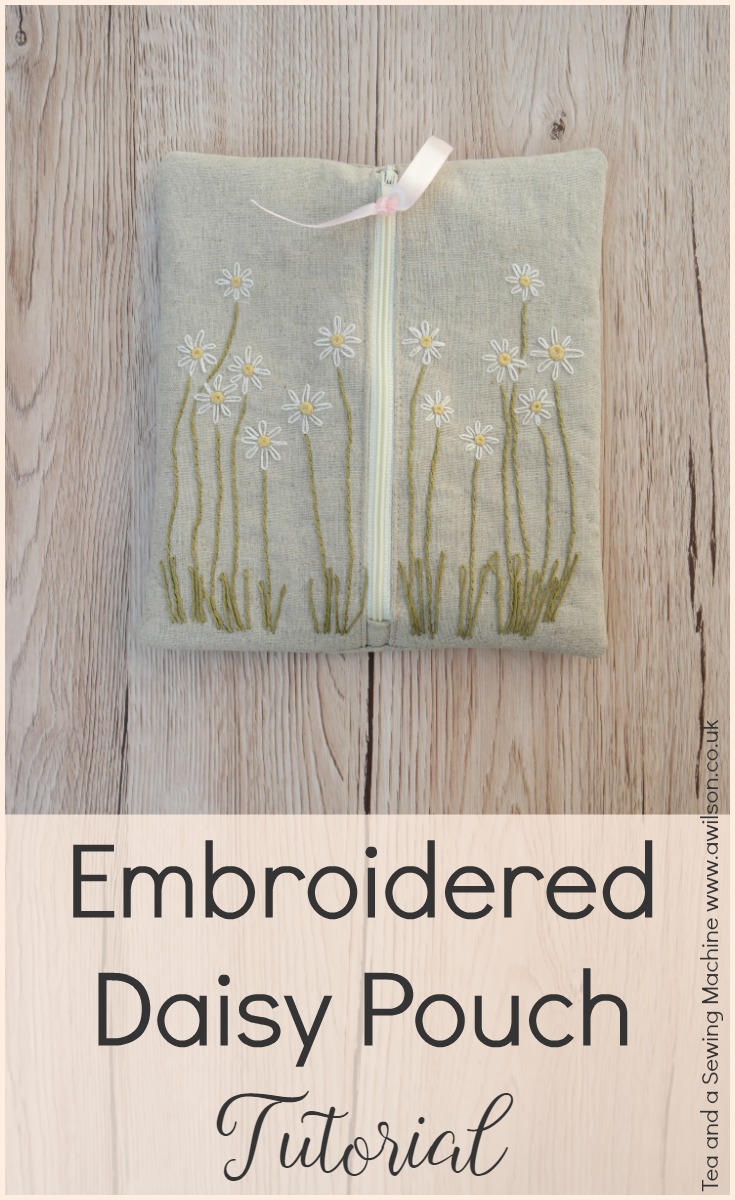
Linking up here.


 Flowers aren


 Doing
Doing 
Thank you I was given a book without pictures of the work in progress never could work it out! Will now be able to use the frames that have been gathering dust for years.
 Thank you so much and I love your pretty embroidery.
The most important bit is how to make the pattern
Thank you for sharing the pattern!
Thabk you for this VERY helpful tutorial.
So lovely! Thank you for sharing the pattern
Thank you! You’re welcome
Just came across your post — just in time!!! Thanks so much from Portland, OR, USA!
Glad I could help Sue!
After seeing this and your full tutorial on attaching the purse frame I am definitely going to try this, I will no longer be scared of this type of purse closure, You have given me confidence that I can do this! Thanks for sharing at #HandmadeMonday

Julie recently posted…Embroidered Shirt Refashion
I think with lots of things it’s about having a go. Not knowing how to do something can put you off trying.
Beautiful purse! Thanks for the tutorial.

Lina recently posted…Victorian Mourning
Thank you
Love making purses with frames, yours looks fab, really pretty
I was going for pretty
Such a pretty purse. Your hand embroidery is beautiful!

Caroline J recently posted…Art Hack: Inks versus Food Colouring
Thanks xx
thank you for the tut on how to use the frame. these are so pretty

Brenda Cupryna recently posted…Busy Week
Thanks Brenda
Hi Brenda lovely to see your name . Hope you are well and still sewing
Anna , these are so pretty and thanks you for the tutorial on how to use the frame
Thank you