How to Sew a Pouch With a Zip
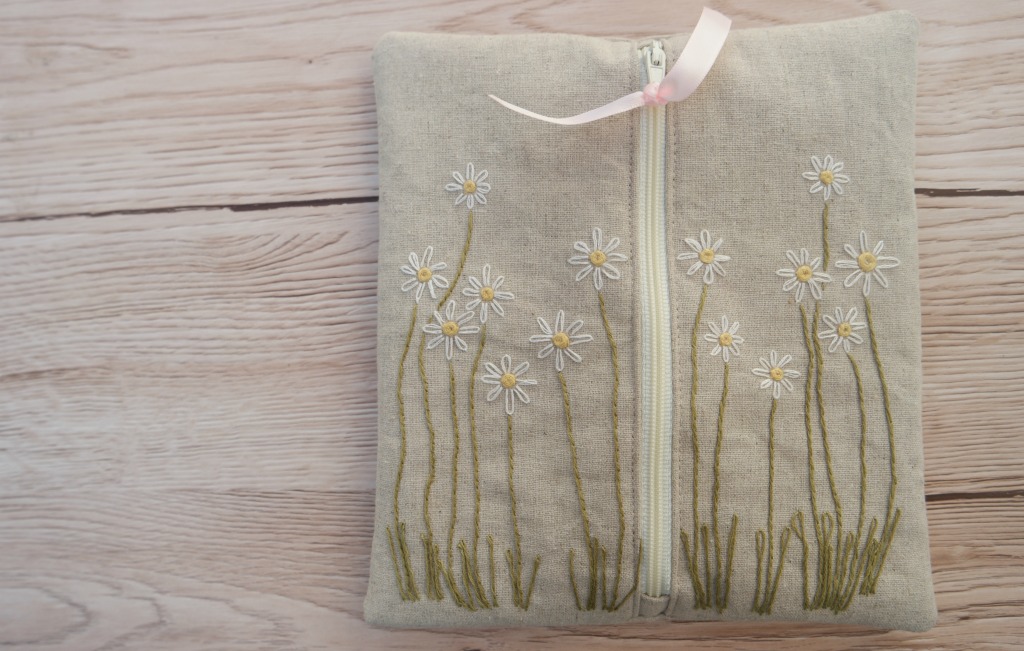
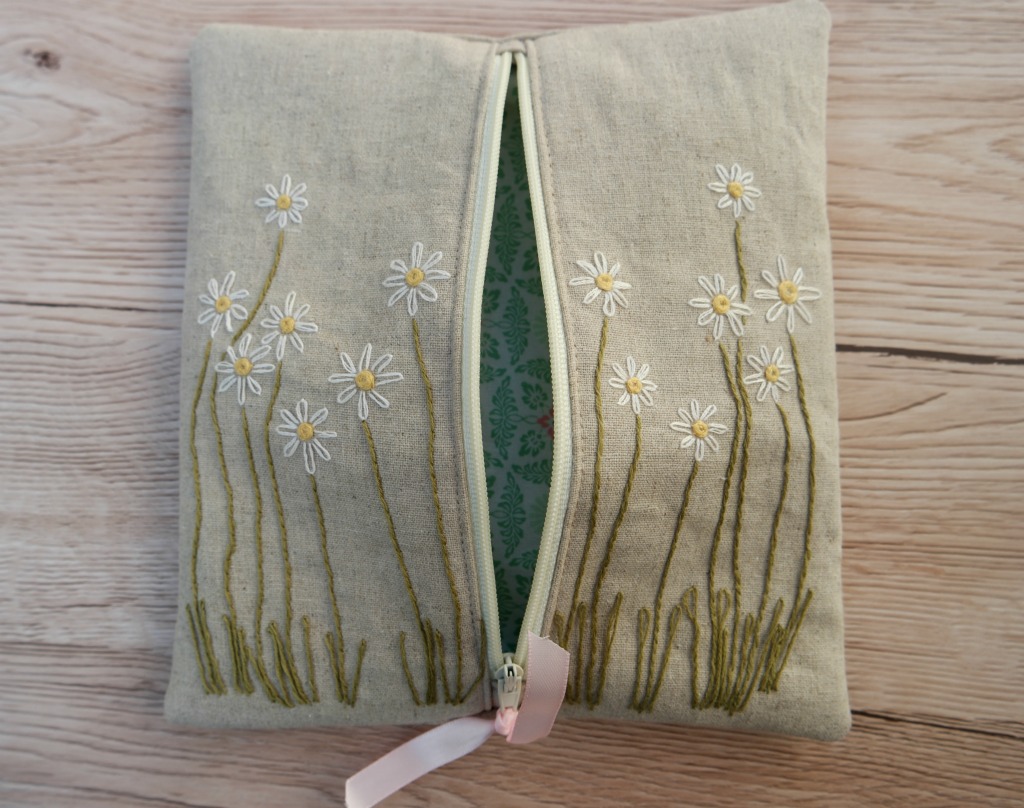
For this tutorial showing how to sew a pouch with a zip, I wanted to combine 2 things.
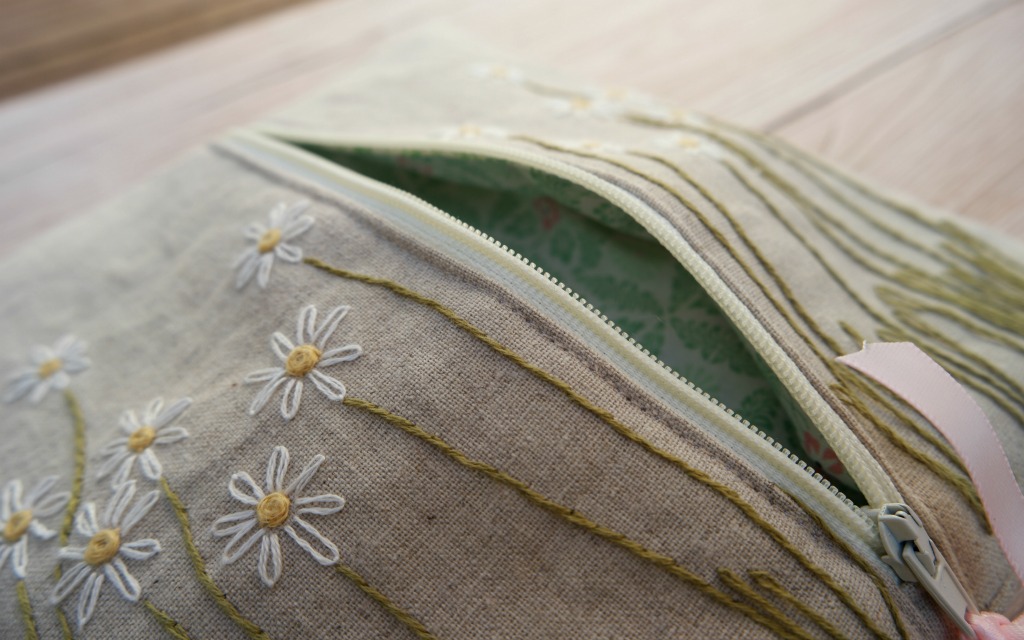
The first thing was that I wanted to make something pretty out of the daisies that I’ve been embroidering.
The second thing was that I wanted to try out making a pouch with a zip down the centre.
I haven’t yet decided what I’m going to use it for, but you can never have enough of these things. Like fabric storage boxes, I can always find a use for them!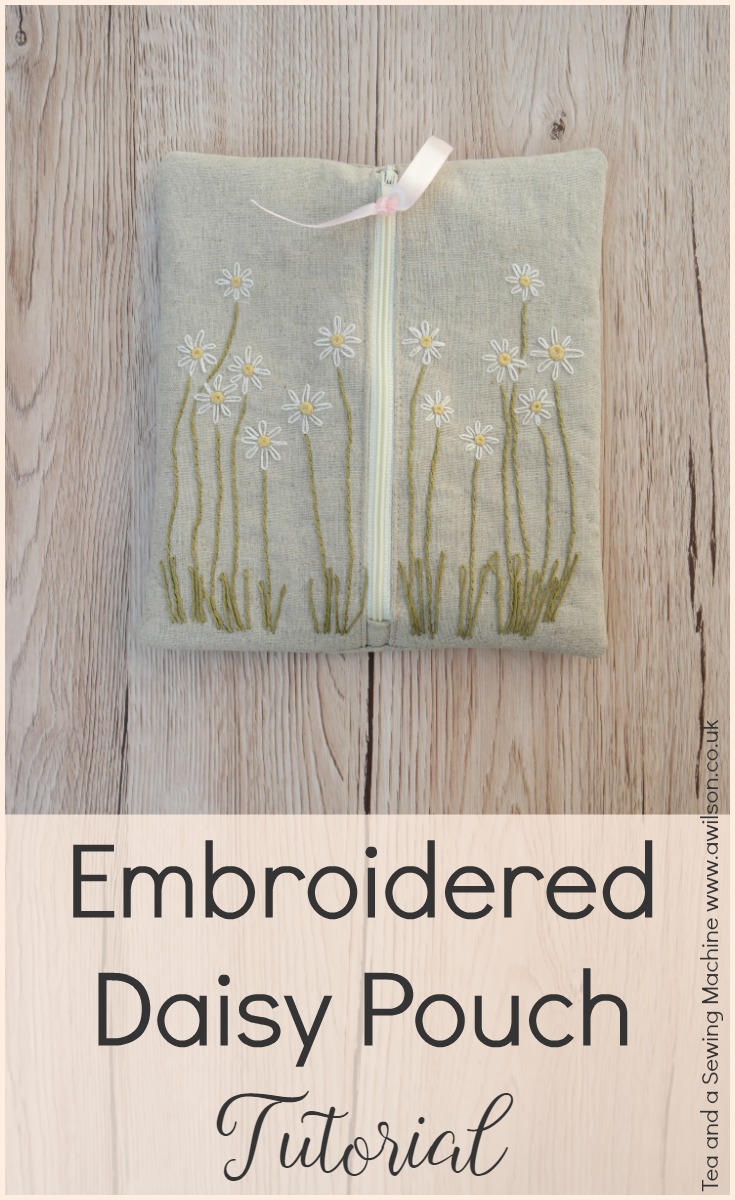
Instructions
You Will Need
Fabric for the outer (I used a linen cotton blend), fabric for the lining, sew in interfacing, a 20 cm zip (this is the length of the teeth), embroidery thread, needle, an embroidery hoop (optional but I like to use one!), zip foot (also optional), usual sewing supplies.
First of All
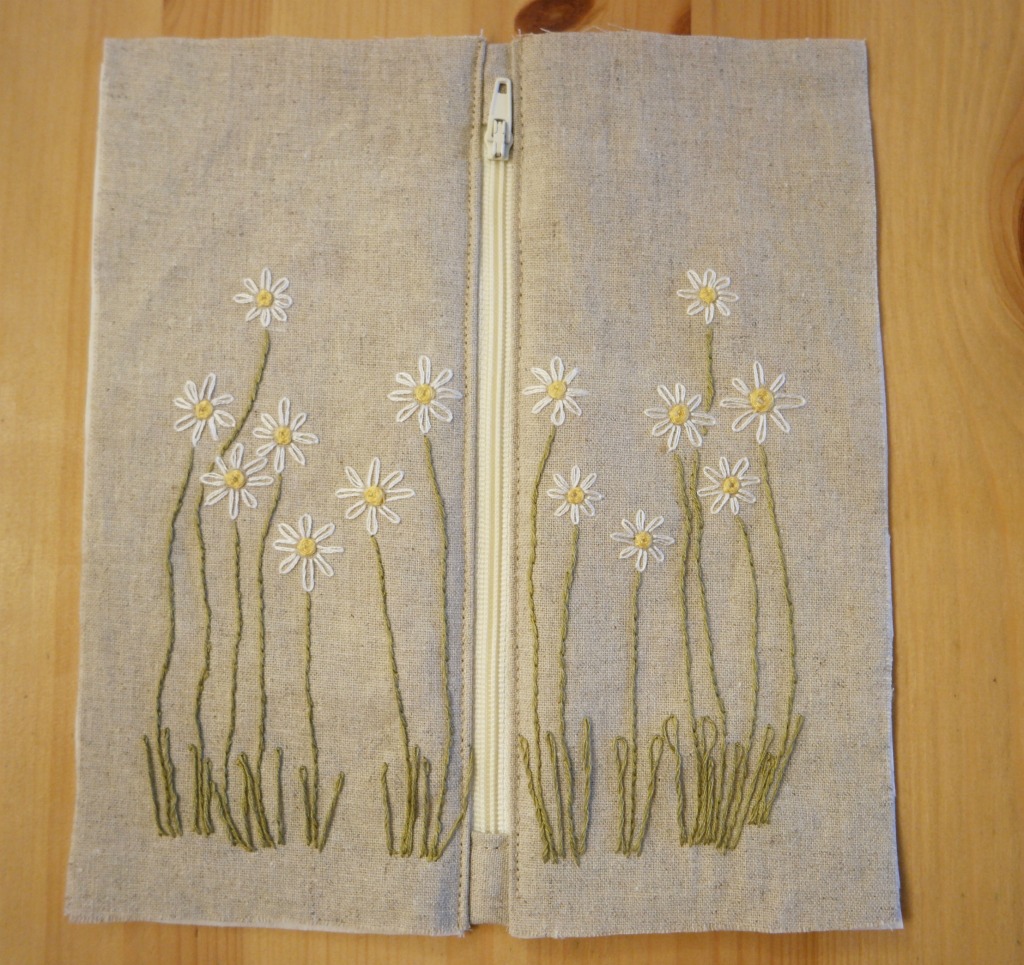
The first thing to do is to embroider the daisies onto the front pieces. When you cut out the front pieces they will need to be 10.5 cm x 22 cm, so make sure that you allow at least that, including the seam allowances, when you are embroidering.
You can download the daisies for free here. Another embroidery design is included as well.
The stitches I used were lazy daisy stitch for the petals, (there’s a tutorial here), woven wheel stitch for the flower centres (tutorial here), and stem stitch for the stems (no tutorial yet but there will be in a week or 2!).
Once you have embroidered the daisies, you can cut out the pieces.
Cutting Out
From the outer fabric, lining and interfacing, cut 2 front pieces 10.5 cm x 22 cm (these will be the embroidered sections) and 1 back piece 20 cm x 22 cm.
For the zip ends, cut 2 rectangles 4 cm x 6 cm from outer fabric.
Sewing Up
1. The first thing to do is to make the covered ends for the zip.
To do this, trim off the excess from the zip. Then take one of the rectangles and fold it in half. Crease it with your finger.
Fold one of the short edges inwards. Place the zip over the zip end.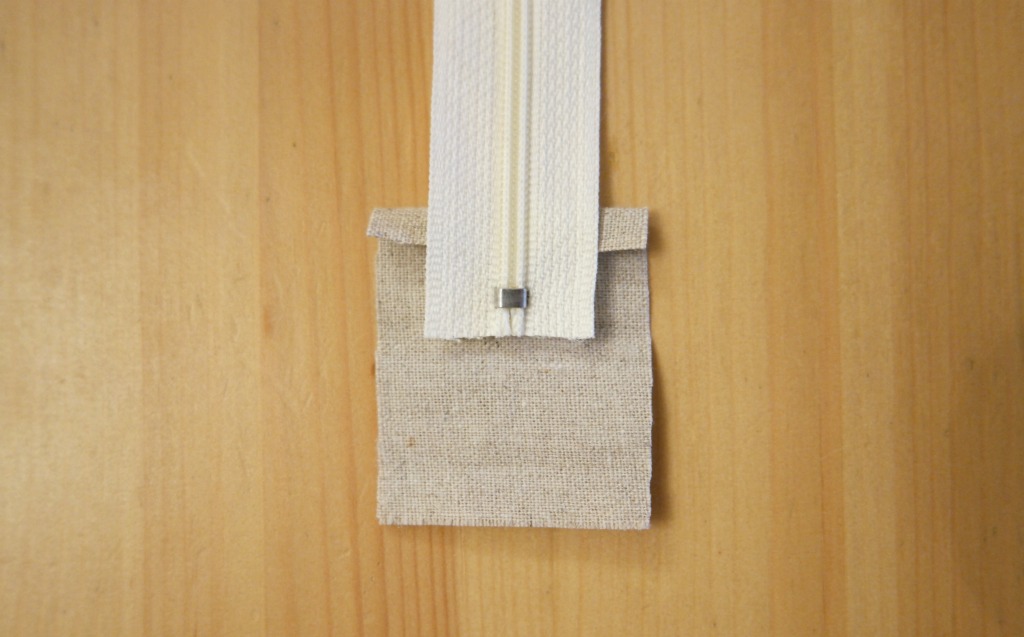
2. Fold the rest of the tab over the zip and fold the other short edge inwards. Pin, then sew across the end. Repeat with the other end of the zip.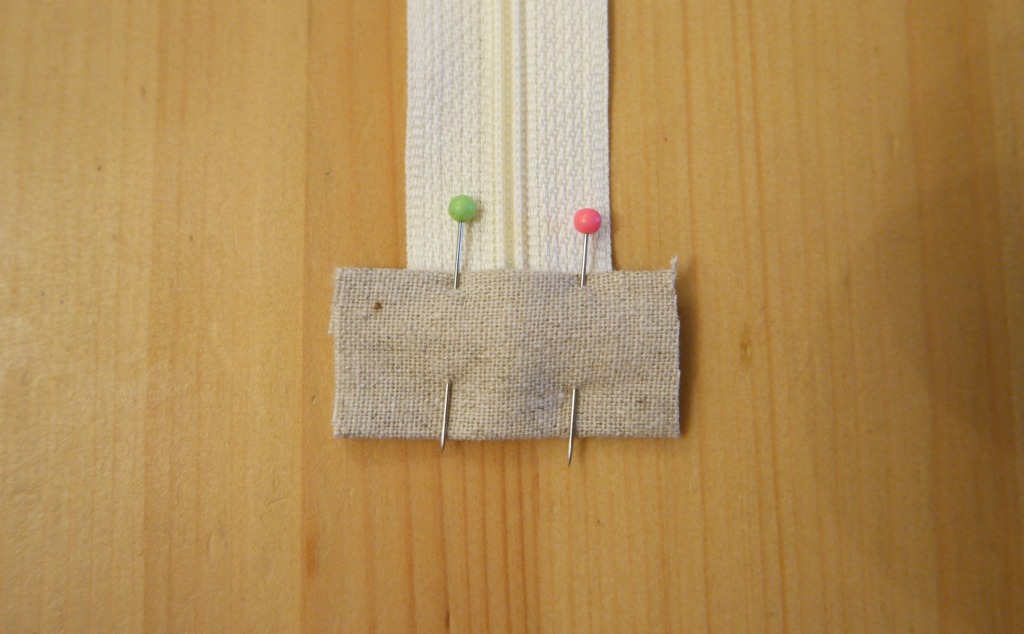
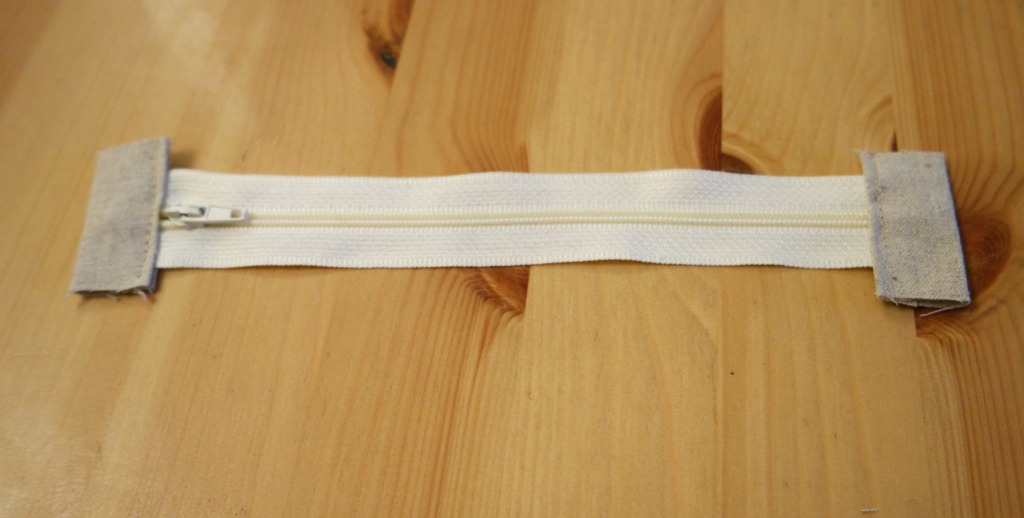
3. Take one of the front lining pieces, right side up. Place the zip, also right side up, on top of the lining so that the edge of the zip is aligned with the long edge of the lining. On top of that, place one of the outer front pieces right side down and one of the interfacing front pieces. It should all be lined up with the edge of the zip. Pin, then sew, keeping close to the zip.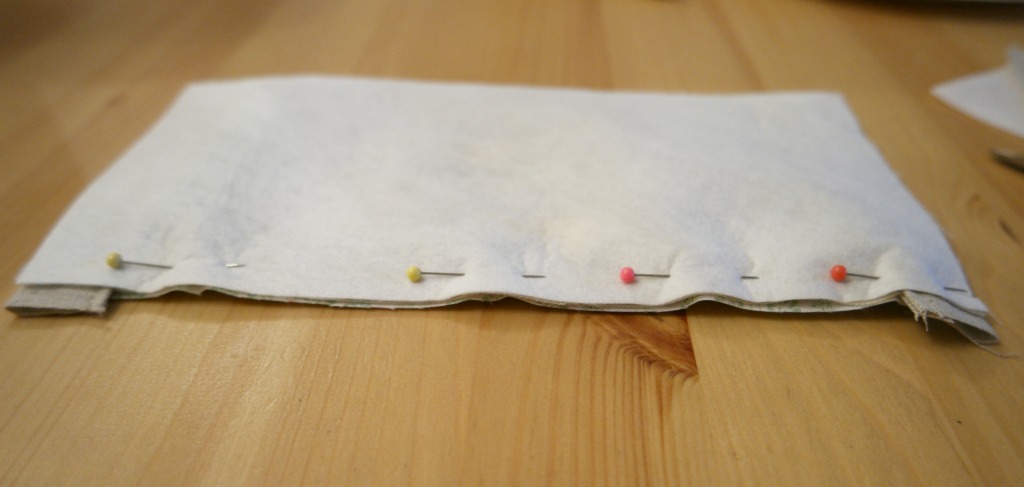
4. Fold the lining, outer and interfacing out away from the zip. Press it (your finger will do!), then topstitch along the fabric near the zip.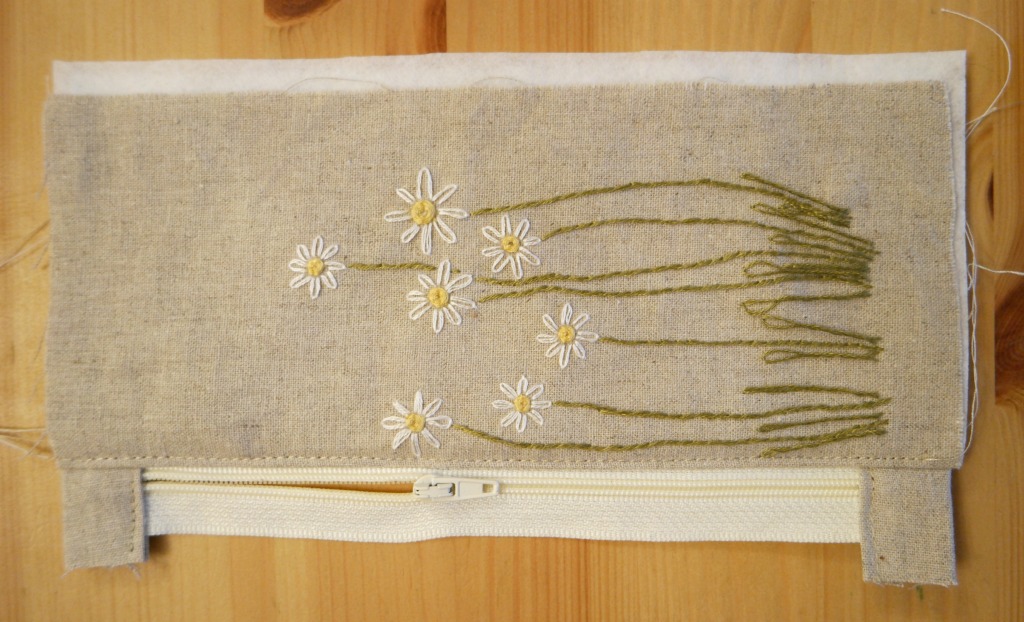
5. Take the outer and interfacing back pieces and pin it to one half of the front, right sides together and keeping clear of the lining. Sew the front half and the back together as far as the zip.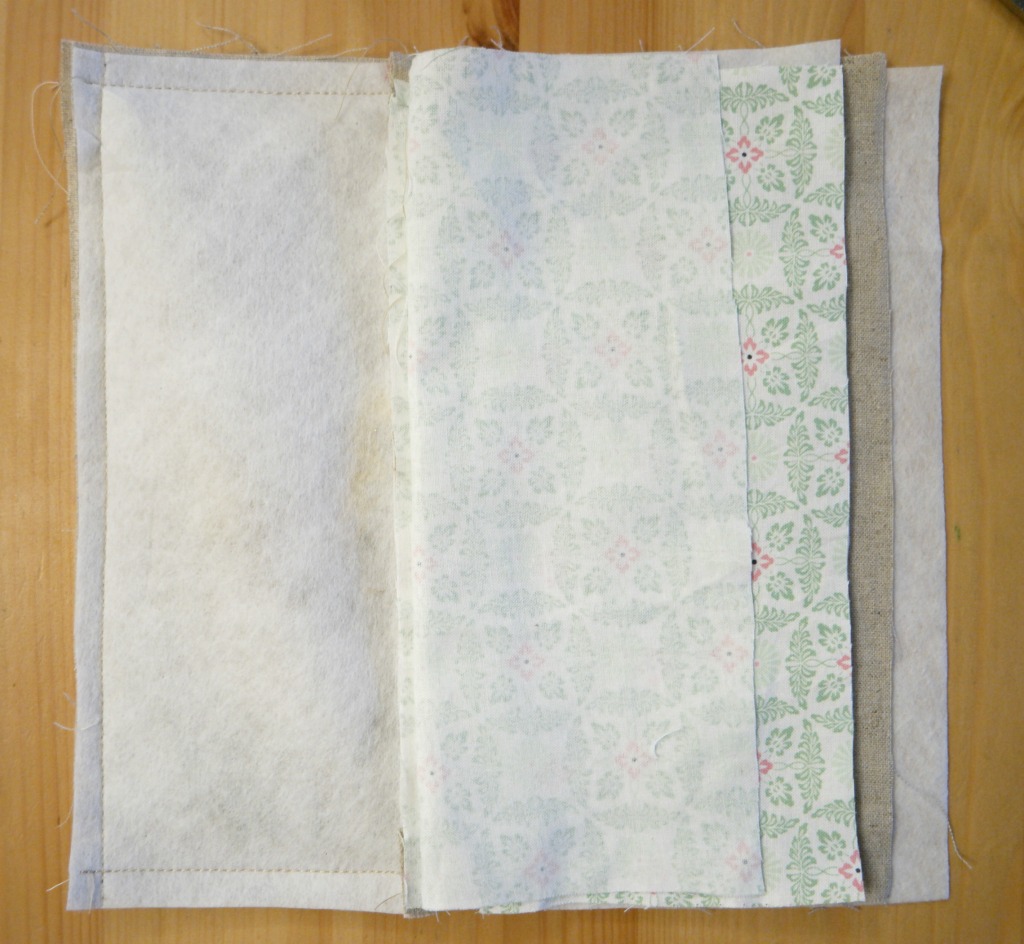
6. Undo the zip at least half way. Remember to do this or you’ll get stuck when turning the pouch the right way out! Pin then sew the back outer and interfacing to the other half of the front outer and interfacing.
Keeping clear of the lining, sew the zip ends to the back. This way you will have sewn the outer pieces together without catching the lining. Trim the seams.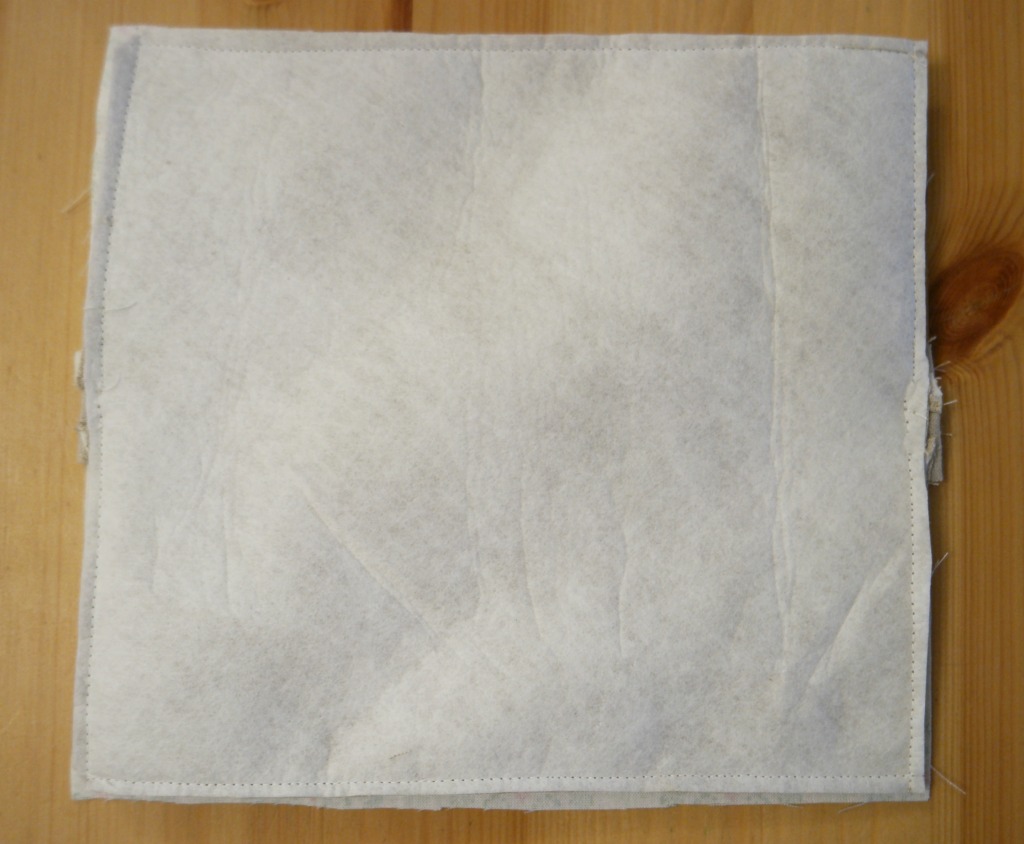
7. Repeat with the lining, but when you sew the back to the 2nd front half, leave a gap along the long edge. Trim the seams.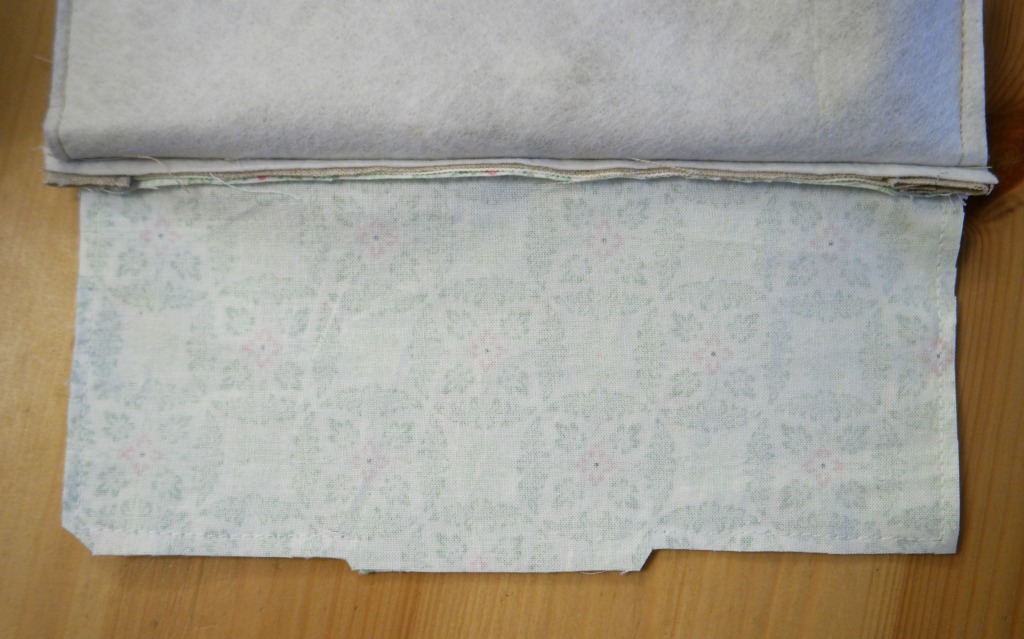
8. Turn the pouch the right way out. Slip stitch the gap in the lining and push it inside the outer.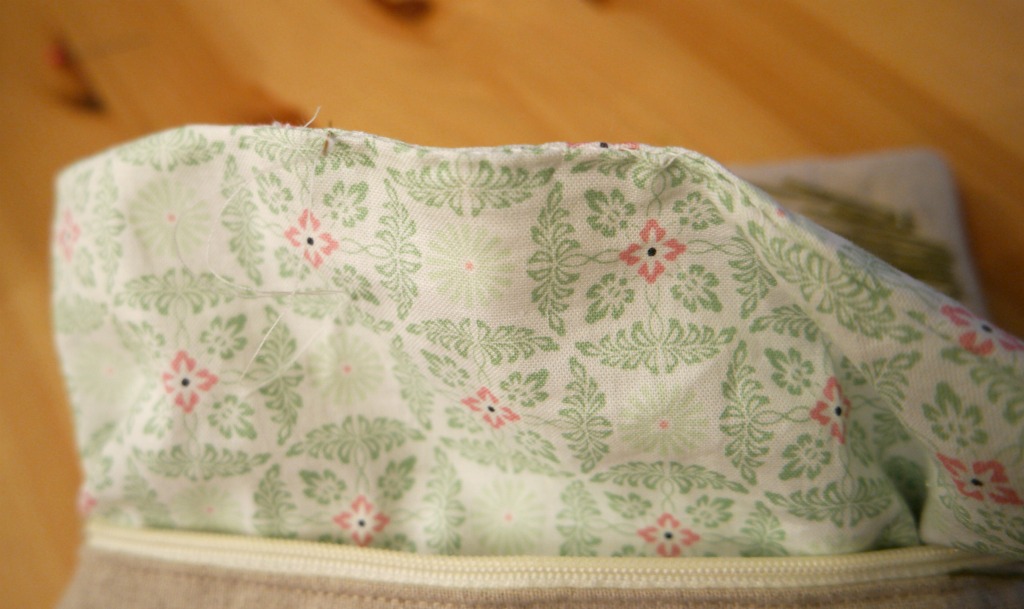
If you would like to buy a pattern for this pouch with a zip, you can do so here. The pattern includes full instructions, pattern pieces, the daisy design and a mini guide to embroidery stitches, including the ones that you will need.
And if you like embroidery projects, there are lots on All Free Sewing! Some of them are just embroidery, but there are others that include embroidery as part of a project.


Ah, its just lovely Anna, I’ve enjoyed seeing the progress on social media , I had no idea what you were going to make in the end . Thanks for sharing at #HandmadeMonday
Julie recently posted…Handmade Monday #13
I know I should be learning about the zip, but I am just oggling at the cute embroidery.
Thank you xx
Thanks Julie xx
What a pretty pouch, I love embroidery.
Thank you 🙂
Anna that is so beautiful. The embroidery on the outside is a breath of fresh spring air. And the inside is hiding more spring flowers. What a lovely idea and perfect as a gift too.

Mary-the boondocks blog recently posted…Sweet Inspiration Link Party #44
Thanks Mary. I actually like winter but it’s nice to start thinking about spring!
Absolutely gorgeous, Anna. I love it!!!

Pam @Threading My Way recently posted…Recent Additions to the Stash
Thanks Pam xx