How To Sew Lazy Daisy Stitch
How To Sew Lazy Daisy Stitch
This post contains affiliate links.
As the name suggests, lazy daisy stitch is useful for when you want to embroider the petals of flowers.
It’s a stitch you often see on vintage table cloths where flowers have been embroidered by hand.
They can be grouped in 3s or 5s to give the idea of a closed flower, or embroidered around the centre of a flower, like a daisy.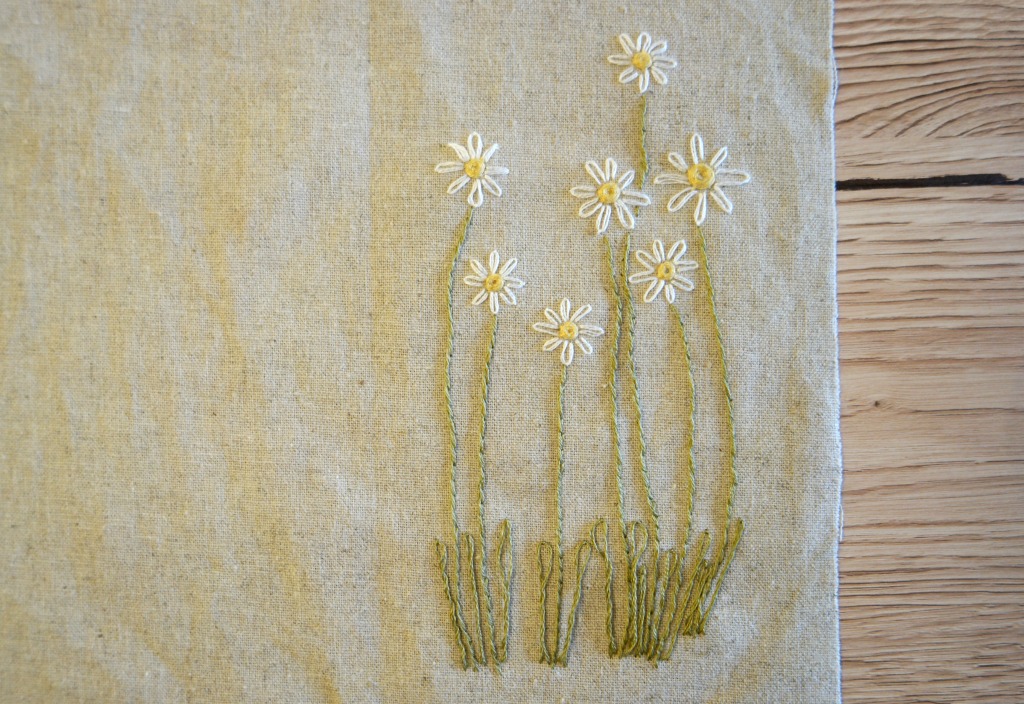
To embroider these flowers, I used a medium weight cotton linen blend and DMC embroidery thread. 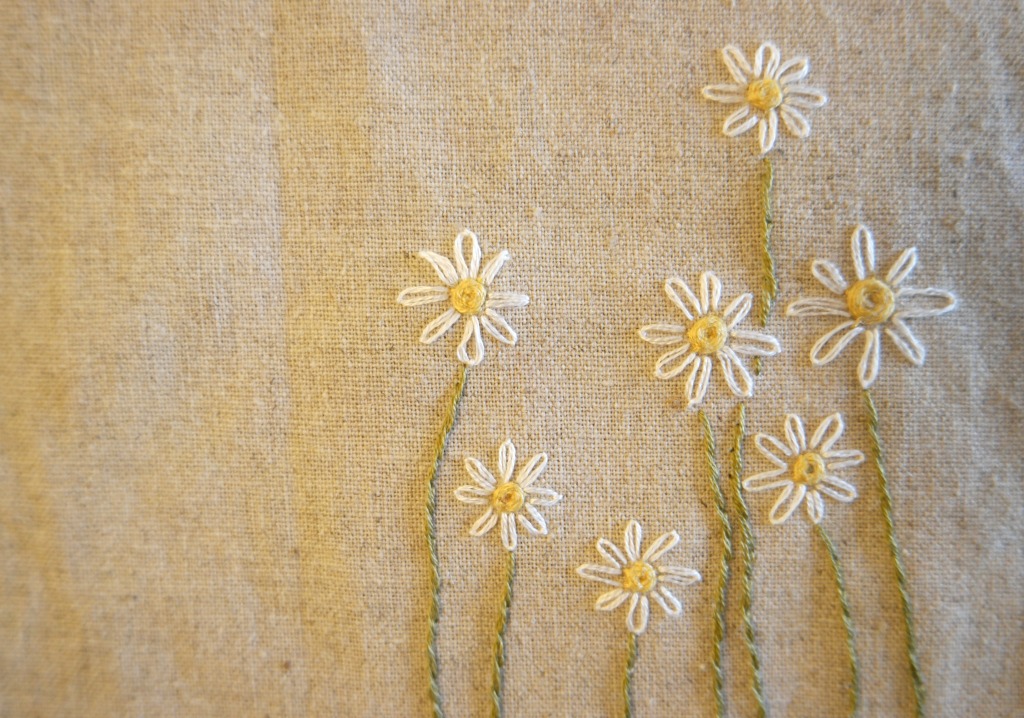 For the tutorial, I used a scrap of calico that I had left over from another project. You can use pretty much anything, but if the fabric is very light you will need to use a lighter thread (or just one strand if you are using embroidery thread), and possibly fuse some interfacing to the back.
I also used an embroidery hoop, which makes everything stay nice and taut. It’s not essential but definitely a “nice to have”.
If you like these daisies, keep reading to the end of the post! There’s a link to where you can get the design, plus another one that I’ll be showing you in a couple of weeks!
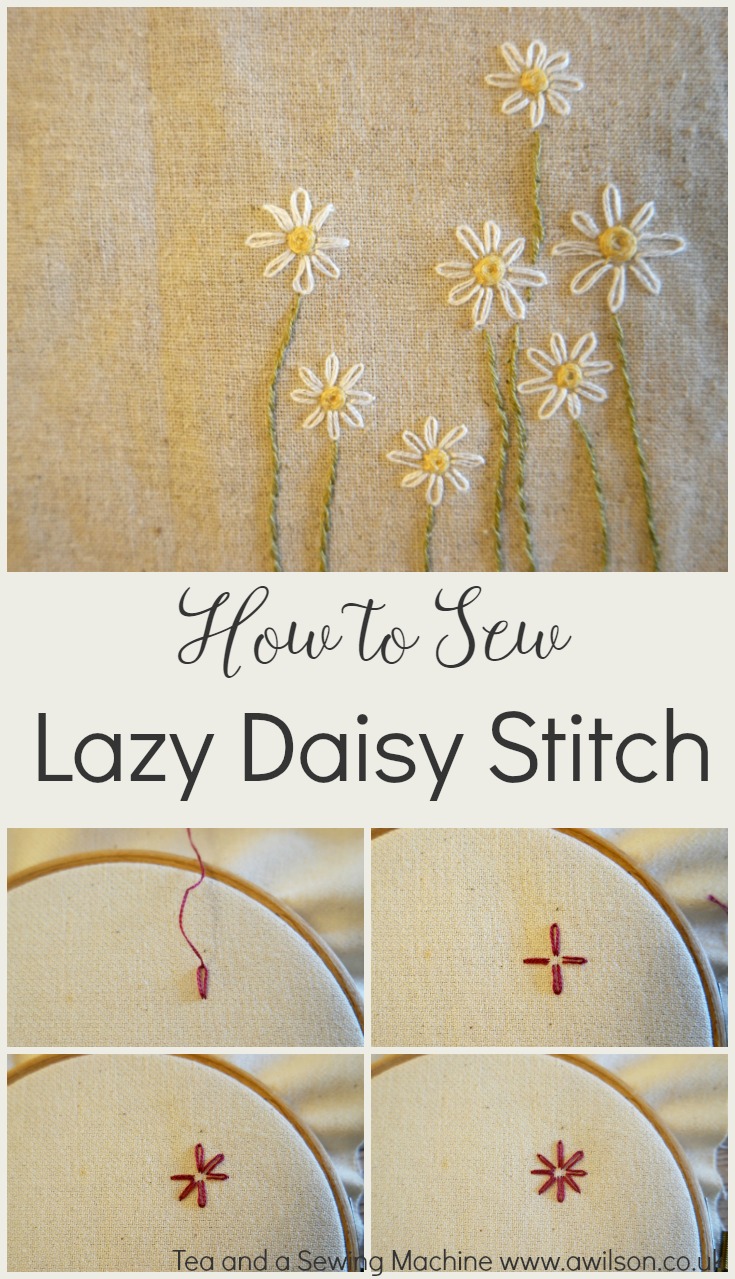
 Sewing Lazy Daisy Stitch
1. Find where you want to start the stitch. This will be the bottom of the petal, nearest to the centre of the flower. Bring the needle up to the right side of the fabric.
2. Make a loop and take the needle back through to the wrong side, next to where it came out.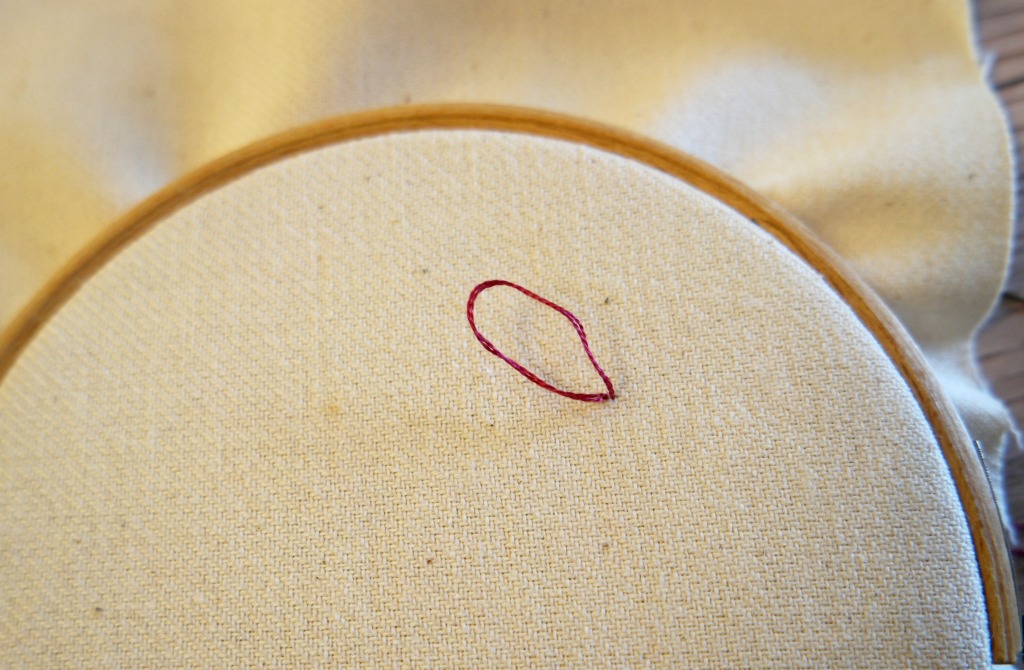
3. Bring the needle back up through the fabric where you want the other end of the petal to be. Catch the loop and pull it taut.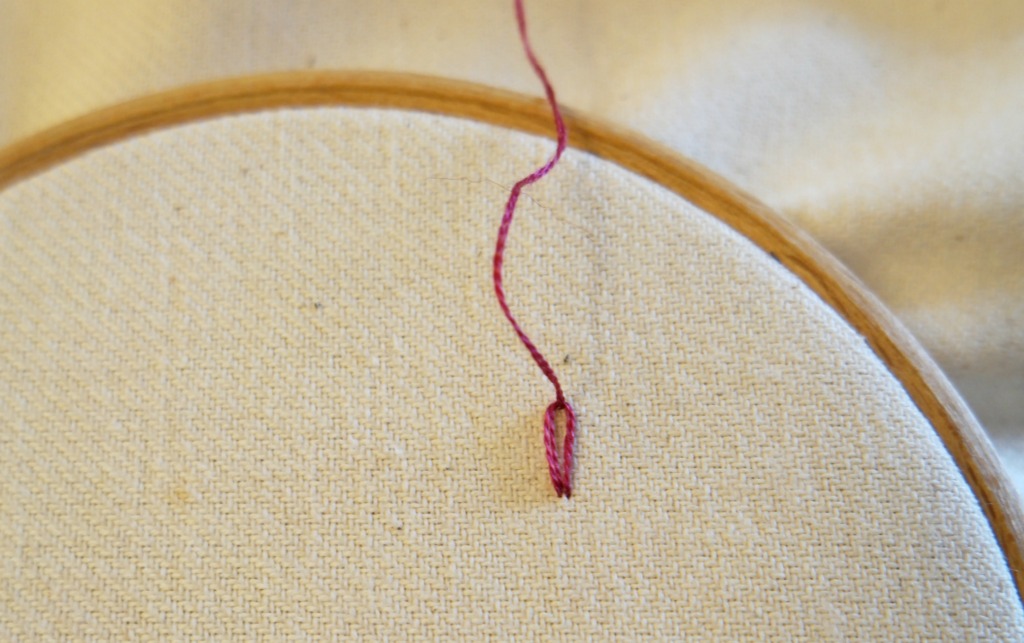
4. Take the needle back through to the wrong side, sewing over the end of the loop.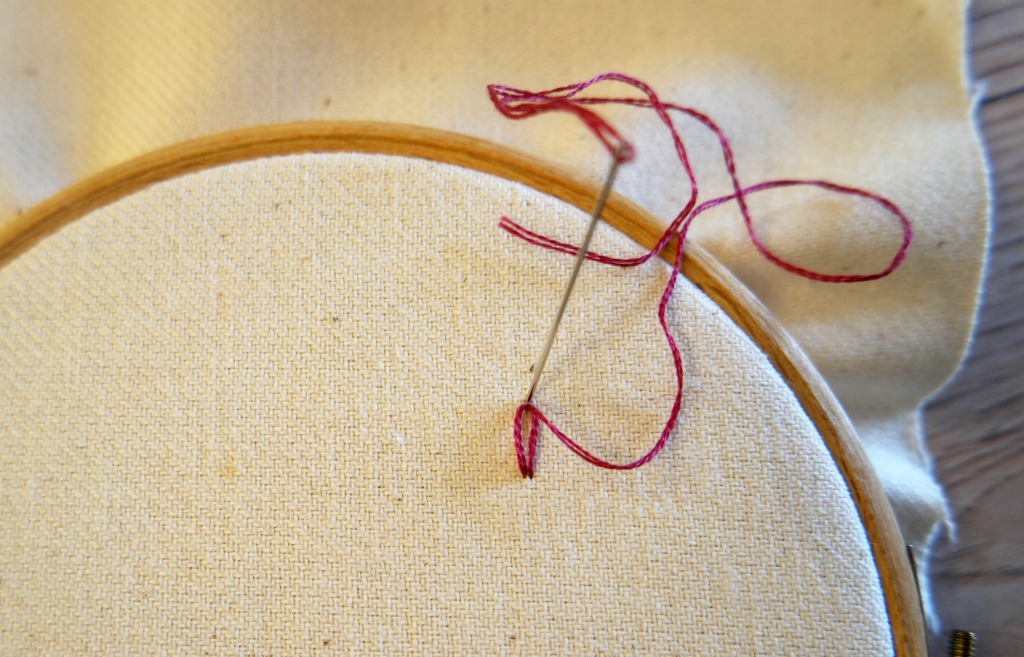
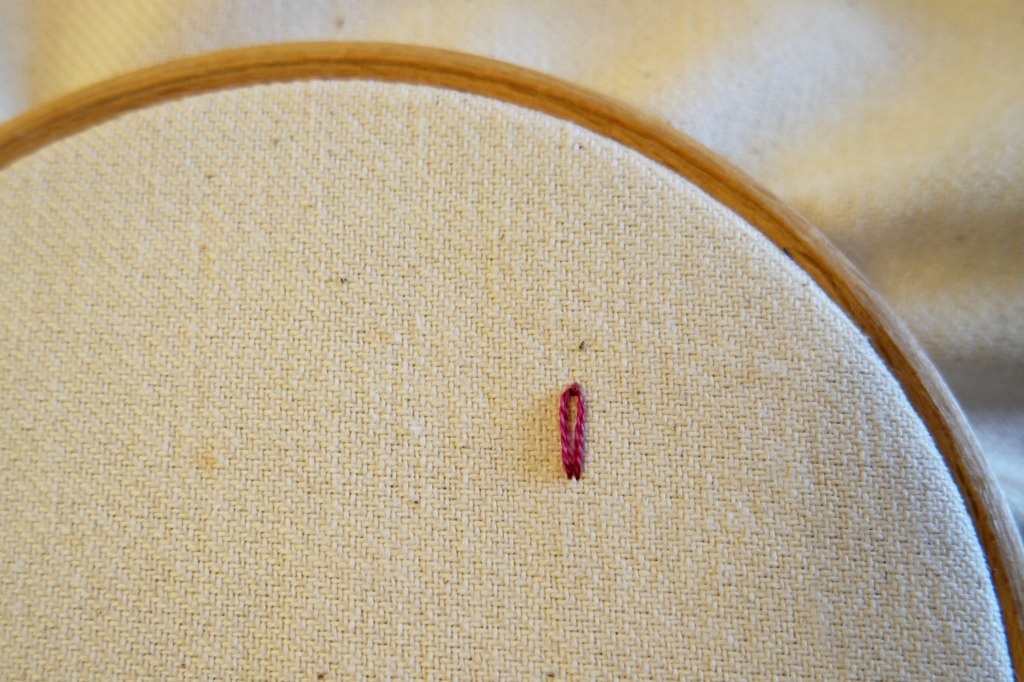
You’ve now sewn one petal! Keep going like this until you’ve finished your flower.
If you don’t have a good eye for this kind of thing (I don’t! ), to avoid things turning out wonky you could sew the opposite petal, then the petal halfway between those 2, then the one opposite. So on the face of a clock, you would sew one at 12.00, then one at 6.00. Next you would sew one at 3.00, then one at 9.00. Keep going to until the flower is done!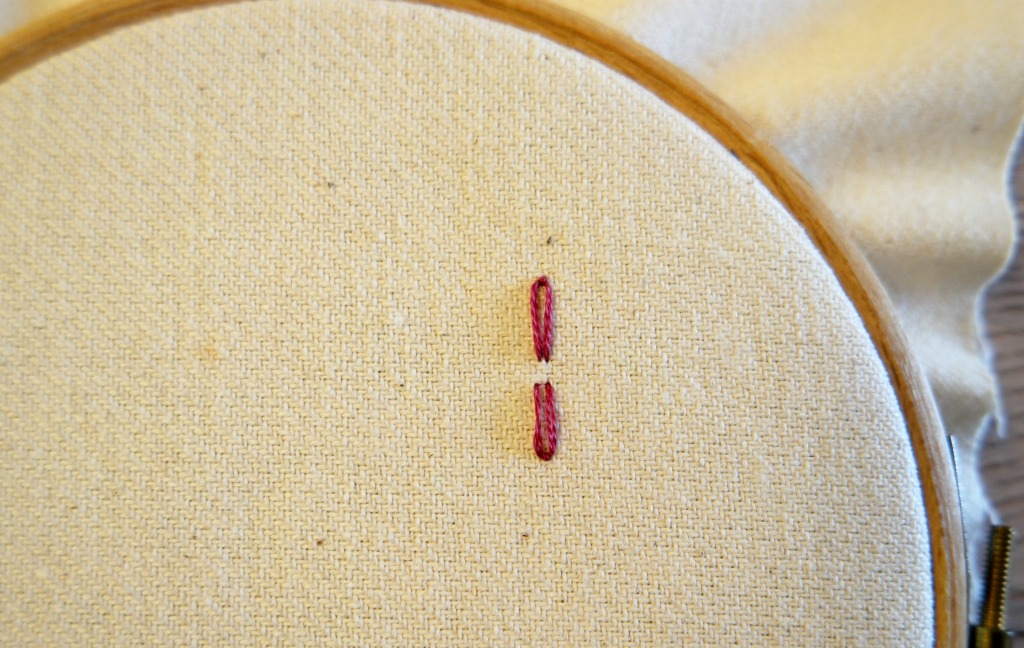
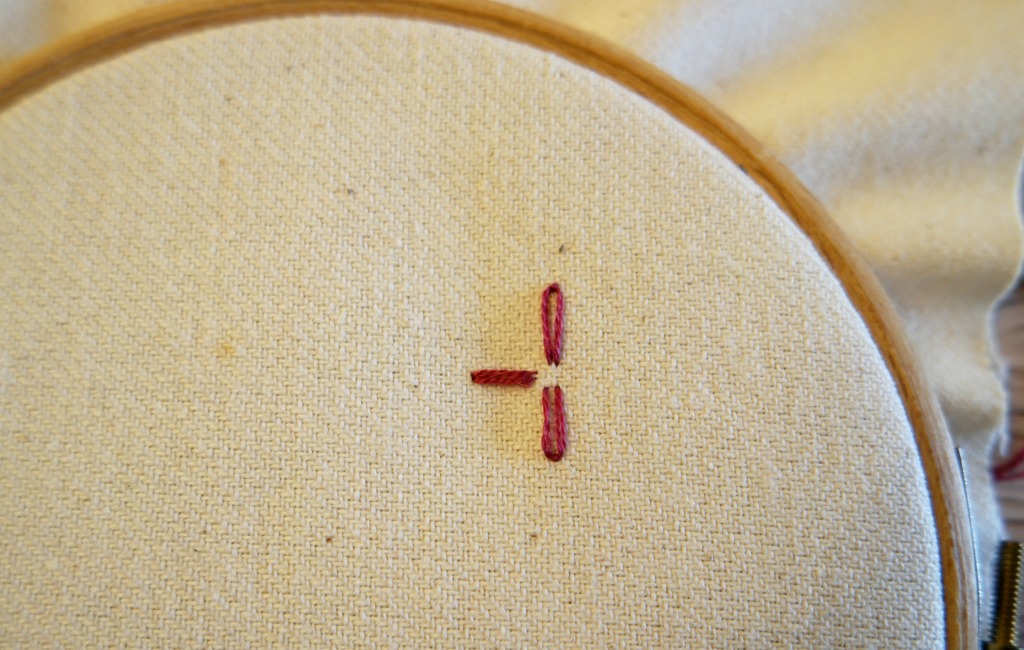
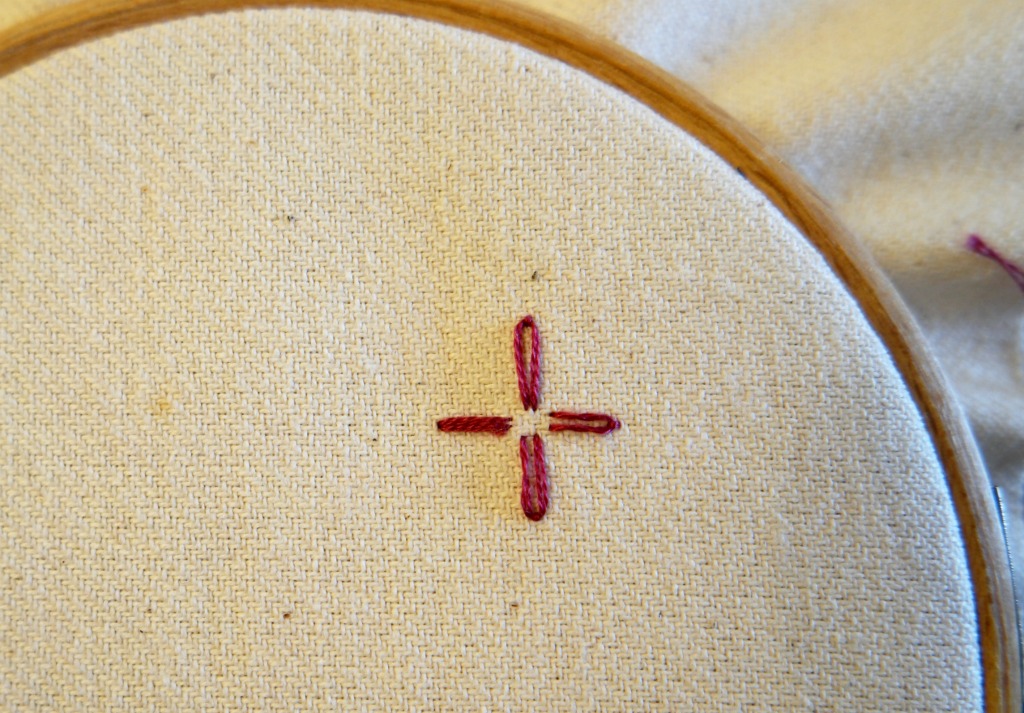
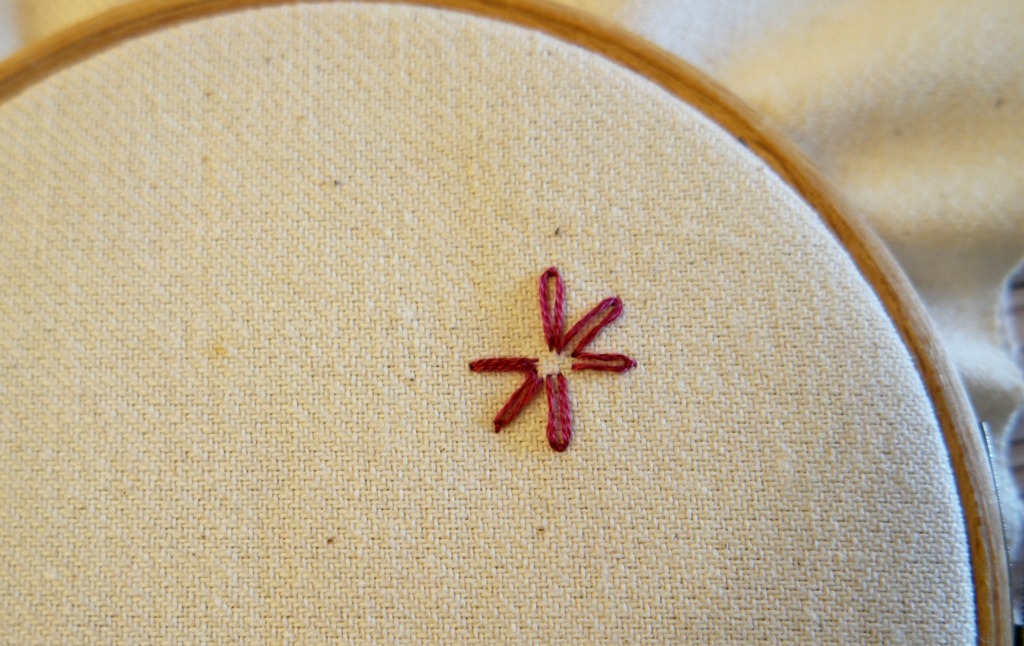
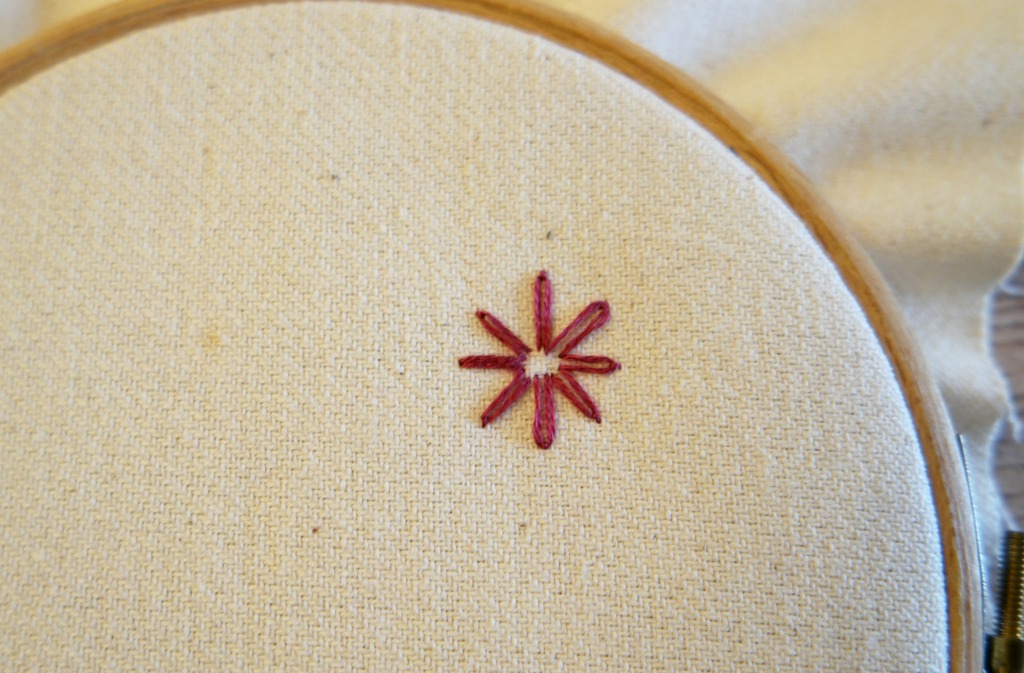
Alternatively you could mark your fabric with either a pencil or a fabric pen with disappearing ink.
If you would like the flower design pictured above, plus another one, you can get it here.
Embroidery stuff on Hobbycraft
Linking up here.



I found your post very helpful thanks Ann. I appreciated not having to sit through a loud & lengthy You Tube session where so many presenters seem to like the sound of their own voice! Your explanation & steps made it simple to understand.
Thank you 🙂 I agree with you about YouTube. It can be useful but there’s often too much talking!