How to Make Dried Fruit Decorations
There’s no question at all that Christmas is a special time of year.
Obviously it wouldn’t be Christmas without presents, but I like to focus on getting somebody something they would like rather than feeling that we have to buy all the stuff. In the world. Ever.
I also like to focus on the things that don’t centre around stuff. Like family time, togetherness and memories. Remembering people who don’t have all the nice things that we do. And also remembering when God came to Earth as a tiny human baby to bring to fulfilment God’s plan of salvation for the whole of humankind.
I prefer to do this without filling up the bin with a ton of plastic tat, and this is one of the reasons why I like to make Christmas decorations. Another reason is beacuse it’s fun!
One of the things I really love to do is to make dried fruit decorations. I’m already looking forward to a couple of weeks’ time when I open the box of Christmas decorations. I’ll get lovely orangey whiffs from the dried fruit decorations that I’ve made over the last few years! And once those decorations are no longer any good, I’ll put them in the compost bin or dispose of them with the potato peelings and tea bags.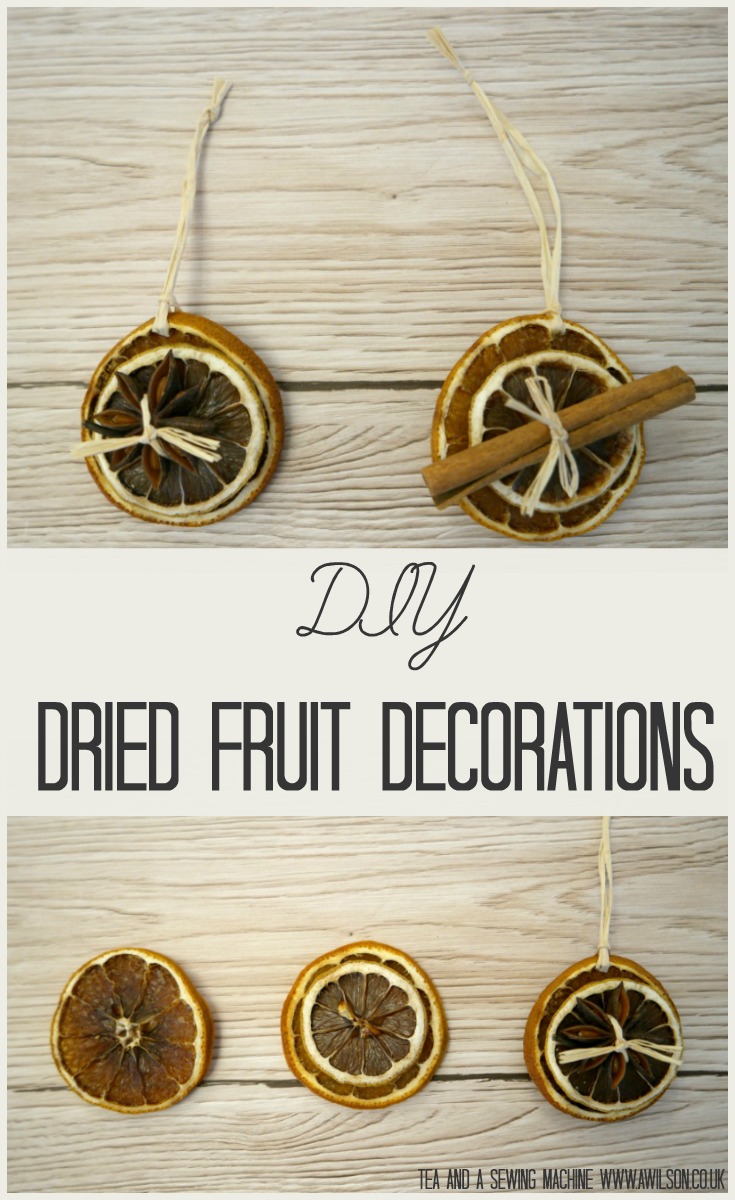
Making Dried Fruit Decorations
Drying the Fruit
Drying the fruit is very simple. All you have to do is slice citrus fruit thinly, then pop it in the oven on about 100 degrees c. Any hotter than this and the fruit will cook, which is not what we’re doing here! It takes a few hours and the smell is amazing!
It’s also possible to dry whole fruit. I usually stick to satsumas as they are small and take less time to dry out. Obviously the whole fruit takes longer than the slices.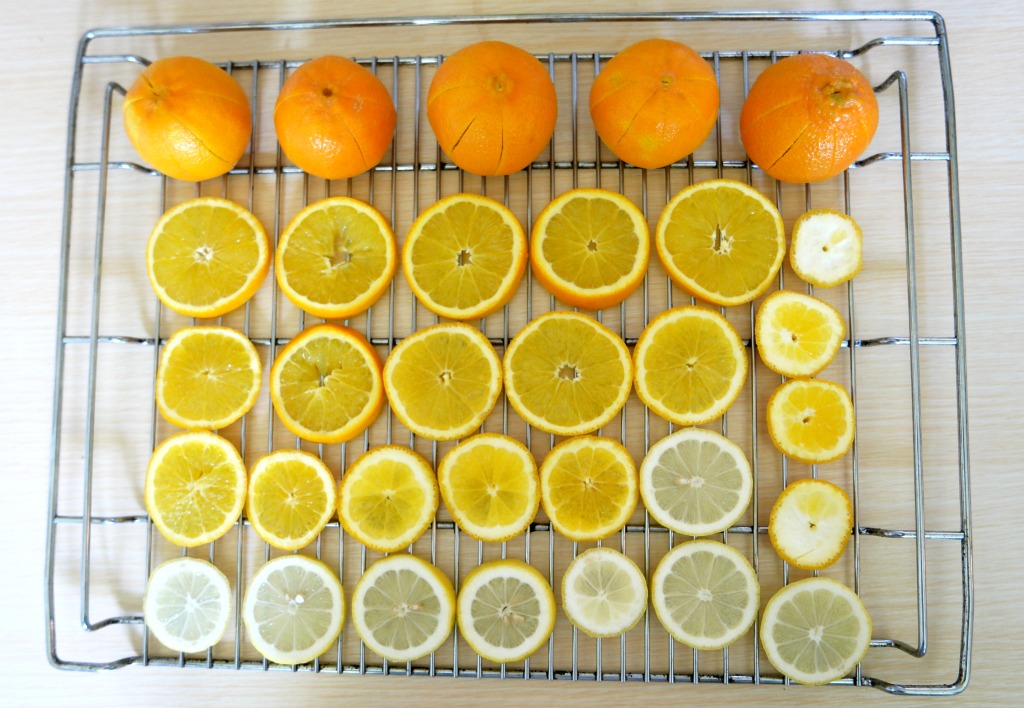
Full instructions (with pictures) for drying citrus fruit can be found here.
How to Make the Dried Fruit Decorations
You Will Need
2 dried fruit slices per decoration (I used a variety of orange, lemon and lime), a button, raffia or bakers’ twine
, a cinnamon stick
or a piece of star anise
. These are affiliate links.
Making the Decorations
1. Thread a length of raffia through both holes of the button so that the button is in the middle.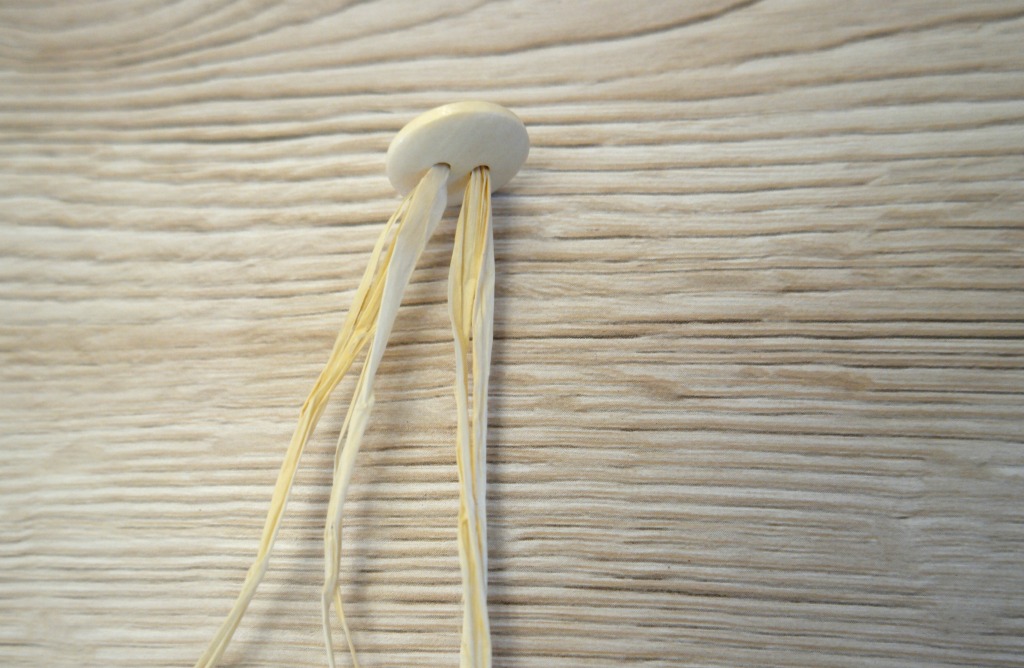
2. Thread both ends of the raffia through the hole in the middle of the first orange slice. If there’s not a hole, you’ll need to make one with a darning needle or a skewer.
3. Thread on a second slice. It’ll look better if this slice is slightly smaller than the first one.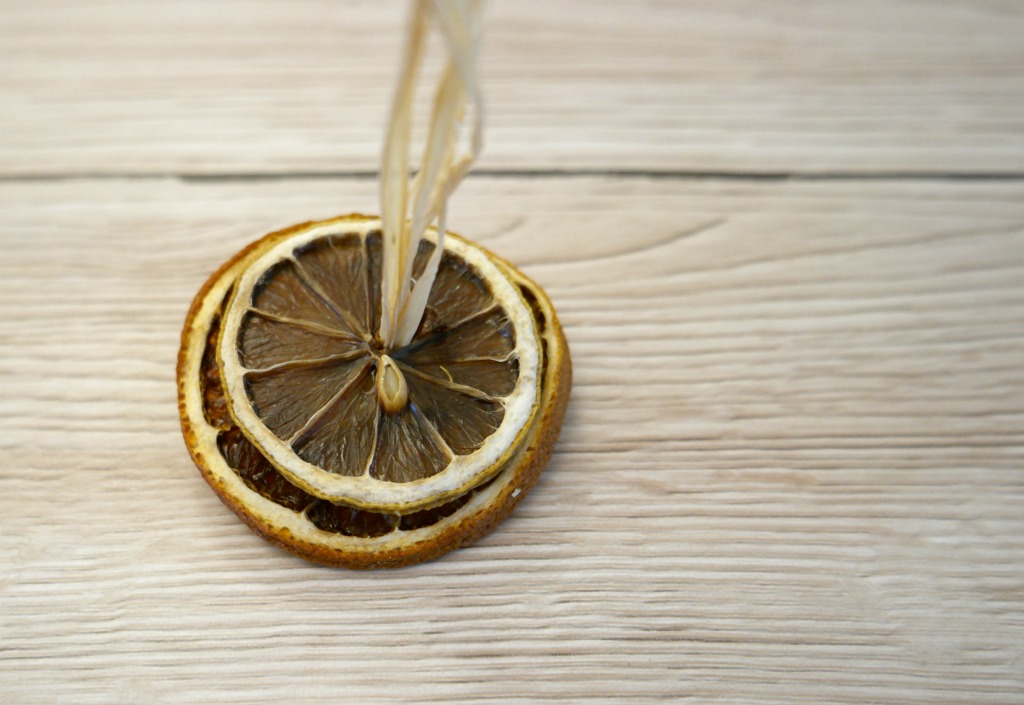
4. Use the ends of the raffia to tie the cinnamon stick or the star anise to the fruit slices. Trim the ends.
5. Take another piece of raffia fold it in half. Thread the folded edge through the first slice just under the outside edge. You might need to make another hole here.
6. Push the ends of the raffia through the loop and tighten. Tie the ends together.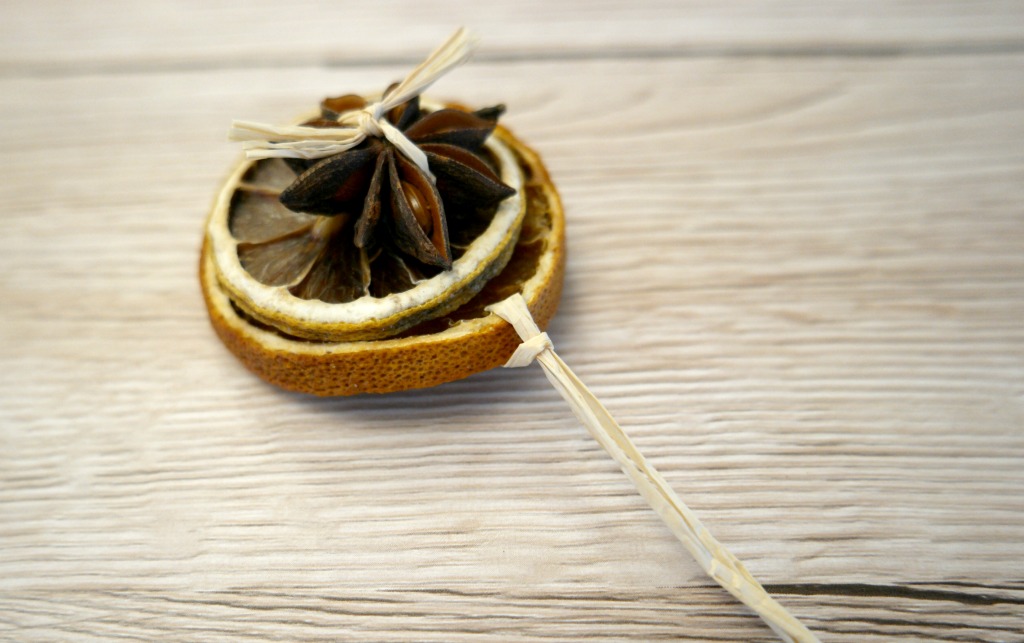

If you have more time, you might like to try these ideas.
Dried Fruit Decorations Using Whole Fruit and Slices
And if you like to make your own decorations and you’d like some free templates, if you sign up for the updates and extras, you’ll be sent some! The form’s below.


[…] Dried Fruit Decorations […]