DIY Scandinavian Style Christmas Decorations
There’s no question at all that the Scandinavians do winter better than anyone else.
One of the things I loved about a recent trip to Norway was eating breakfast by candlelight. The mornings were gloomy and the sky overcast, but in the hotel breakfast area, there were cosy pools of light where you could sit and enjoy your salmon and scrambled eggs. We might be the only people in Norfolk who eat breakfast now by candlelight!
Enduring harsh winters is probably best achieved by embracing it, by enjoying cosiness indoors and dressing for the weather when you’re forced to leave the house.
Christmas is the season of cosiness, and pretty Scandinavian style Christmas decorations make me think of snow, a roaring fire, peace and contentment and delicious smells coming from the kitchen.
In an effort to try and get some of this into my tiny corner of the British Isles, I’ve made some Scandinavian style Christmas decorations of my own. And I’ve got more of these kind of projects planned too!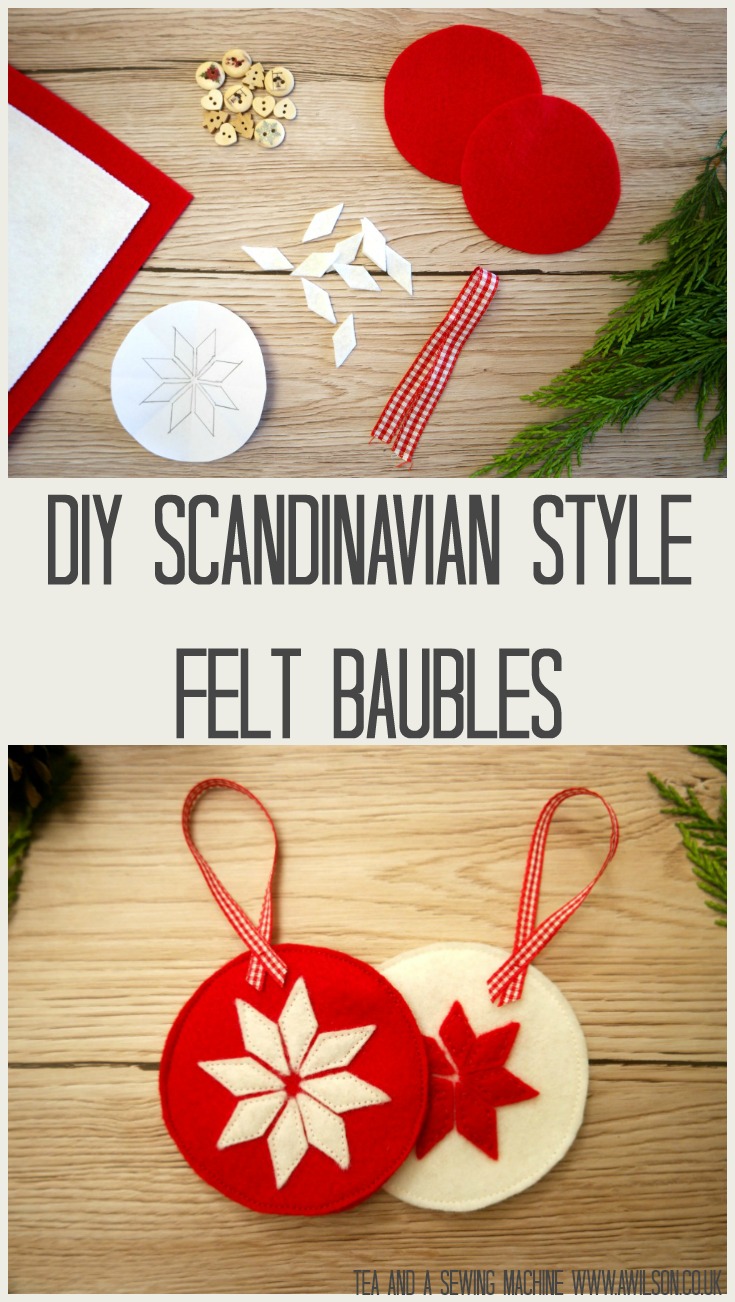
Here’s the tutorial, but if you can’t be doing with all the cutting out, you can buy a kit here with the pieces already cut. All you’d have to do is sew them up. Although you could use glue instead if you didn’t fancy sewing them, I won’t tell anyone!
How to Make Scandinavian Christmas Decorations
You Will Need
Red and white felt, ribbon, usual sewing supplies, pencil and paper or the template, which you can download here.
I got the felt from Hobbycraft. They also sell gingham ribbon. These are affiliate links.
Making the Template
If you’ve downloaded the template, you can skip this part!
1. Draw a circle onto a piece of paper. You could draw round a glass or a mug. This is want I did! You’ll need 2 of them, one for the template and one to work out the size of the shapes for the star.
2. Take the second circle and divide it into 8. Use this as a guide to draw the shapes for the star. Pick the best one and cut it out.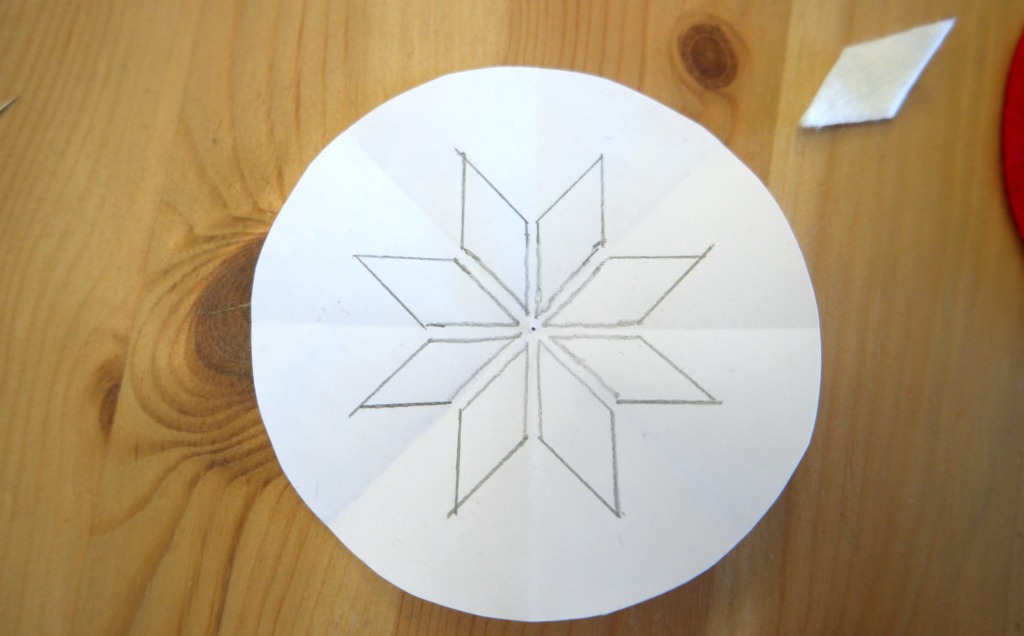
Cutting Out
Cut 2 circles from red felt.
Cut 8 of the little star pieces from white felt.
Making Up the Decoration
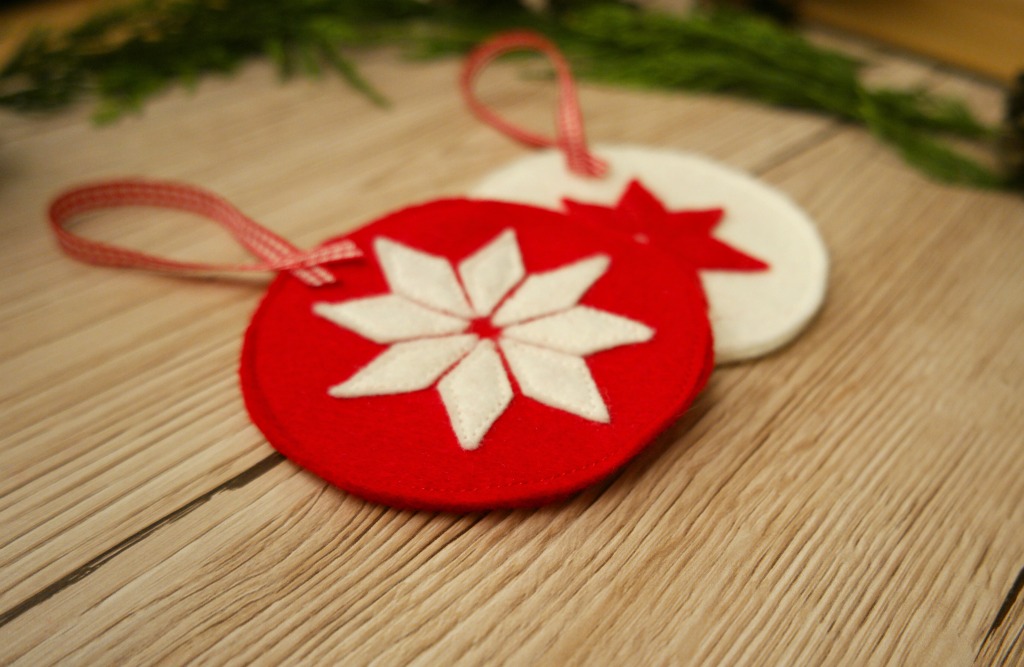
1. Take one of the circles and the star pieces and arrange them as I’ve done in the photos. You might find it helpful to mark the centre of the circle by tacking a few stitches.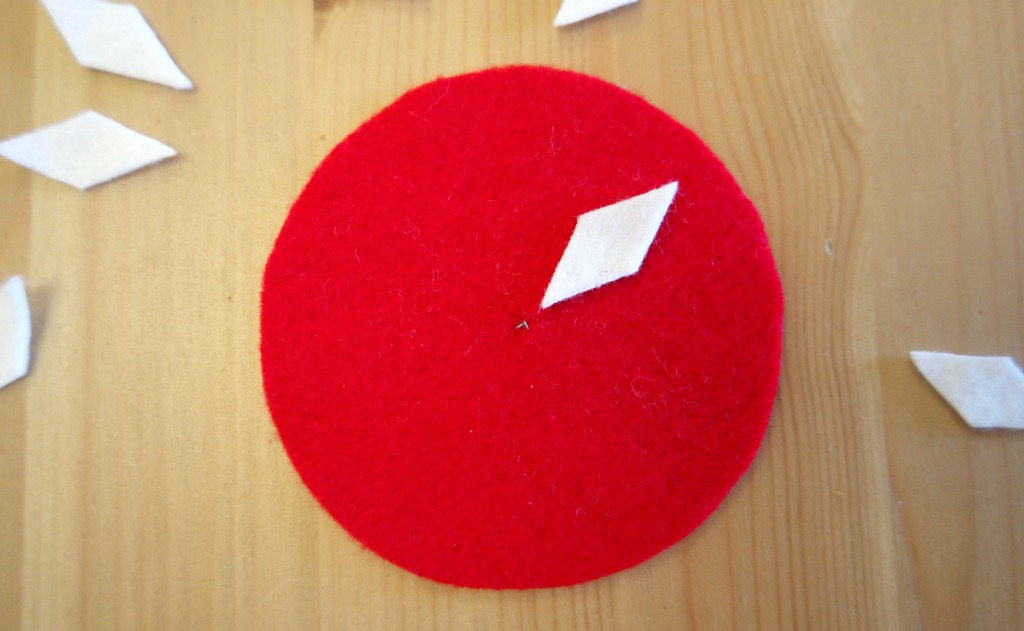
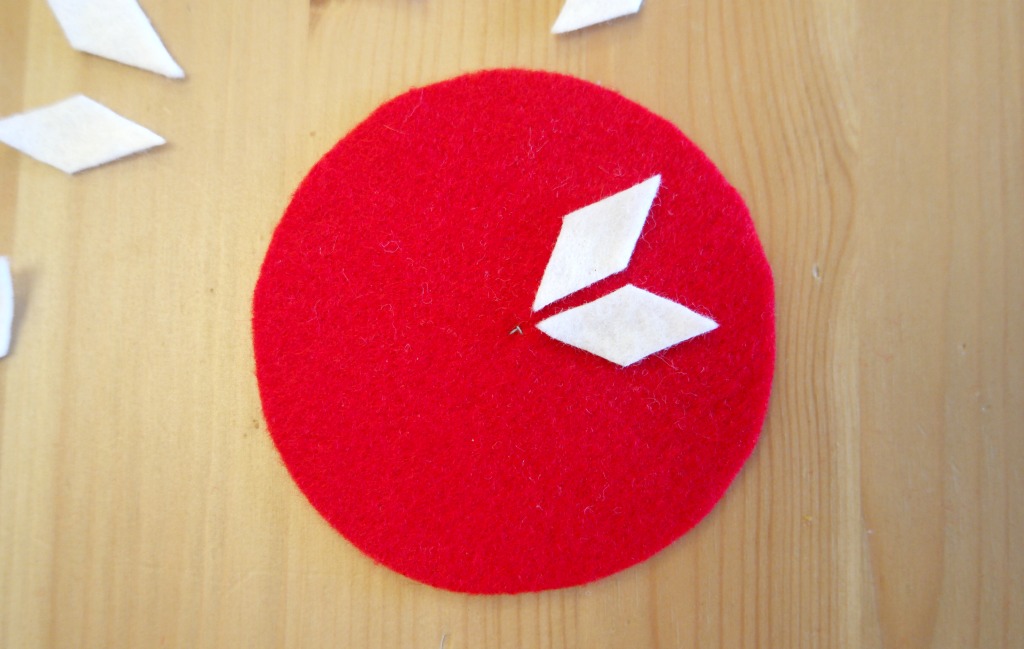
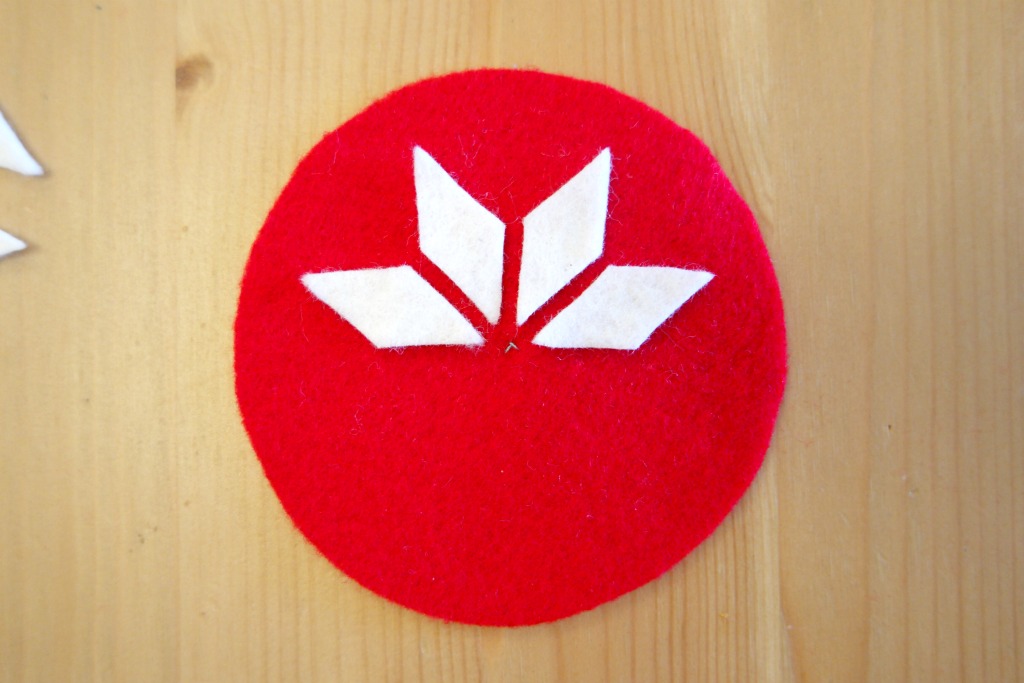
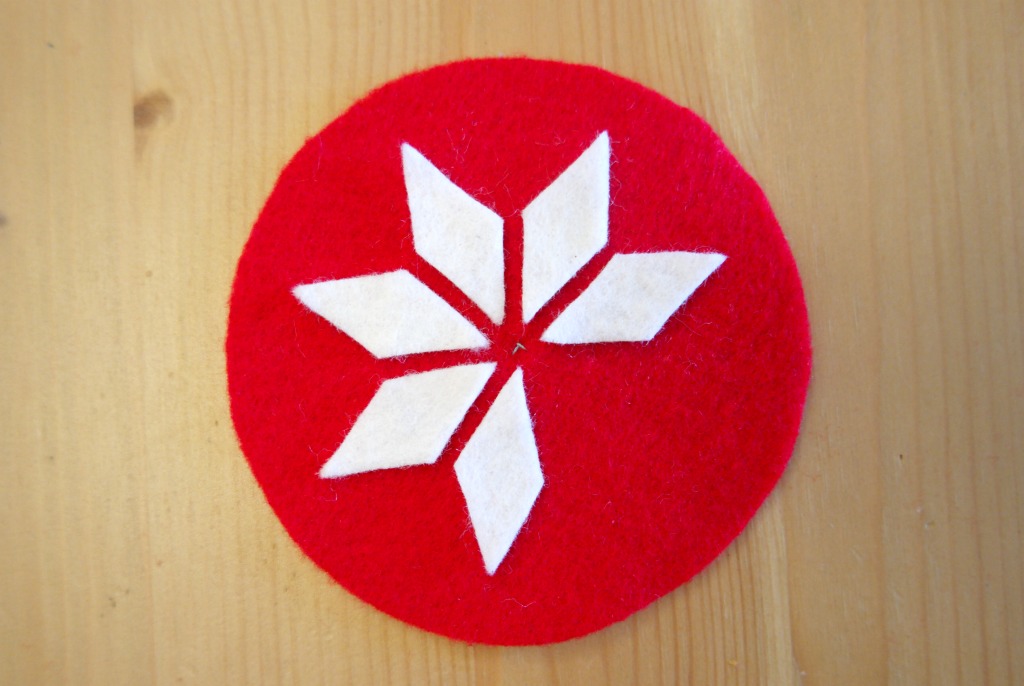
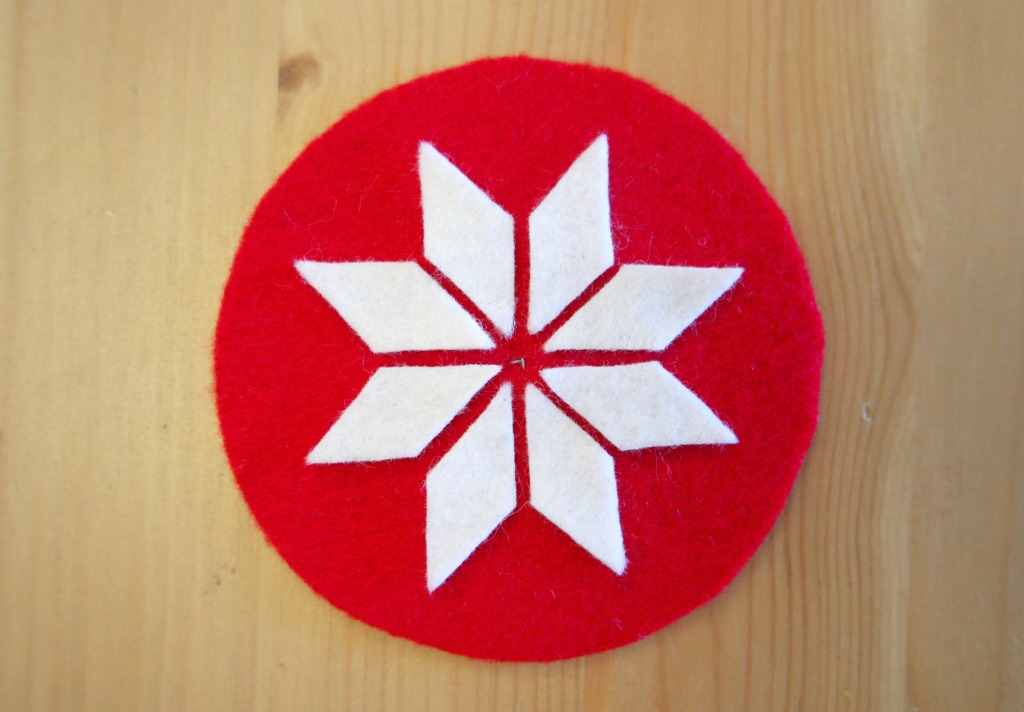
2. Tack them in place, then applique them to the circle. I would really recommend not skipping this stage! The sharp eyed among might notice a mistake on the white bauble. This was caused by not arranging them onto the bauble and tacking before sewing them in place!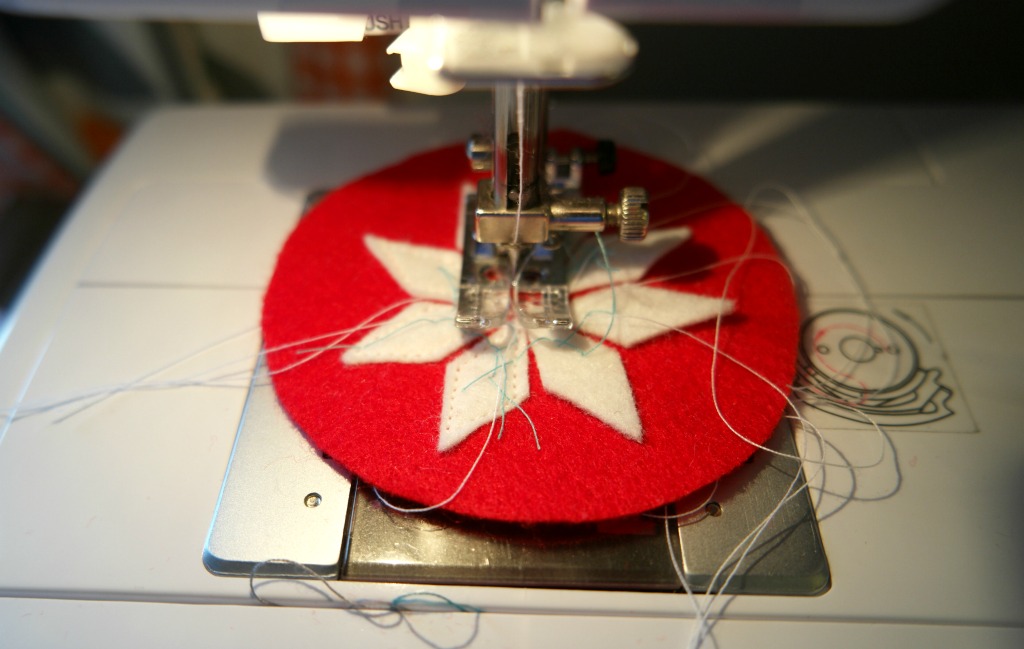
This is a little bit fiddly. If you’re using your sewing machine, it’s easiest if you use a small stitch. Otherwise you could sew them on by hand.
3. Place the other felt circle over the back of the first one. Sew the circles together.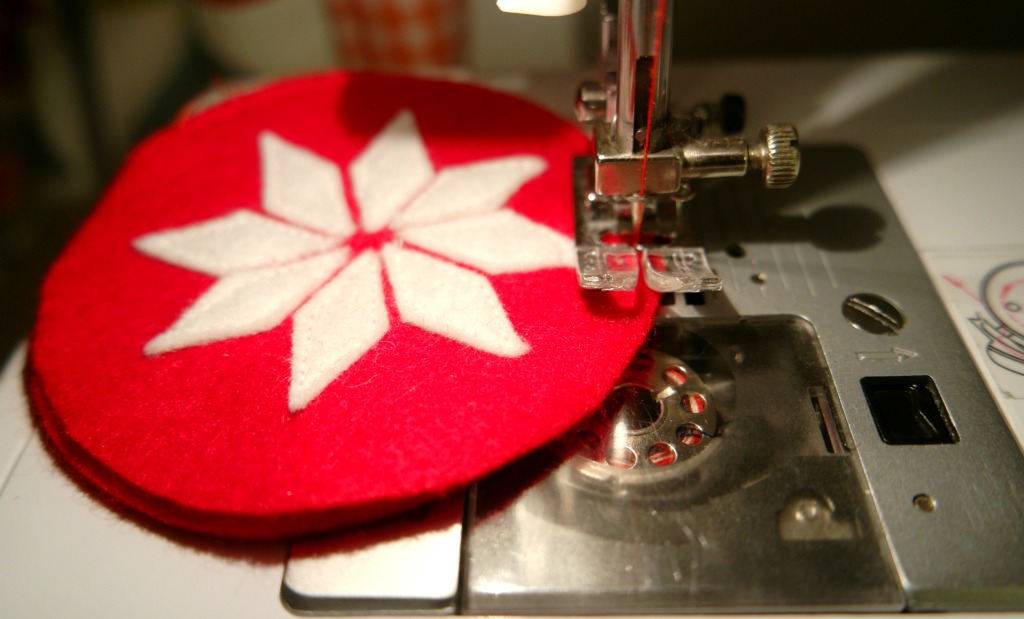
4. Cut a length of ribbon and sew it to the decoration.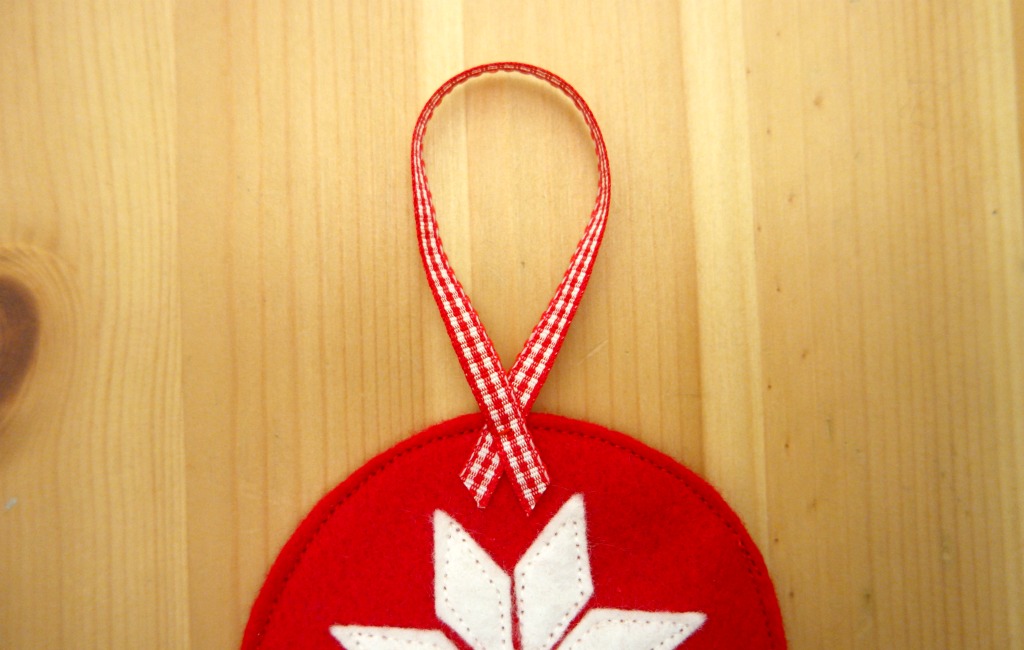
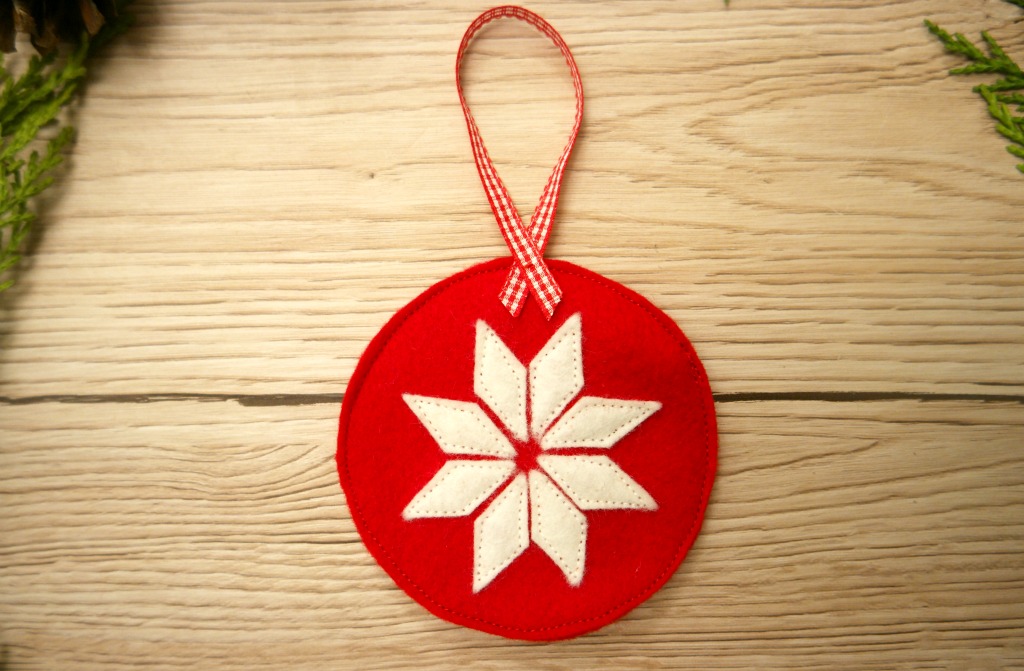
If you like the red and white, you could make another one with a white bauble and a red star!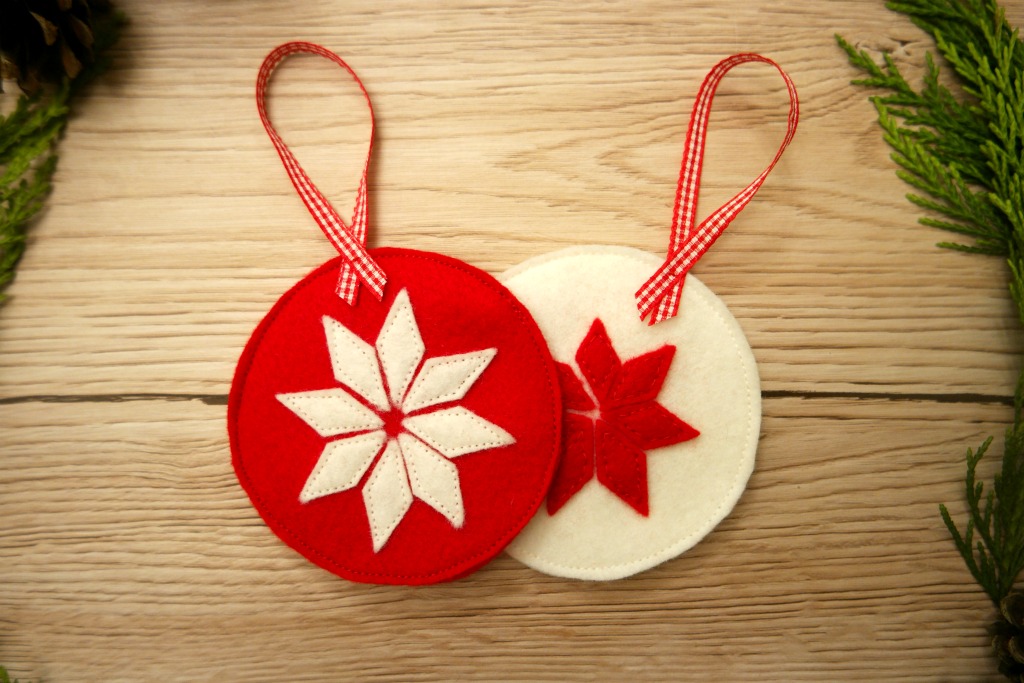
If you like this post, you might also like this one showing how to make felt birds. There’s a template that you can download for free, otherwise I have bird kits for sale here. The kits contain everything you need to make 1 white and 1 red bird.
You might like these posts too.


Beautiful ornaments, Anna, and a great reminder of your holiday.
Pam @Threading My Way recently posted…Container Planting in a Large Garden