How To Sew a Half Circle Skirt Without a Pattern
I love circle skirts.
They are very easy and quick to make and you don’t need a pattern. They suit pretty much every body shape and they are lovely and swirly to wear.
The only downside is that you need a lot of fabric.
While having a rummage for something the other week, I found a couple of metres of cotton jersey that I’d bought for something and never used.
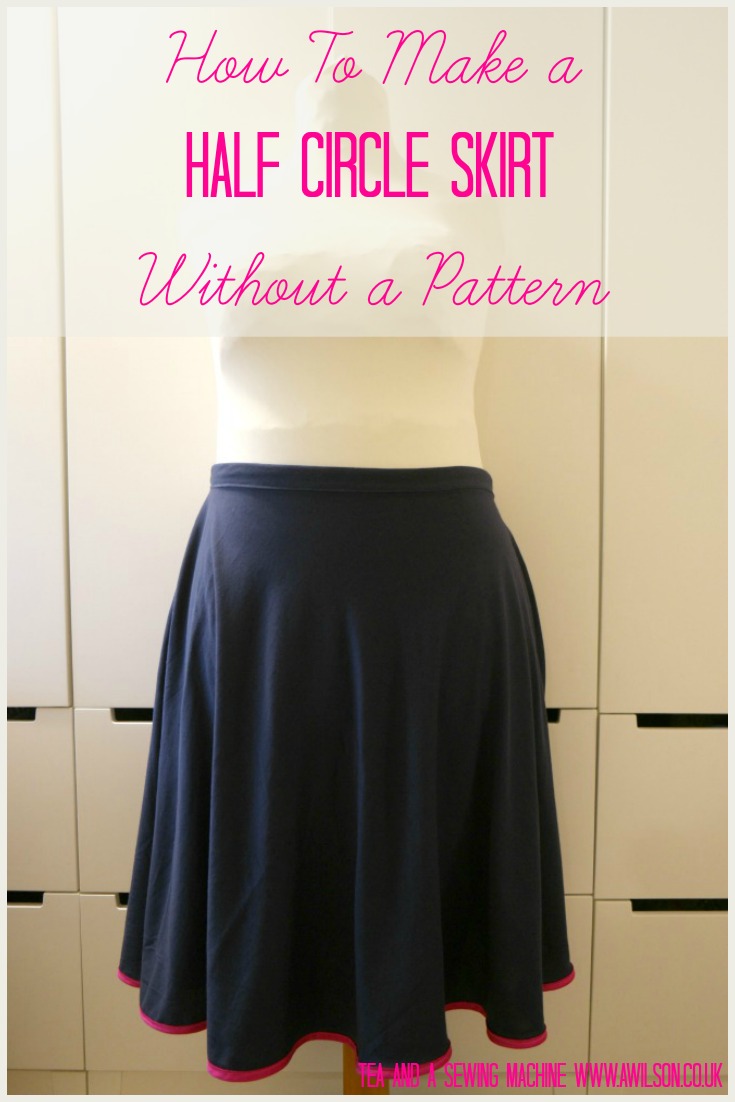
2 metres is not enough to make a circle skirt for somebody of my dimensions, but it’s plenty for making a half circle skirt!
So that is what I did :).
Being made from jersey, it didn’t need a zip. There was less of it to cut out and less of it to sew, so it was quicker to make.
I used stretch bias binding to finish the hem (affiliate link).
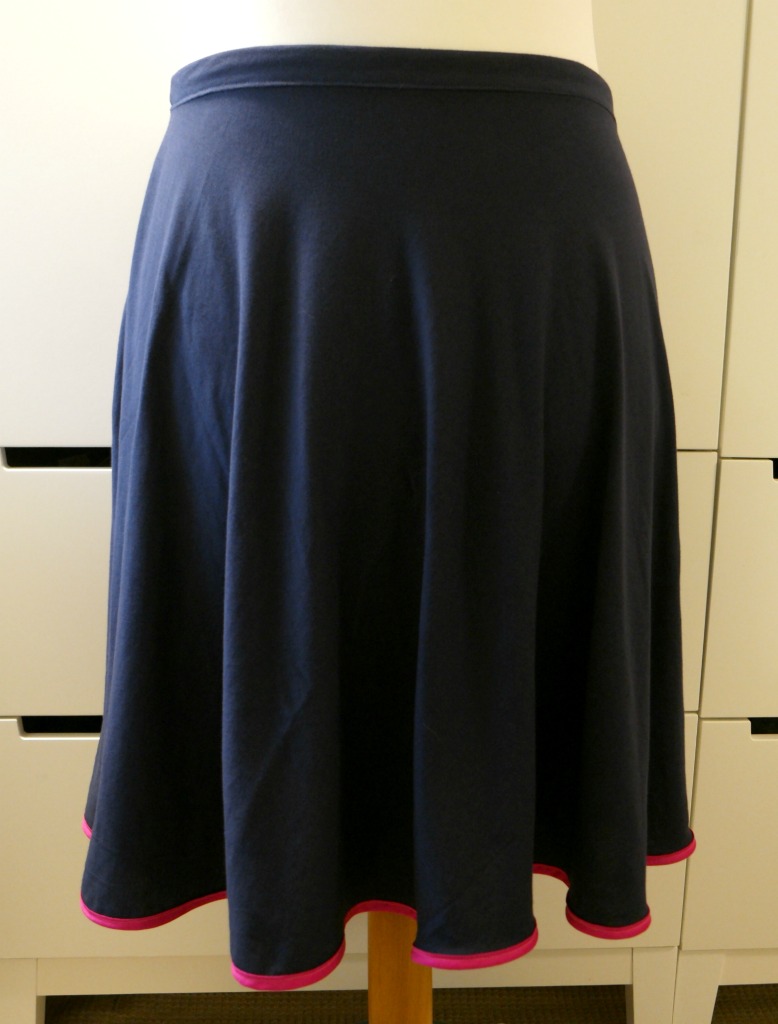
Bias binding is my favourite way to finish the hem of a circle or a half circle skirt as they can be fiddly to hem normally. I opted for a contrast colour instead of aiming for the same colour and it not being quite the same. It’s actually the pinkness at the bottom of the skirt that is my favourite thing about it!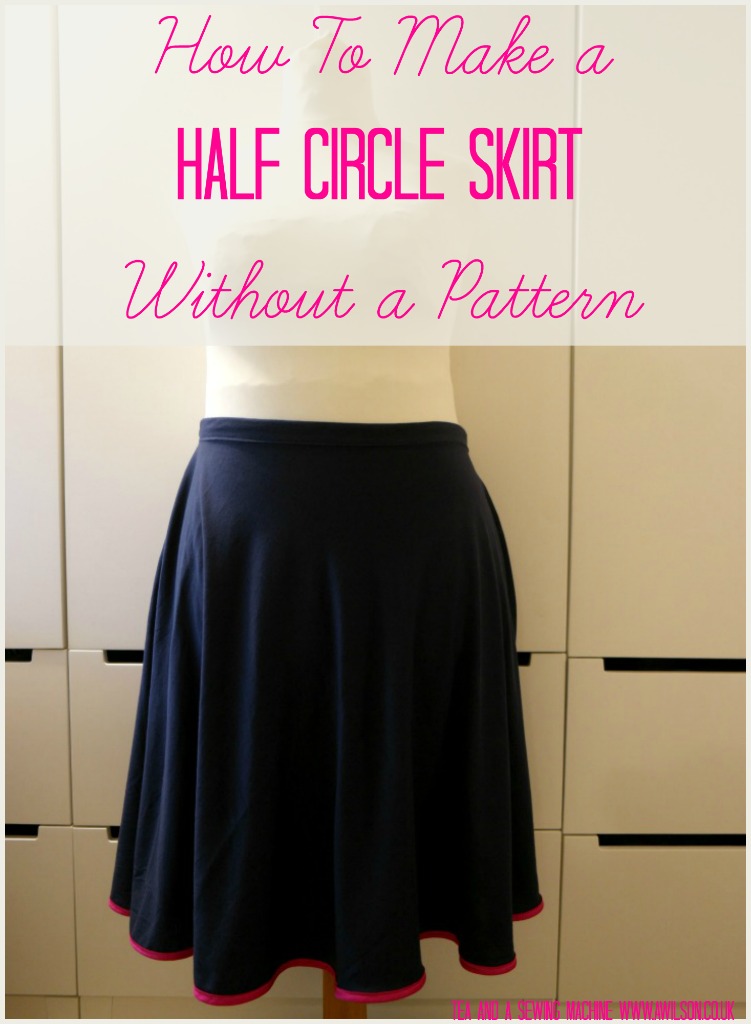
How to Make a Half Circle Skirt
You Will Need
2 metres of jersey fabric, 3 metres of stretch bias binding, usual sewing supplies, but check your measurements first!
Calculating Your Measurements
This involves doing some maths but please don’t panic if maths is not your thing! It’s not difficult maths.
Decide how long you want the skirt to be. 60 cm is a good length for most people.
Measure around your waist and add 4 cm. This is to allow for a 1 cm seam.
Take that number and divide by 3.14, or pi. There’ll be a pi button on your calculator, and probably a calculator on your phone if you don’t have one. Or you could just divide by 3.14.
Add the answer to the length of the skirt. This is the size of square you will need.
So my waist measurement plus 4 extra cm was 97 cm. Divided by pi, this was roughly 31 cm. I added 31 cm to 60 cm, giving me 91 cm.
So I needed to cut 2 squares of fabric 91 cm x 91 cm.
That’s the hardest part, the rest is easy!
Cutting Out
1. Take your 2 squares of fabric and lay them out wrong sides together. If you are using a directional print, make sure that both squares are the same way up.
2. Remember the number you ended up with after you divided your waist measurement? Take that number and measure down from the top of the squares by that amount. Pin, then using a tape measure, measure all the way round the top quarter. Mark with pins.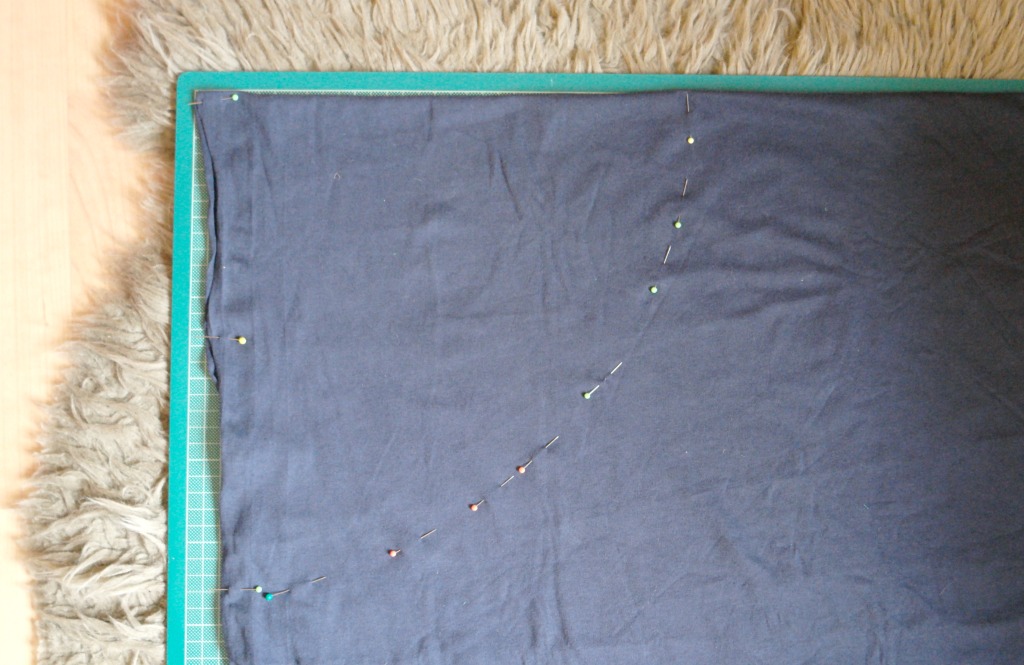 My advice is always to iron your fabric first. As you can see, I need to take my own advice!
3. Now take that number added to the skirt length and measure down from the top corner. Mark at the side with a pin, then measure all the way across the bottom of the corner circle.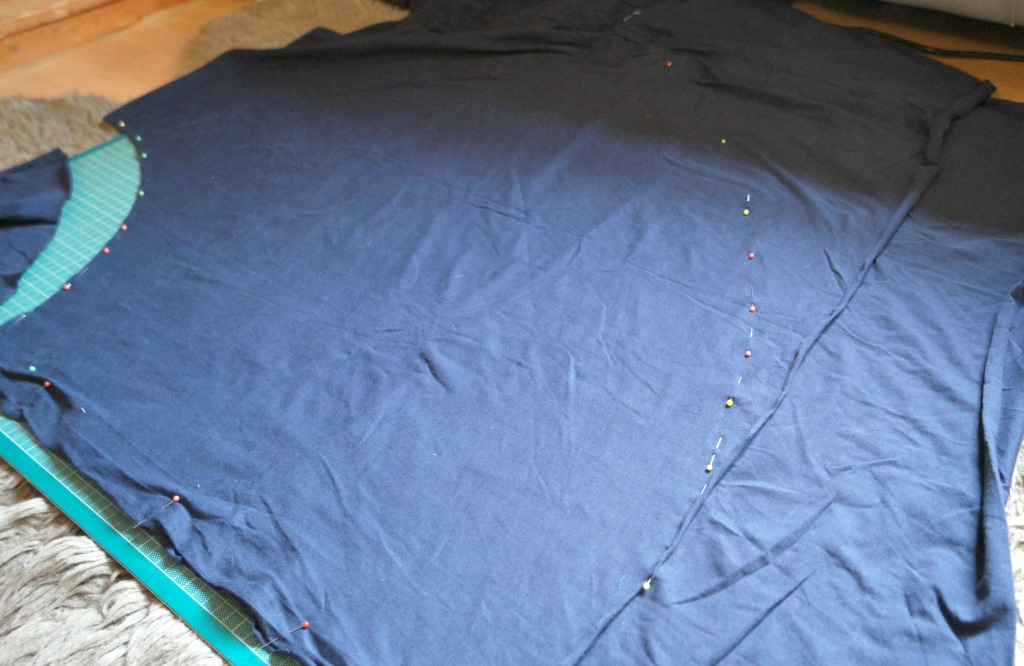
4. Cut where you have pinned. You should end up with 2 pieces that look like a quarter of a doughnut.
5. From the fabric that is left, cut a strip of fabric 10 cm wide and as long as your waist measurement plus the extra cm. It might be necessary to cut 2 strips. You’ll need the waistband to stretch, so check that the grain is running up and down the waistband, not side to side.
Sewing Up
1. Take your 2 quarter circles and, with the right sides together, pin the side seams. Try it on to check that it fits. Adjust the pins if necessary.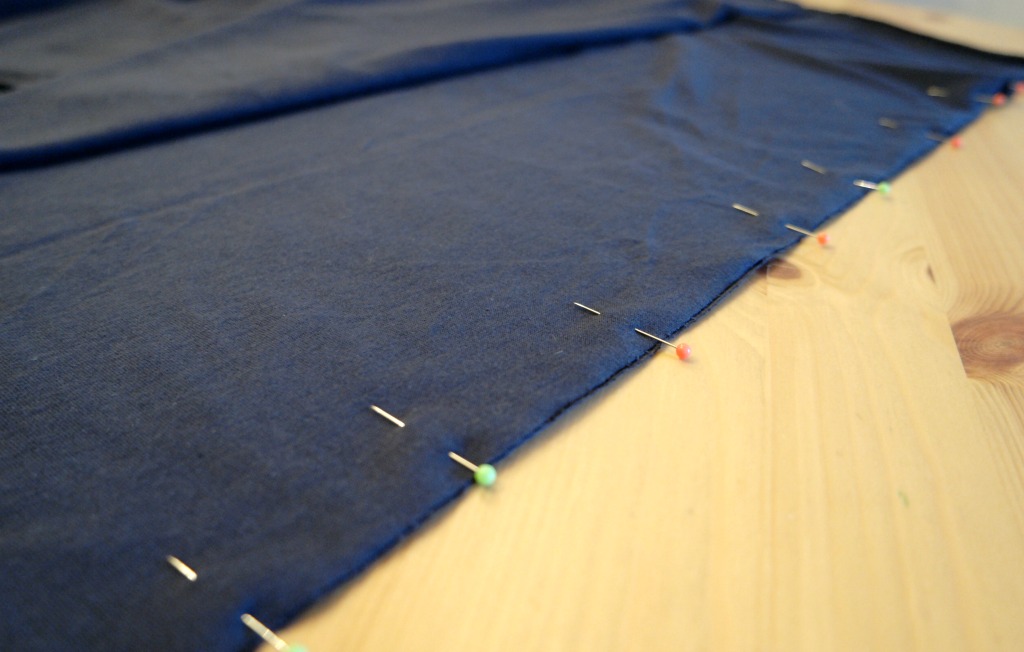
2. Sew up the side seams.
3. Take the waistband strips and pin them together. Check them against the skirt to ensure that the seams will match, then sew the waistband pieces together.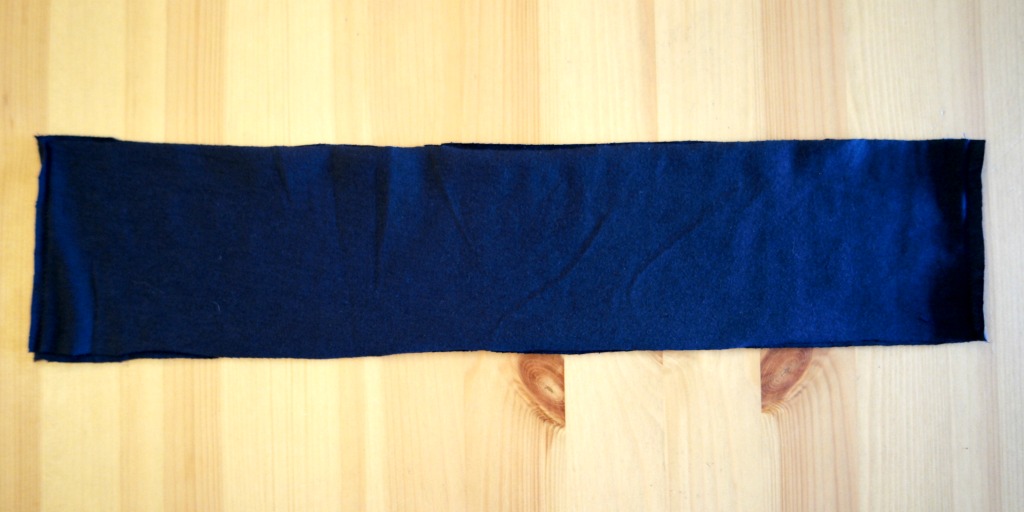
4. With the waistband wrong side up, pin it to the wrong side of the skirt. Start by matching the side seams. Sew the waistband to the wrong side of the skirt.
5. Fold the waistband over the top of the skirt. Tuck the raw edge of the waistband underneath and pin it to the top of the skirt.
6. Top stitch around the waistband, keeping close to the bottom edge.
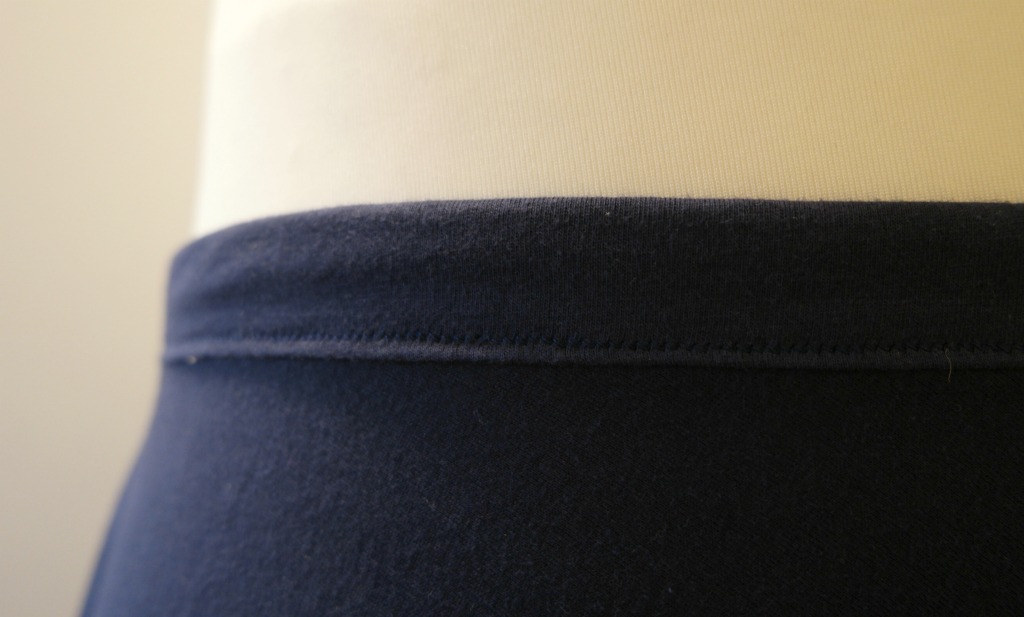
7. Starting at one of the side seams, fold one end of the bias binding over and pin it to the bottom of the skirt on the wrong side. Sew the bias binding all around the bottom of the skirt.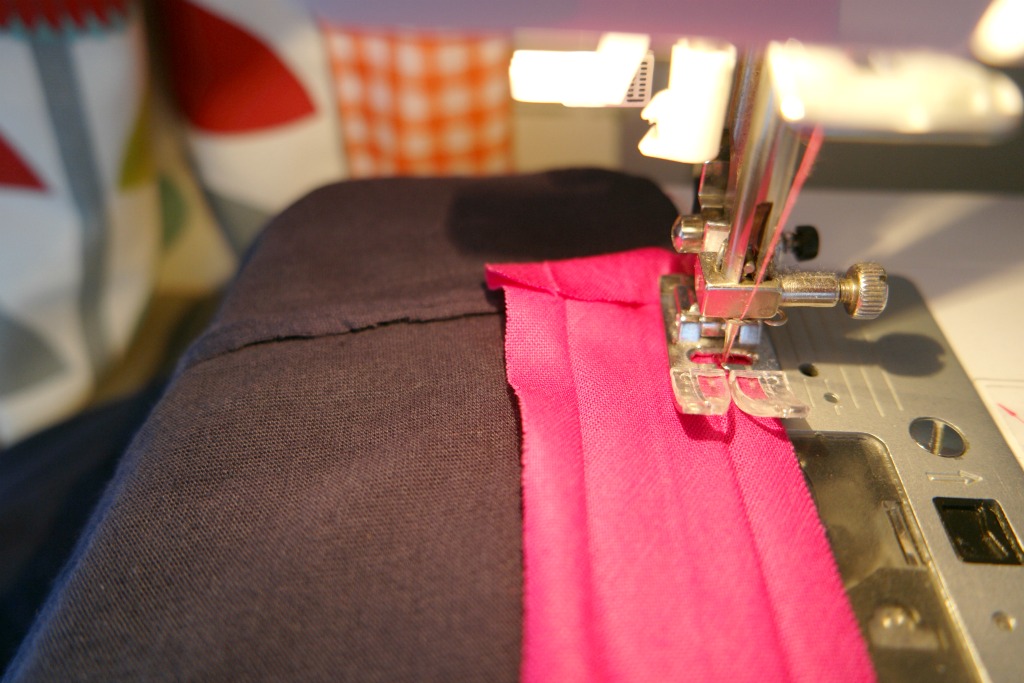
When you get back to where you started, overlap the bias binding by a cm or 2. Sew it in place and cut off the rest.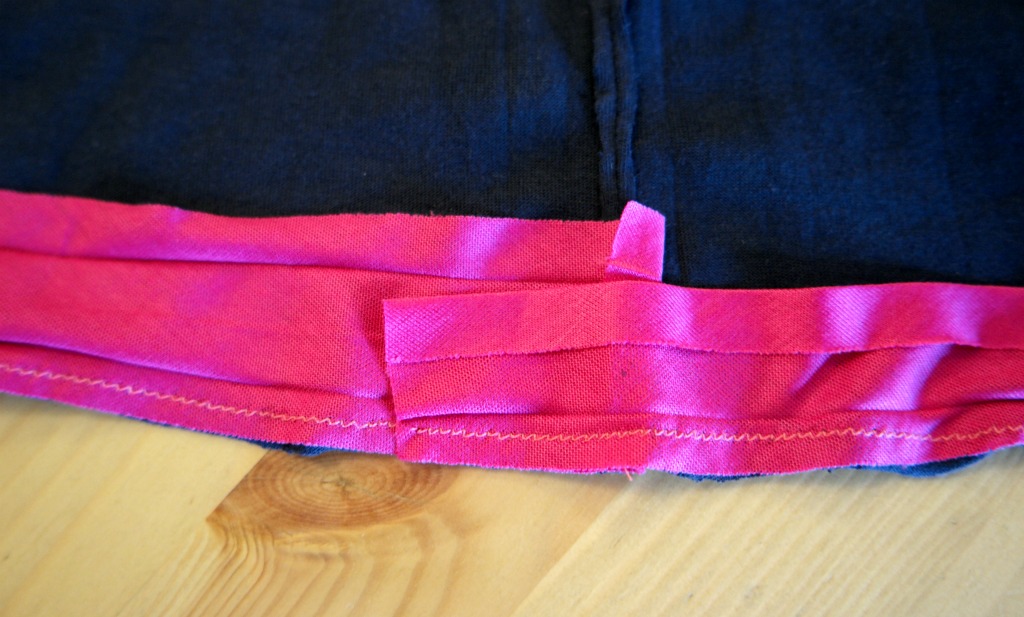
8. Fold the bias binding over bottom edge of the skirt, tucking the raw edge of the bias binding inwards. Top stitch all the way round.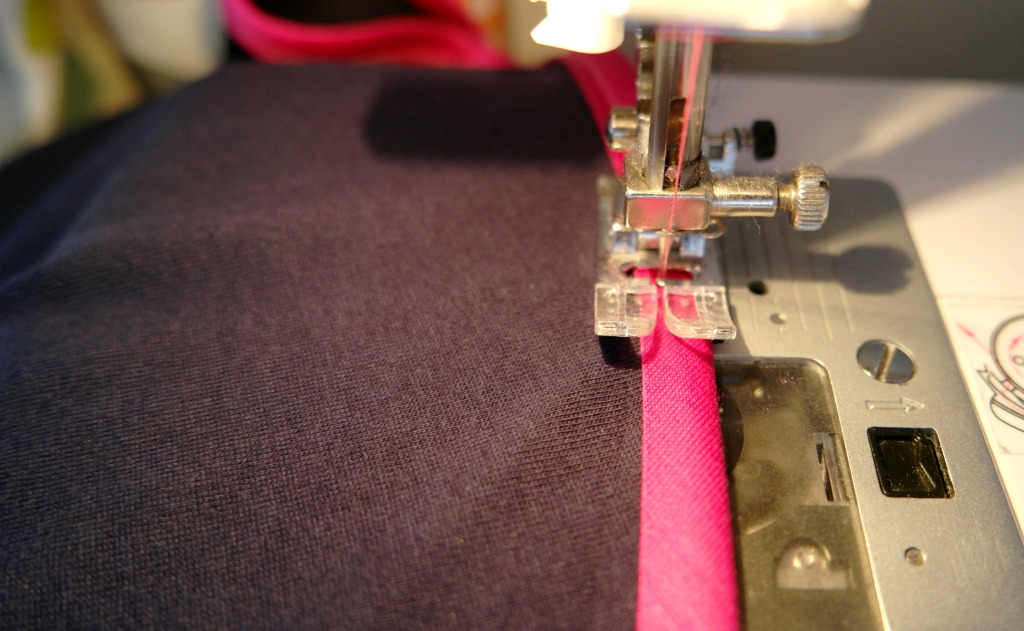
When you get back to the start, carefully fold the ends of the bias binding over and sew in place.
9. Put on you half circle skirt and wait for the compliments!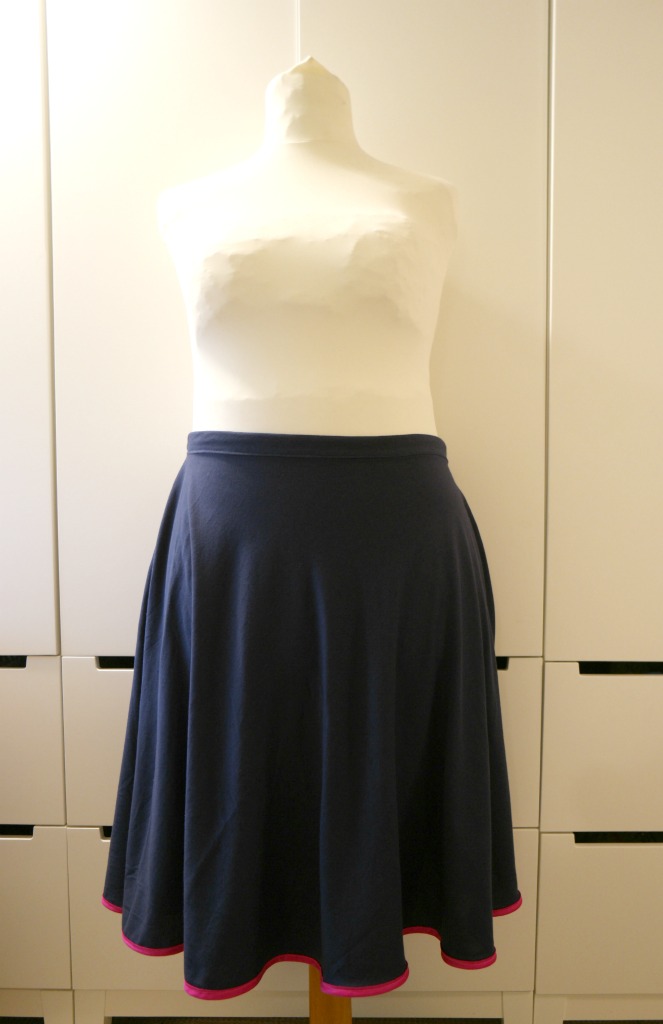
 If you liked this tutorial, you might also like these:
Cherry Blossom Dress Without a Pattern
Circle Skirt Without a Pattern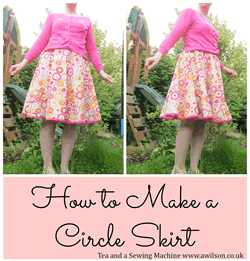
Foofy Skirt Tutorial (this has a link to a tutorial I wrote for the Minerva Crafts Bloggers’ Network)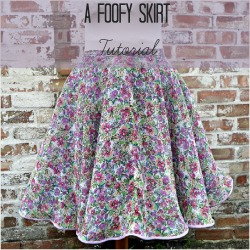
Tips For Making Clothes Without a Pattern
You might also like to take a look at my ebook Making Clothes Without a Pattern: 6 Easy Projects to Kickstart Your Handmade Wardrobe.
You can also sign up to receive updates and free stuff and you’ll be sent a printable copy of the circle skirt tutorial, complete with a page to record your measurements! There’s a form below.
Linking up here.


I love this tutorial! Sewing a half circle skirt seems so much easier now that you’ve broken it down step by step. Can’t wait to try it out with some fun fabric. Thanks for sharing!
I wonder about the measuring of this skirt. I want to make it but my hips are WAY wider than my waist and I feel I need to measure more on my hip and have a baggier waist and adjust it than to measure my waist. my waist is 50″ my hips 65″.
One option would be to use your hip measurement instead of your waist, and attach it to an elastic waistband like I did with the tulle skirt. I don’t know how much the elastic stretches though, you might still end up with it being baggy at the waist. Otherwise a full circle might work better.