Sewing Tips For Making Bags
I am currently on a bit of a bag making thing.
Bags are among my favourite things to sew. They can be finished fairly quickly, they don’t need a lot of fabric and the possibilities are endless. I’ve never been one for shoes, hubby has more pairs than I do, but I like a new bag. And even better is a bag I’ve made myself!
Here are some sewing tips for making bags.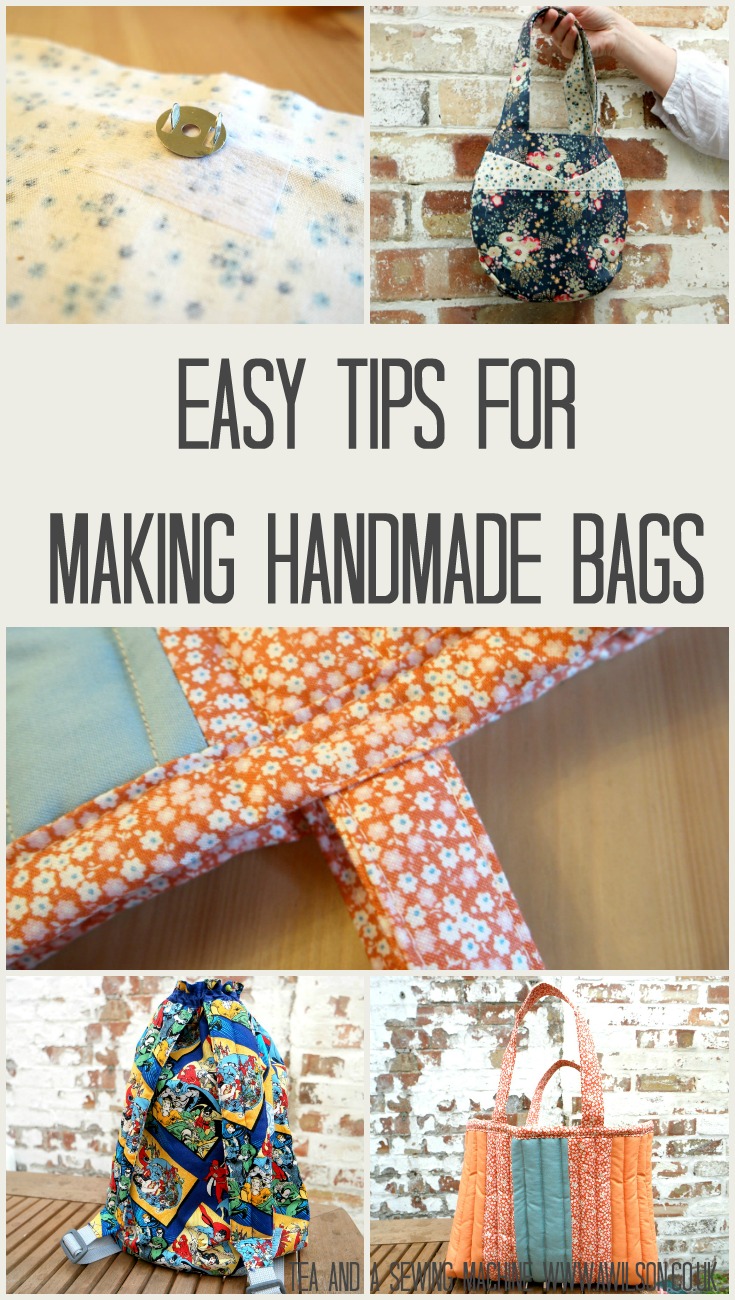
Tips for Making Bags
Consider Your Fabric
Heavier fabric is best for making bags, as this makes them more robust and hardwearing. Good choices here include duck cotton and upholstery fabric.
Waterproofness is a feature that you might like your bag to have. If this is the case, oilcloth is a good fabric to use. If you have issues with the fabric sticking to your pressure foot, smearing on a small amount of lip balm or handcream will make things easier.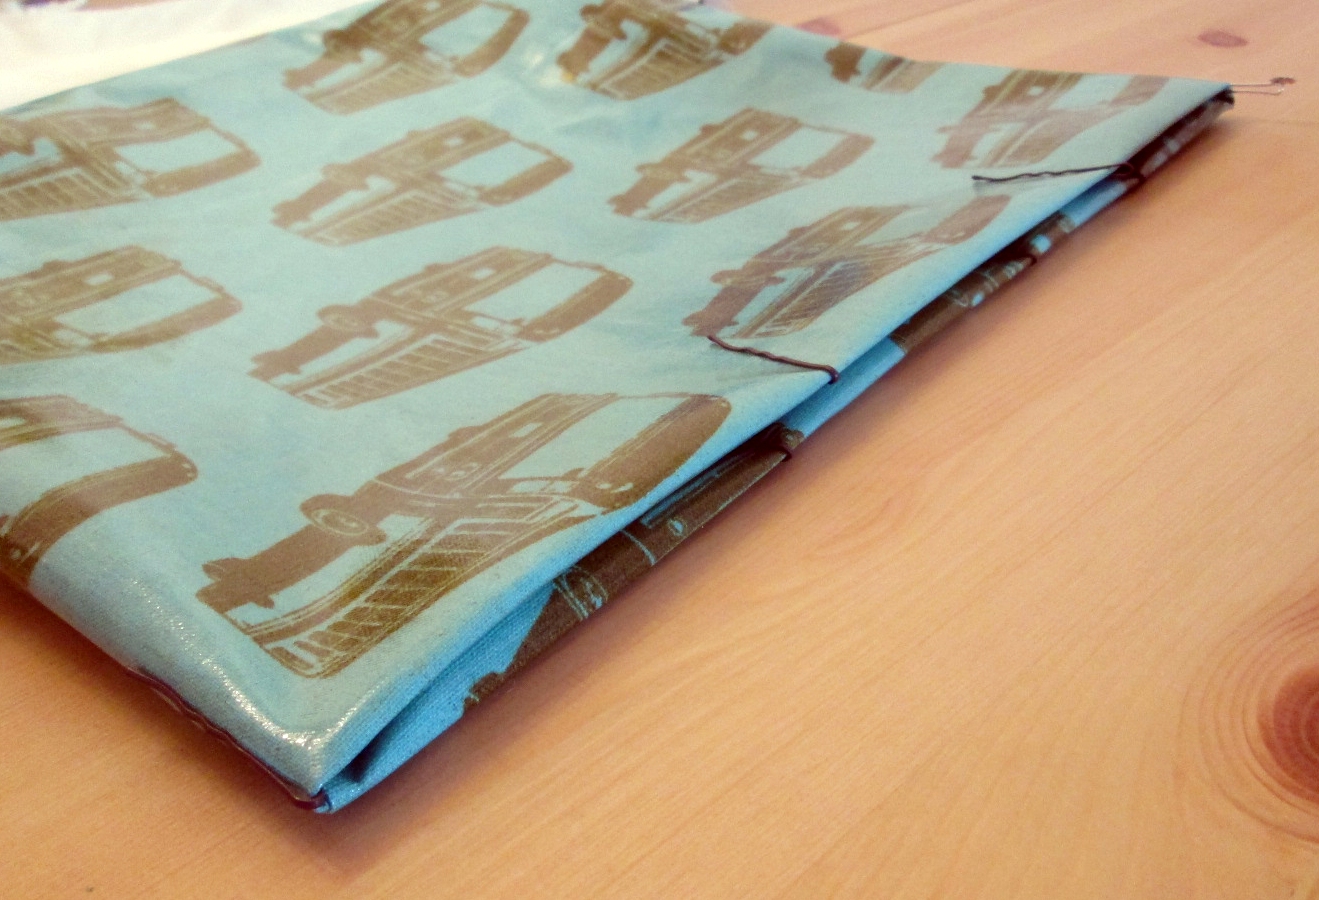
Another good waterproof option is ripstop. This is lighter and easier to sew but is still waterproof. Laminated cotton is another possibility, although it tends to be thinner than oilcloth so you will probably need to use interfacing with it.
If you’ve set your heart some beautiful quilting cotton, don’t worry, because you still have options! You just need to make it a bit thicker. The easiest way to do this is with interfacing. Fusible interfacing will make the fabric stiffer, whereas the sew in kind will give at a lovely, slightly squidgy quality.
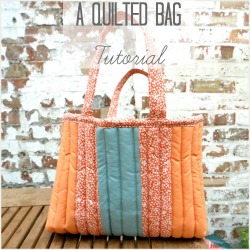
You could also quilt it, like I did with this bag.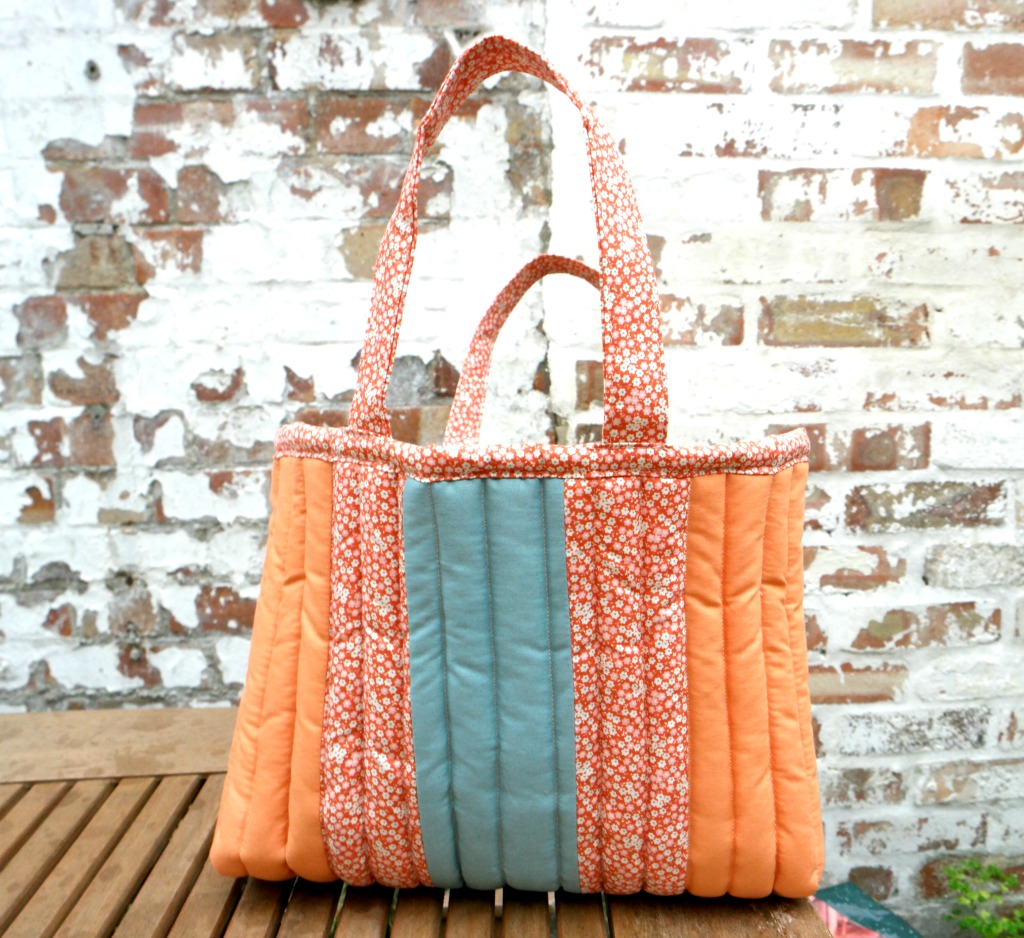
If you need to make your pretty cotton bag waterproof, you could use a waterproofing spray.
Use Interfacing
As I’ve already mentioned, interfacing is essential if you are using a lightweight fabric.
Even if you are using something heavier, interfacing can give your bag a squidgier feel, it will help it to hold its shape and it will give it some structure.
Even if you use interfacing nowhere else, it is essential to use it if you are making fabric handles.
Don’t Be Afraid to Use Hardware
Hardware is one of the easiest ways to give your handmade bag a professional finish. It’s also probably the thing that terrifies people the most about bag making!
However it is not normally difficult or complicated to add some hardware to your bag, and if you try, you’ll probably be amazed at how easy it is and what a difference it makes to the overall finish.
Hardware to consider using includes D rings, lobster clasps, bag feet, buckles, magnetic snaps and clasps and closures.
D rings and lobster clasps are perfect for adding straps, especially if you want the strap to be detachable.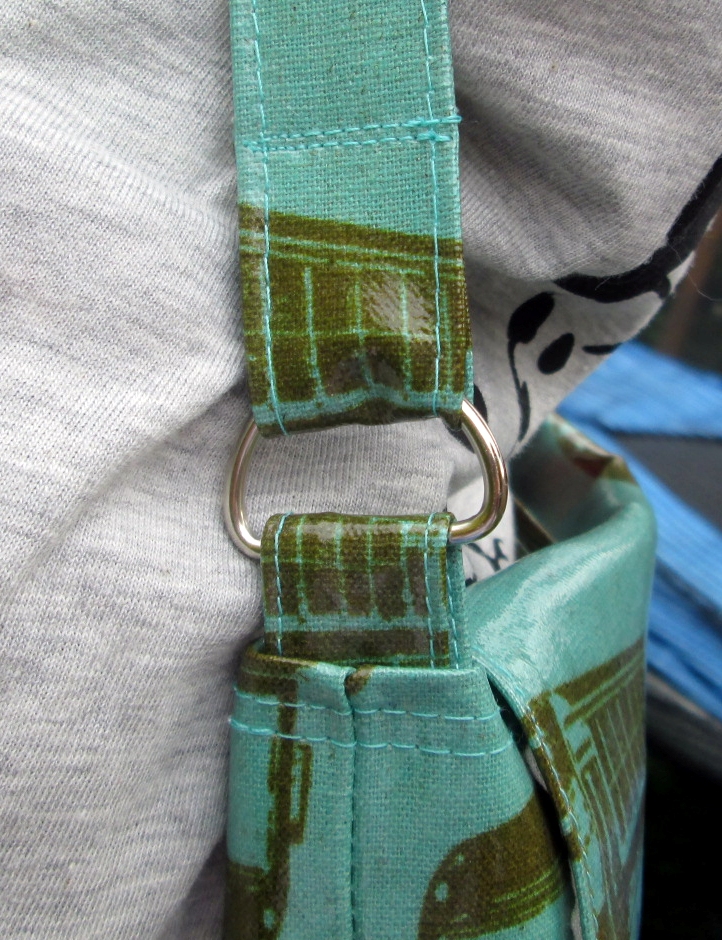
Magnetic snaps are very easy to attach and are a much easier alternative to a zip. I used to think they were in the realms of brain surgery until I tried them and then I realised how wrong I had been. You can find the tutorial here.
If you didn’t want to use a magnetic snap, you could try a twist lock or a tuck lock.
Add a Lining
Adding a lining does a number of things.
Firstly, it makes the bag stronger, which is especially useful if you have used a lighter fabric.
Secondly, it hides all the raw edges from the seam. Nothing screams “homemade bag” like unfinished seams! Adding a lining makes it all much neater.
Thirdly, it gives you a chance to add some pockets to the inside of your bag. I’d recommend doing this especially if you are making a big one. The last thing you want to be doing is rummaging in the depths of a huge bag full of stuff because you can’t find your phone/ keys/ bus ticket etc.
Sewing a lining doesn’t need to be complicated! The simplest way is to make another bag exactly the same as the outer, then join both bags at the top.
I personally like a zingy lining, so I will usually choose some fabric that is just as pretty as the outside. That way, even rummaging for my purse while waiting for a bus in the pouring rain becomes a treat!
Oversew in Areas That Are Most Likely to Break
Backstitching across these areas will give your bag a longer life expectancy and will make it stronger.
So consider the areas of the bag which are going to take the most strain.
These might include where handles and straps are joined to the bag, bottom corners, tops of pockets and areas around closures.
Consider Your Handles
There are so many options with handles!
You can sew strips of fabric of either the same or contrasting fabric.
To make it fancier, you could sew several strips and plait them.
If you are making fabric handles and you are expecting the bag to get heavy, you could add some wadding to make it more comfortable to hold.
Another option would be too use webbing. This is very easy to work with and comes in a variety of colours and widths.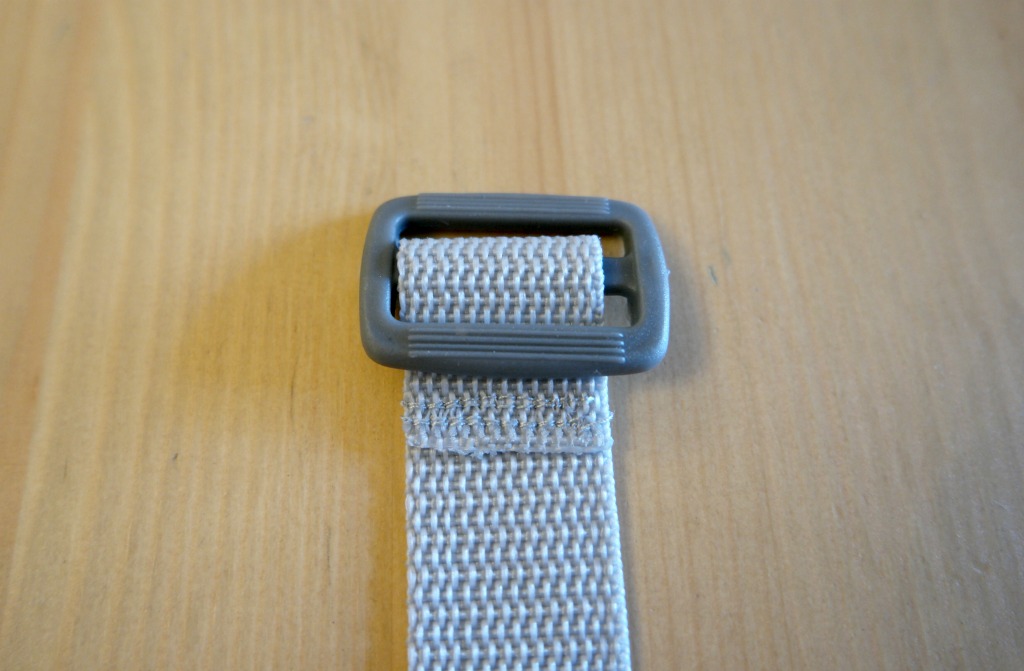
You could try rope handles threaded through grommits.
There are also all kinds, shapes and sizes of ready made plastic handles that can be sewn into a bag.
If You Need a Shoulder Strap, Make it Adjustable
If you live somewhere with a temperate climate, you’ll know what it’s like.
You’ll be carrying your bag over your shoulder or across your body just fine. Then the summer ends, the cold weather arrives, you’re wearing a big old coat and suddenly, the strap’s too short.
The answer to this is make the shoulder strap adjustable. It’s easy to do. You just need a little bit of hardware in the form of a strap buckle. Sew one end of the strap to the centre bar. Then thread the other end through the D ring attached to the bag, then back through the buckle. Sew the other end of the strap to the D ring on the other side of the bag.
So these are my sewing tips for making bags! If you would like some bag inspiration, take a look at these posts.
Linking up here.




Leave a Reply