A Piped Box Cushion Tutorial
You know when your husband tries to help by buying something you need, but ends up getting the wrong thing?
In the bathroom we have a pretty box/ bench thing for hiding mess.
It lives between the bath and the sink and sometimes I sit on it and chat to the boys (and drink a cup of tea!) while they’re in the bath.
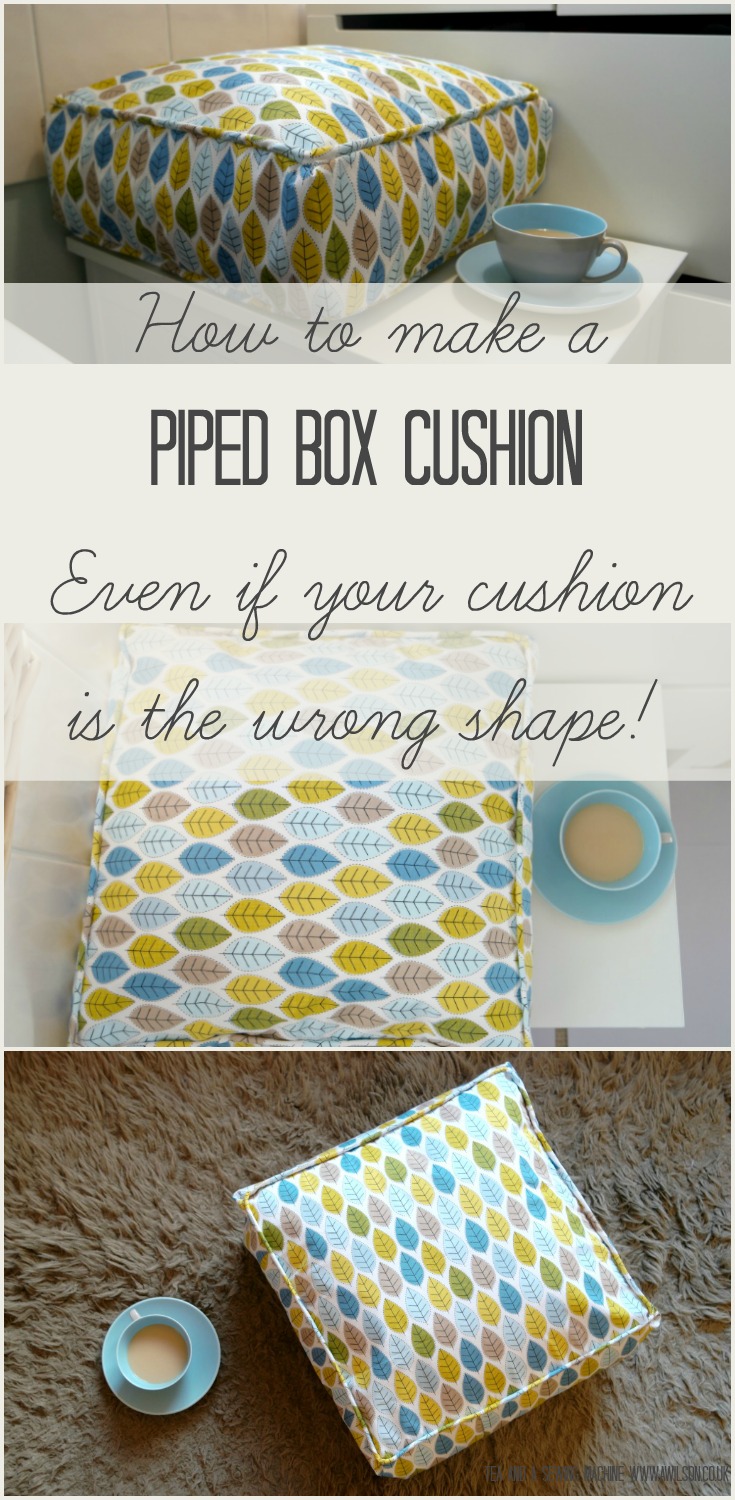
As I had some fabric left over from the Roman blind I made for the bathroom window, I decided to make a box cushion with piping to go on top of the box bench thing.
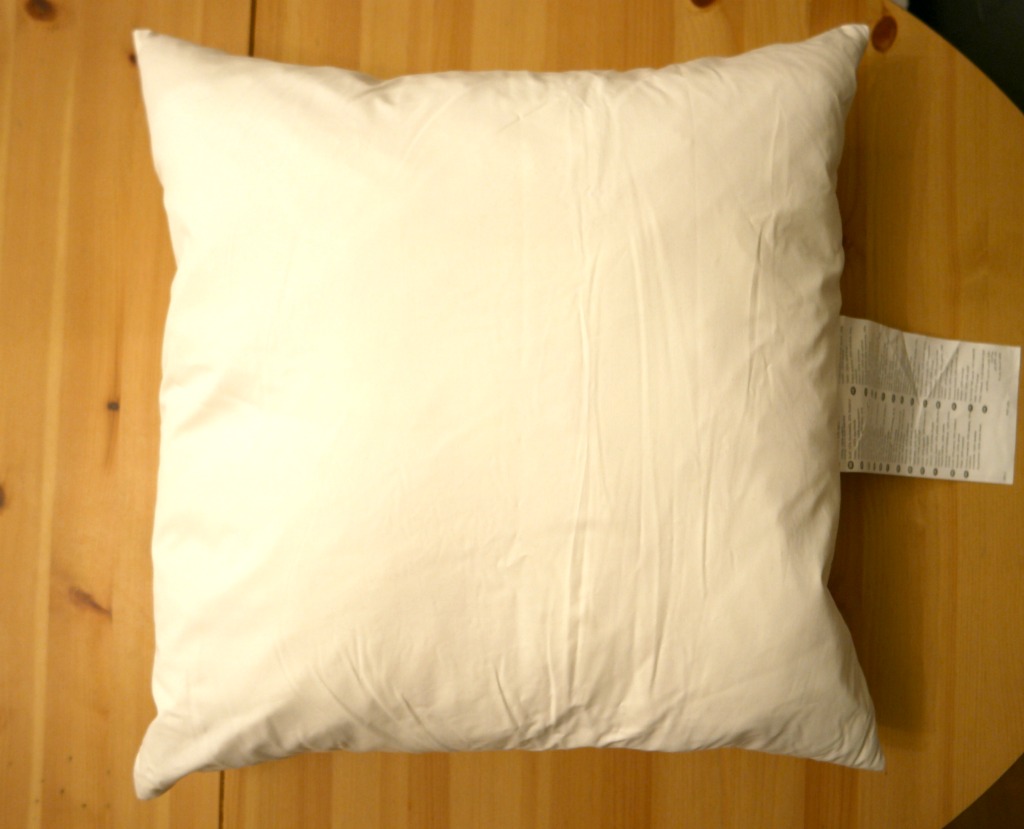
I had planned to buy a piece of foam, but Hubby had bought a couple of cushions from Ikea. They were the wrong shape, but I didn’t want to waste what we had already. So I set about changing the shape of the cushion.
I am very happy to share with you that it is perfectly possible to do this!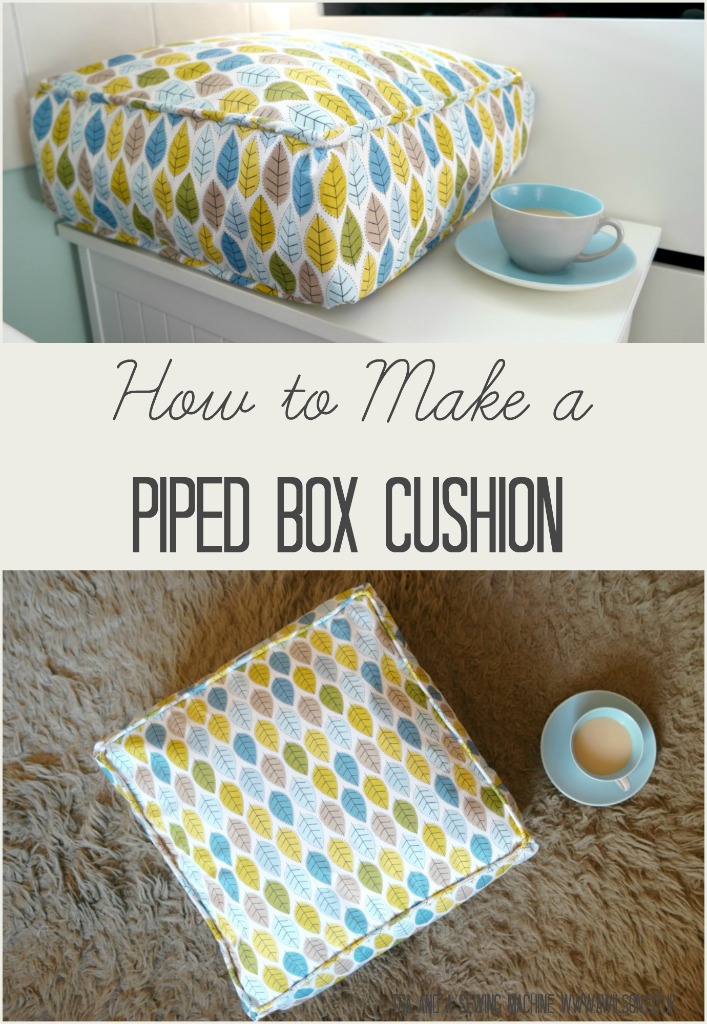
How to Turn a Normal Cushion into a Box Cushion
Turning an ordinary cushion into a box cushion is very easy to do. The process is exactly the same as making boxed corners for a bag.
Take one of the corners of the cushion. Squish the corner the other way so that the edges of the cushion are together. Pin, then sew across the corner. 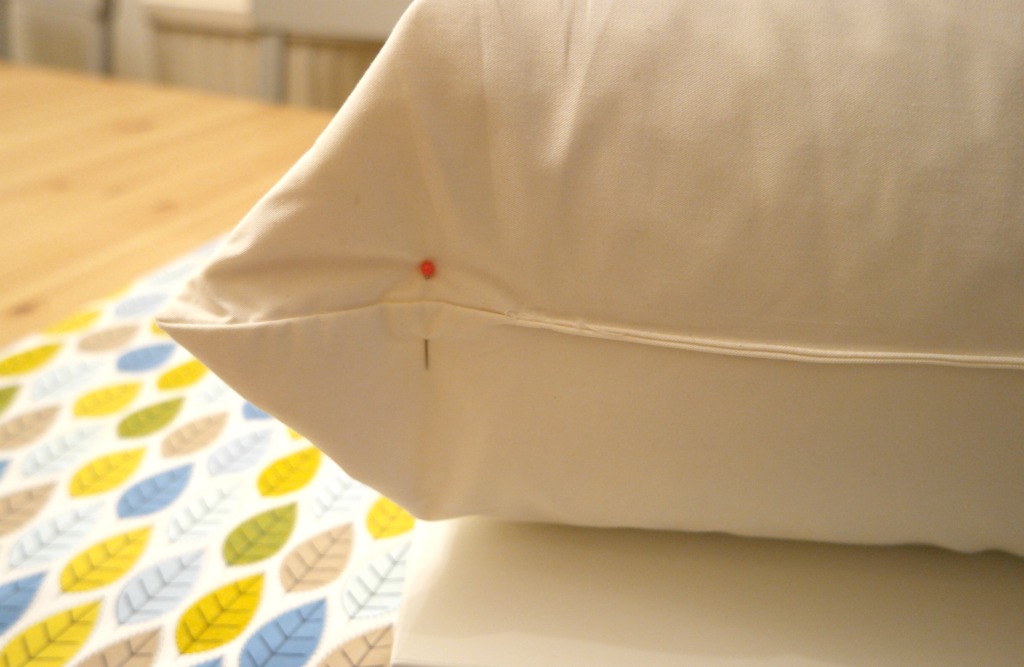 Cut the corner off. Repeat for the other corners. You now have a box cushion!
If you need to make your boxed cushion a certain size, you will need your original cushion to be larger.
Work out how much larger your cushion is, ie how much extra cushion you have.
Divide that number by 2.
Squash your corner, then measure up from the corner by that amount. That’s where you need to put the pin.
My cushion was 50 cm square and I needed it to be 35 cm. So that was 15 cm I had extra. I measured up each corner 7.5 cm and pinned there. That extra 15 cm gave the cushion its depth.
The instructions below are for a cushion 35 cm by 35 cm, but if you wanted to make one a different size, just change the dimensions.
How to Make a Piped Box Cushion
You Will Need
1 m cotton fabric (if it’s very light, like mine was, you’ll also need fusible interfacing to make it heavier), a boxed cushion or piece of foam, 4 m piping cord
, bias binding
if you don’t want to make your own strips (these are affiliate links).
Cutting Out
Cut out 1 square of fabric 38 cm x 38 cm and 2 rectangles 38 cm x 25 cm.
For the side piece, cut a strip 160 cm x 17 cm. You’ll probably need to cut 2 pieces and join them together.
You will also need 320 cm of piping cord, cut in half and either 2 pieces of bias binding 160 cm each or bias strips cut from your fabric.
Making the Bias Strips
You could skip this stage and use ready made bias binding. It’s easy enough to make your own strips though, especially as you don’t have to turn them into bias binding.
If you want to make your own strips, this is how to do it!
1. Take a large square of fabric and fold in half on the diagonal. Pin.
2. Measure 2 cm away from the fold, all the way along. Draw a line with a pencil or a fabric pen.
3. From the line you have just drawn, measure 4 cm away from it all the way along. Draw another line.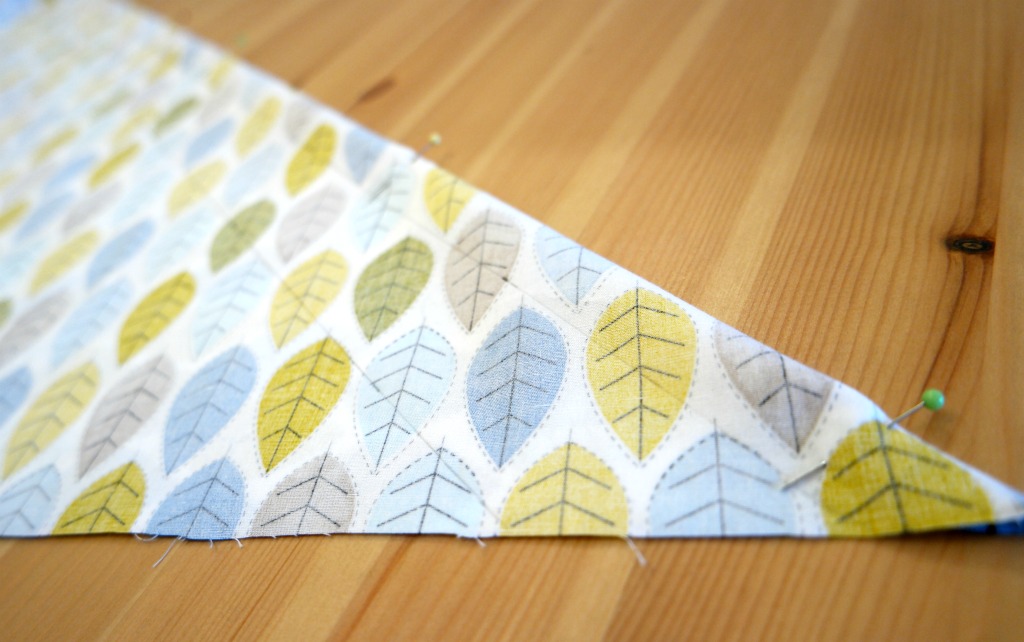
You might need to draw an additional line 4 cm away from this one if you need more bias strips.
4. Cut along the lines. This is easier with a rotary cutter (affiliate link).
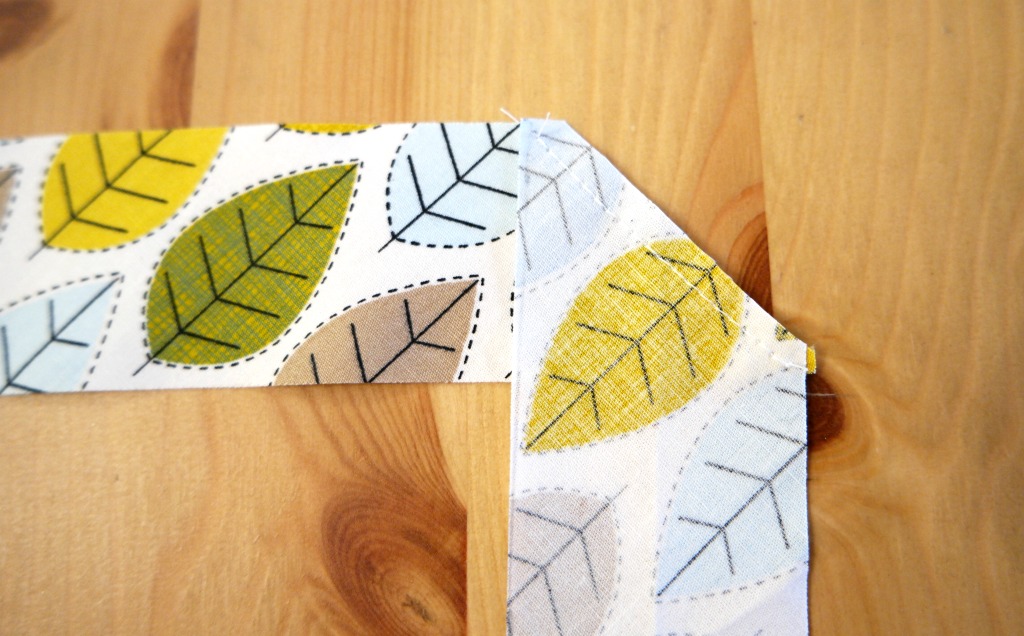
5. Join the strips together by pinning them at right angles and sewing across from corner to corner. Cut the corner off.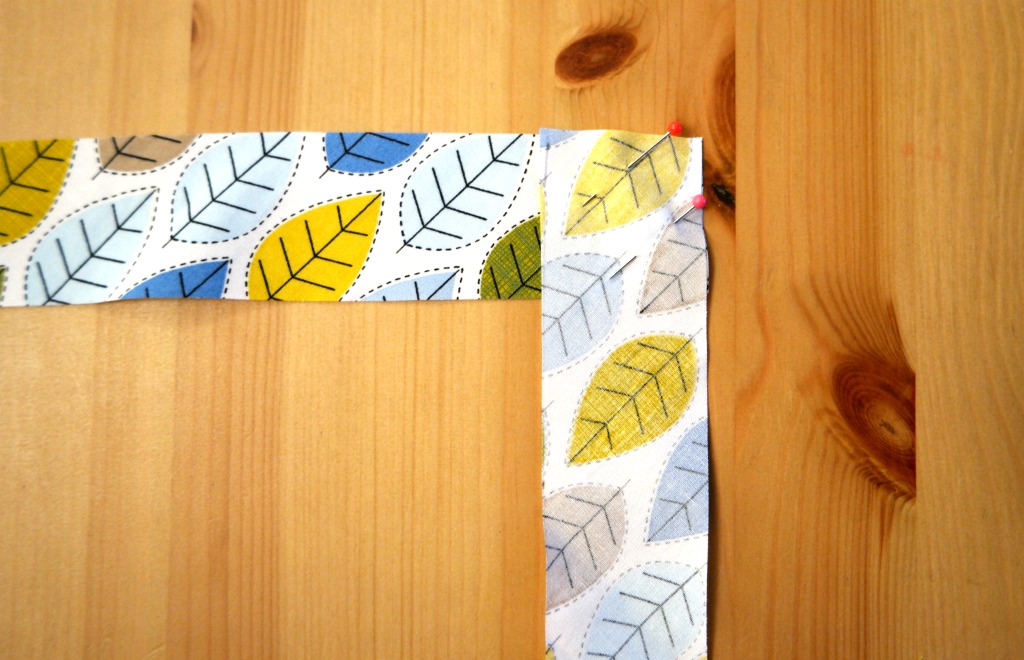
Making the Piping
This was actually my first attempt at piping!
For the piping at the top of the cushion, I slipped the cord inside the bias strips and then pinned it to then cushion top. This was fiddly, so to make the second lot to go around the bottom, I made the piping first, which proved to be quite a lot easier.
To make the piping, fold the bias strip in half and press with your finger. You don’t need a proper crease here, it’s just to get the cord in the middle.
Pop the cord inside the bias strip.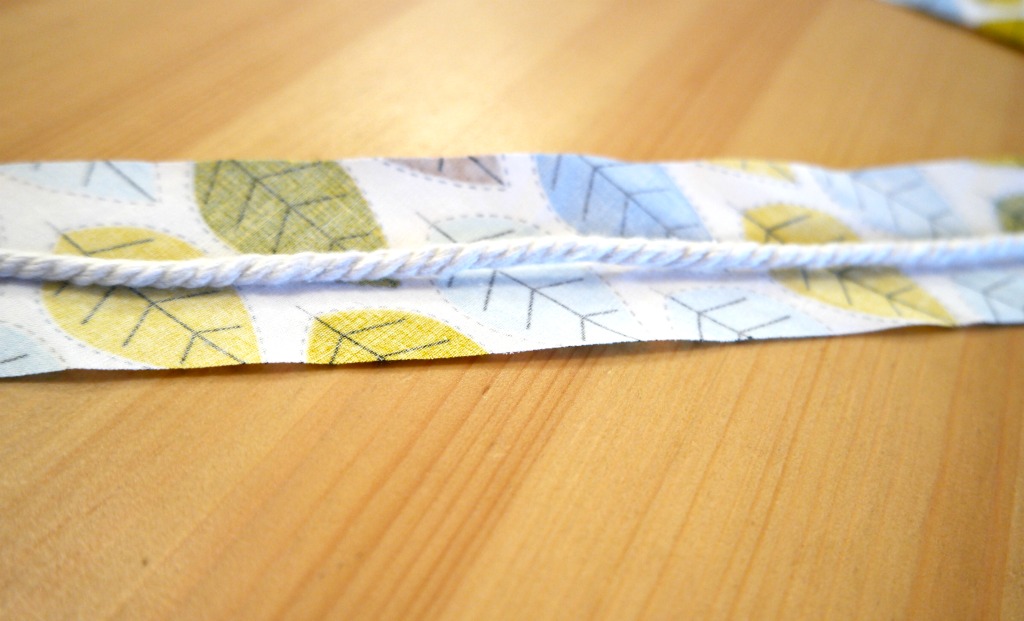
Using a zip foot, sew along the folded bias strip close to the cord, so that the cord is enclosed inside the bias strip.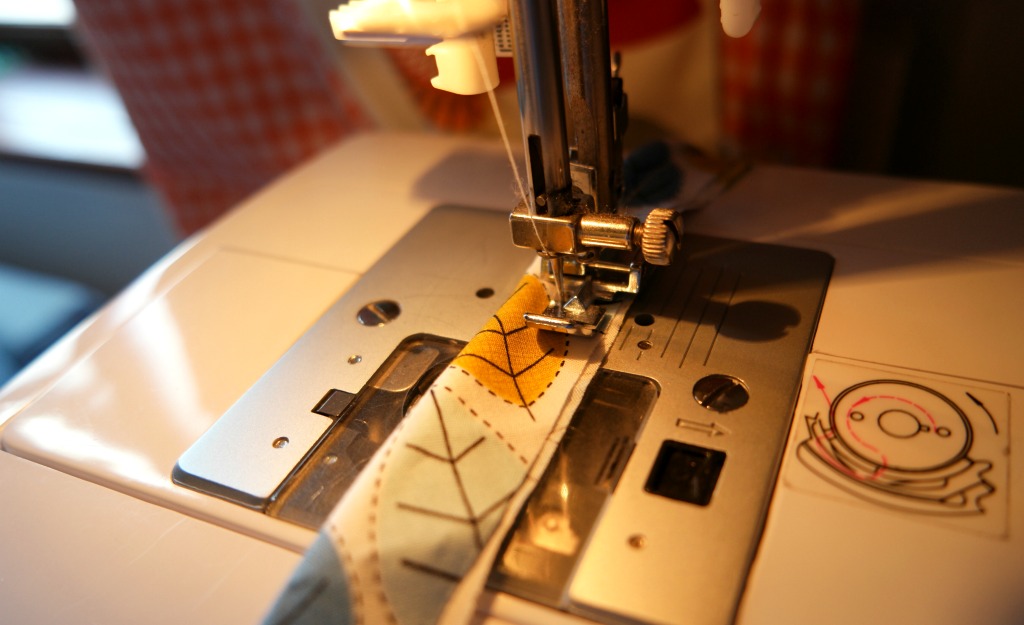
Making the Cushion
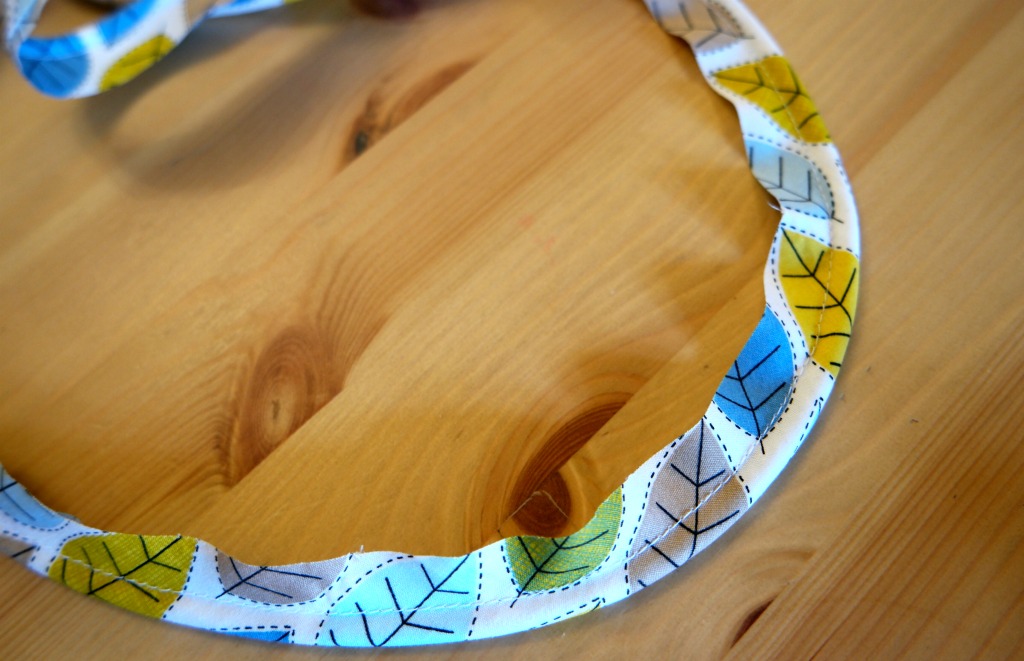
1. Take the cushion top and lay it right side up. With the cord inwards, pin the piping around the edge of the cushion top. Line the raw edge of the piping up with the raw edge of the cushion top and when you get to a corner, snip the bias strip so that it bends around the corner.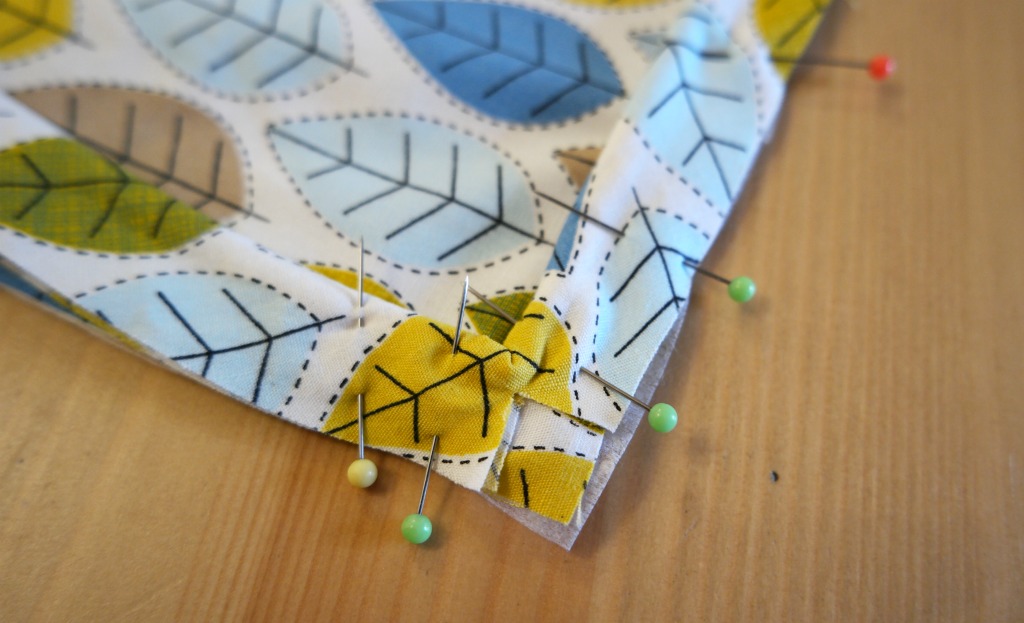
When you have got all the round, cut the cord so that the ends meet. Fold over one end of the bias strip and slip it over the other end. Pin in place.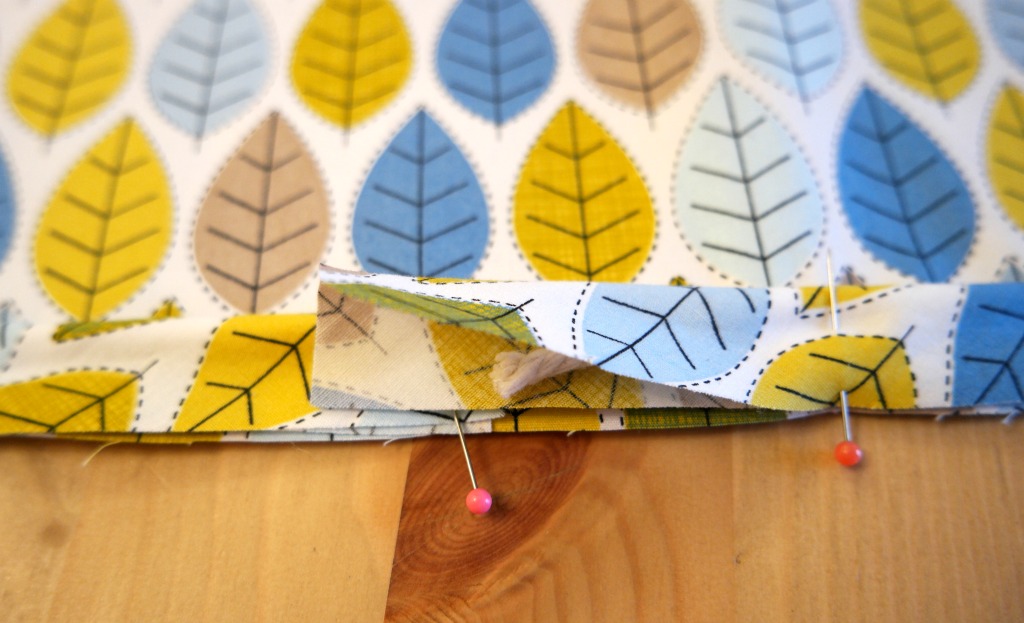
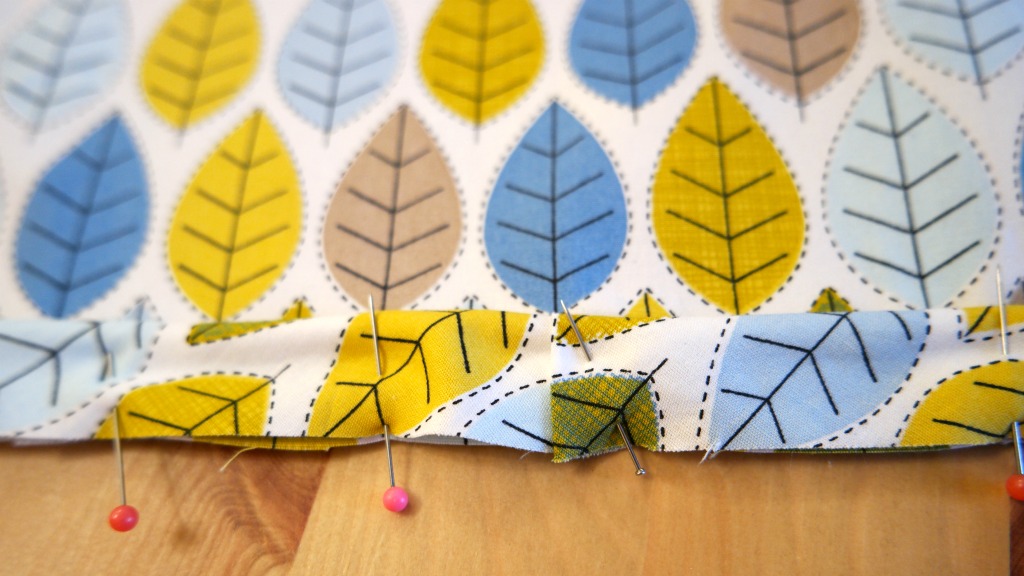
2. Sew the piping to the cushion top.
3. Hem the short edges of the side section.
4. With the right sides together and starting at the back of the cushion, pin the side piece all the way round the cushion top. 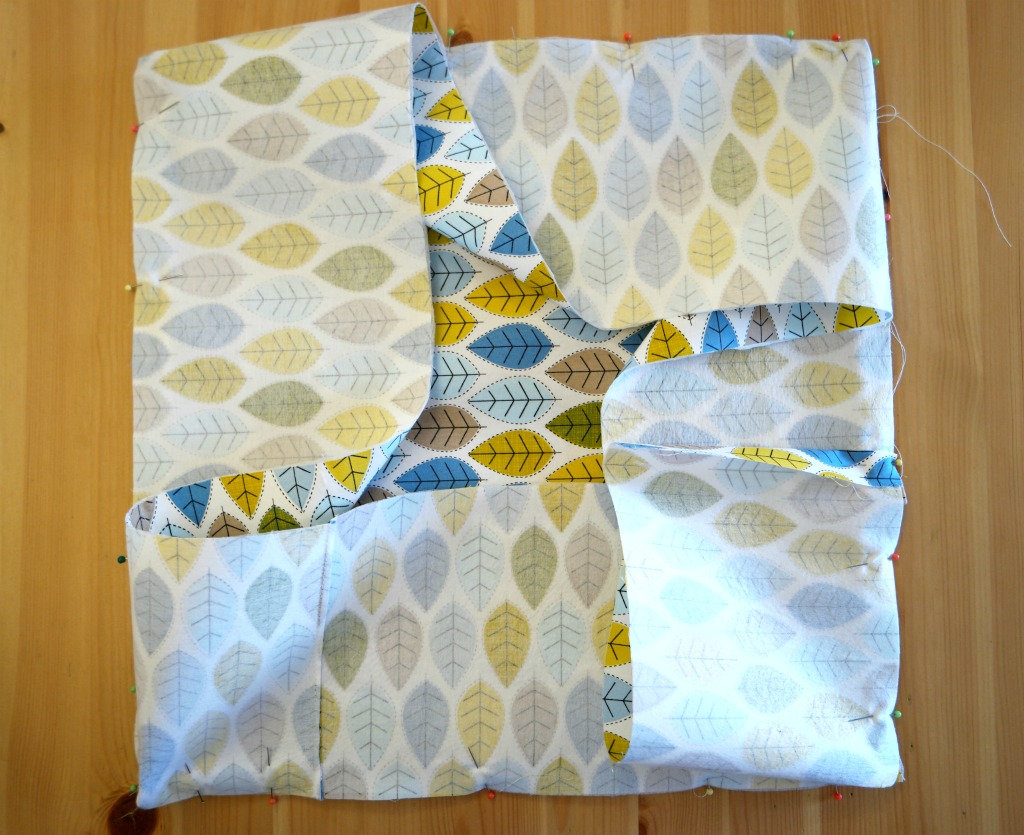 When you get back to where you started, the ends should overlap.
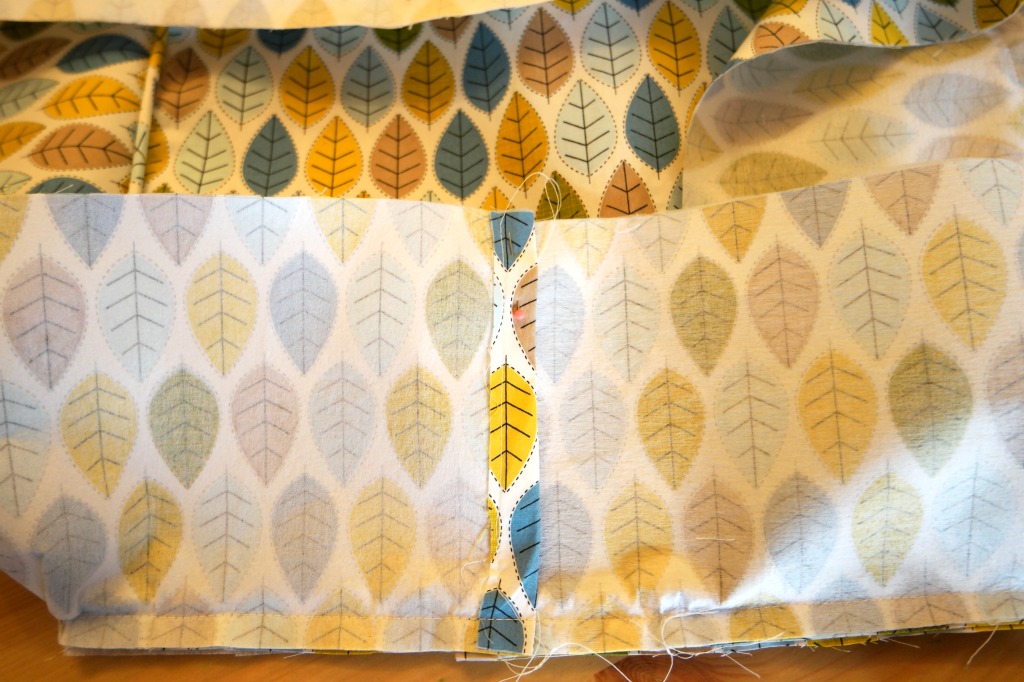
5. Take one of the back pieces and hem one of the long edges. Repeat for the other back piece.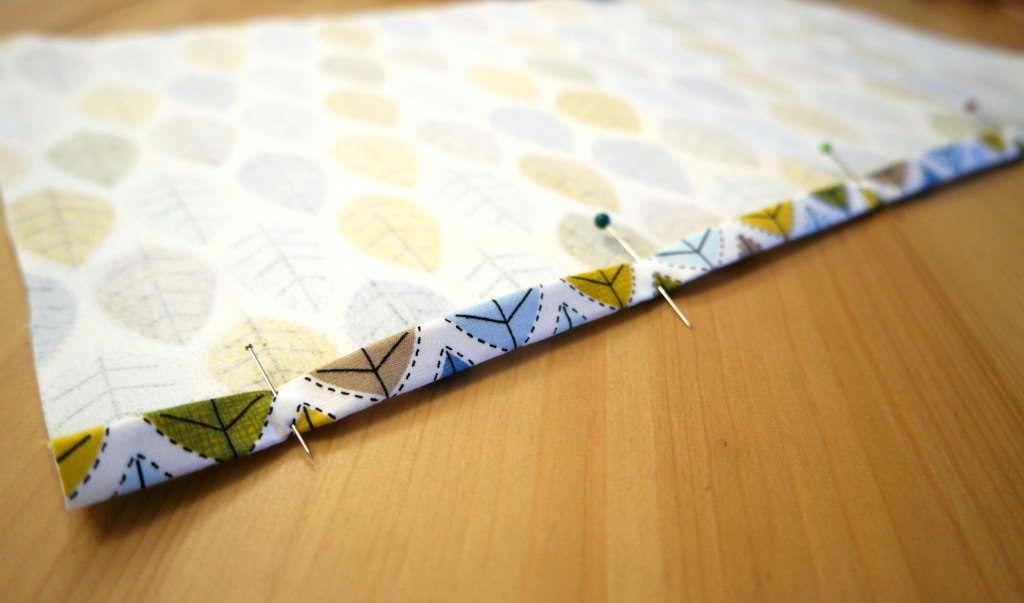
6. Arrange the back pieces so that they are both right side up with the hemmed edges in the middle and overlapping so that they are the same size as the top piece.
7. Pin the piping to the bottom section then sew it in place, in the same way as you did with the cushion top.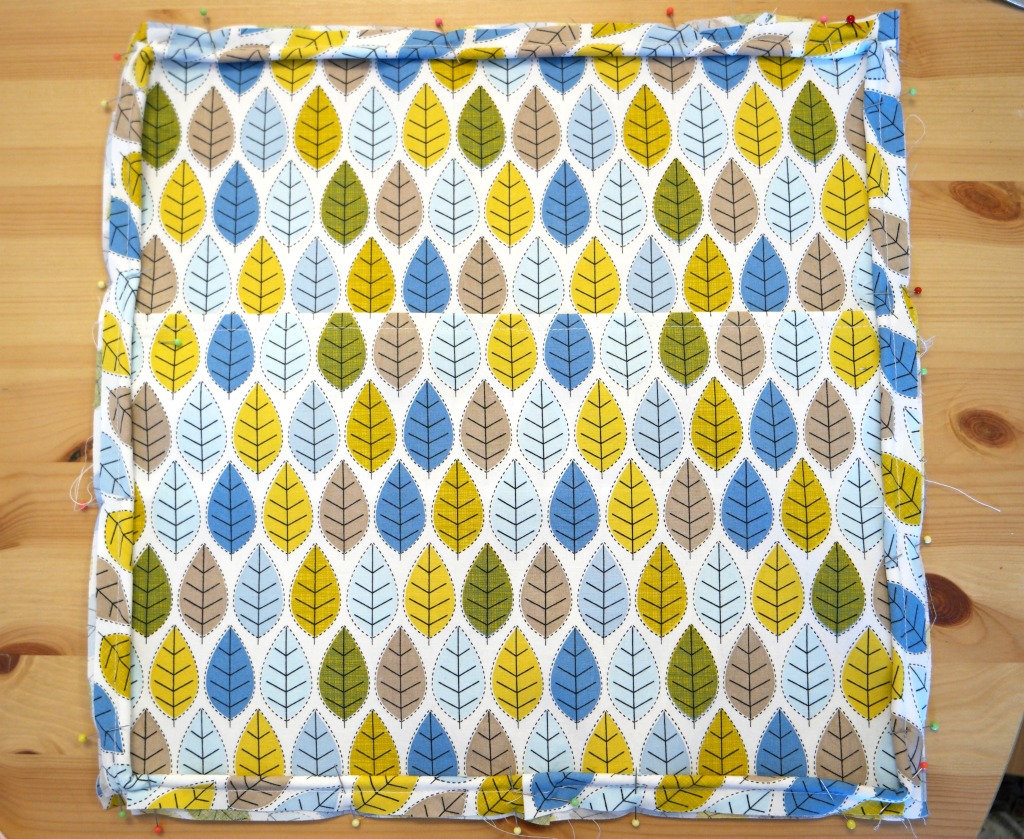
8. With the right sides together, pin the bottom section with the piping to the side piece. Sew, then trim the seams and turn out.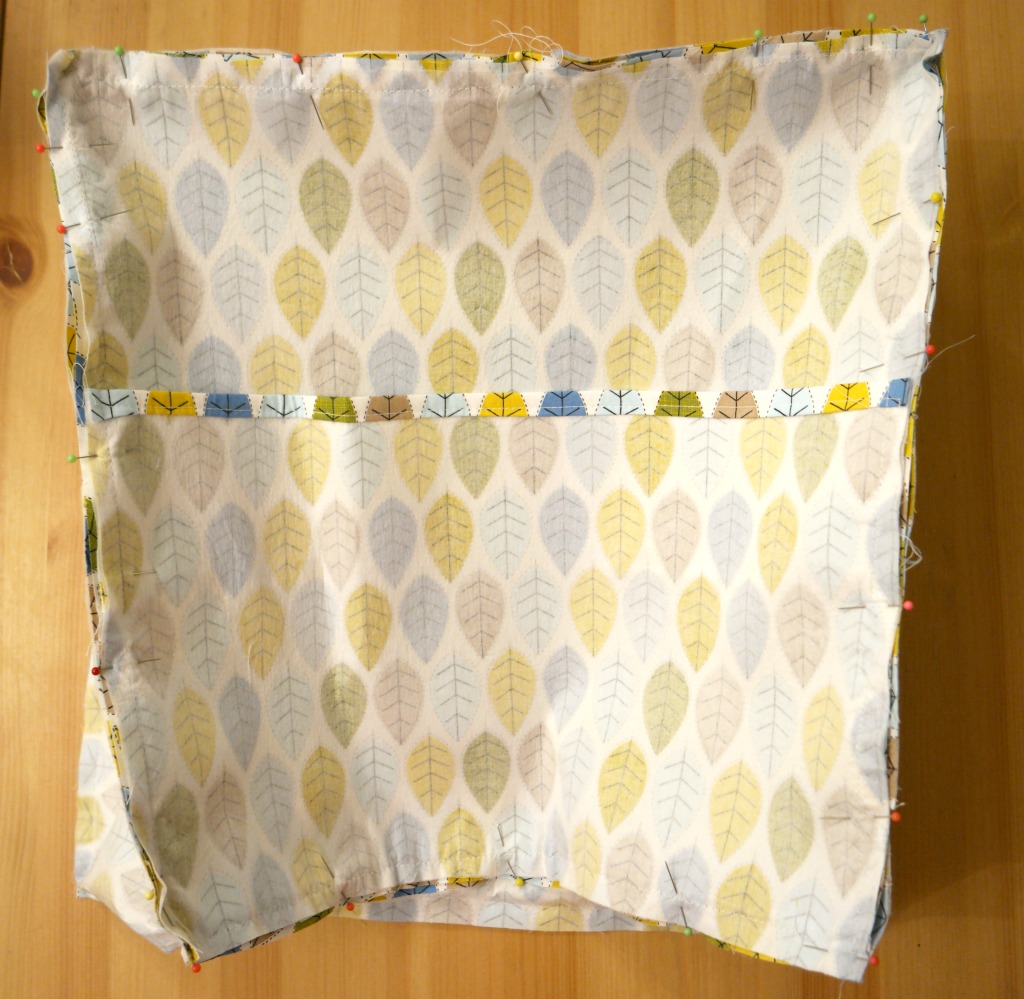
9. Stuff your cushion into the cover.
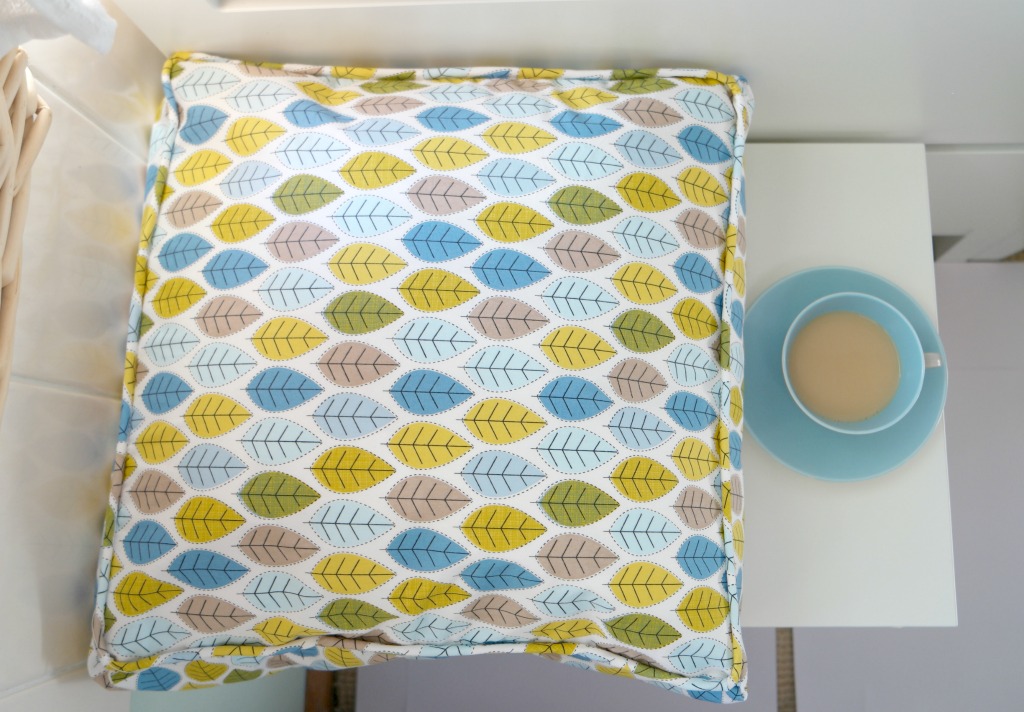
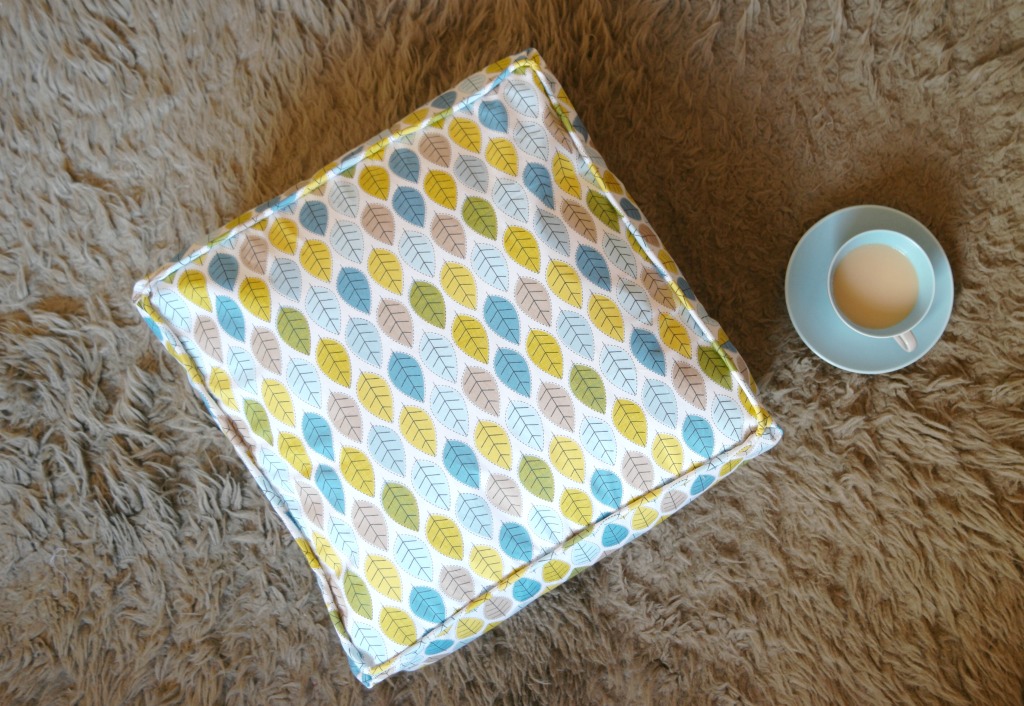
I was pretty happy with the results. I’m guessing that using piping gets better with practice. 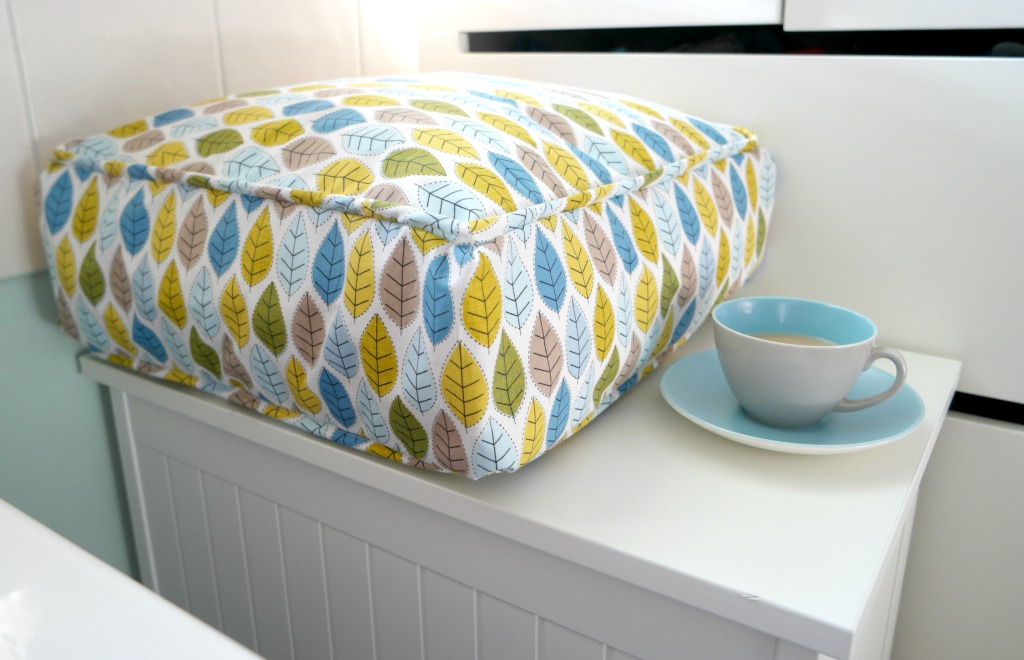
Linking up here.


I like the way you explained a box corner. Simple. Everyone else explains it like rocket sciense.
Do you post the same thing without piping?
I have a 4 inch cushion. Don’t need piping.
Thanks,
danny
Hi Danny, I haven’t, but you can just leave out the piping bit and sew them as ordinary seams.
Such a good idea, thanks – I’m going to do this with a couple of cushion inners. I have done piping quite a bit & found I got a better result by sewing the piping exactly as you did but then turning the work over and sewing around the whole thing again, making my stitching as close as possible to the piping cord. I sometimes even do a third round. Sadly I can’t show any pictures here, so you can see what I mean, hopefully my written explanation makes sense.
Can I use the same technique with a finished tapestry? It is a small Elisabeth
Bradley’s “Chelsea Poppy” and I am trying to copy her finished cushion! Thank you for your help.
I think it would work. You’ve probably thought of this already, but if it’s small, then thinner piping cord will probably look better.
What a brilliant idea, never thought of doing a box cushion like that.
I am off to do my first (I’m sure) of many
This looks wonderful and such a neat idea for using an old cushion – think I will certainly be having a go in the near future. Lovely to meet via Justine’s Creative Mondays linky 🙂
Special Teaching at Pempi’s Palace
Hi Pempi, nice to meet you too 🙂
So clever, thanks for sharing

Lucy Blossom recently posted…Handmade Monday 80
Thank you 🙂
love it! thanks for sharing on craft schooling Sunday!

creativejewishmom/sara recently posted…Welcome to Craft Schooling Sunday!
Thank you 🙂
I think I may well have to use your tutorial. My mum has been telling me she would like something a little like a church hassock to rest her feet on, and I had been looking online for foam. But your idea seems much better. I love the fabric too.

Ginny recently posted…Tundra Baby Vest
It would be nice for that. The cushion I used was a 50 cm feather one from Ikea xx
That is SUCH a good idea to box the corners of the pillow insert! I’ve been wanting to make pillows like this for ages, but I hate the idea of buying those foam inserts. Love it! 🙂 Lisa
Definitely better than buying the foam 🙂