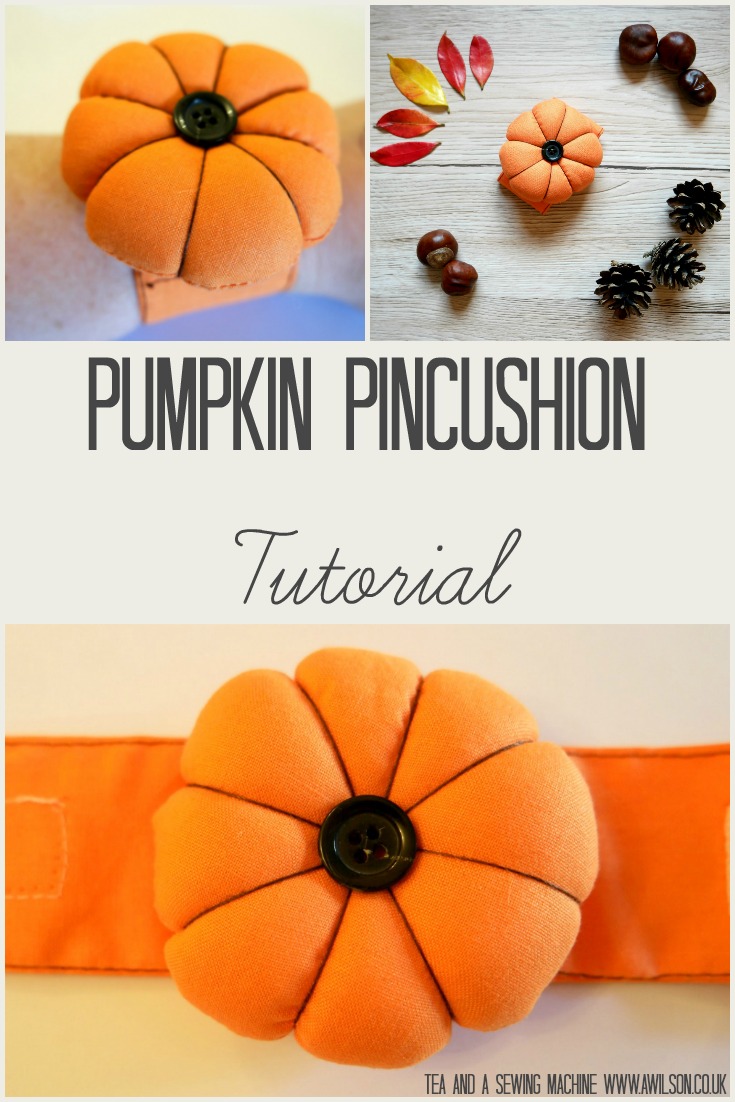
A Pumpkin Pincushion Tutorial
Earlier in the year I made a pincushion.
I had been guilty of putting pins in my mouth, even though I knew it was dangerous and therefore probably not a good idea.
While watching The Great British Sewing Bee, I noticed that firstly none of the contestants put pins in their mouths, and also that Angeline had a rather nice one that she wore in her wrist.
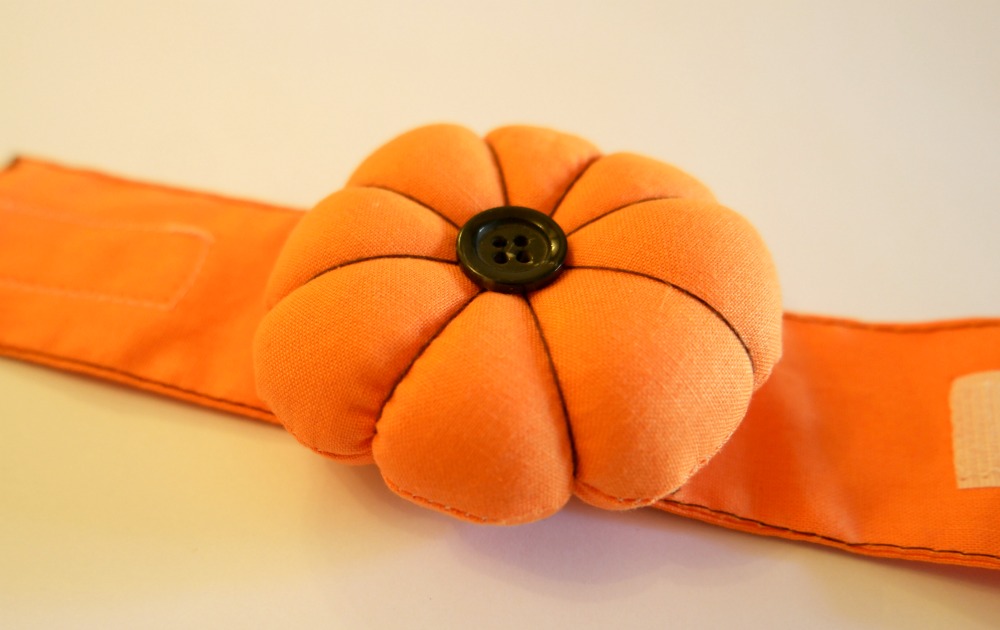
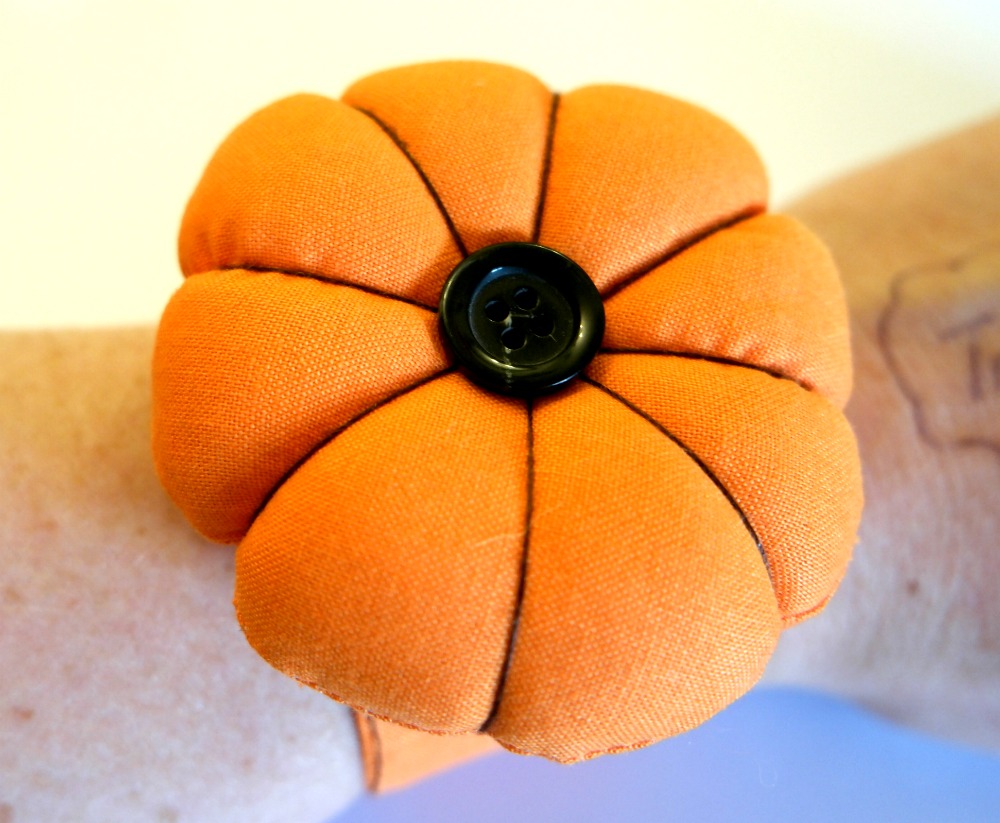
I thought it would probably be easy to make one, so I had a go! This was the result.
The fabric I used was left over from another project and the button was a spare one from a jumper I bought.It’s very handy with it being on my wrist, and now I almost never put pins in my mouth!
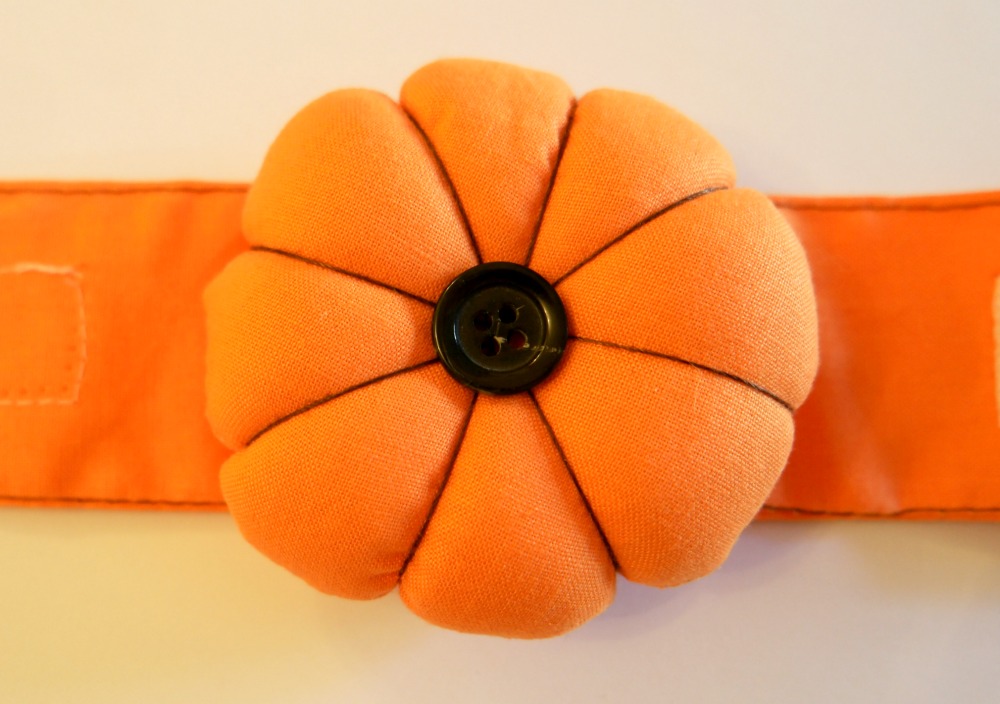
Anyway, with it being the autumn, it occurred to me that the shape, as well as being like a flower, was also a lot like a pumpkin. So I decided to make a pumpkin pincushion!
I had some orange fabric left over from something else and I used brown thread instead of white to make the pumpkin shape.
When I made the first version of this pincushion, somebody warned me that I might accidentally stab myself in the arm as she had a pincushion that was similar and she had done this herself. Despite efforts to be careful, I did manage to stab myself in the arm and it hurt!
So this version has 2 little squares of acrylic in the wristband, underneath the pumpkin, to reduce the chances of this happening.
Somebody else actually suggested using the plastic reinforcements from a “bag for life”, which is another option for the wristband.
The instructions for the pumpkin pincushion are below, but if you prefer you can check out the latest version of the wrist pincushion tutorial or if you would prefer the original version with pictures, you can find it here.
And if you would like to buy a kit to make a pumpkin pincushion, I have some kits for sale here.
 How to Make a Pumpkin Pincushion
There are affiliate links below.
You Will Need
Scraps of cotton fabric in orange, a small piece of velcro, a button, polyester filling, singe strand embroidery thread in dark brown, acrylic squares, usual sewing supplies.
Cutting Out
From your fabric, cut 2 circles about 10 cm in diameter (distance across the circle passing through the middle). I used a roll of sellotape.
Cut a rectangle about 10 cm wide and long enough to go around your wrist and overlap by 3 -4 cm. Mine was 25 cm long,but I have freakishly skinny wrists.
Sewing Up
1. Sew the 2 circles together with the right sides together. Leave a gap. Clip the seam allowance.
2. Turn the circles the right way out and stuff with polyester filling. It will need to be firm so that it doesn’t yield too much when you stick the pins in it. Slip stitch the opening.
3. Cut a length of your strong thread (I used Perle cotton embroidery thread, but sewing thread doubled will probably do) and tie a good big knot at one end.
4. Bring your thread through the middle of your pumpkin pincushion. Take the thread over the pincushion and put the needle in again where you started. Bring it through again and pull it tight.
Take the thread round the outside of the pincushion on the opposite side, then back in through where you started. Keep going in this way until the pincushion is divided up into 8.
Tie the thread off.
5. Pick the side that looks neatest and sew a button at the centre.
6. To make the strap, pin the fabric strips with the right sides together. Sew along both the long edges. Trim the seams and turn it out.
7. Fold the strap in half widthways. Measure 2.5 cm from the centre. Sew across the strip where you have measured,
8. Slip the acrylic squares into the strap, one after the other. Sew the other side of the squares. Using a zip foot here will enable you to sew close to the squares.
9. Tuck the ends of the strap in. Pin, then sew.
10. Cut a small piece of velcro (about 3-4 cm) and sew to the ends of the strap. You will need one piece on one side, and the other piece on the other side.
11. Hand sew the pincushion to the middle of the strap.


The kits are available to buy here.
Linking up here


It looks adorable, thanks for sharing
Lucy Blossom recently posted…Handmade Monday 80
Thanks xx
Such handy pincushion and would never get lost amongst the fabric
It is nice and bright 🙂
Cute! I’ve got a Craft Gossip post scheduled for tomorrow evening that features your tutorial:
–Anne
Anne recently posted…Tutorial: Giftable scrap ribbon bookmarks
Thank you!