How to Make a Zippered Pouch With a Flat Bottom
I was recently sent some fabric from the people at Stitch Craft Create so that I could participate in their blog hop. The fabric was a selection of fat quarters from the new Tilda collections, Memory Lane and Cabbage Rose.
When the fabric arrived, several potential projects jumped out at me, so I’m having a lovely time working my way through them!
Project 1 was an easy fabric basket. You can find the tutorial here.
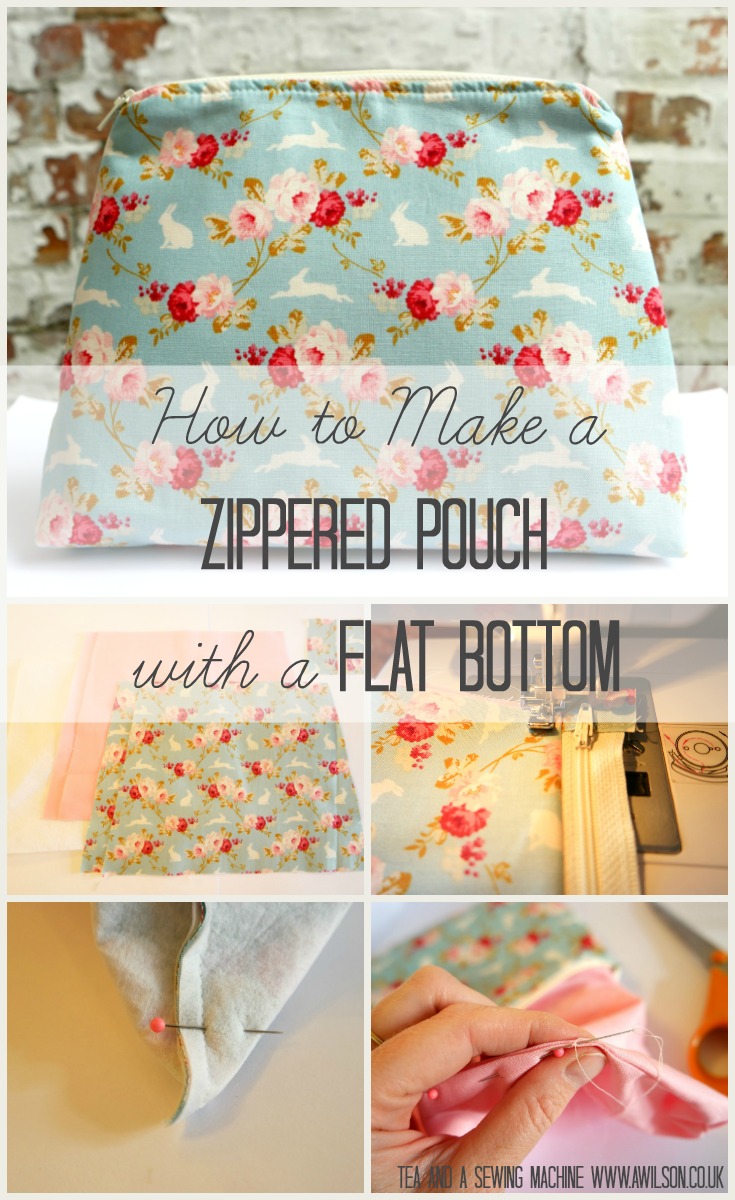
This project is a lined zippered pouch with a flat bottom. I had a couple of ideas of what to make with this particular fabric, but decided in the end to make the zippered pouch. Like the fabric baskets, you can always find a use for these things! They can be used for make up, pens and pencils, random bits of stationery, small things that get lost at the bottom of your bag, bobbins, dolls clothes, anything small! They make great gifts as well. 
The zippered pouch is very easy to make. I’m going to show you how to make the template, but if you don’t want to make your own, you can print one off for free here.
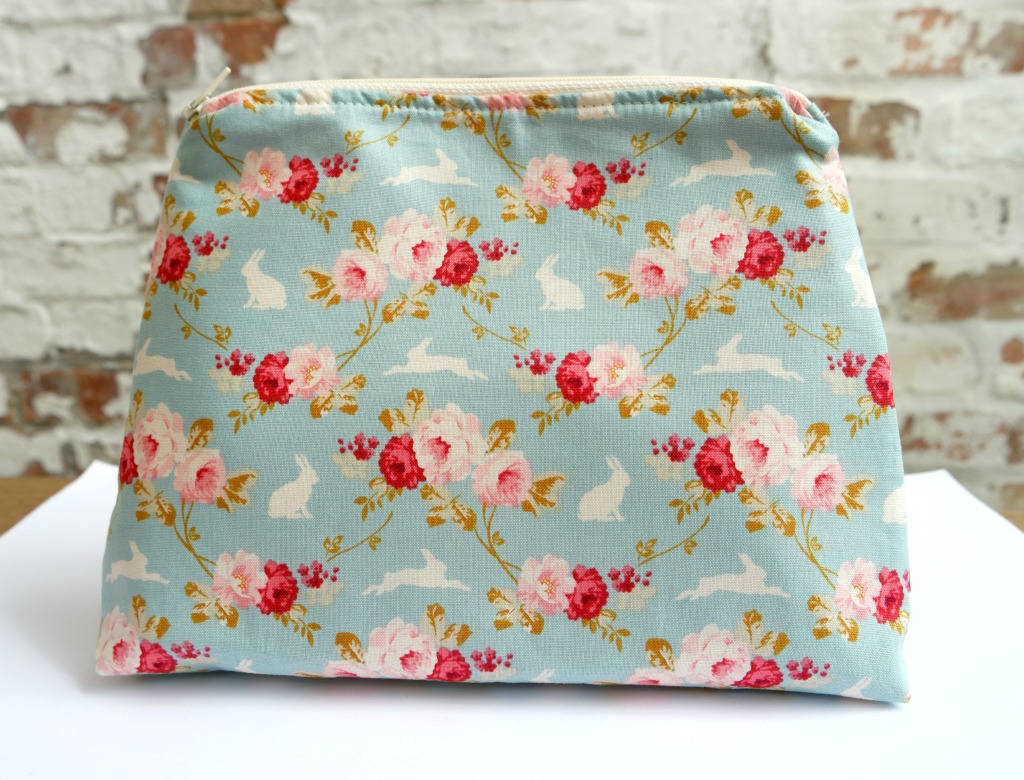
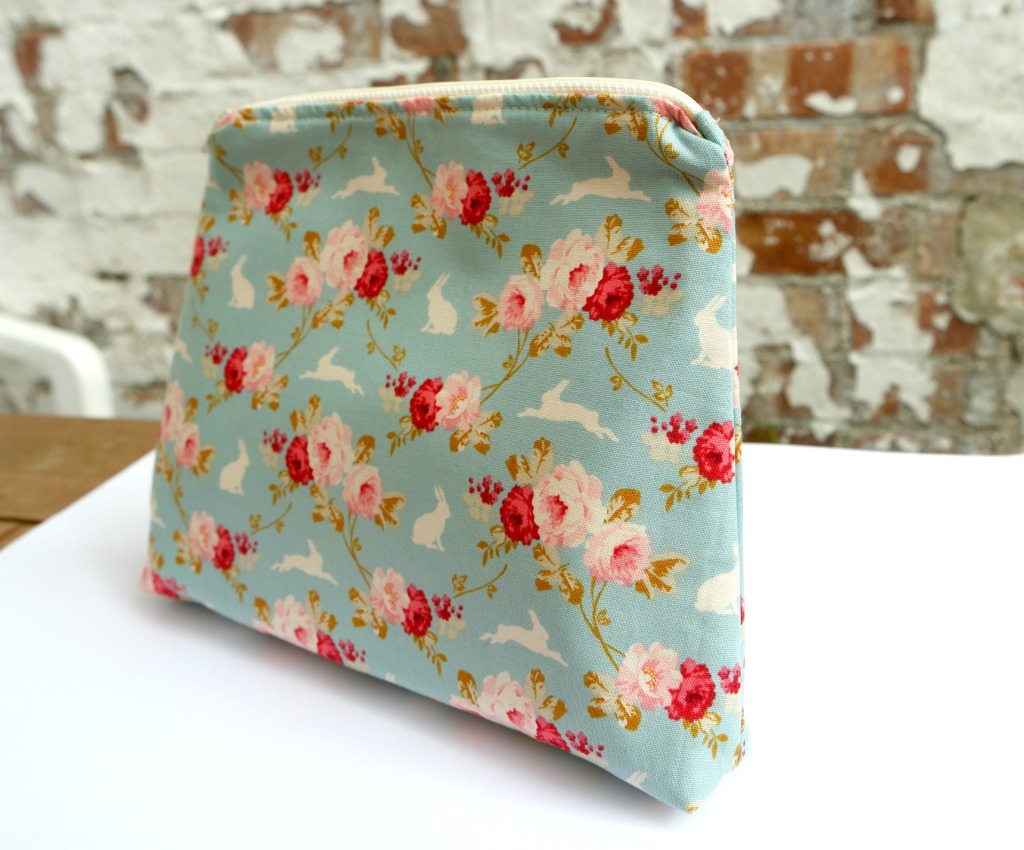
The boxed corners give it a flat bottom and also makes it a bit roomier inside.
If you wanted to make one from a particular piece of fabric that you have in your hoard but you don’t have enough, you could either add a contrasting section at the bottom or just make it a different shape, by starting off with a piece of paper the same size as the fabric you want to use.
Zippered Pouch Tutorial
You Will Need
Fabric for the outer and the lining, interfacing (I prefer sew in interfacing for these kind of projects, but the fusible kind will be fine if that’s what you have), a 15 cm zip, paper, pencil and ruler (or the template you can download here), usual sewing supplies.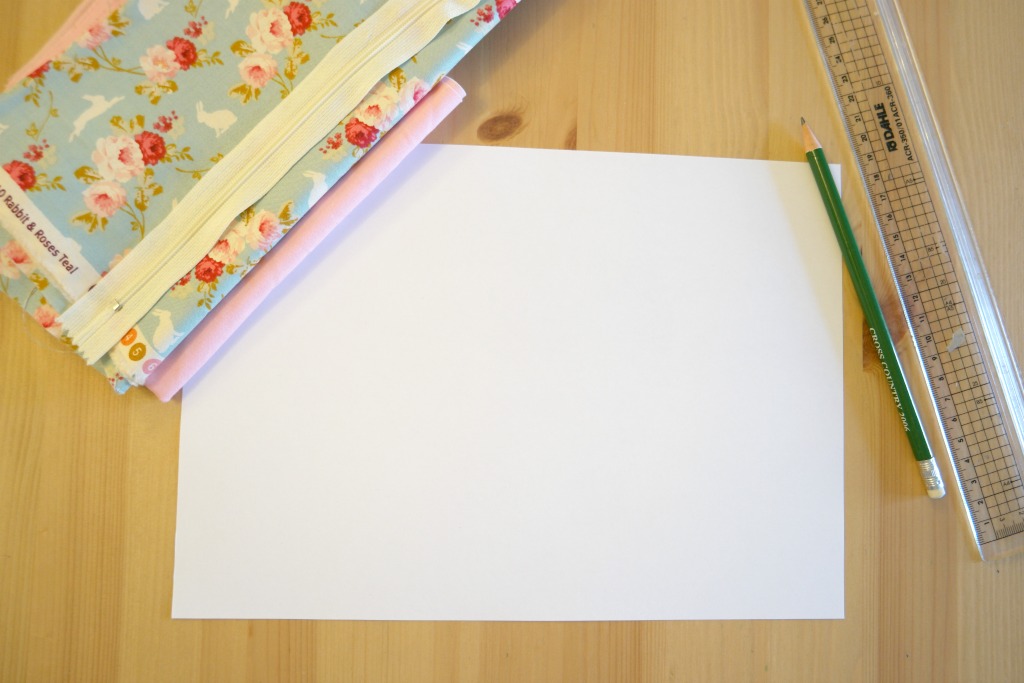
Making the Template
1. Take a piece of A4 paper and put the zip on the paper next to one of the long edges. Make sure it’s in the centre, then mark off a cm or so past where the teeth end.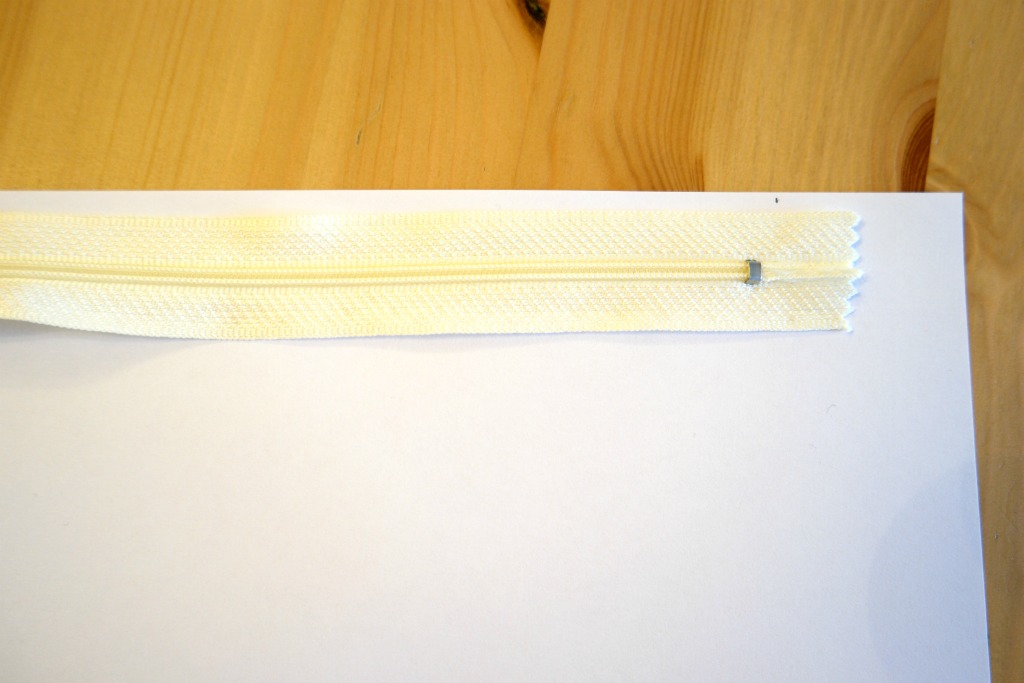
2. Draw a line from this point to the bottom corner on the same side.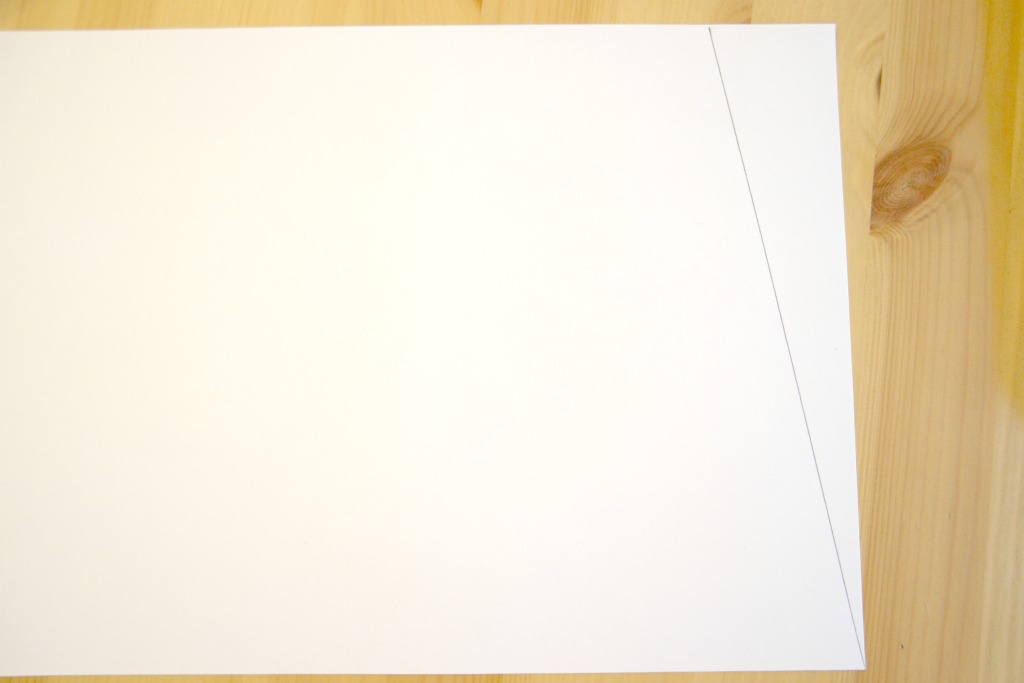
3. Fold the paper in half and cut along the line you have drawn. You now have your template!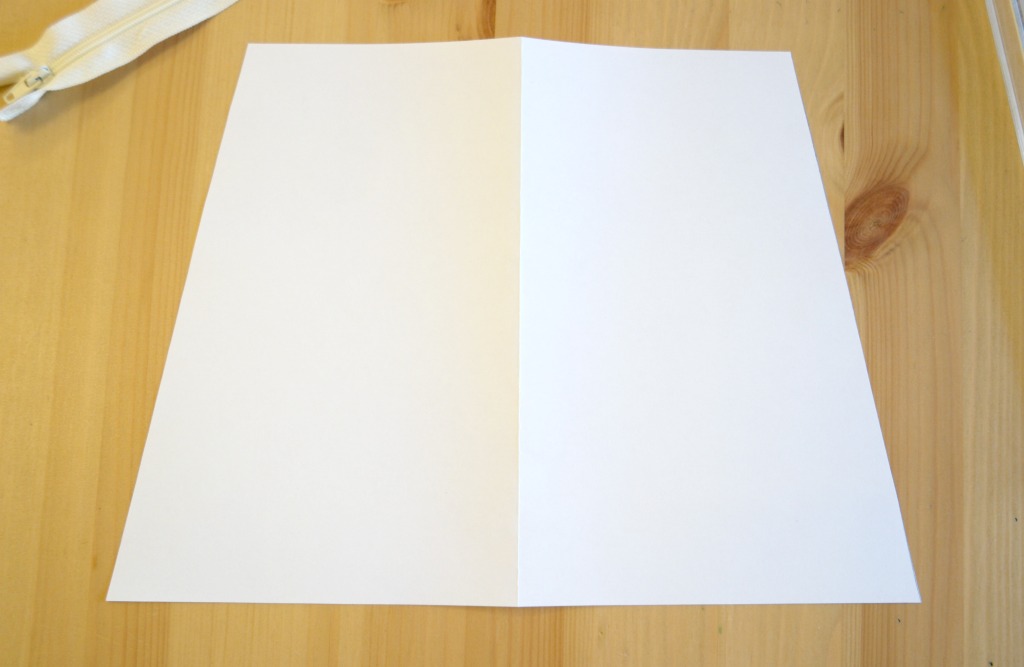
If you don’t want to faff about doing this, you can download a template here.
Cutting Out
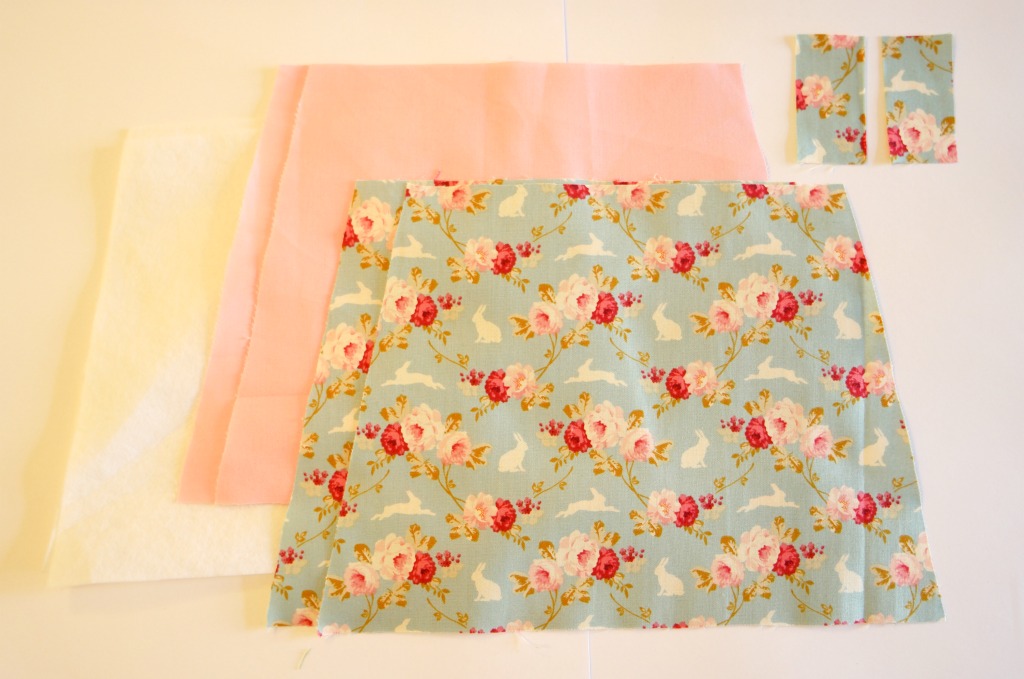
Using your template, cut 2 from the outer fabric, 2 from the lining and 2 from interfacing.
From the outer fabric, cut 2 little rectangles about 3 cm x 7 cm.
If you are using fusible interfacing, fuse it to the wrong side of your outer pieces now.
Sewing Up
Making the Covered Ends For the Zip
1. To make the covered ends for the zip, take one of your rectangles and fold it in half. Fold the ends inwards.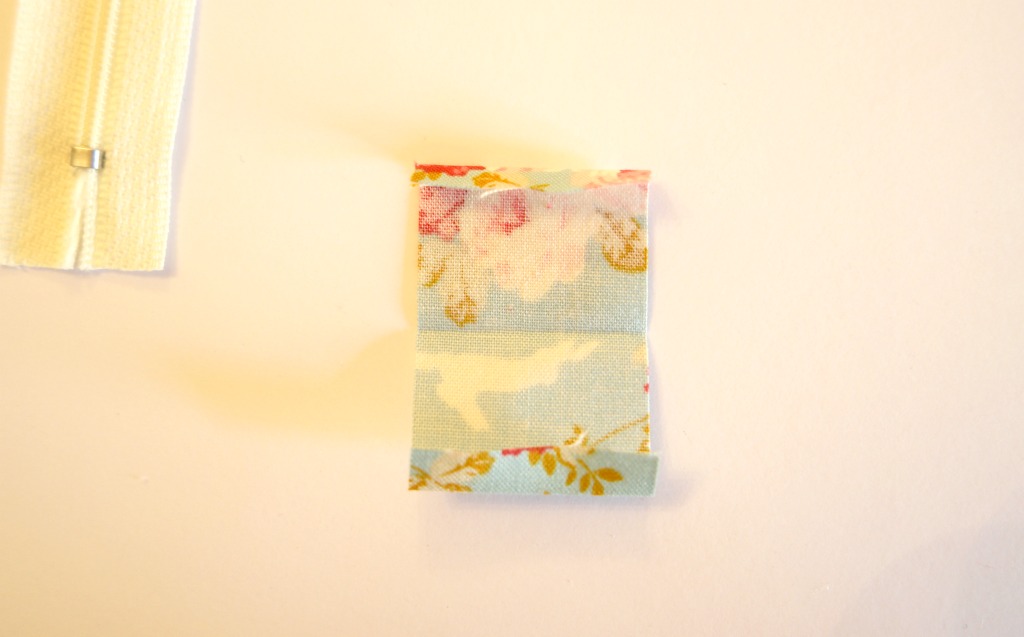
2. Put the folded rectangle over the end of the zip and pin it so that the raw edges on ends are folded inwards and the end of the zip is covered. If you are using a zip with closed ends, you can always trim a bit off if it’s too long.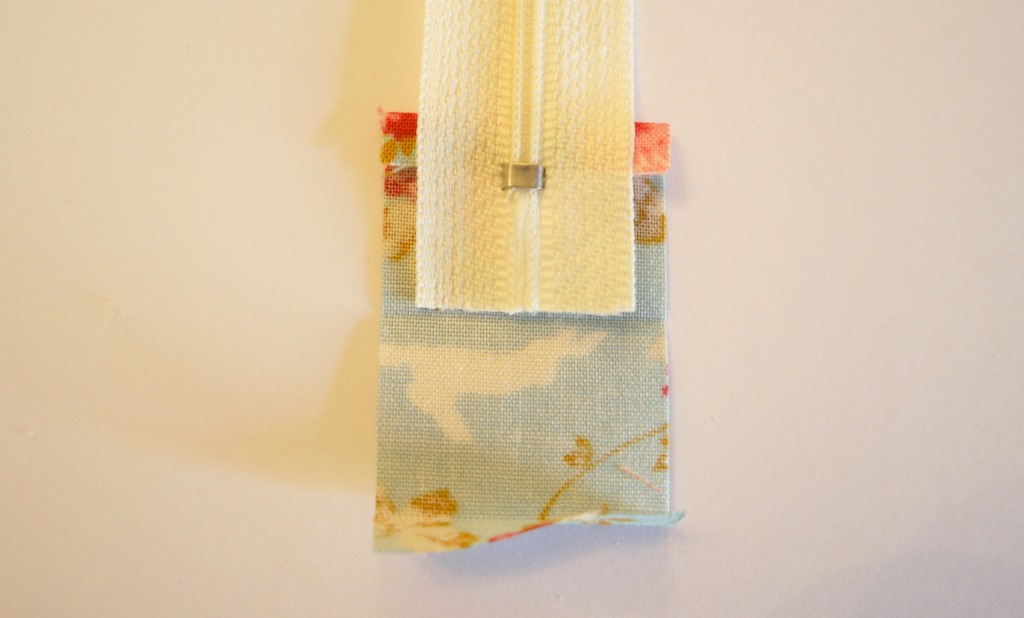
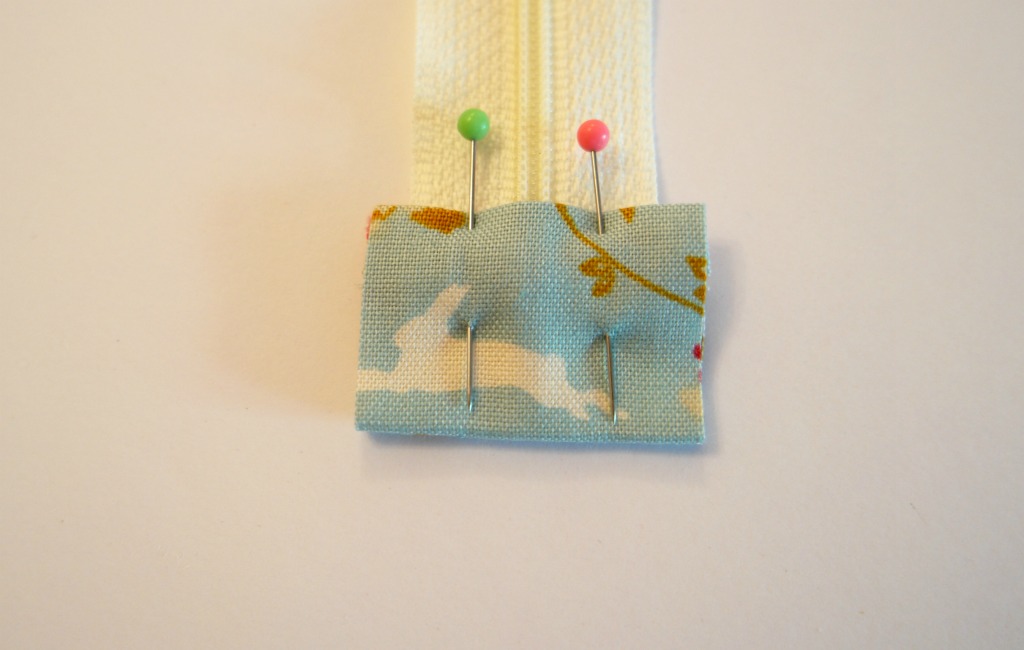
3. Repeat for the other end of the zip. Top stitch the tabs at right angles to the zip.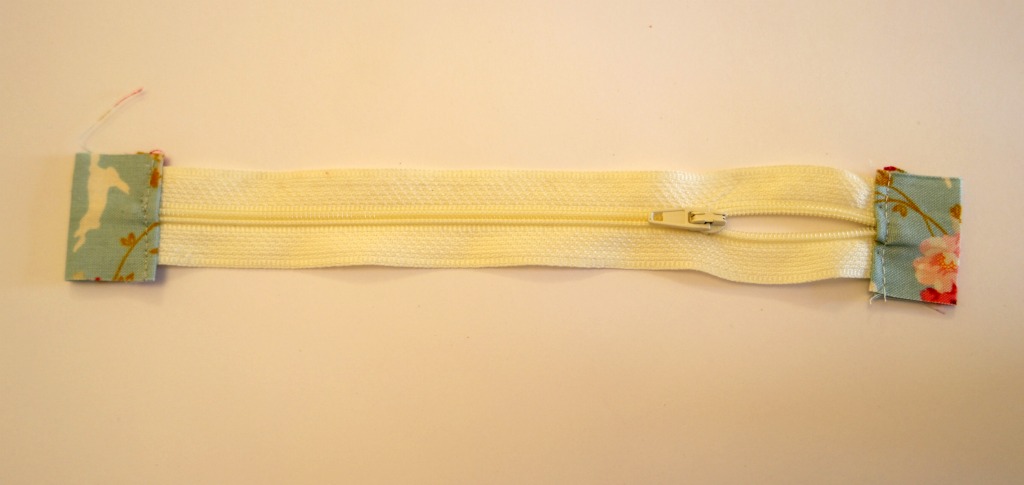
Making Up the Zippered Pouch
1. Take one of the outer pieces and one of the interfacing pieces. Place the outer piece on top of the interfacing with the right side up. Put the zip along the top edge with the teeth down. Make sure that the zip is centred and the edge of the zip tape is aligned with the top edge of the purse.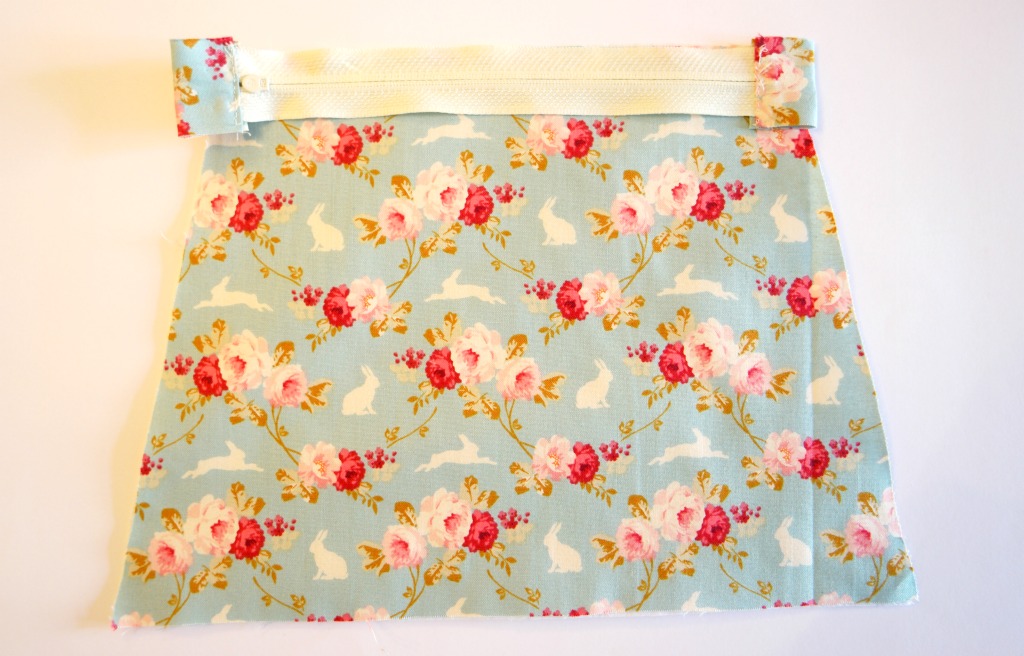
2. Take one of the lining pieces and place it on top of the zip face down. Pin in place, then sew along the top of the purse pieces.
3. Turn the pieces the right way out and top stitch, keeping close to the zip side. 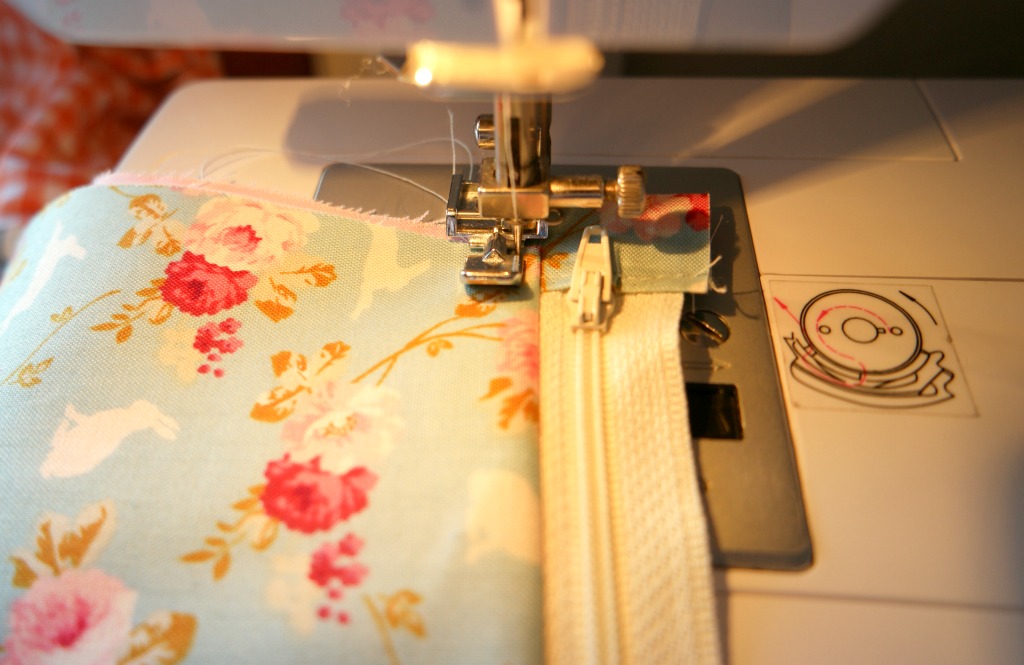 Using a zip foot makes this much easier, but it is possible to do without. I managed without for ages and now I wouldn’t be without it! The best kind are the sort where you can sew zips on either side. I’ve included a couple of affiliate links for zip feet at the bottom of this post.
4. Repeat for the other side. You should now have a kind of weird butterfly shape with a zip in the middle.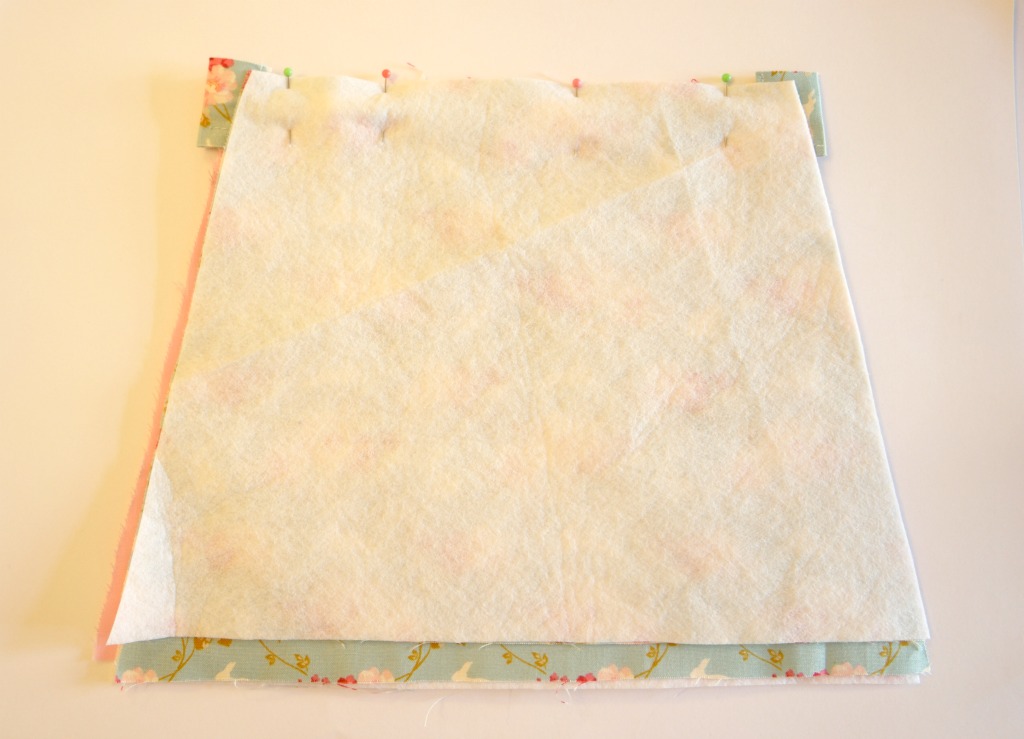
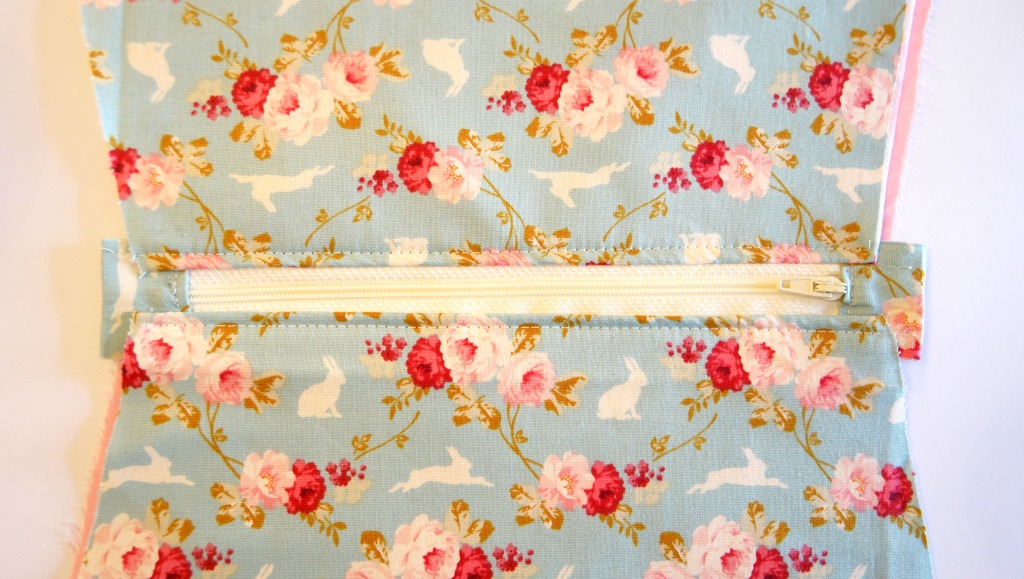
5. Open the zip. This is very important! You will have serious issues turning it the right way out if you don’t do this!
6. Now you’ll need to rearrange things a bit so that the outer pieces with the interfacing are together on one side of the zip, and the lining pieces are together on the other. Push the zip and the covered ends towards the outer. Pin it all together.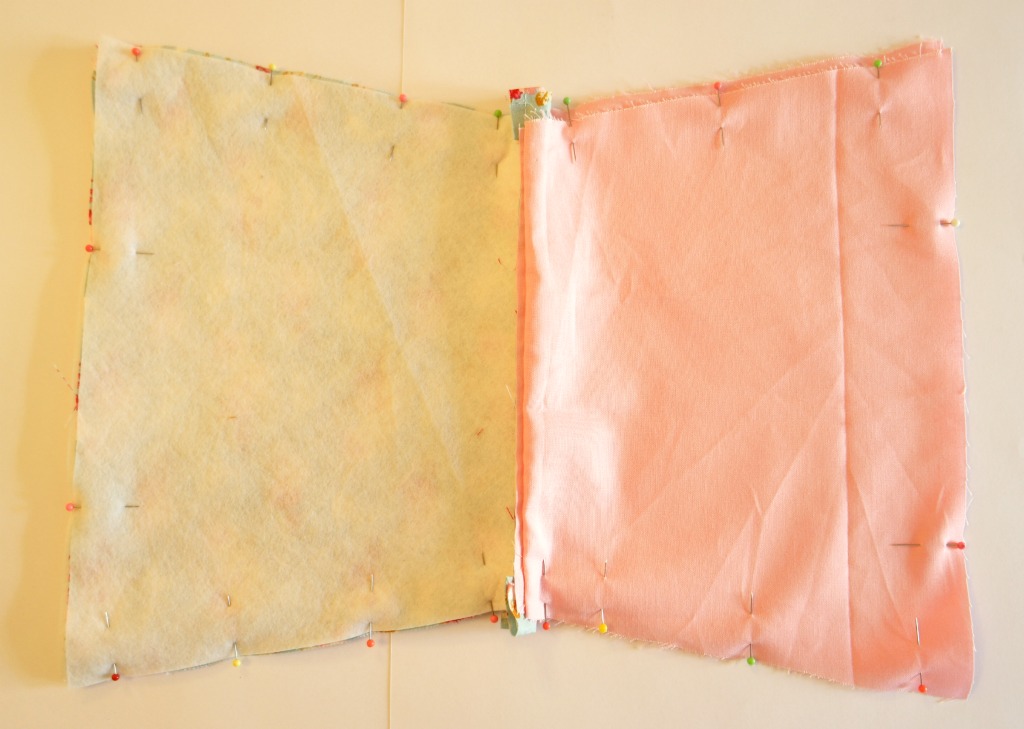
7. Leaving an opening in the lining, sew all the way round. Trim the seams.
I have to admit that sewing the area with the zip can be tricky. I actually broke a needle sewing over the zip the first time. So my advice would be to go gently when you get to the zip area, and possibly even use the wheely handle thing to move the needle rather than the pedal.That way you can control it more easily and stop if there is resistance!
8. To make the boxed corners, squish one of the corners flat so that the seams are together. Measure up 2 cm from the corner and pin. 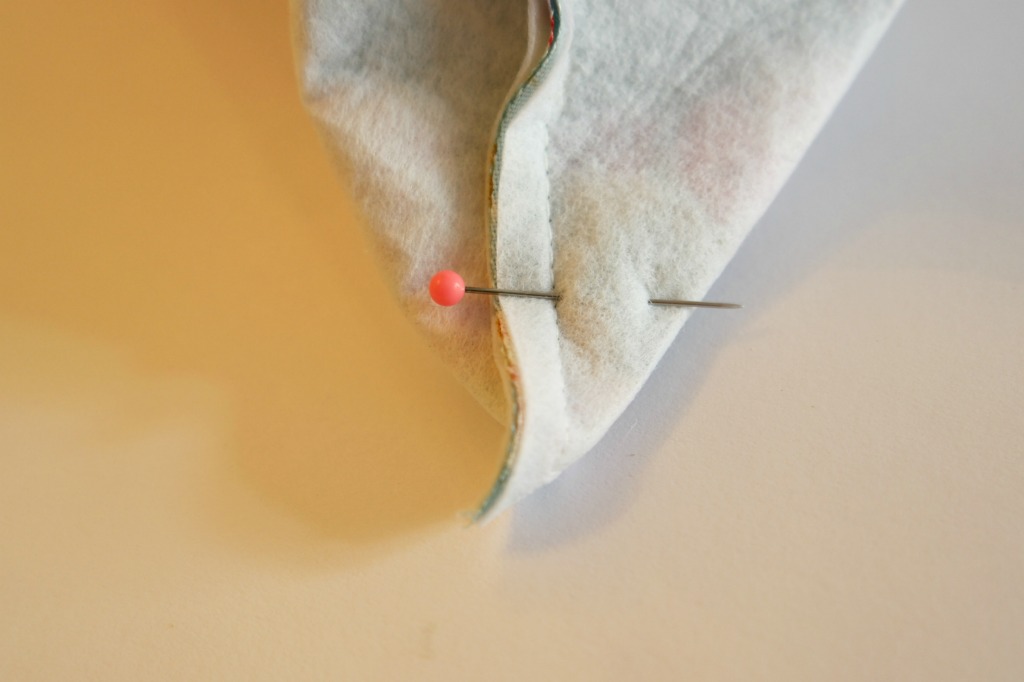 Sew across the corner at right angles to the seam. Repeat for the other corners. Cut the corners off.
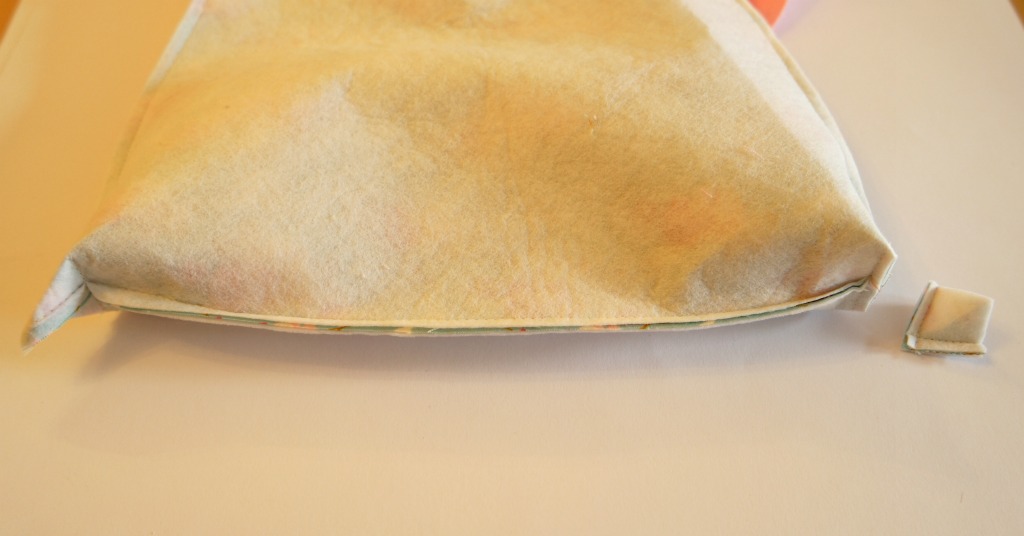
9. Turn the zippered pouch the right way out and hand sew up the opening.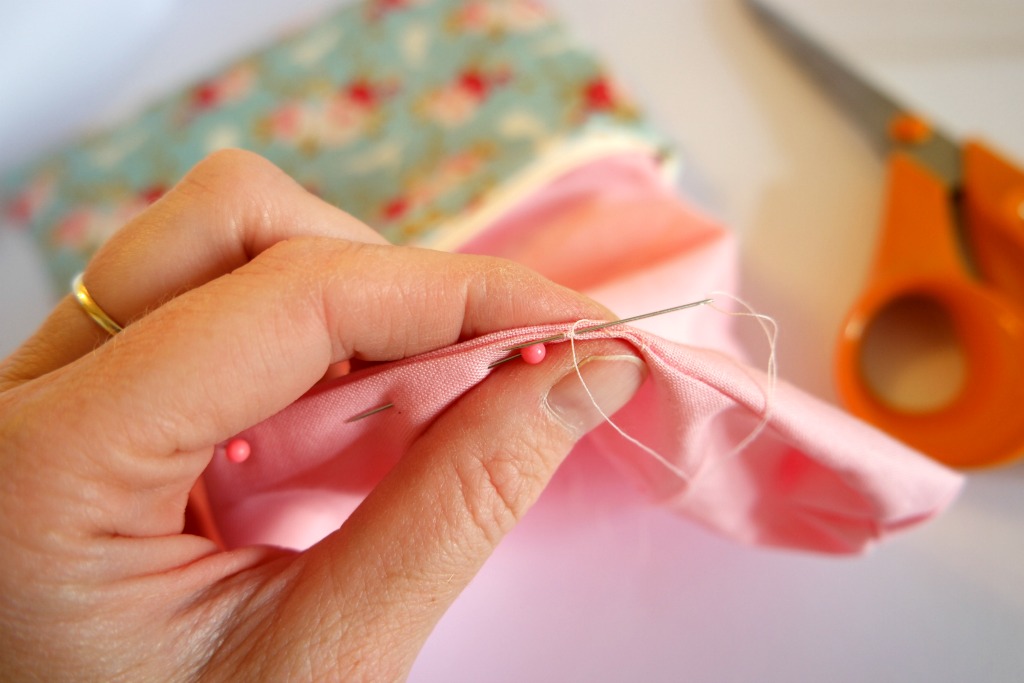
You can make a zippered pouch in this way in different shapes and sizes. It’s possible to make a chunkier looking thing by making the boxed corners are bit bigger. Just measure further up the seam from the corner.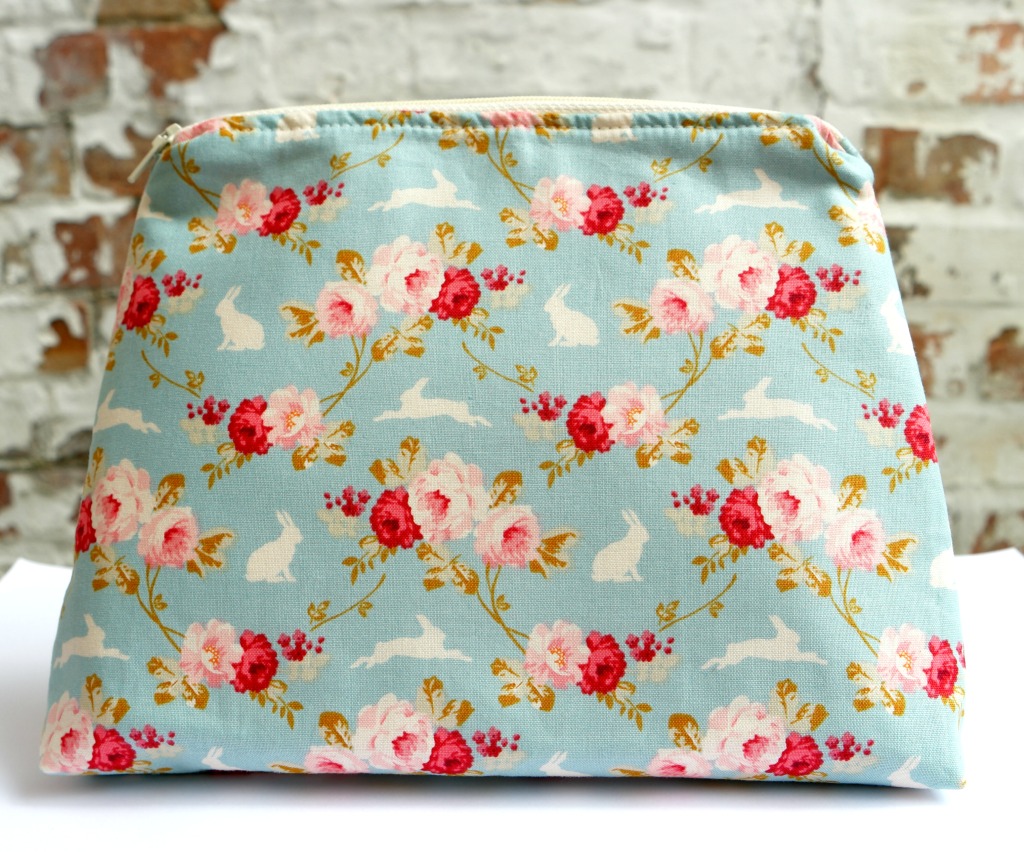

Here are some affiliate links for zip feet.
Amazon UK
Amazon.com
Linking up here.



I don’t think any of your pattern links are posted anymore. This one is missing the email form when you follow the link as well. 😕
Hi Cassandra, I’ve sent you an email.
Using fusible interfacing is it mandatory to use?
Heavens, I would never say anything was mandatory! It just makes the fabric a bit thicker so that the finish is nicer. You could use sew in interfacing, or nothing, it’s up to you 🙂
A lovely little pouch and another fabulous tutorial, thanks for sharing
Thank you xx
Thanks for the tutorial. What happened to the end tabs? Do they have to be turned inside?
Hi Sana, when I sewed up the sides, I pushed the folded tabs towards the outer 🙂
I love your little pouch! Thank you for the tutorial.
Thanks!
Great Tutorial, you never fail us. Thank you
Thank you 🙂
You can never run out of used for such cute bags:) Covering the ends of the zip adds the professional touch.