A Pattern Weights Tutorial
Whenever I make clothes for myself, whether I use a commercial pattern or a pattern that I made myself, it’s the cutting out stage that always takes longest.
Since I started using a rotary cutter, the process has got quicker than when I was using scissors, but it still takes a while.
This is where pattern weights can be very useful!
Pattern weights remove the need for pins. You simply lay the pattern pieces over the fabric, pop your pattern weights on top, grab your rotary cutter and away you go!
Pattern weights can be whatever you like. Rocks, metal rings or little bean bags, it doesn’t matter. They just have to be heavy enough to hold the pattern pieces steady while you cut them out.
This is not an idea that I have dreamt up myself. It’s something else I have learnt from The Great British Sewing Bee.
It’s obvious that the contestants need to maximise their time. If they can save time in the cutting out stage without compromising the finish of their thing, then they’ll have more time to spend making sure that their sewing is up to scratch.
Although I am not in a competition I’m all in favour of saving time. So I decided to make some pattern weights to speed up the process!
How to Make Pattern Weights
A PDF version of the instructions can be downloaded here.
You Will Need
Scraps of fabric, rice, barley or something similar (uncooked!), usual sewing supplies.
Cutting Out
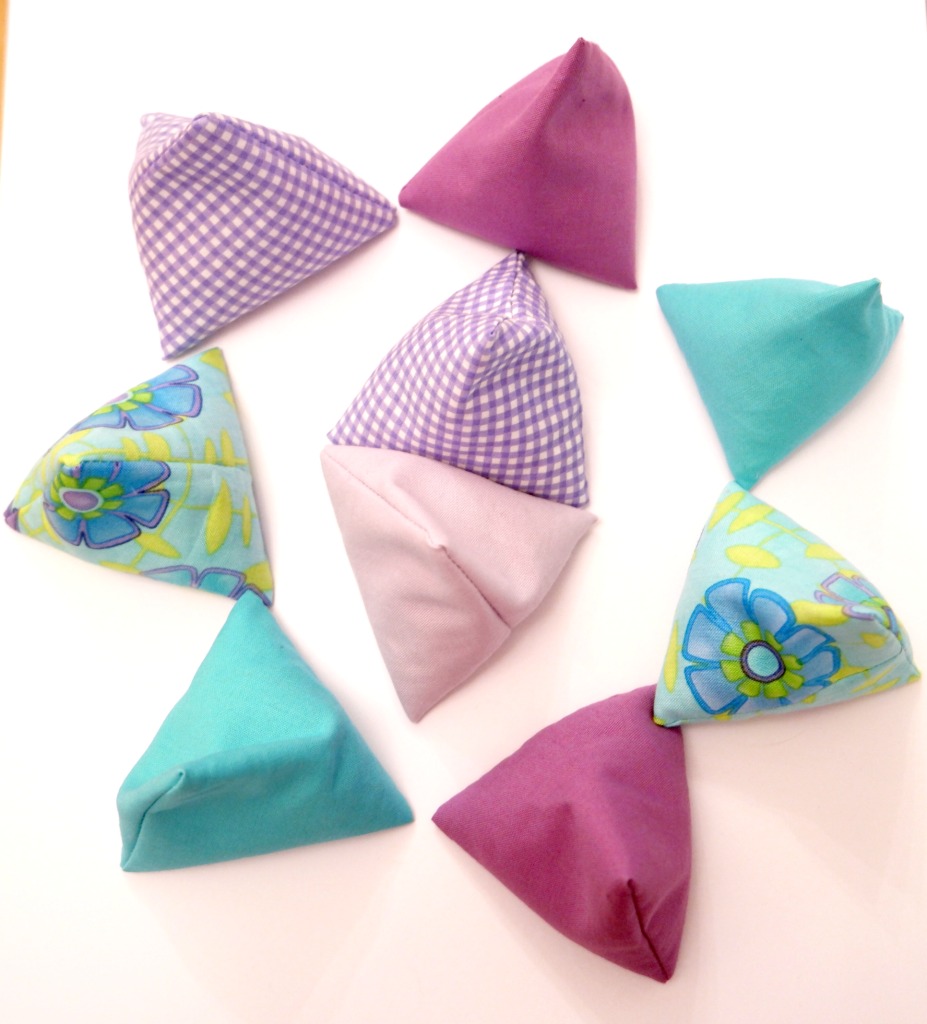
For my pattern weights, I used a rectangle 18 cm x 9 cm. You can make yours whatever size you like, but to get that nice triangular shape, the rectangle you use will need to be roughly the same size as 2 squares joined together.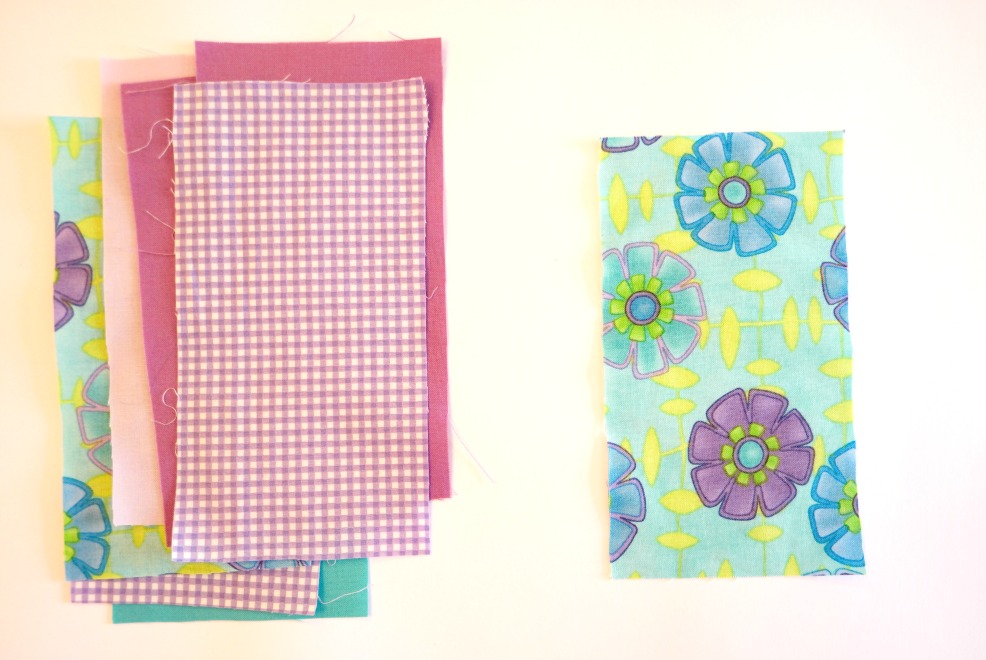
Cut 1 rectangle for each pattern weight.
Sewing Up
1. Fold 1 of the rectangles in half so that the right sides are together. Sew along the bottom and the side. Trim the seams.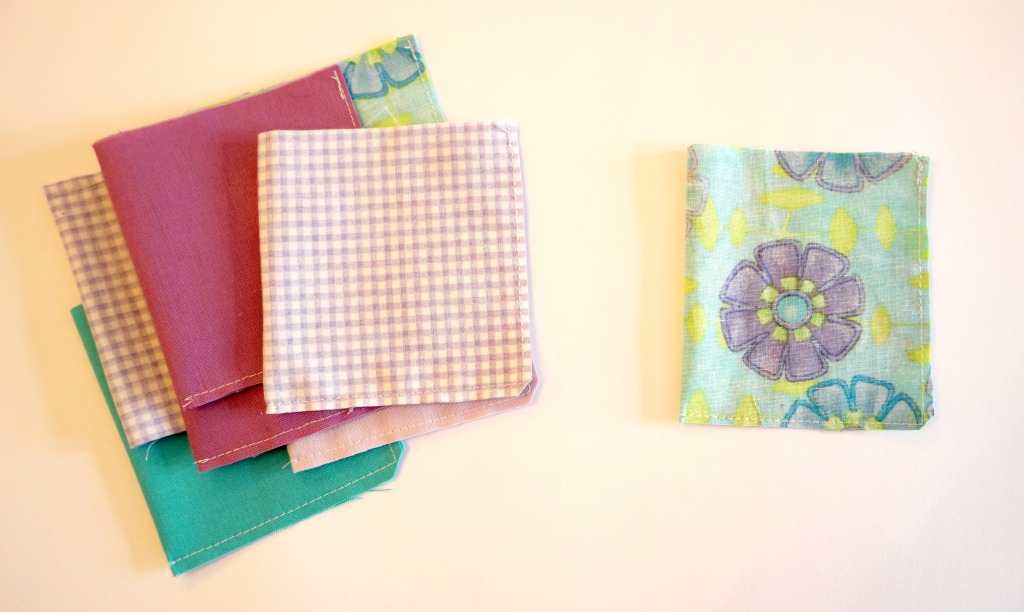
2. Turn it out and fill with rice. Be careful not to overfill it. The rice will need to be able to move about and overfilling will also make it difficult to sew up. About 2 thirds full is probably about right.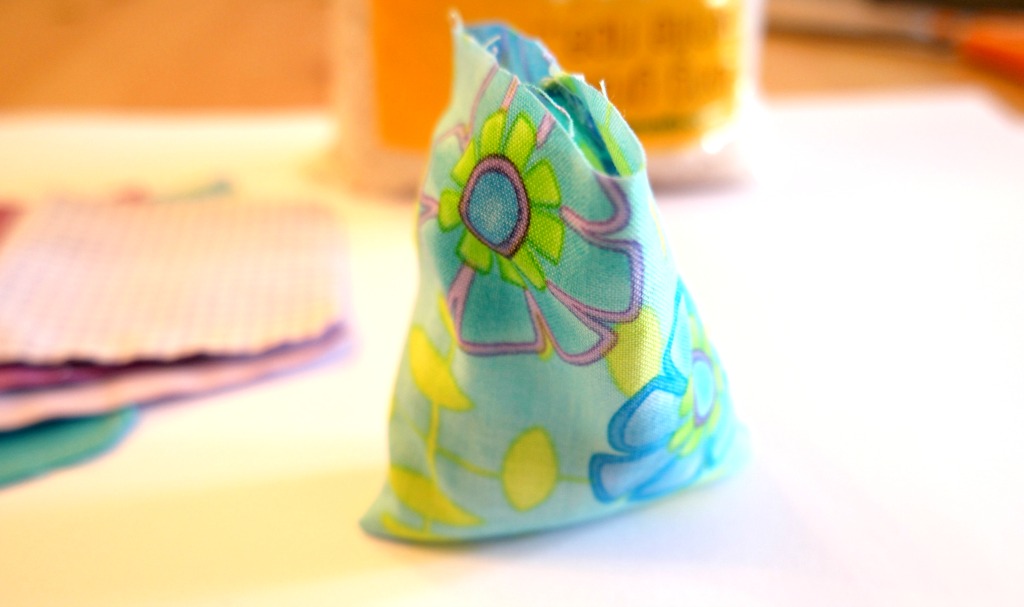
3. Fold the raw edge over so that it is inside and press with your finger.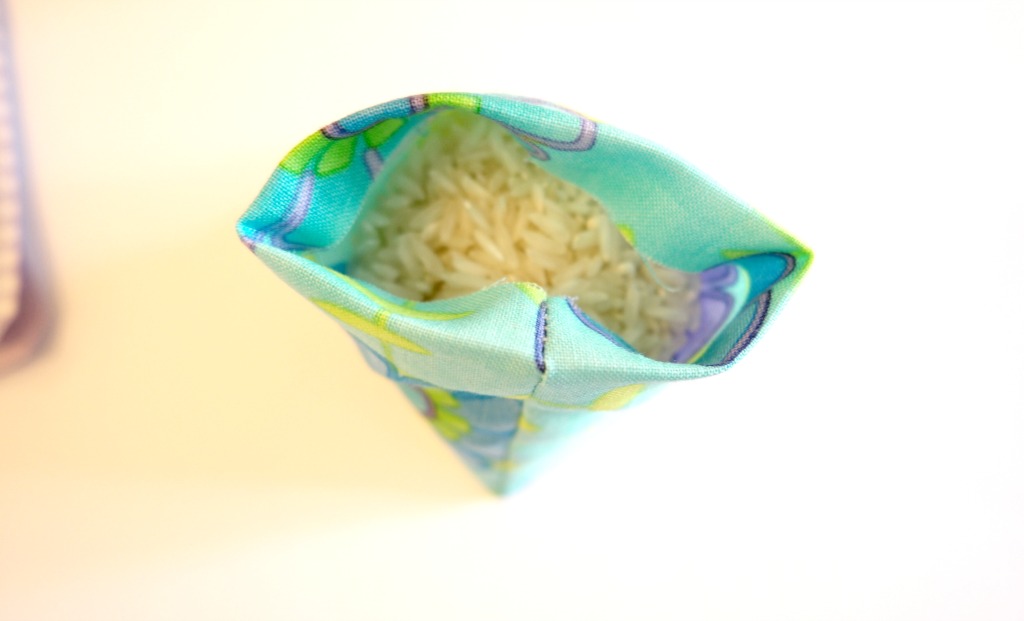
4. Pin the top of the pattern weight so that the side seam is in the middle. By doing this, the top edge will run at right angles to the bottom edge.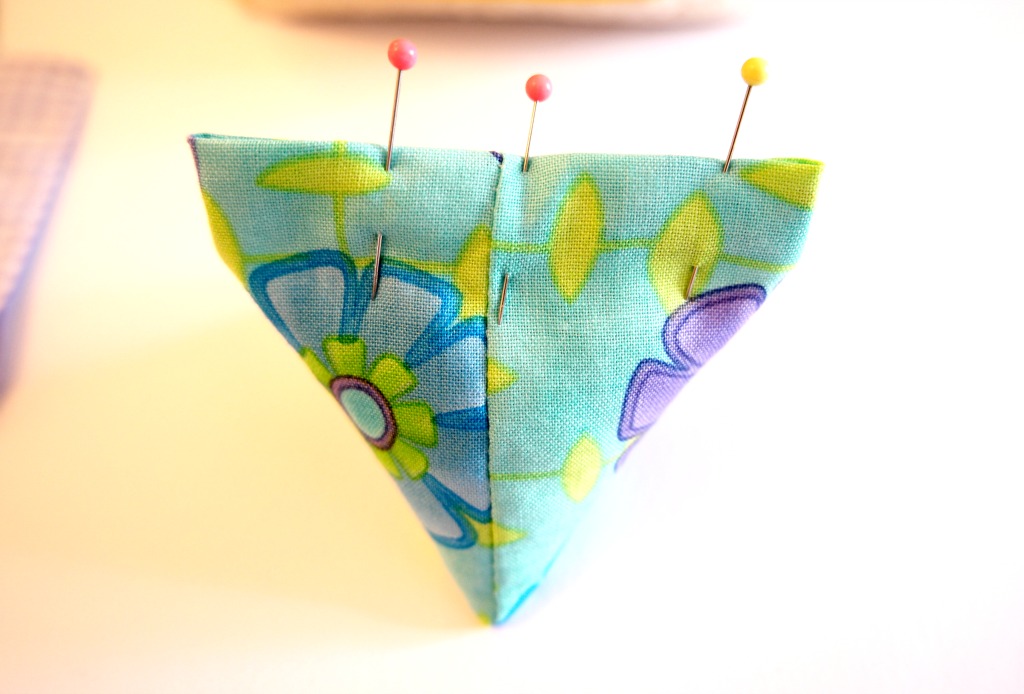
5. Slip stitch the opening.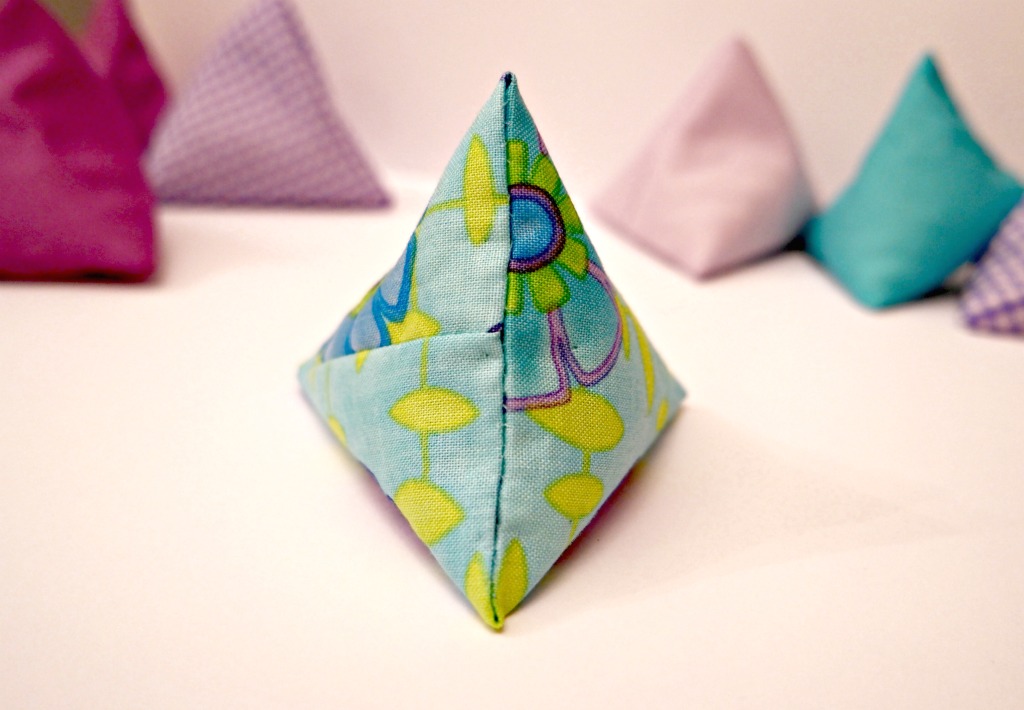
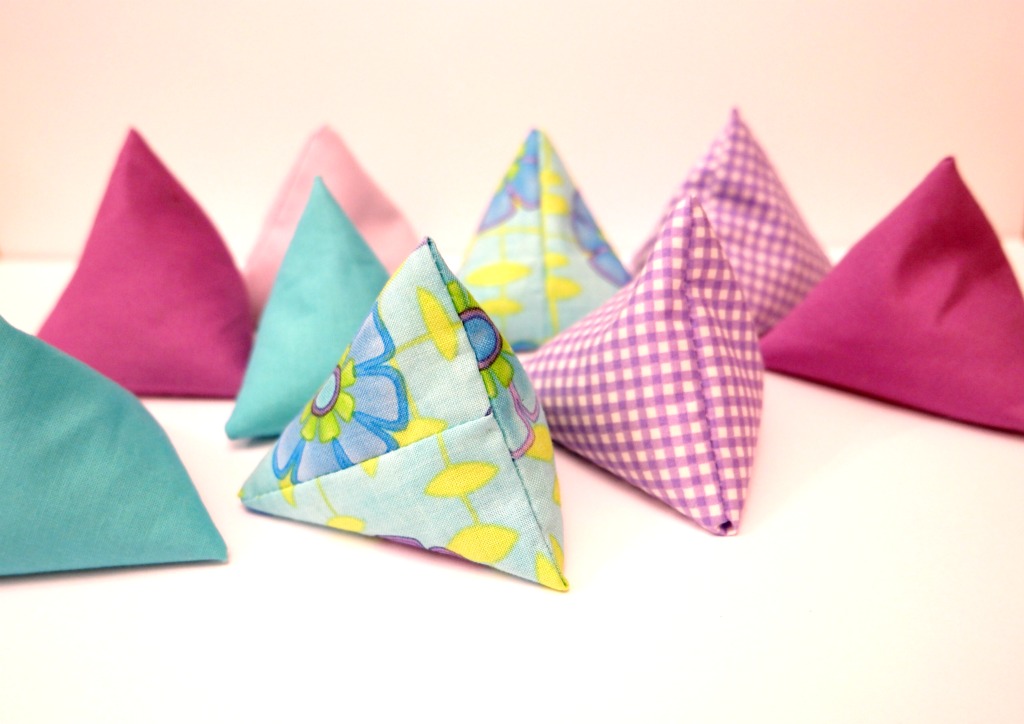
You now have 1 pattern weight! How many you make is up to you. I made 9.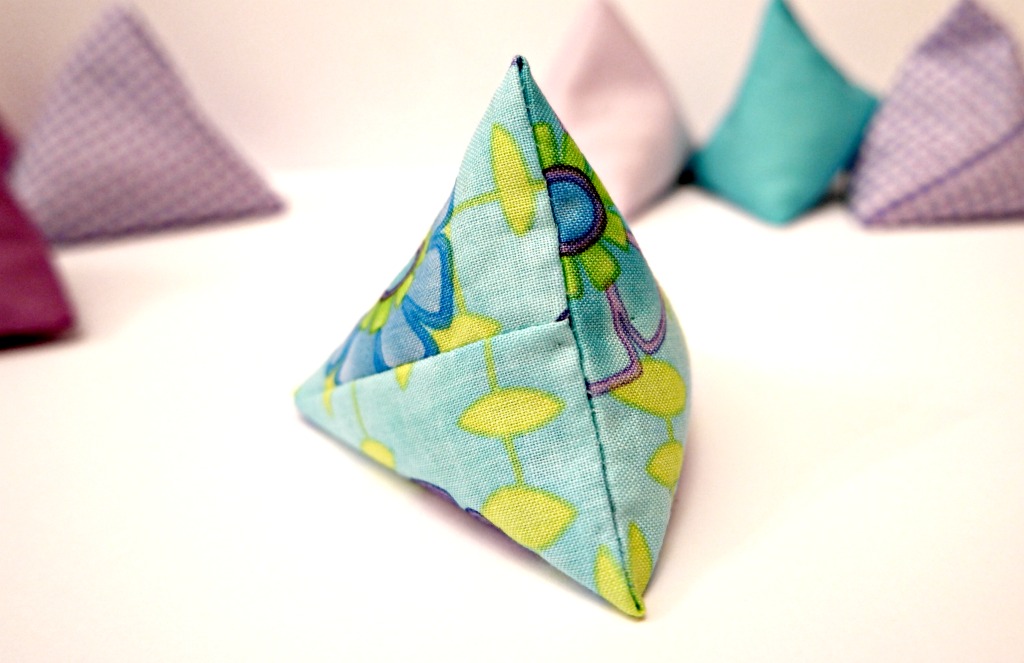
Tips
If you don’t have any rice, you could use barley, dried peas or dried lentils.
If you are short on time, batching will make the whole process quicker.
Have a rummage through your fabric scraps. They’re a great way to use up odds and ends of lovely things that are too small to do much with, but that you don’t want to throw away!
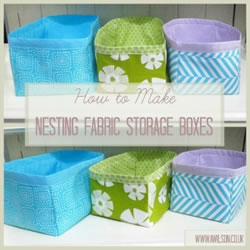
If you need somewhere to keep your pattern weights, you could make a little box or a bowl. The smallest of these fabric boxes would probably about the right size!
 Or you could make a burlap bowl.
 Or you could crochet a bowl.
Linking up here.


Thank you for the pattern! My tiny apartment only has room for cutting fabric right in front of the air conditioner, so I really needed to make a set! I cut up some old pajamas for the fabric and used some dry beans I’ve had sitting in my cabinet for years.
One thing to note is that you can machine sew the final seam by folding the raw edges inward and topstitching, though you need to be careful not to overfill if you use this method. It doesn’t look great, but if you’re in a hurry it’s perfectly effective. I also anticipate that I’ll be able to use this pattern to make beanbags for the classroom, since the storebought ones are weirdly expensive.
Faboulous, yes, they’ll work as beanbags too! And you’re topstitching is great if you’re in a hurry.
Great idea
I will share it with my daughter, I’m sure she would love it, Great idea
Love these! As a fashion student my patterns are always being torn by pins and it’s so frustrating. I’ve made quite a few of these weights now and they work amazingly! Filled my first set with chickpeas and the second with plain rice. Thank you for the tutorial!!
Anything like that will work! Pleased you found it useful xx
Will give these a try certainly look better than the cans of food I normally use as weights
Lol, Jennifer!
I saw the paperweights last week and
immediately jumped up and headed for my scrap bin. I made a dozen of them and probably would have made more for my daughter but I ran out of rice. Thanks for the inspiration and the instructions. Best wishes to you in all your endeavors!
Thanks Judy!
I recently made pin cushions and found that crushed walnut shells worked very well. I am thinking that the walnut shells would be an excellent substitute for rice or beans.
That’s a good idea 🙂
Just found you via SewCanShe. I’m sewing a 3 piece outfit for my daughter’s wedding and was wishing I had some Pattern weights. All I could think of was some kind of metal washer or nut and was afraid they would be dirty or greasy. Now that I’m almost done with my outfit, I’ll stitch these adorable weights up for my next project. Thanks so much!
Thanks Karen 🙂 With those metal things I worry that I’ll drop them on my foot!
Hi Anna,
Thanks for the info, had tried a dif. pattern before but this is much simpler and easy to do 10 as a gift and sew up the last side watching the telly.
Glad you found it useful 🙂
Thank you for this pattern! Really easy to follow. I love my new pattern weights!
You’re welcome!
Gracias por esta idea, ya lo hice y me quedó muy bien!
Thank you for this idea, I did it already and it was great!
That’s good! 🙂
Looking forward to making these sewing weights….I saw them on the sewing B programme too….can’t wait for the next series…so pleased it has has made sewing ‘trendy’….my daughter has started sewing….what a great hobby! Thanks for your ideas and pattern!
You’re welcome 🙂
Thanks for this tutorial. I’m going to make some tonight!
That’s good 🙂
Sewing B gave me the confidence to start sewing again after many years, and I noticed that scissors and pins seem a bit out of date – perhaps my sewing machine from the 70s is a bit dated too!!
I had a 70s sewing machine until a couple of years ago 🙂
Thank you Anna, As a 75 year old avid crafter, several of these will be made today. I never stop sewing.
I don’t plan to stop eitheer 🙂
I’d never heard of these until I saw them on the sewing B. It seems quite a lot of people use them. I’m stuck in the 60’s, 70’s when everyone used small pins. These look so cute.
I hadn’t heard of them either before TGBSB!
What a fantastic idea!! Anything to save time when cutting out a pattern is awesome!! Thanks for the tutorial on these sewing weights!
Thanks for stopping by 🙂
What a great idea, I’m going to be doing some sewing soon and I might have to make a few for myself.
It’ll save you time not having to pin the pattern on when you’re cutting out 🙂
What a wonderful idea, never thought of pattern weights before but I need them now!
I always learn stuff from TGBSB!
They are lovely:) I found myself using cotton threadsfor my overlocker as weights the other day, thinking wouldn’t it be nice to have cute pattern weights instead?!

vicky myers recently posted…Half term holidays – Antibes & upcycling
Thank you 🙂
I keep seeing the peeps on Sewing Bee using them, and the rotary cutters and think maybe I need to upgrade, at the moment I’m still an old school scissors and pins kind of girl!

I assume you need something to cut on with the rotary cutter though and I usually do my cutting out on the living room carpet! (Christmas list maybe?)
Julie recently posted…Lace Cut Off Jean Shorts
A cutting mat Julie, otherwise you’ll slice up your carpet 🙂
I noticed them on the Sewing Bee too. They are rather cute, and I may have a go at making some. Can’t wait for the final tonight!

Ginny recently posted…Battenburg Ankle Socks
I’m a bit behind so I’m hoping I won’t find out who’s won until I’ve seen it!
Love these, and great for just playing around too! thanks for sharing on craft schooling sunday!

creativejewishmom/sara recently posted…Welcome to Craft Schooling Sunday!
I can see my boys getting hold of mine and them ending up in the garden!