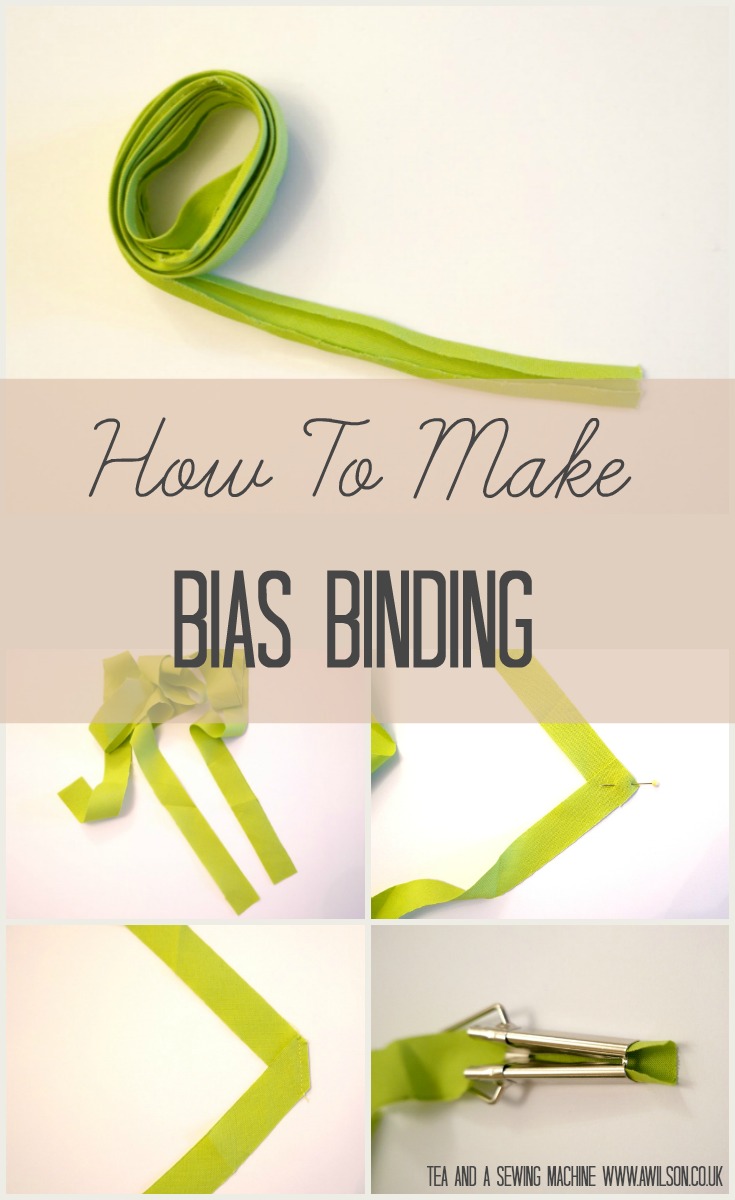
How to Make Bias Binding
It’s easier than you might think to make bias binding!
Why Use Bias Binding?
Bias binding is probably my favourite way to finish a raw edge.
It is the easiest way to finish the hem of a circle skirt. You could faff about folding and pinning and probably do it neatly, but it is tricky and fiddly. Using bias binding is so much easier because it stretches, so the curve of the hem is not a problem.
It’s great for necklines too. Maybe I’m doing it wrong, but I can never get facings to sit right or to stay put. I understitch them but they still pop out.Sometimes I’ll make a lining and that solves the problem, but not everything needs a lining.
So that’s when I whip out the bias binding! It’s a quick and easy way of finishing a neckline that results in a nice, neat finish. I bind the neckline, but there is also a way of doing them with the bias binding where it is not visible. I’ve seen it on The Great British Sewing Bee. It’s not something I’ve tried yet but it’s on my list!
It’s good for finishing armholes as it avoids the facings issue here too.
If the thing I’ve made has sleeves, I’ll use bias binding to finish them rather than hemming, not because it’s to fiddly to hem a sleeve but because I like how it looks when everything matches!
It’s also possible to buy stretch bias binding for working with knits. It’s not that easy to find, but Minerva Crafts have a cotton stretch version and a cheaper version with lycra (affiliate links).
The only downside is that if you buy it ready made, it’s not always possible to get the exact shade or print to match the thing you have made.
This is where making your own can be the answer!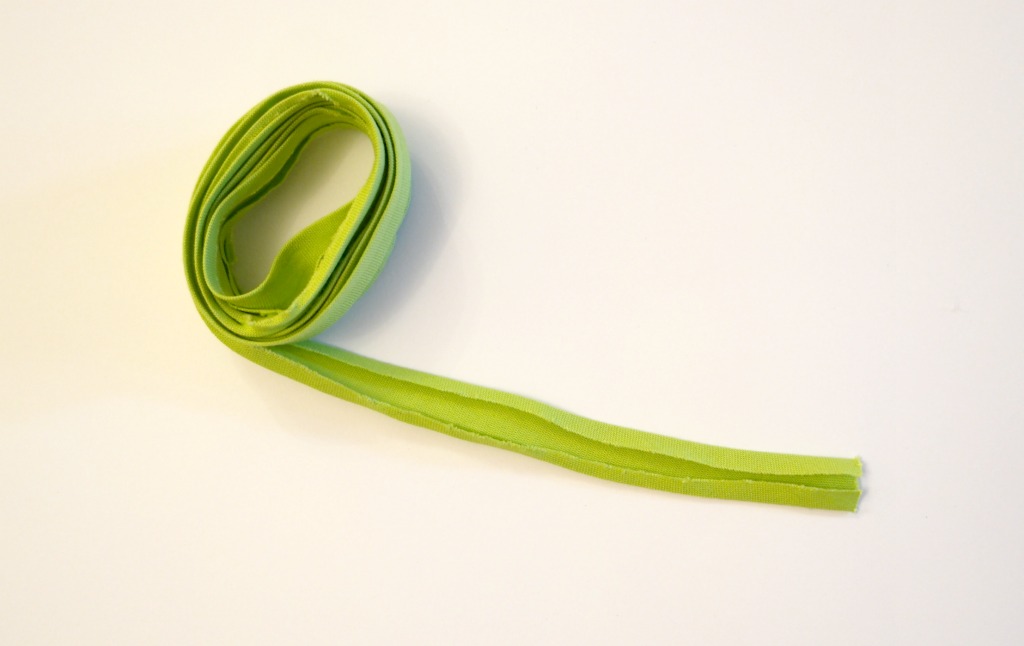
How to Make Your Own Bias Binding
You Will Need
Fabric, ideally a square but enough to be able to cut some longish lengths on the diagonal, ruler or tape measure, pencil, rotary cutter and mat
or scissors. A bias binding gadget thing is nice to have, but you can make it without one (these are affiliate links).
Cutting Out
To make bias binding, it needs to be cut on the bias, in other words, diagonally. This is what allows it to stretch a bit and why it is so great for using on curved edges.
Cut your piece of fabric into a square and fold in half diagonally.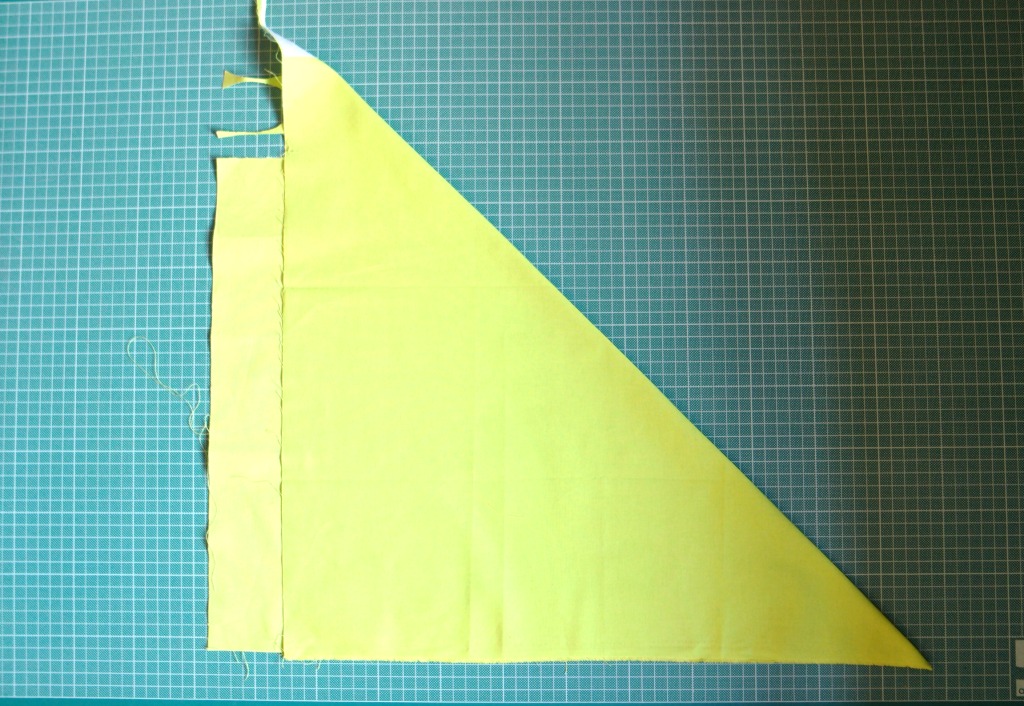
Decide how wide you need your bias binding to be. Consider how much of it you want showing and remember that it will be folded in half with the edges tucked inside. If you want to have about 1 cm showing, your bias strips will need to be 3 – 4 cm wide.
As the first strip will be cut where you have folded, it will need to be half the width of the other strips. The next strips will need to be the full width. Measure, then mark with a pencil.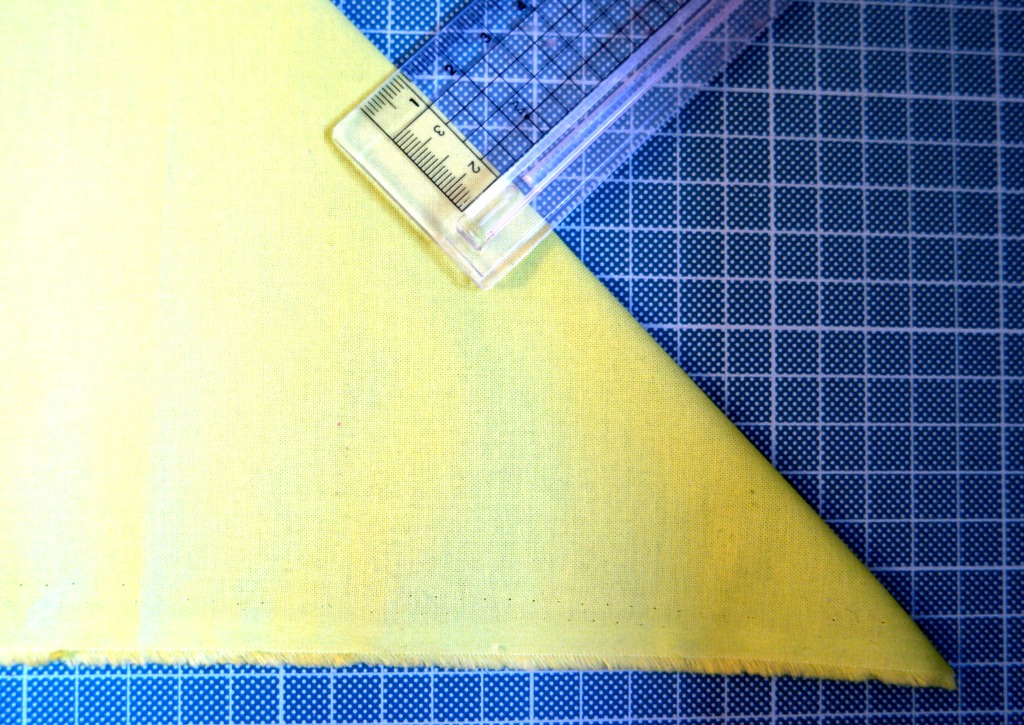
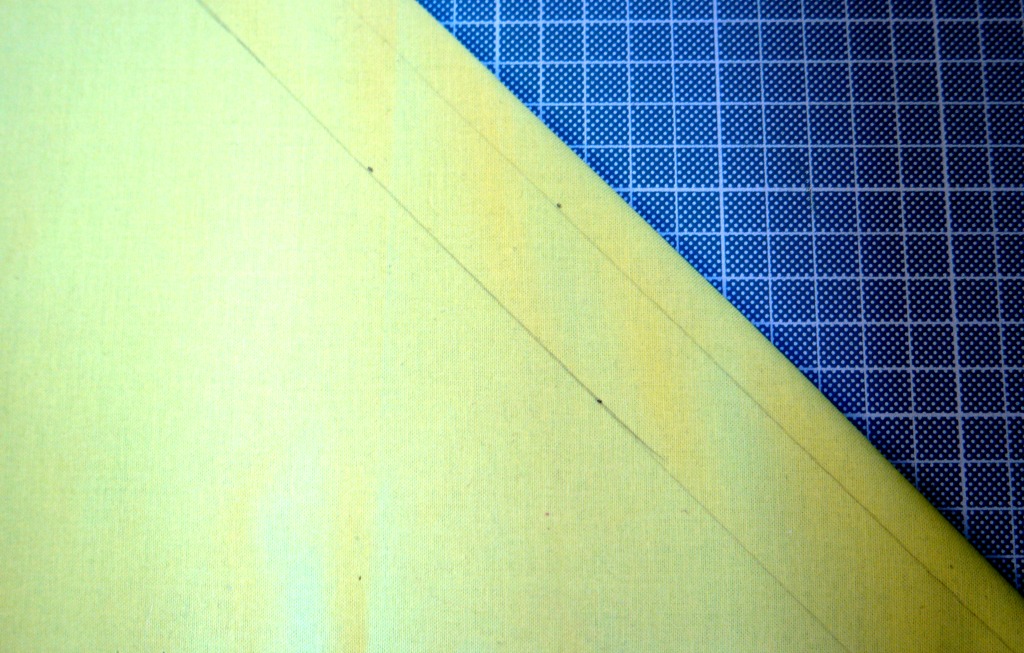
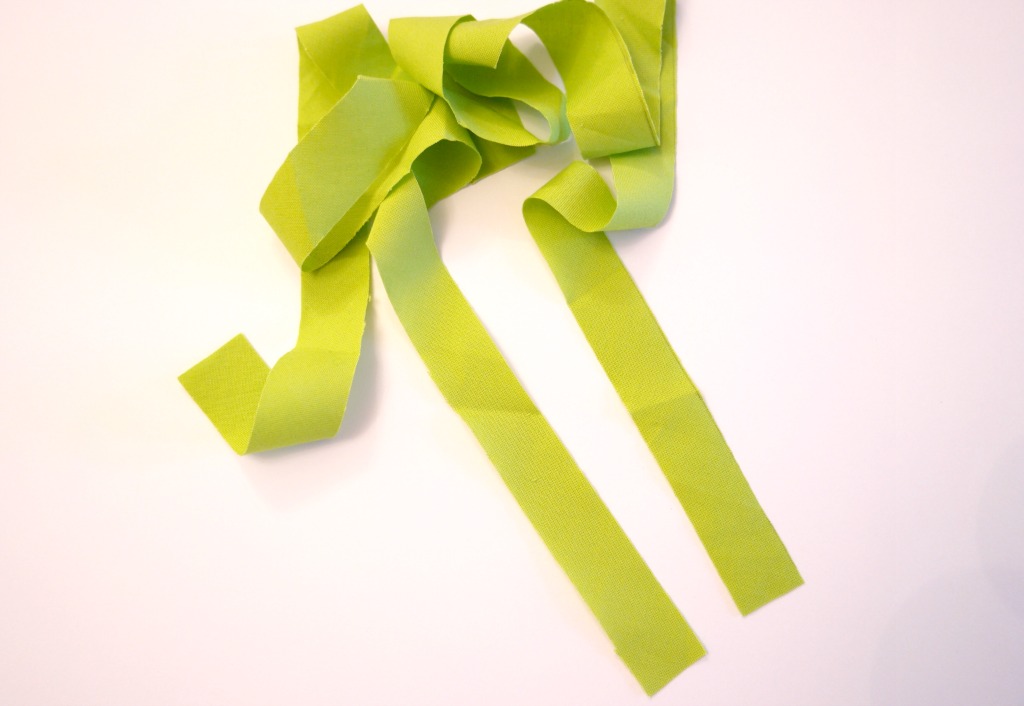
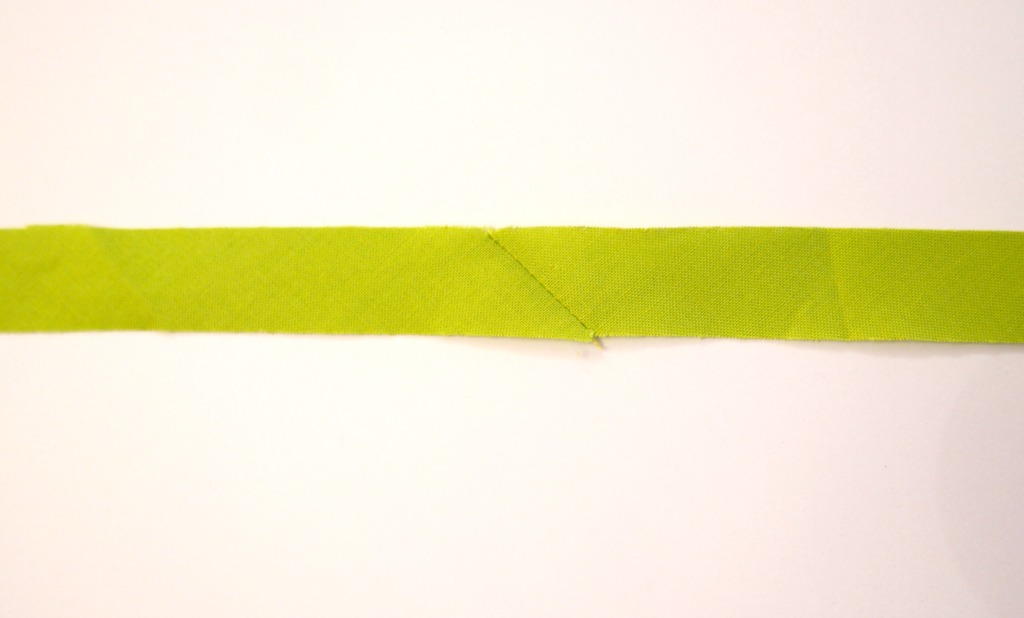
If you need to join them, match the ends so that they are at right angles.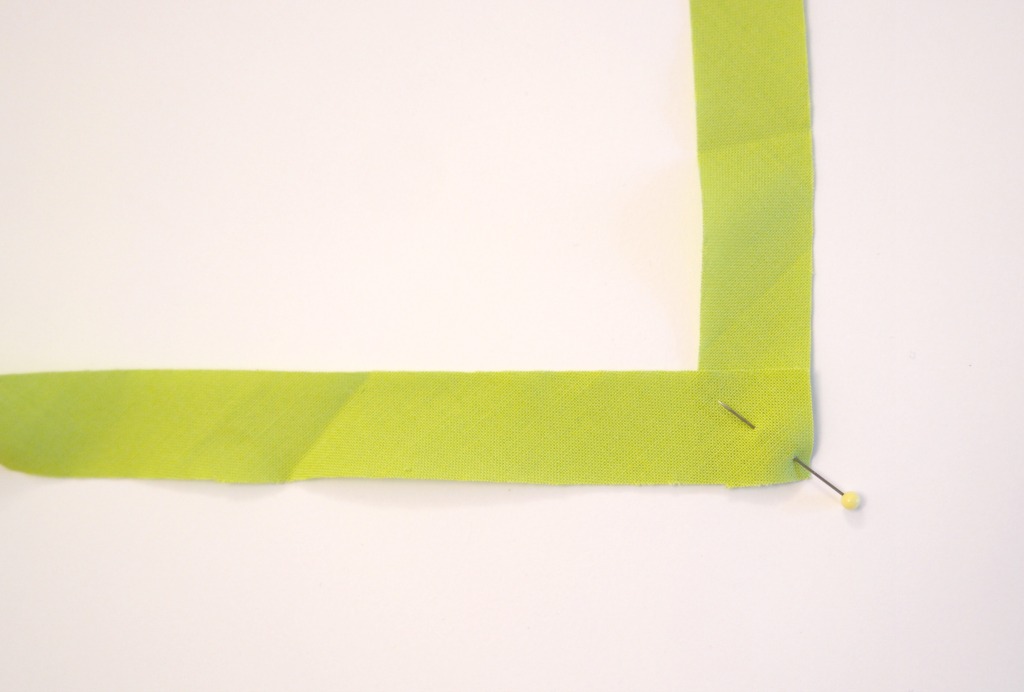
Sew across the corner diagonally.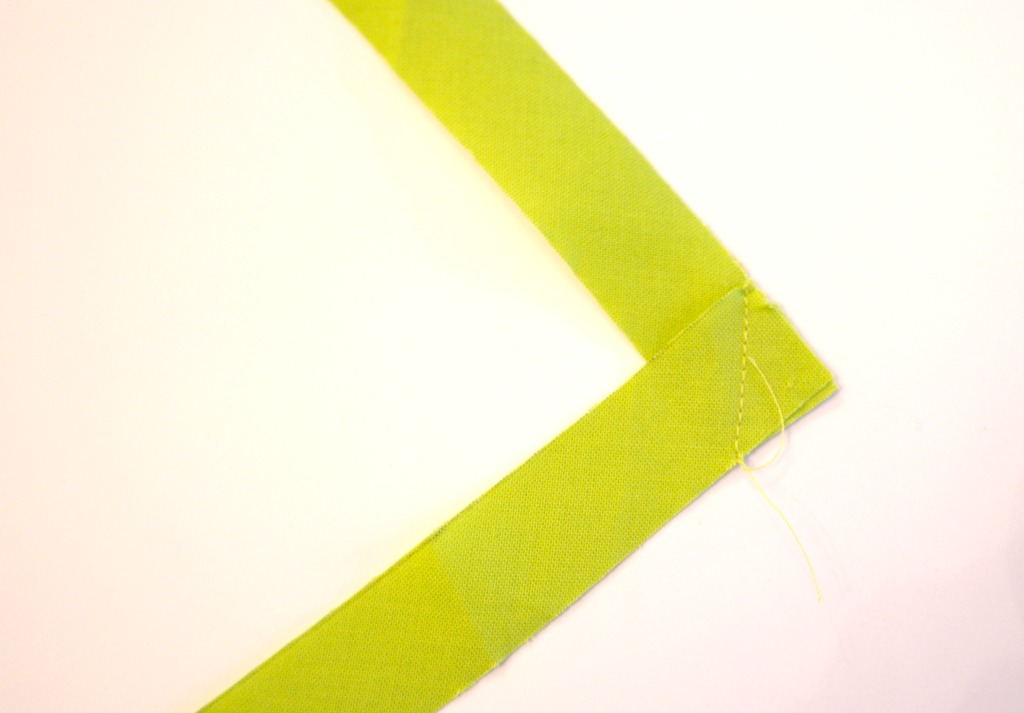
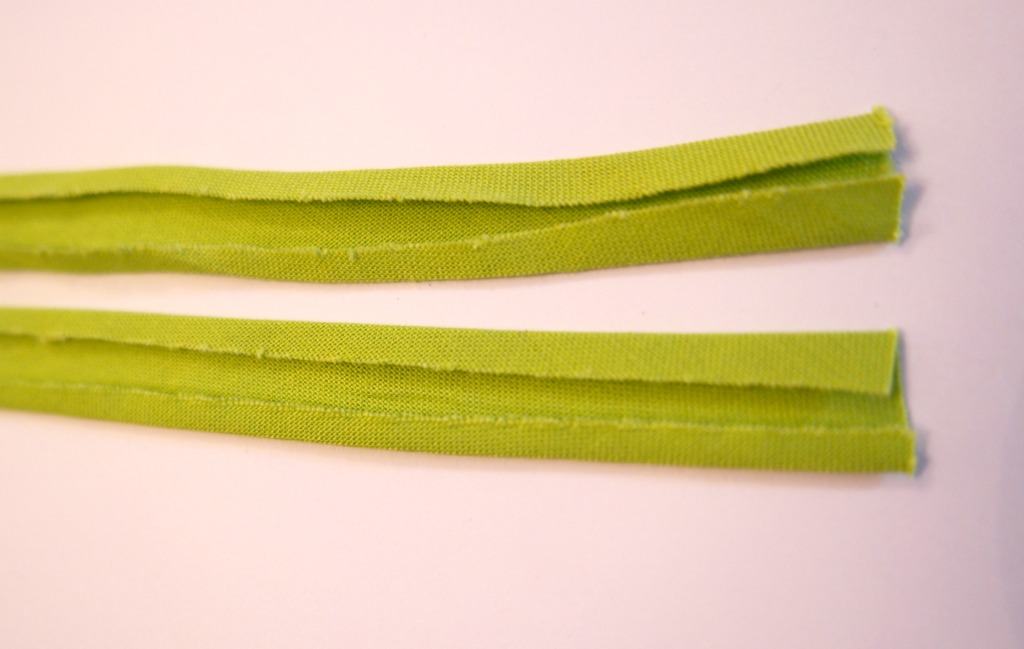
If you are not using a bias binding gadget, fold the strip in half length ways. Fold the edges inwards. Pin, then press with the iron.
If you are using a gadget, thread the strip through the wide end until it comes out of the narrow end. Pull the strip through and iron it as you go.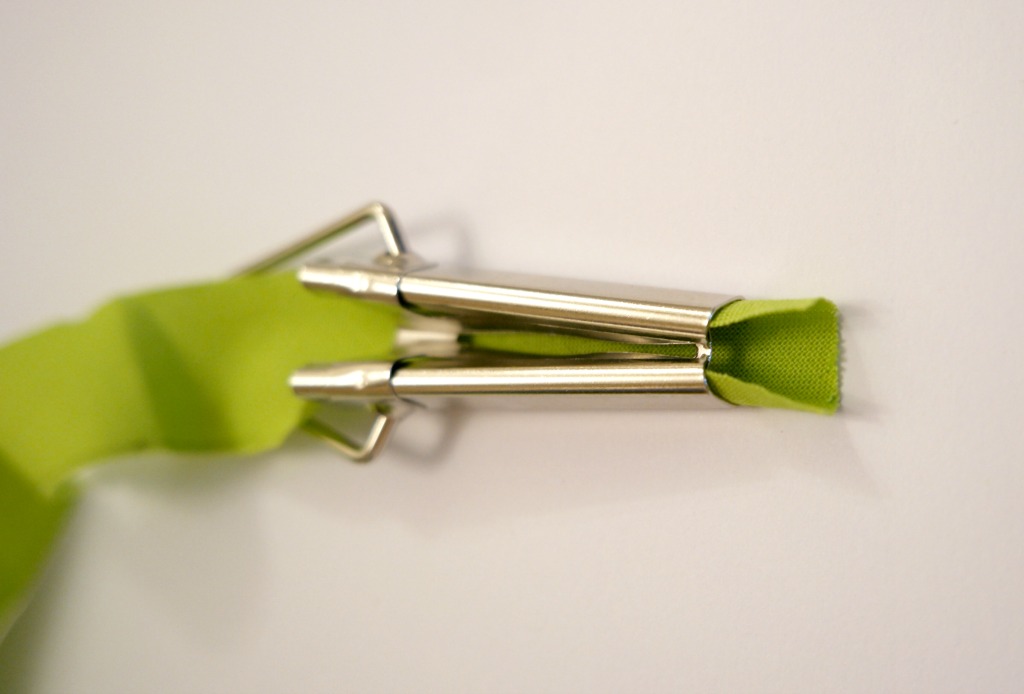
Tips
Using the gadget gets easier with practice, so if your first attempt is a bit messy, don’t worry! Just have another go.
It is easier if the strips are wider rather than narrow. Obviously you need to be able to get them into the gadget, but if they are a bit to thin, it is definitely harder.
Keep checking that the strip is lined up correctly at the wide end of the gadget.
When pressing the bias binding, you could either push the gadget up with the iron, or you could throw all caution to the wind, grab the strip on the other side of the iron and pull it through quickly.
If you make bias binding yourself, it is a bit of a faff. It takes longer and it is much easier to buy it. If I wanted 10 metres or more, I would probably buy some ready made. But if you just need a little bit, it’s nice to have some that matches your project perfectly!
I bought my bias binding maker tool from Minerva Crafts. They also have them on Amazon. These are affiliate links.
Linking up here.


[…] binding for finishing the raw edges. You could make your own so that it matches, but buying it ready made is easier and […]