How to Sew French Seams
Until I watched The Great British Sewing Bee a couple of years ago, I had no idea what French seams were.
Even when I did find out, I assumed that they were another one of those things that were only for people very experienced in sewing. People who had special sewing superpowers or who belonged to some kind of secret super sewing club.
Incidentally, I also thought this was true for boxed corners and magnetic bag closures.
This is really not the case!
There is no big secret and they are not difficult at all!
Why Use French Seams?
The time to use French seams is when you are sewing with delicate fabric like silk or chiffon. I used French seams when I made this foofy skirt!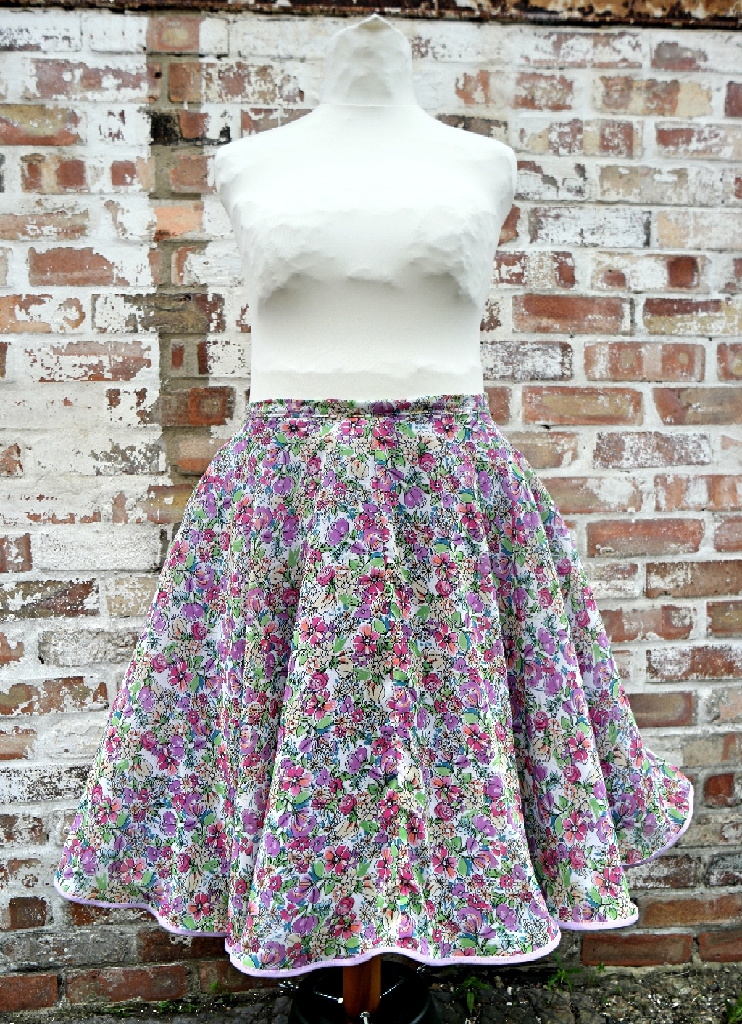
Because these fabrics are very fine and are inclined to fray, pinking the seams probably would not be enough and would possibly show through on the right side.
Using an overlocker or an overcasting stitch would result in a bit of a mess, as the fabric is so light it won’t stand up to to all those zigzags. Also my sewing machine has a tendency to eat this kind of fabric.
Delicate fabrics are often used to make something special and French seams give a lovely neat finish to the inside of whatever it is you’re making.
The visible seam allowance is small and neat, with no raw edges exposed that might itch or irritate. All the raw edges are enclosed and there are no fraying bits or stray threads.
And they’re easy to do!
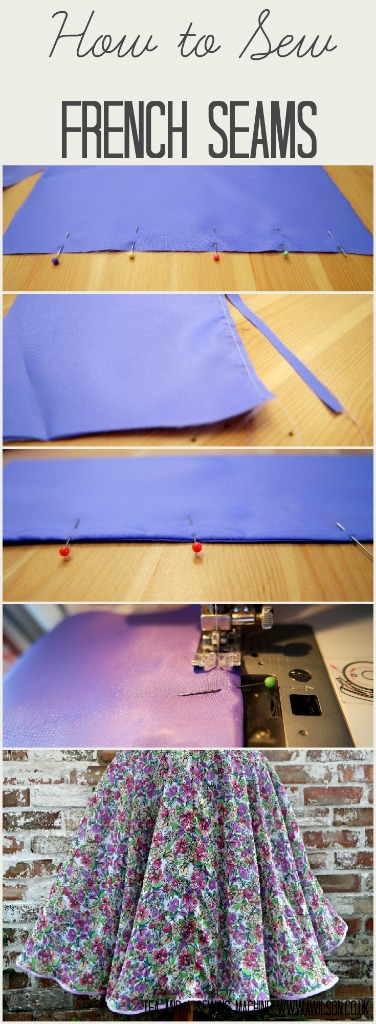
How to Sew French Seams
1. With the wrong sides together, pin the seam. If the fabric you are using is unstable, use plenty of pins!
2. Using about half the seam allowance, sew the seam. 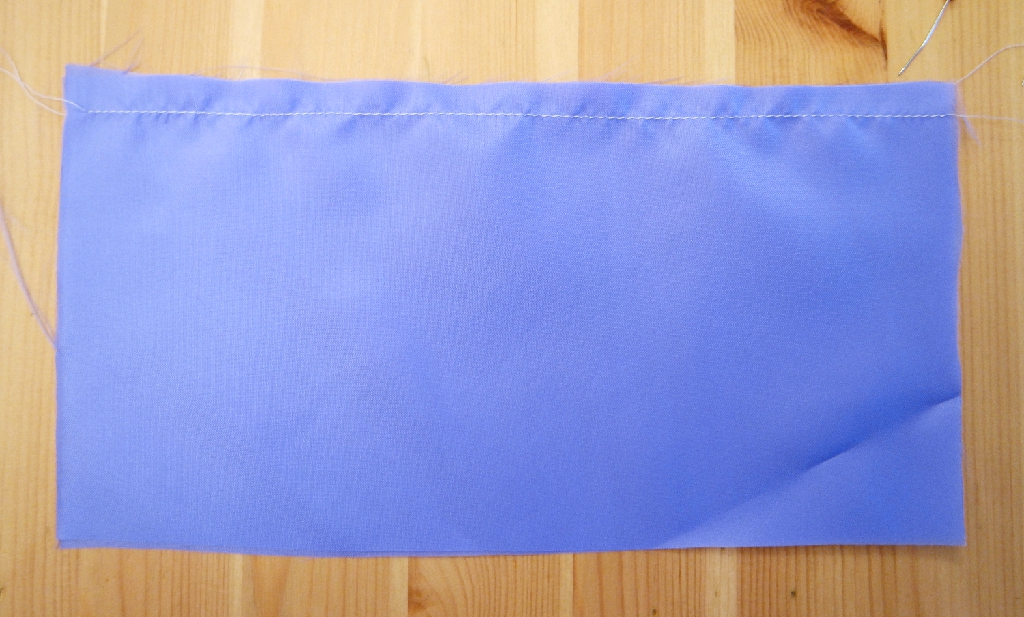 Trim the seam in half.
3. Press the seam. I press it to one side, then the other.
4. Fold the fabric along the seam so that the right sides are together. Press again.
I know this probably sounds like I am mad on ironing. I am really not! Pressing seams makes a huge difference to the overall finish.
5. Now with the right sides together, pin the seam.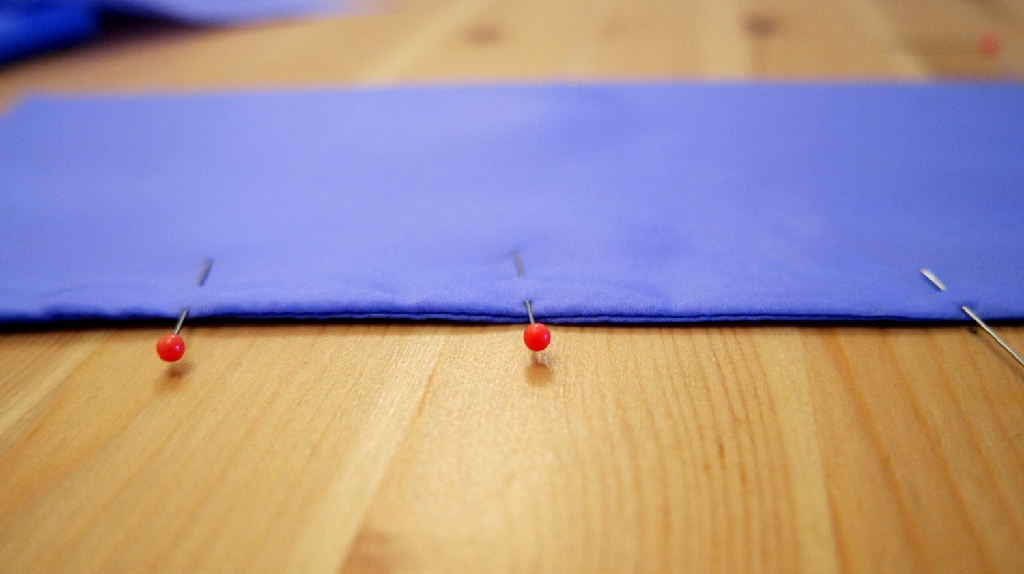
6. Sew the seam using the rest of the seam allowance.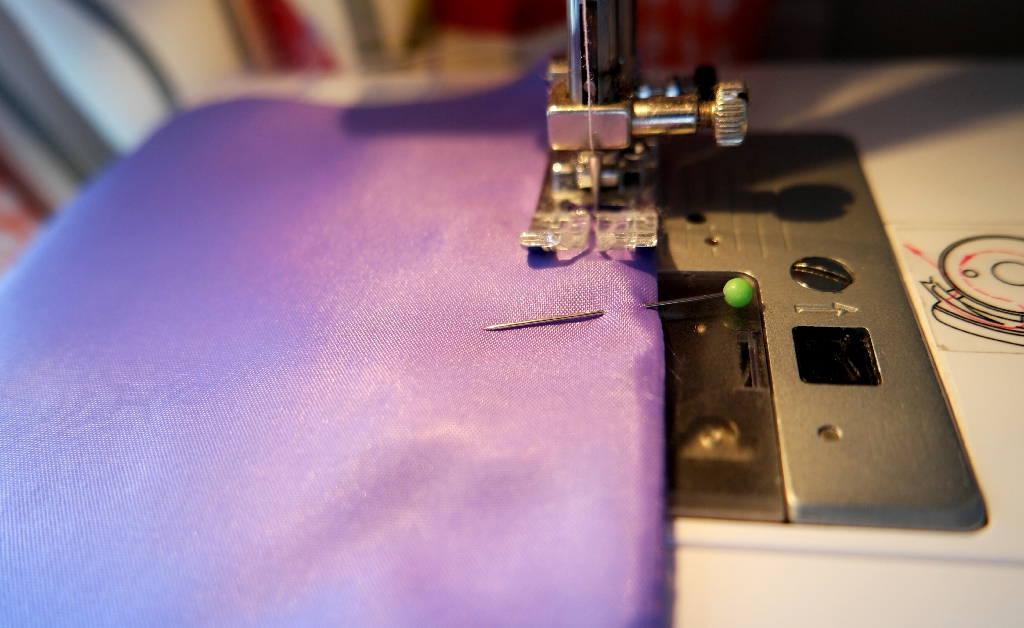
Now you have a lovely neat seam with the raw edges enclosed!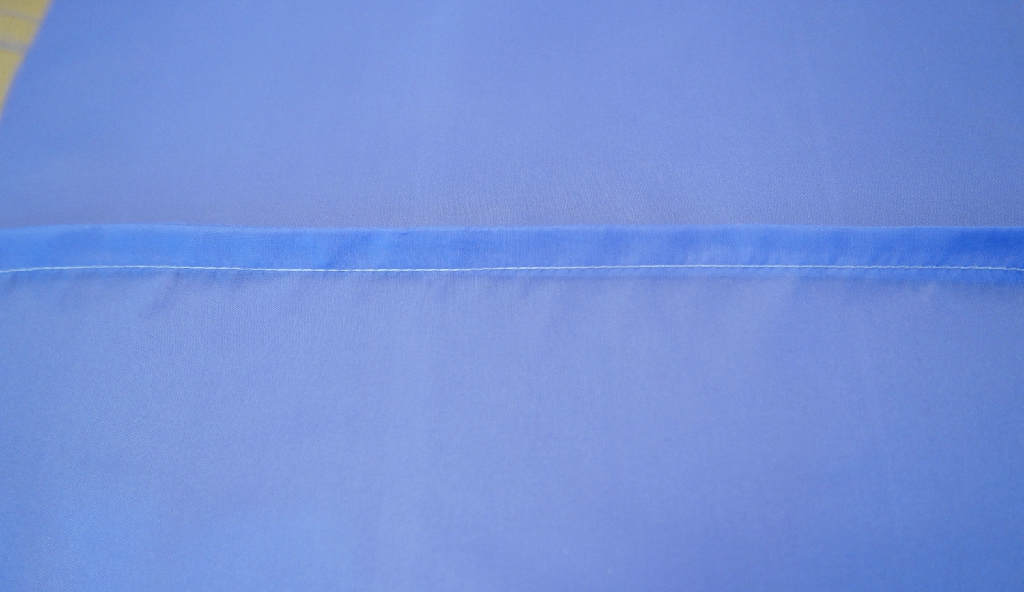
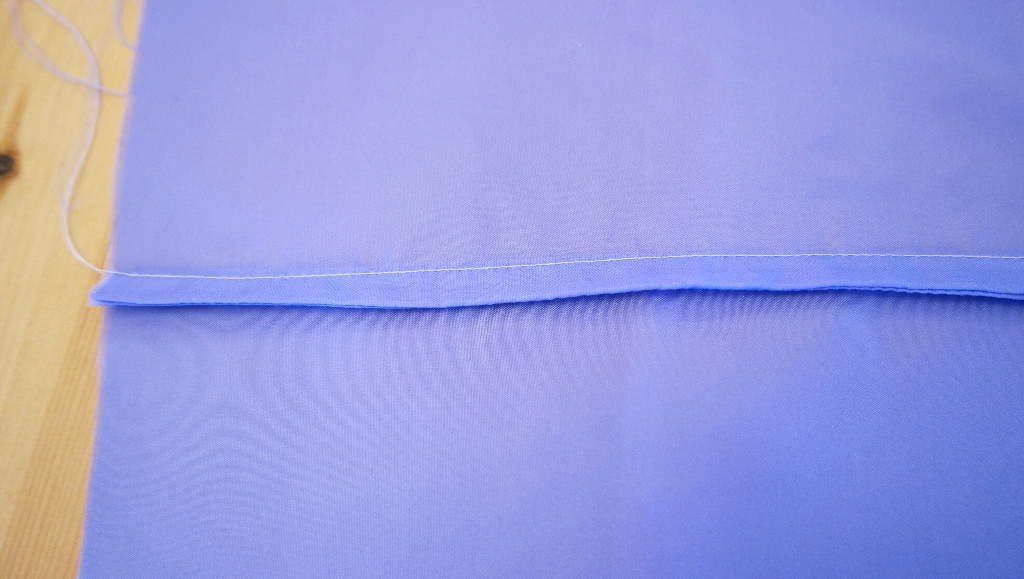 french seams
It is possible to use French seams on curves too. Just be sure to trim the seam allowance right down.
If you like this post, you might like to take a look my Tips and Techniques page for other posts like this one!
Linking up here.


I used French Seams on a pair of pyjamas I made at school! Back in the 1950’s!!
They’re good to use on pyjamas 🙂
Thank you so much, this is a great tutorial and helped me so much in understanding. I too thought French Seams complicated and I was afraid to try but needing a neat solution for delicate fabrics ❤️. I feel much more confident now!!
So pleased you found it helpful 🙂
Thanks for the explanation. I found my High School samples back (from 50+years ago) and thought I’d check how I made the seam at the time. 🙂
You’re welcome!
A super tutorial, think we all think they are difficult because they aren’t mentioned a lot and generally just in passing.
Thank you :). That’s it isn’t it, people refer to them without explaining what they are so we think they’re something complicated!
omg very beaitiful. ty
Thank you 🙂
Great tutorial. I love French seams!! Thanks for sharing at our DIY Crush Craft Party on Thursday!! Domenica picked it as her favorite and will feature it tonight! Hope you’ll stop by and see it!
I’m a huge fan of french seams and teach the technique in several of my classes and tutes. Students are always surprised how easy they are when the perception, as you say, is quite the opposite. I wonder why they’re thought to be difficult? 😀
It’s strange isn’t it? I find that with other stuff too.
Thanks for sharing, I’ve always thought it must be very complicated but your tutorial makes it look much simpler.
I thought they were complicated too 🙂