How to Make a Bunting Cushion
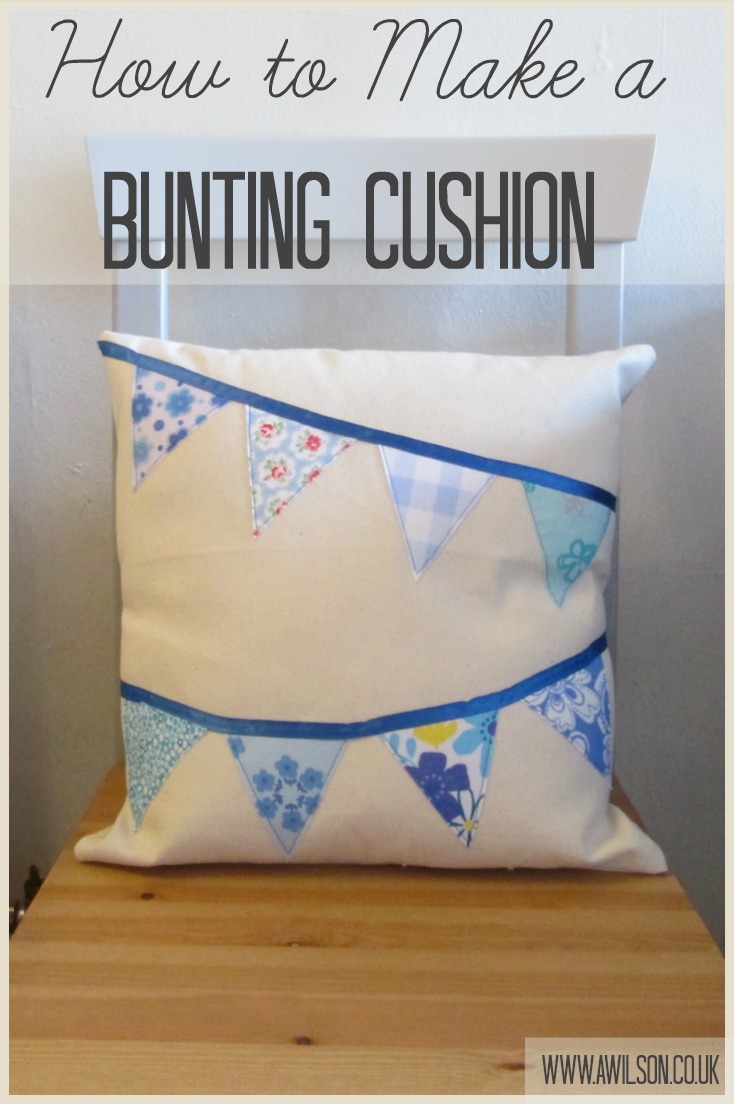
As much as I love bunting, there is a limit to how much of it you can have strung up about the place. A bunting cushion is a nice, easy way of adding the same cheeriness but without tying yourself up in the real thing every time you walk across a room.
A bunting cushion is also a great way to use up bits of fabric left over from other projects. I actually didn’t buy any stuff to make this at all! The canvas was left over from curtains I made when we moved into our house 13 years ago (I have also used some of it to make a shopping bag with bunting on it!) and the bunting itself is made from odds and ends from my scraps bag. The ribbon I also had already and I used the pad from another cushion.
Instructions for Making a Bunting Cushion
You Will Need: triangle template, plain fabric, scraps of pattern fabric, fusible interfacing, ribbon, a cushion pad.

Making the Template
If you need more detailed instructions for doing this, please take a look at this bunting tutorial here. The measurements are different but the process is the same.
On a piece of paper, draw a line 7 cm long. Find the centre of the line and draw another line 7.5 cm long and at right angles to the first line so that it looks like a T.
Join the the ends of the first line to the end of the second line to make a triangle. Cut it out.
Making the Cushion
1. Fuse the interfacing to the scraps of fabric.
2. Decide how many triangles you need and cut them out. For my 40 cm cushion I used 8 triangles.
3. Cut out your plain fabric for the cushion cover. You will need 1 piece slightly bigger than your cushion pad and 2 pieces the same width but longer, so that they overlap on the back.
Using canvas meant that it was fine as it was. If you are using a lighter fabric, it might need interfacing.
4. Hem the back pieces.
5. On the front section, arrange the triangles in 2 rows. Remember to leave space around the edge for the seam allowance! Pin the triangles in place.
6. Sew around the edges of the triangles. I left the tops and just sewed around the side.
7. Sew the ribbon on so that it covers the tops of the triangles. You could pin it first. I didn’t because I didn’t want the pins to mark the satin.
8. With the wrong sides together, place the top back section over the front so that the top and the sides are aligned and the hemmed edge is somewhere in the middle.  Do the same with the bottom so that the bottom edges are together.
9. Sew all around the outside edge.
10. Trim the seams and cut off the corners. Turn the cushion cover the right way out and give it the once over with the iron. Stuff the cushion pad inside.

Decide where you’re going to put your bunting cushion and enjoy its pretty cheeriness!


Linking up here.


Thanks for sharing over at the DIY Crush Craft Party. Love this tutorial for making a cushion with bunting! We’ve added this to our Pinterest board. Don’t forget to stop by on Thursday to add your tutorials to our next DIY Crush Craft Party!
Thank you!
love it, so truly adorable and easy to make! thanks for sharing on craft schooling sunday.

creativejewishmom/sara recently posted…DIY Rubik’s Cube Costume That Is More Than Just A Cube!
Thanks xx
That’s so sweet, I love anything that helps to use up fabric scraps!

Julie recently posted…Simple Embroidered Tote Bag
Bunting’s great for using up scraps 🙂