There are a number of things we can all remember to do to make our handmade clothes look professional.
It’s a lot of fun to make your own clothes. I’ve been making clothes for myself since I was 10, and I love it! I can choose a style that I like and fabric that I love. I can make it so that it fits me. And I can walk down the street knowing that I won’t see 10 people all wearing the same thing, like we’re all off to a Primark convention or something.
Forgetting to do these things below can be the difference between the thing you have made looking handmade and looking home made.
Handmade is great. Home made is for cakes.
Here are things you can do to make your handmade clothes look professional every time!
How to Make Handmade Clothes Look Professional
1. Take care when cutting out. This is especially important as you will be using the edges as a guide when you are sewing up. If your lines are all over the place, your finished garment will be too!
Use plenty of pins to pin the pattern pieces to the fabric and use a decent pair of scissors to cut out. I use these Fiskars Dressmaking Scissors.
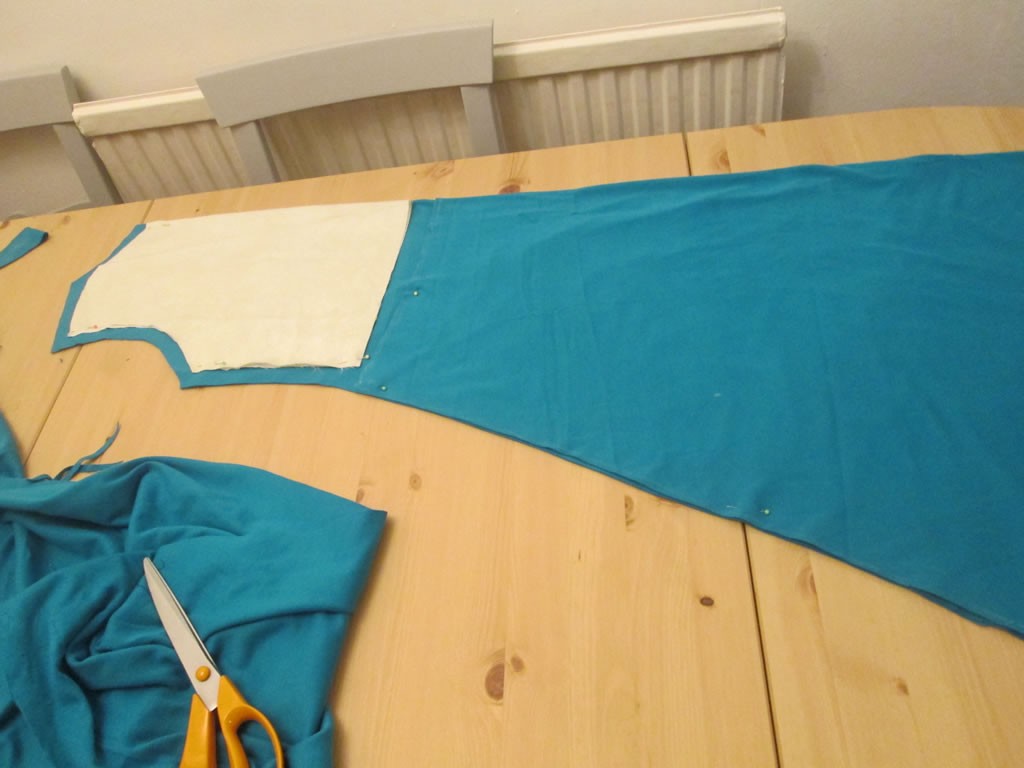
2. Check that the grain is running top to bottom and shoulder to wrist. This can seem like a pain, especially if you don’t have a lot of fabric and you want to squeeze as much as you can out of it.
Cutting on the grain ensures that your garment hangs right. If you don’t it might look right to start with, but there’s a good chance that it will eventually droop on one side.
If you have difficulty remembering which way the grain goes, the way to remember is that the grain runs parallel with the selvedge.
If you are using fabric that doesn’t have selvedges, don’t worry because you can still find the grain. Pull the fabric gently up and down and then side to side. The way that stretches least is the grain.
3. Finish raw edges. The seams are on the inside, but if the fabric starts to disintegrate and the seams fall apart, then it will definitely be visible on the outside!
Depending on the fabric, you might be alright pinking the raw edges.
For fabric that frays badly, it will be necessary to finish the edges with an overlocker or an overcasting stitch on your sewing machine. If your sewing machine does not do overcasting, zigzags are fine.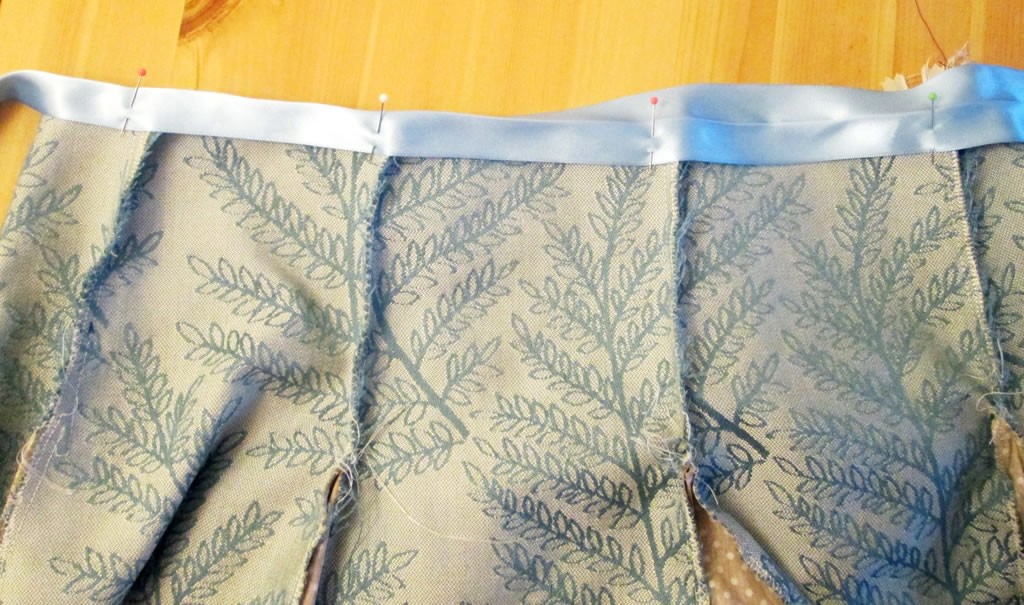
4. Use thread that is the correct colour. I know this sounds obvious but I have been there myself! It’s Sunday afternoon, you’re sewing, you run out of thread. You have a rummage, find a spool of thread that is the same colour but not even close to the right shade and you think to yourself, “That’ll do”.
No. No it won’t!
Using thread that is not a close match is a sure way of making your handmade clothes look homemade. Remember to check your thread situation when you buy your fabric.
5. Make sure that your stitching is straight and your top stitching is as neat as you can make it. This is where taking time with cutting out can make a big difference! Sew slowly and take care to align the edge of the fabric with the guide on your sewing machine.
Top stitching is best if you use longer stitches, but if you are sewing something fiddly or that is a difficult shape, it’s better to use smaller stitches to keep it neat.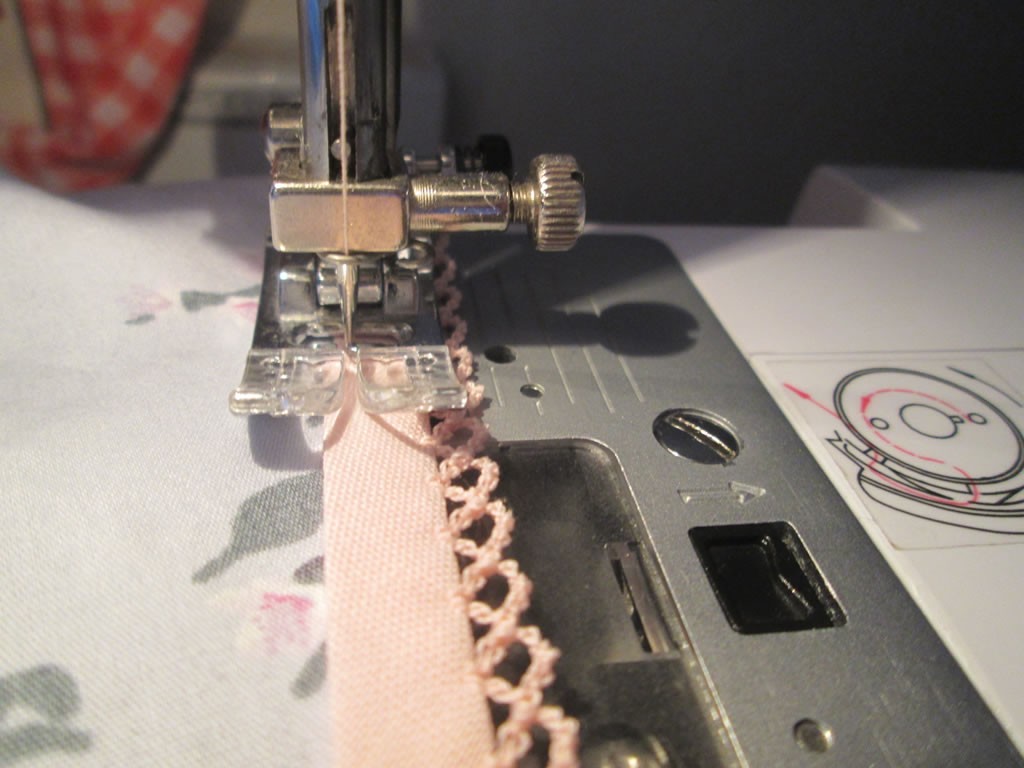
6. Check seam allowances. For commercial patterns it’s usually 1.5 cm. When I make stuff myself without a pattern I find that 1 cm is usually enough.
Your sewing machine probably has lines marked on the footplate. The manufacturers might have marked on the lines how far away they are from the needle. Otherwise you will need to measure to check.
If your sewing machine does not have useful lines, you could stick some tape on your machine to use as a guide instead.
7. Press seams as you go. I know it can be a faff, especially if you don’t have space to leave the ironing board up (or your sewing machine for that matter). It does make a difference though to how your finished garment looks in the end, especially where seams meet.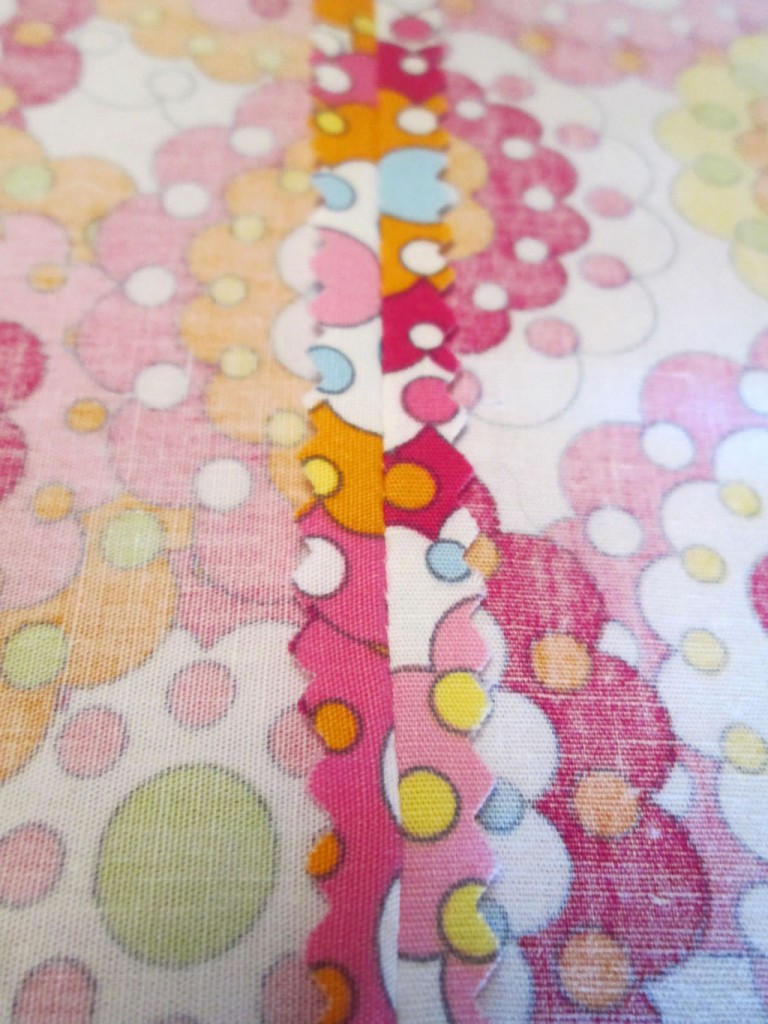
8. Add darts if it looks shapeless. Making a belt won’t do. I’ve tried it! In this particular project, the finished dress was so awful I had to cut my losses and turn it into a skirt, but adding darts might also have worked.
If you want to read a bit more about adding darts, take a look at this post here.
9. Clip the curves. By making a series of little cuts in the seam allowance, this will allow the curved seam to be pressed flat and the seam won’t look puckered.
10. Check sleeves are the same length. Unless you have one arm longer than the other and you need the sleeves to be of different lengths, irregular length are guaranteed to make you handmade outfit looked home made.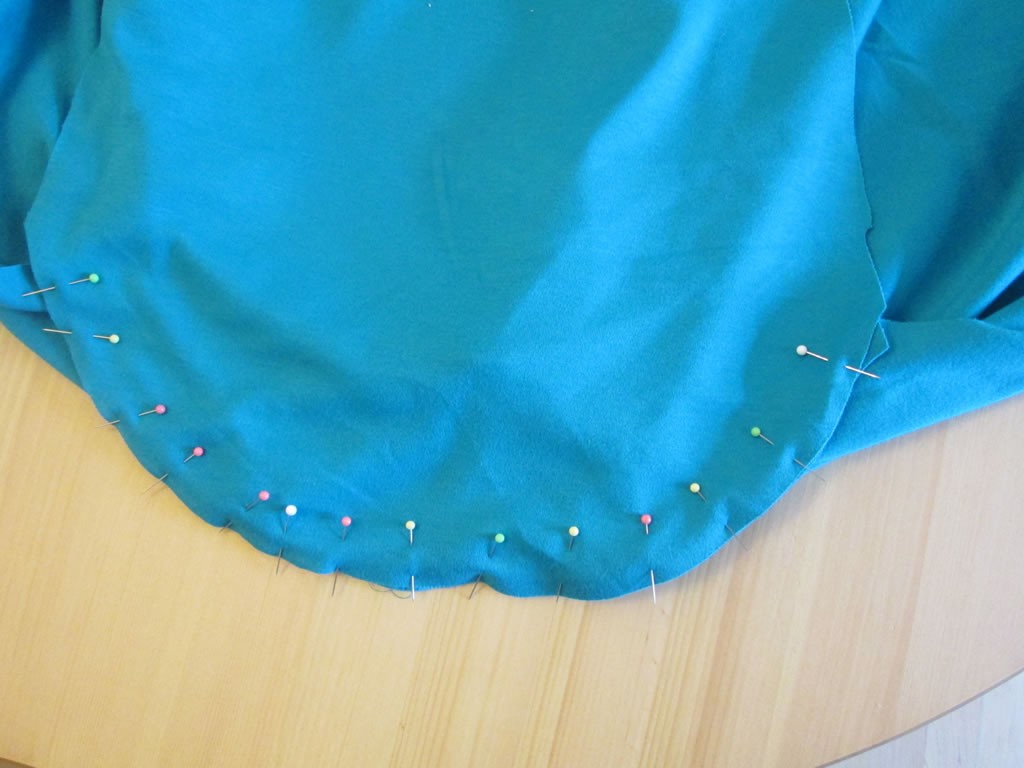
Check the hems at the bottom of the sleeves too. If you sewed the hem 2 cm up from the bottom of one sleeve, make sure you sew it 2 cm up on the other sleeve as well!
When I make sleeves, usually I measure one, then I use that one as a guide for making the second.
11. Check your hemline. Wonky hems scream home made!
The easiest way to get your hem level is to use a dress form. Otherwise enlist a friend to help you. Husbands and older children might do in the absence of either.
What would you add to the list?


Having been a seamstress for 67 years (77 now), making aprons to elaborate costumes, I have made MANY mistakes. Many have been due to my taking silly shortcuts which I of course later regretted! If there’s any suggestion I can given the novice, it’s ****Slow down, don’t skip steps, and do it right the first time around! You will achieve a beautiful professional result you can be proud of!****. Happy Sewing!
Good tips! 🙂
Great recommendations, I definitely agree, if I am ever too lazy to press seams I always remorse it!
Me too!
More great tips for the home seamstress!
Please drop by and say hello!
ஐღLauraღஐ
Harvest Lane Cottage
…doing what I can with what I’ve got where I am
on a short shoestring budget!
~~~~~
Thank you 🙂
Great tips, I totally agree, if I am ever too lazy to press seams I always regret it!
I have to confess to being too lazy to press seams on occasion and it makes a difference when I do!
Great post Anna, I sometimes rush my sewing and my sewing goes everywhere! I am not happy until I have unpicked it and done it again. Thanks for sharing at Creative Mondays
I find rushing often means doing it again 🙂