How To Recover a Lampshade (and Rewire a Lamp!)
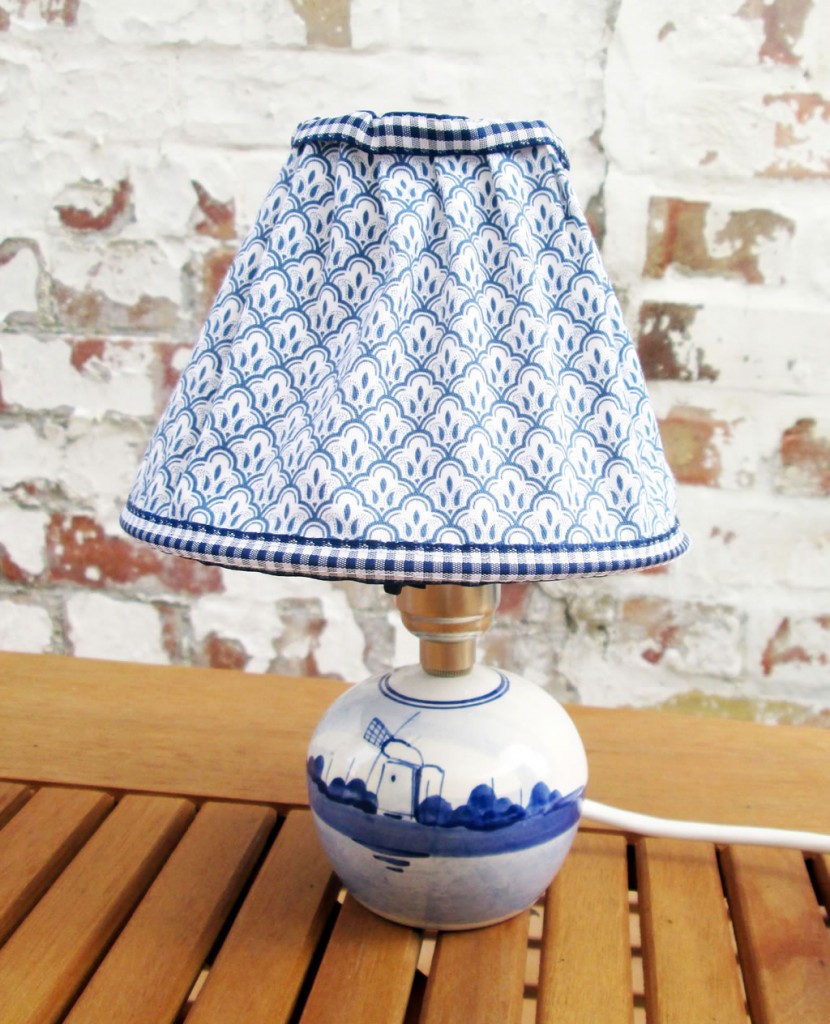
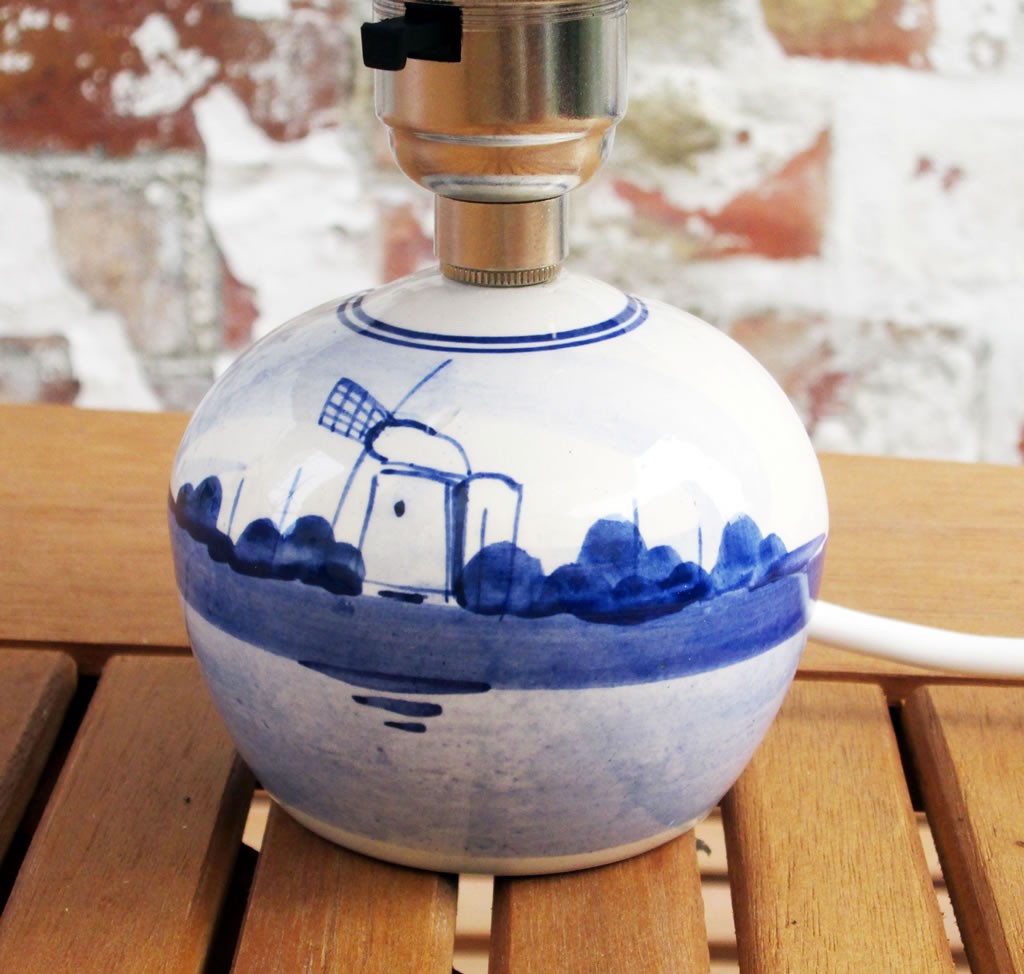
The other week I decided that I needed a new lamp. Specifically it was a lamp for the playroom. So I got myself on Ebay and I found some beautiful blue and white lamps with china bases..
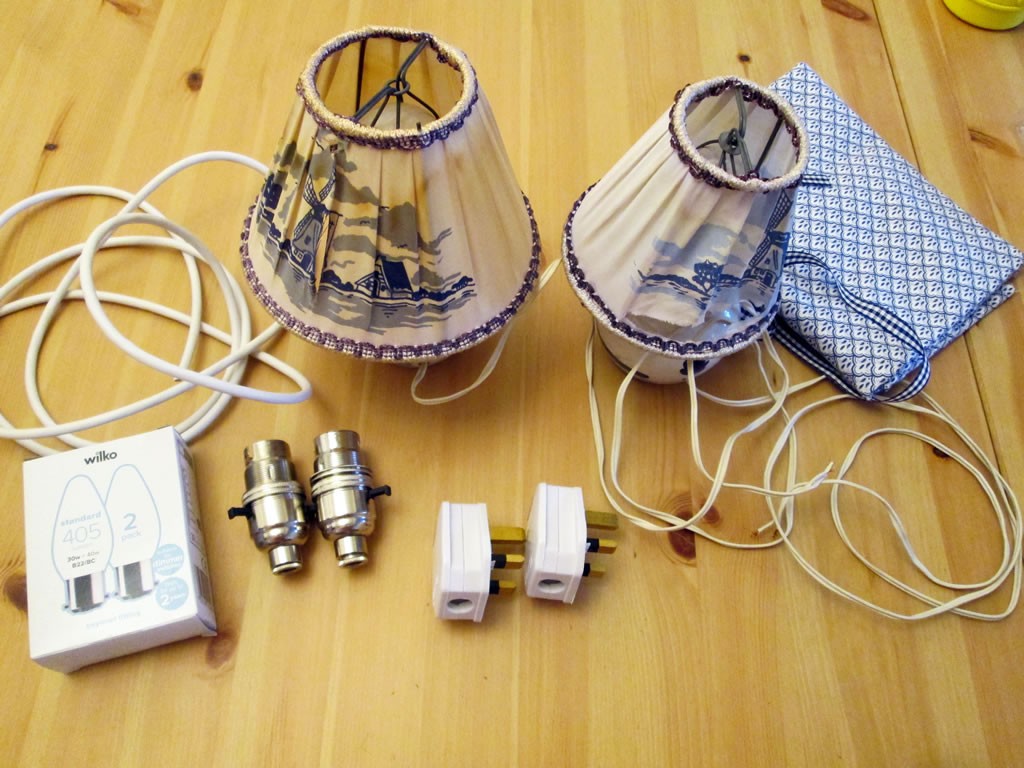
I totally fell in love with them! I They were obviously old lamps and the seller was very open about the state they were in. There was a tear in one shade and the other was discoloured, and I could also see in the photograph that the lamps had no plugs. But it’s easy to wire a plug though, right?
My first job was to attend to the lampshades. I was convinced that I could repair the tear and that the discolouration could be sorted out by giving them a quick bath in the sink.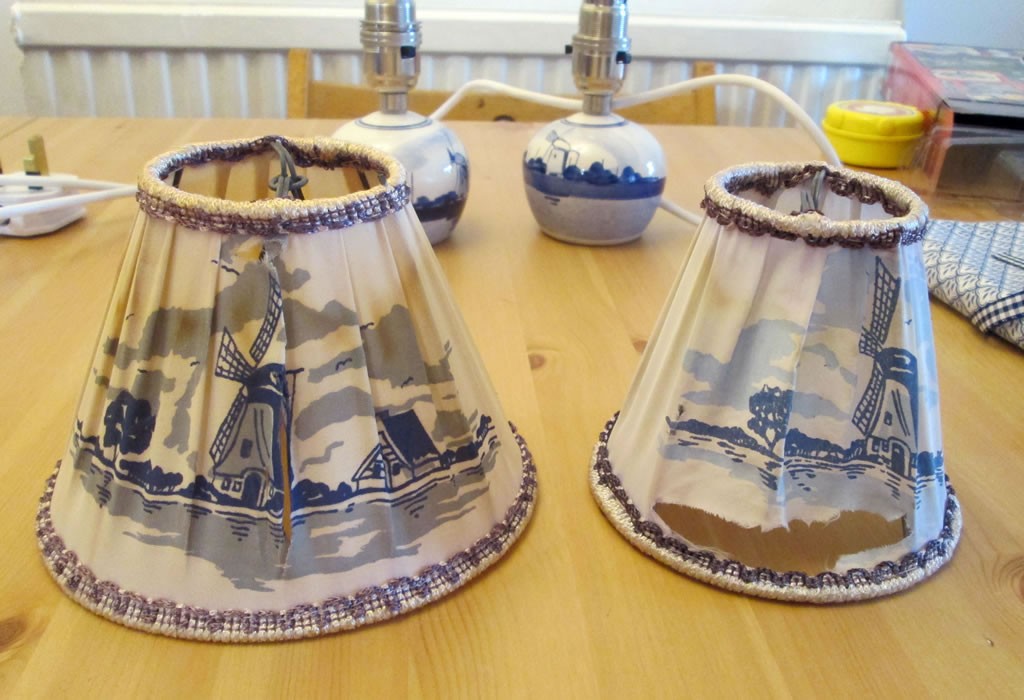
Unfortunately, the tear in the one lampshade became worse and the yellowed lampshade developed a tear and it remained yellow.
I had also noticed that not only did my lovely lamps not have plugs, they had dodgy wires as well.
Now I know very little about DIY, but God bless the internet, it’s easy to learn!
So I set about fixing up my lovely lamps.
How to Recover a Lampshade
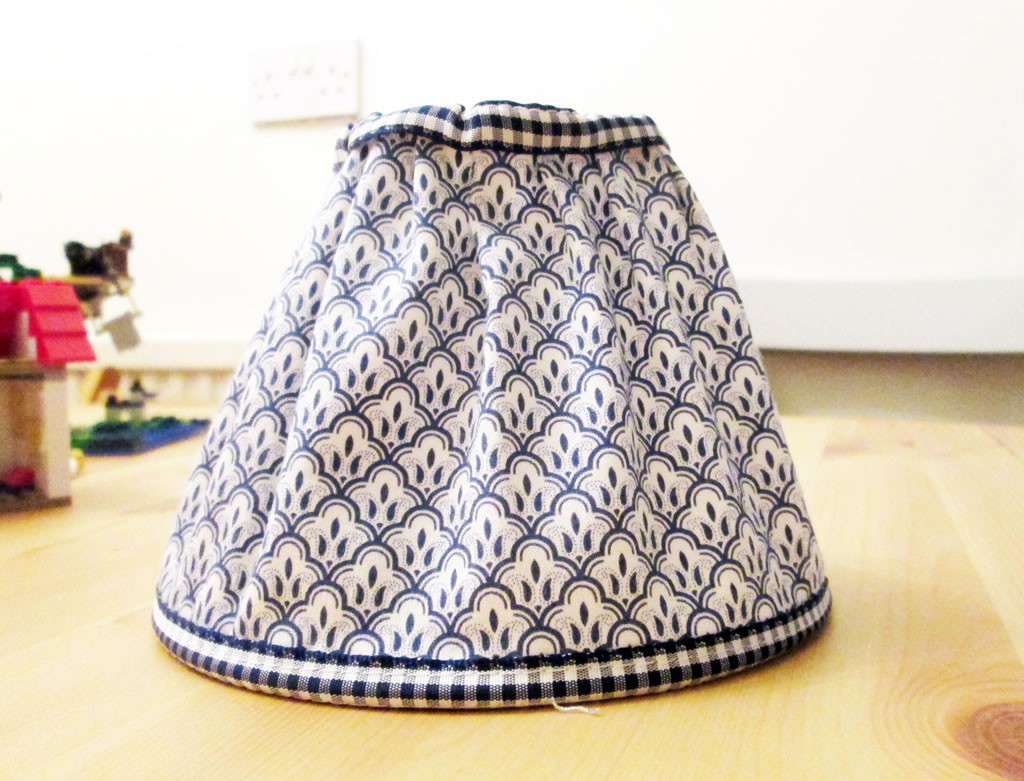
I realised pretty quickly that the lampshades themselves were not fixable after all and the best thing to do was to recover them. The bases were still gorgeous, so I bought some blue and white fabric and set about making some new shades. Here is a tutorial to show you how to do it!
1. Carefully remove the old shades. Mine had been sewn on by hand so they were easy to remove with an unpicker.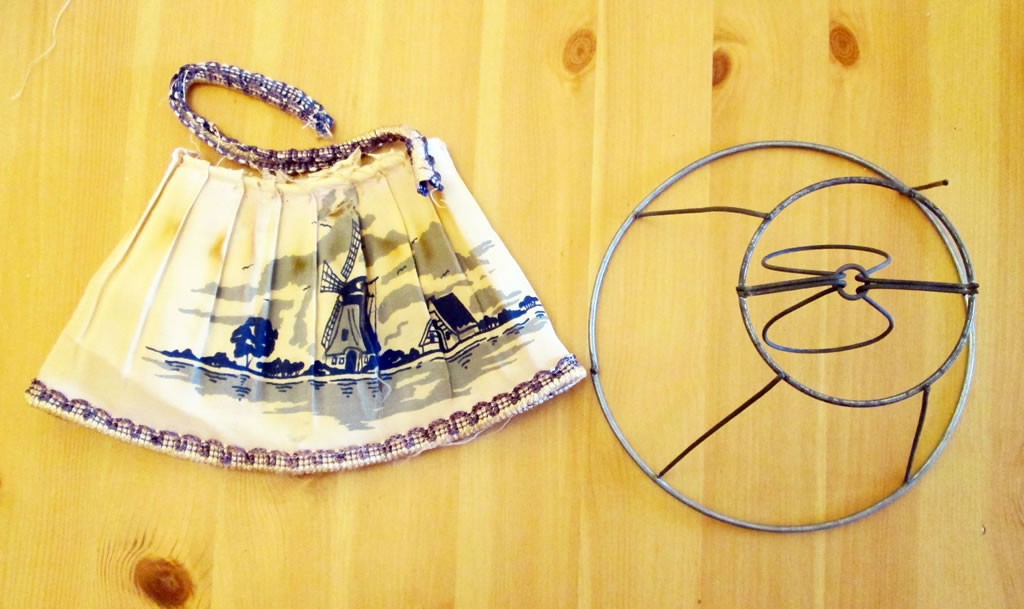
2. Measure the height of the lampshade and add 4 cm. Measure the circumference (circle) at the bottom and add a couple of cm. Cut a rectangle of fabric the size you have just calculated.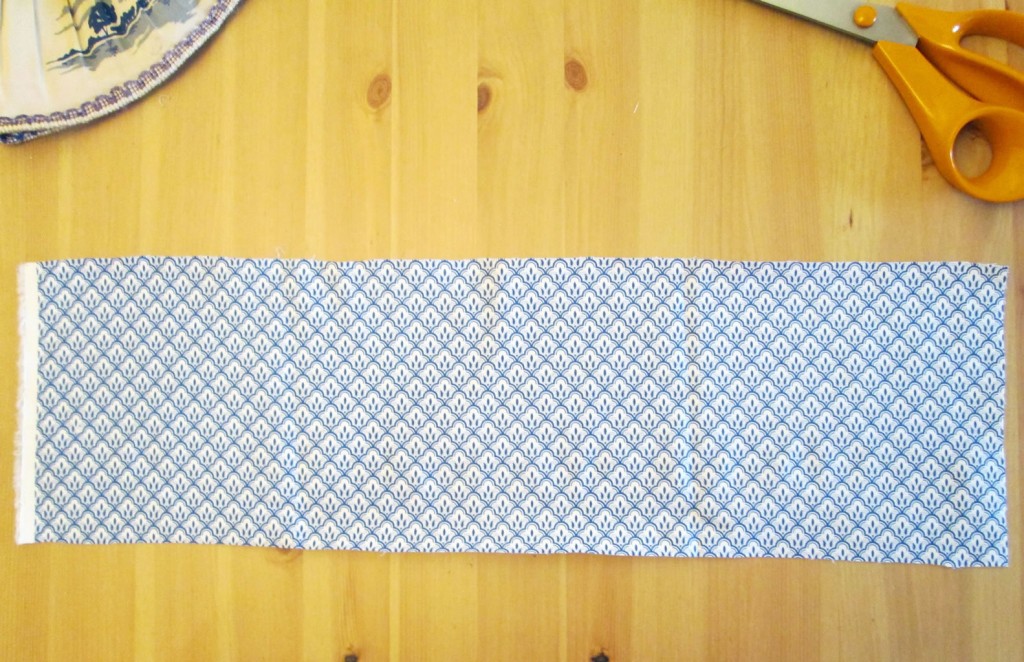
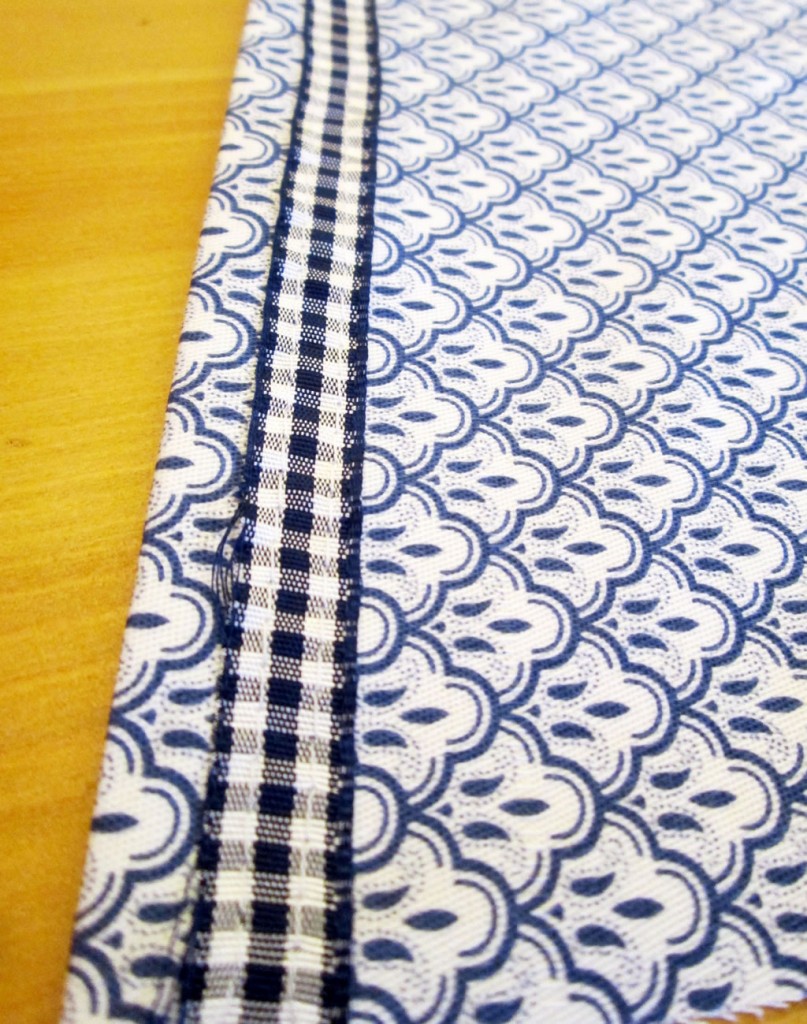
3. Fold the bottom edge up by 1 cm and press. 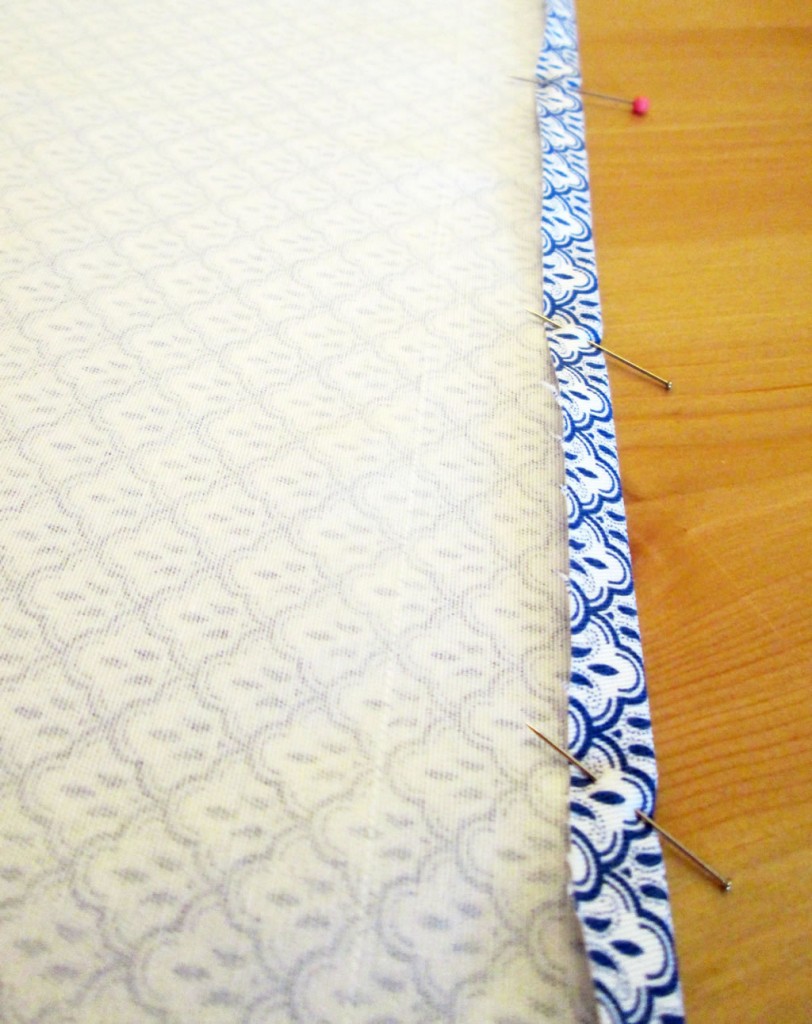 Pin a length of ribbon to the bottom about 1 cm up from the folded edge and sew in place. This will help to hide the stitching when you sew the fabric to the frame.
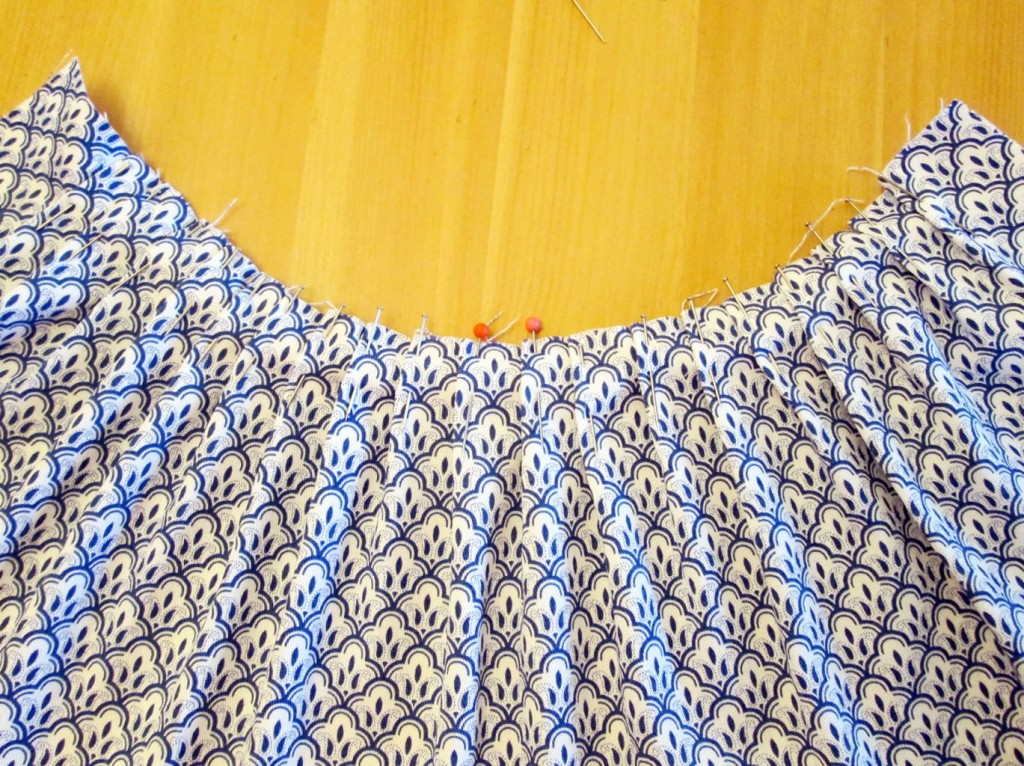
4. The original shades on my lamps had pleats, so I added some pleats along the top until it was the right length, minus a couple of cm for the seam allowance. Sew across the pleats to hold them in place.
5. Fold the top edge down by about 1 cm and press.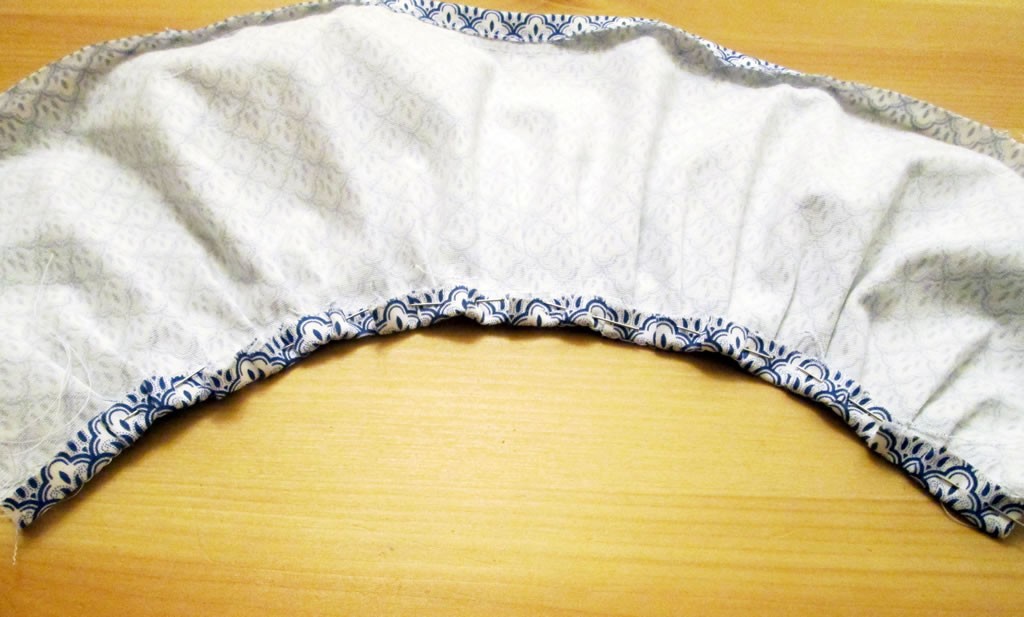
6. Measure the cover against the frame to determine where to put the ribbon along the top. Sew in place. I just sewed along the top of the ribbon.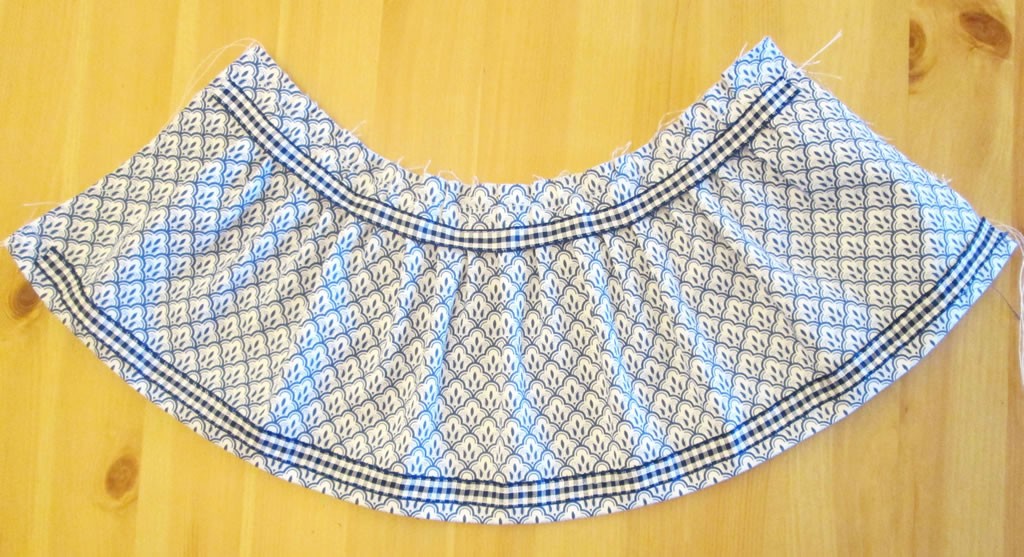
7. Using the frame as a guide, pin then sew the side seams. You should now have a cone shaped cover to fit on the frame.
8. Hand sew the cover to the frame by folding the folded edges and using little stitches to sew them to the fabric behind the ribbon.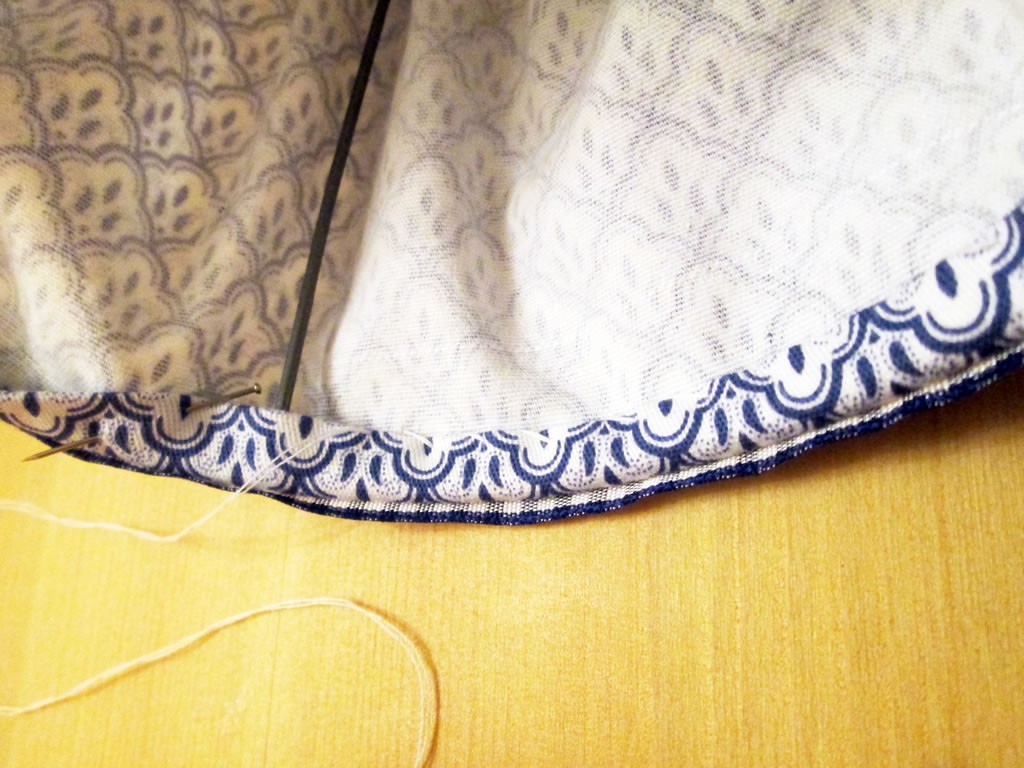
 Tips
Tips
I actually found this to be trickier than I expected, so I would have to say that this is probably not a beginners’ project. However there are things that you could do to make it easier.
Gathering the top rather than pleating would make things simpler. It would be much quicker to do and you could adjust it to fit more easily.
Recovering a drum lampshade is probably easier than a cone shaped shade.
The fabric I used had a bit of a stretch to it, would should have simplified things a bit, but as I had already sewn the ribbon on, I was not able to take advantage of it! Next time I would consider gluing the ribbon on after sewing the cover to the frame.
The easiest way to go might be to buy a kit. They have these kits on Amazon and there are others of different sizes. (affiliate link).
How to Rewire a Lamp
You Will Need: a plug, 3 core flex
, lamp holder
and a bulb, screwdriver and wire cutters (scissors will do but heavy duty ones and not your best pair). If you buy the bulb and the lamp holder at the same time you can make sure that you get the right sort of bulb to fit in the holder.
1. Unplug the lamp from the mains. I know it’s obvious but I would hate to think of any of you electrocuting yourselves because I hadn’t said it.
2. Remove the old wire and lamp fitting from the lamp. The lamp holder thingy completely unscrews; there should be 1 or 2 rings that come off, two separate metal bits and a plastic bit in the middle. The whole thing will be held onto the lamp base by a screw of some sort.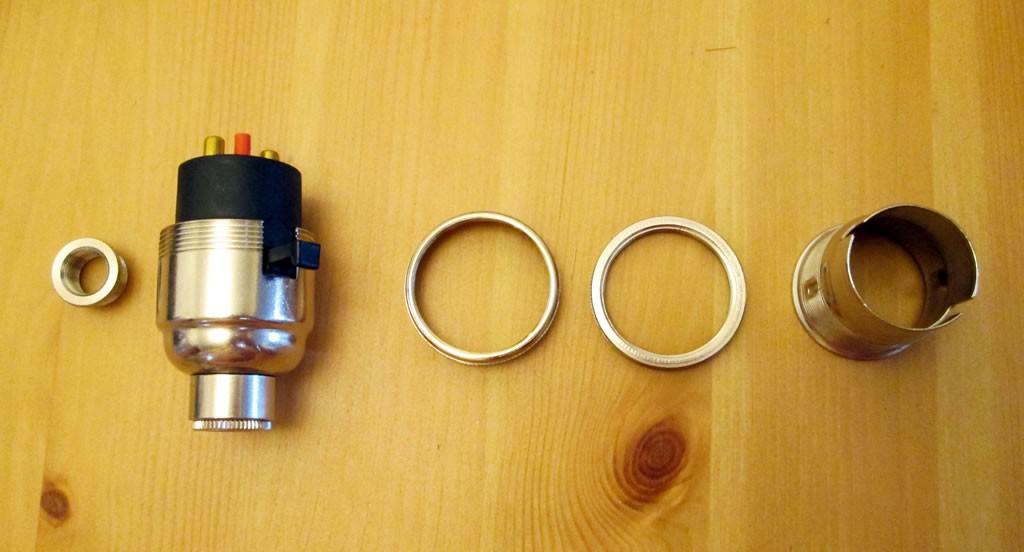
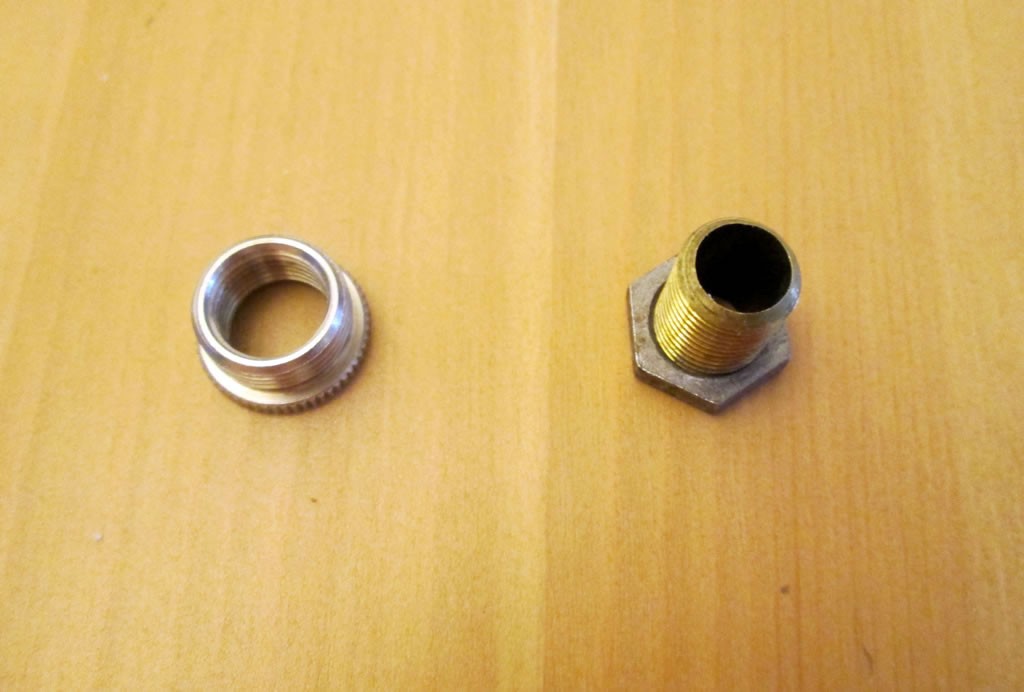
3. To prepare the flex for wiring, you will need to remove the white plastic coating a couple of cm from the end. This will expose the 3 plastic coated wires inside. From each of these, remove the plastic coating about 0.5 cm from the end to expose the wires.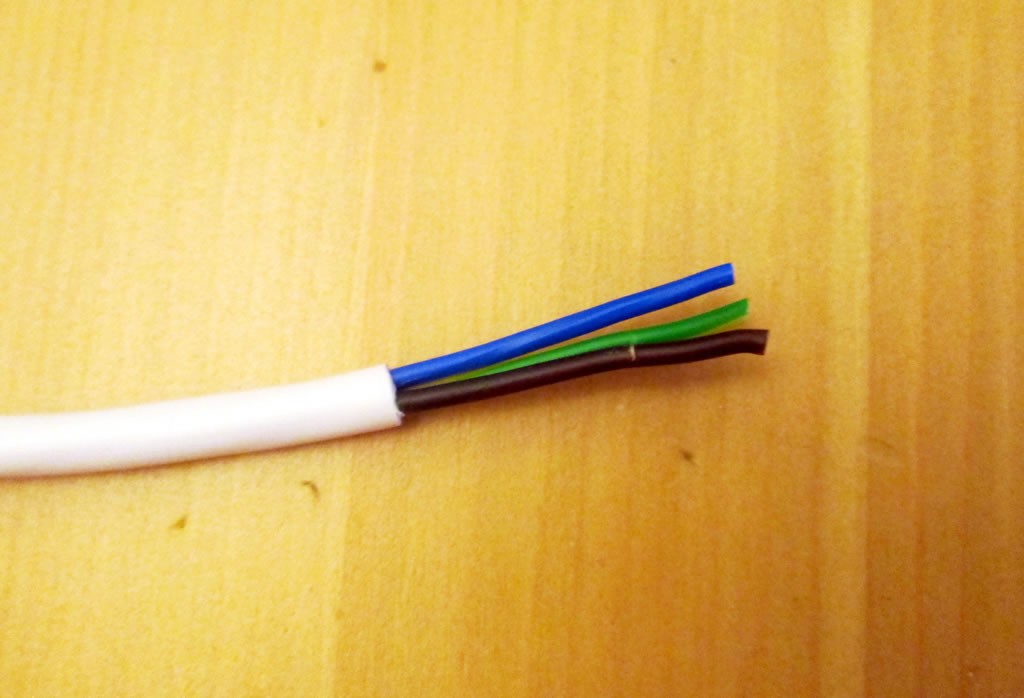
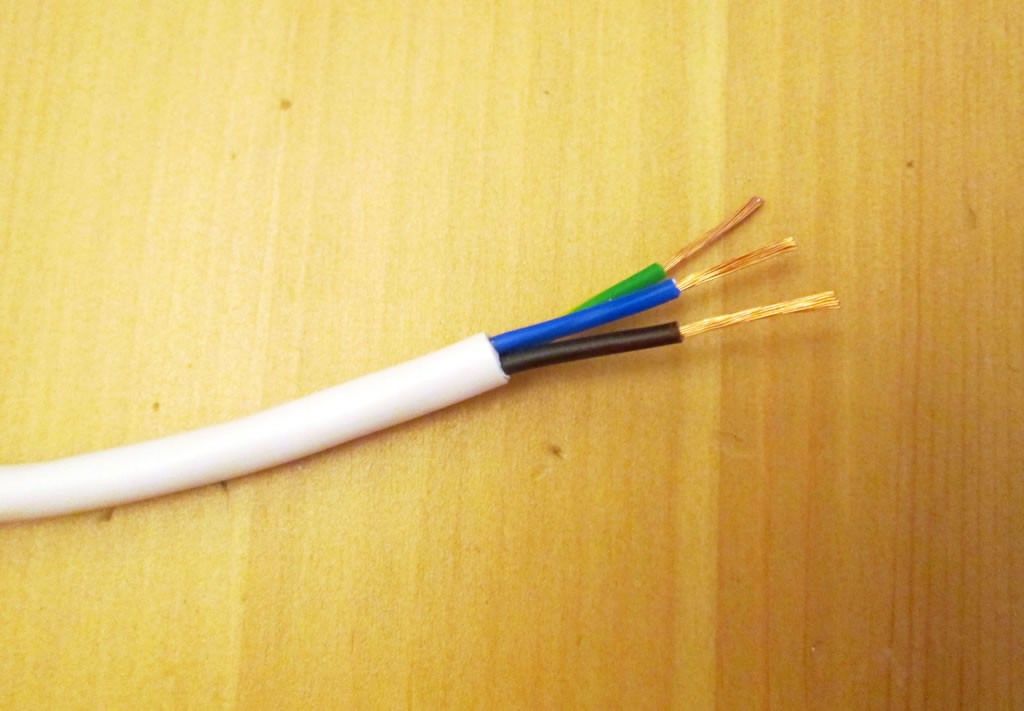
The way to do this is with a pair of scissors, gently cut into the plastic until you feel the resistance change. Turn the flex between the blades so that you cut right the way round. Then it should be possible to pull off the plastic coating.
If you cut too far, don’t worry, just cut that bit off and start again.
4. Identify the earth wire. That’s the green and yellow one. On the plastic bit from inside the lamp holder, find the terminal for the earth wire. It will be marked with a little sign. On the bulb holder things that I used, it was in the middle of the three terminals.
5. Undo the screw a little bit and carefully stuff the bare end of the wire into the hole. Ideally you don’t want bare wires exposed, so if they are poking out of the top of the hole, trim a little bit off then end. Tighten the screw up again.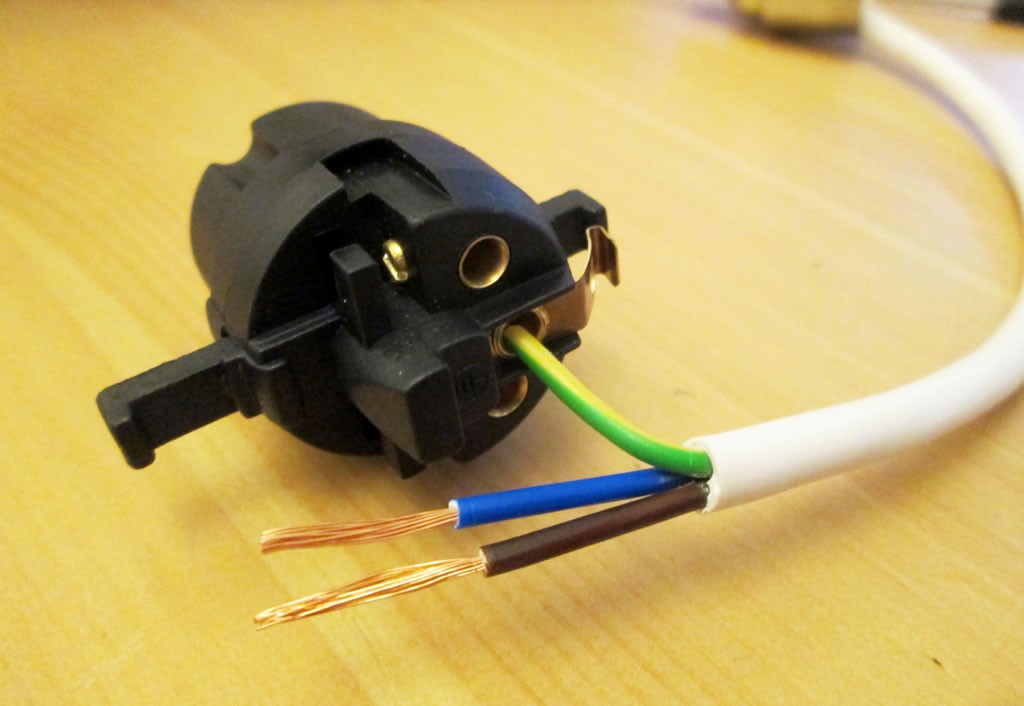
6. Repeat for the other two wires. It doesn’t matter which terminal they end up in.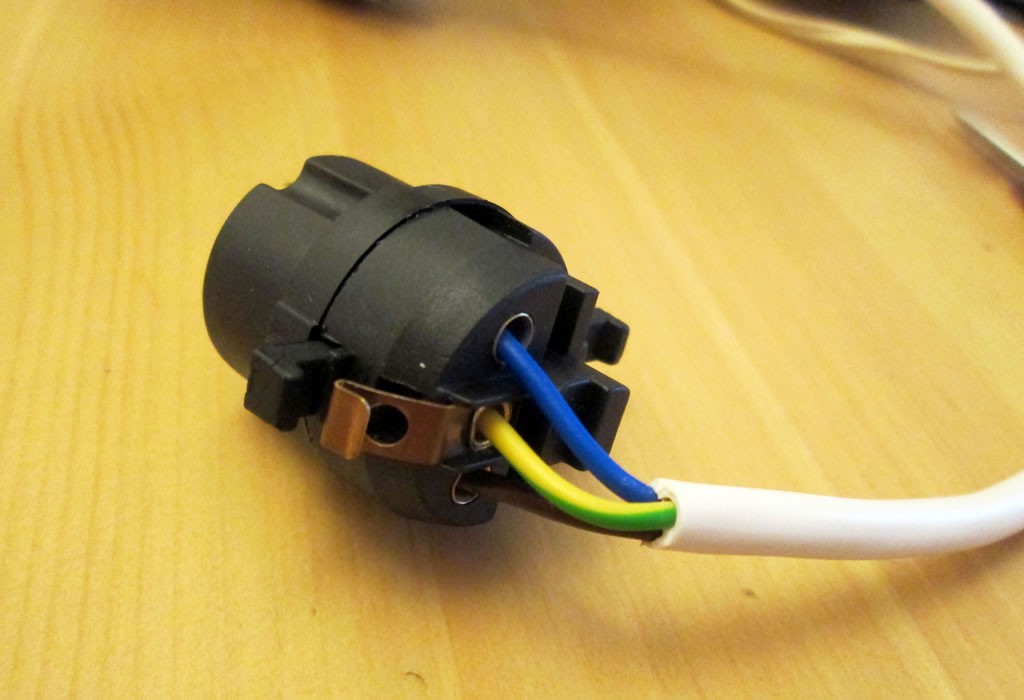
7. Reassemble the lamp holder. You will need to thread the flex through the metal bit that goes at the bottom. 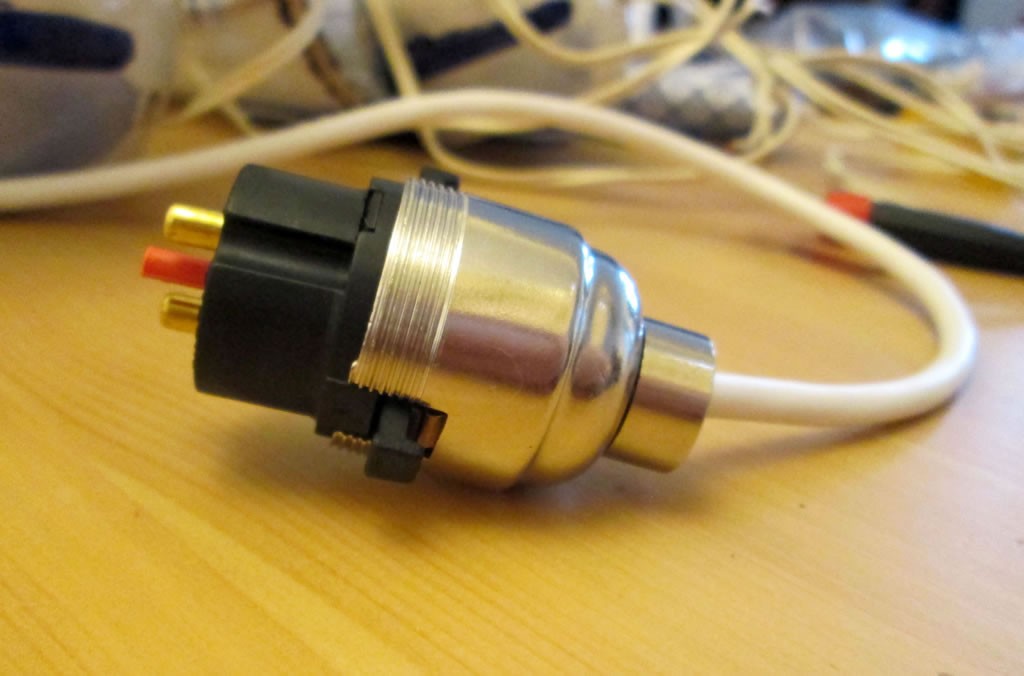 Then put on the metal bit that goes at the top and the 2 rings that hold it all together.
8. Thread the other end of the flex through the lamp base. 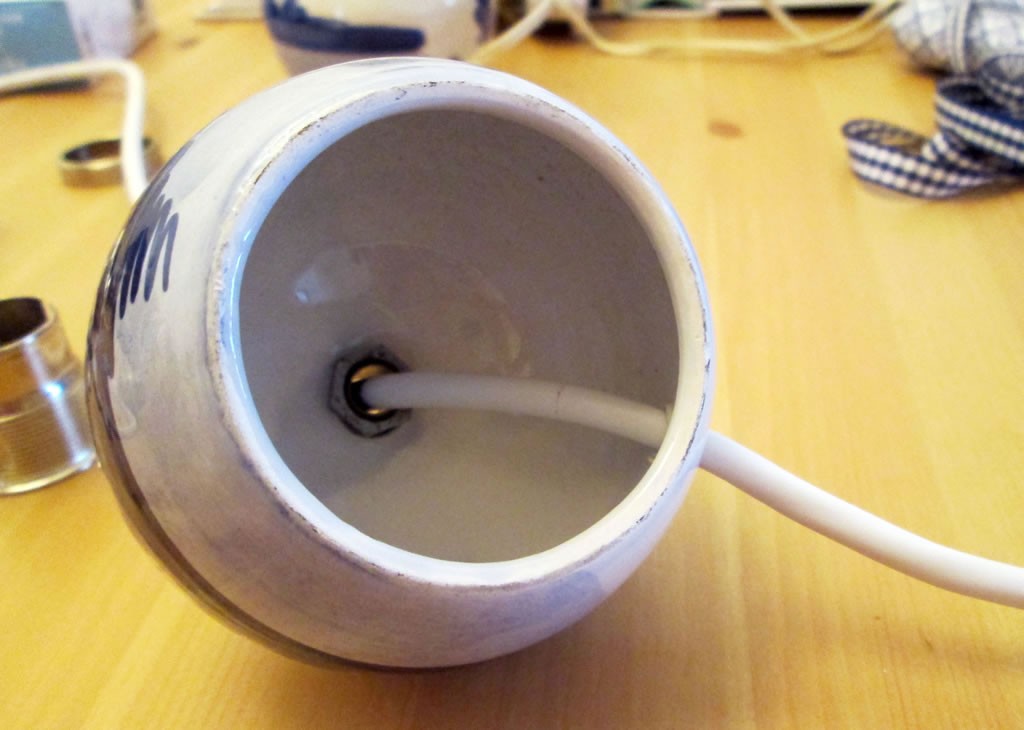 Use the screw to attach the lamp holder to the base.
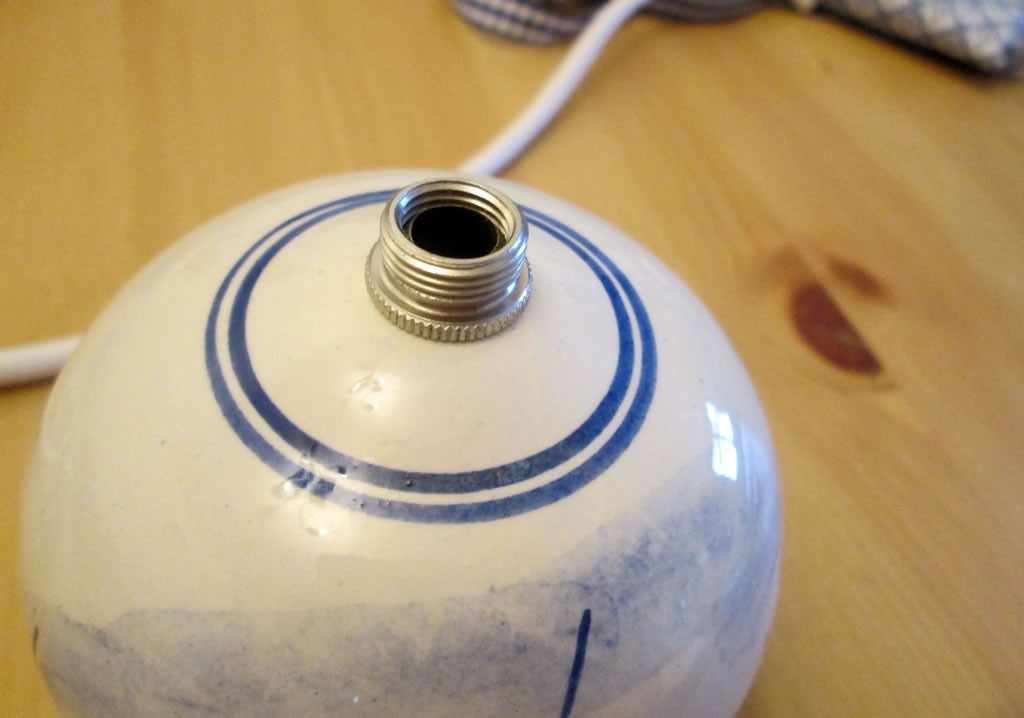
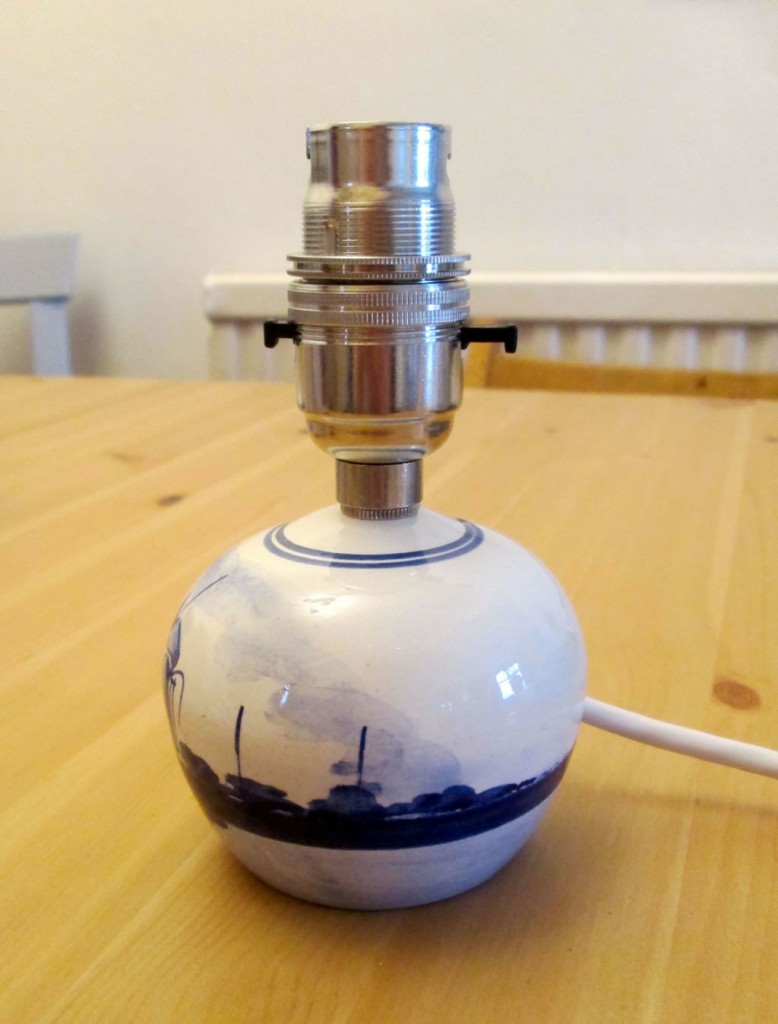
8. To attach a plug to the other end, prepare the flex as in Step 3 and unscrew the plug.  If you buy a new plug, they often come with a diagram showing where the wires have to go. If not, the earth (green and yellow) wire needs to be attached to the terminal on the top pin, the brown one on the right with the fuse and the blue one on the left.
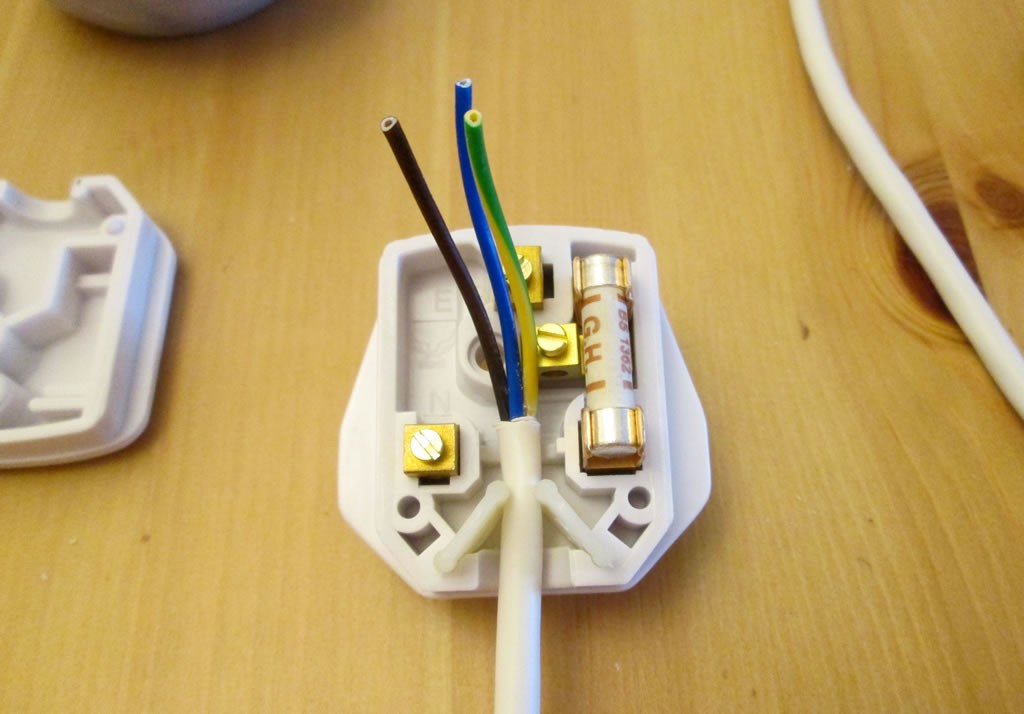
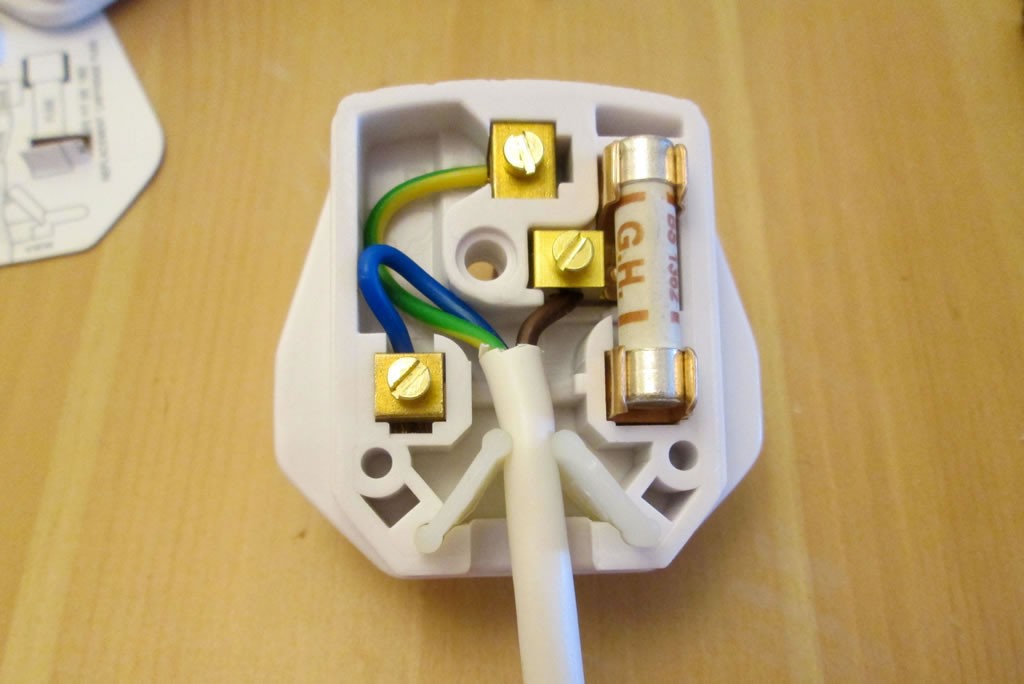 Push the pins up a bit and you will see a little hole with a screw in it. Loosen the screw, put the wire in the hole, then tighten it up again.
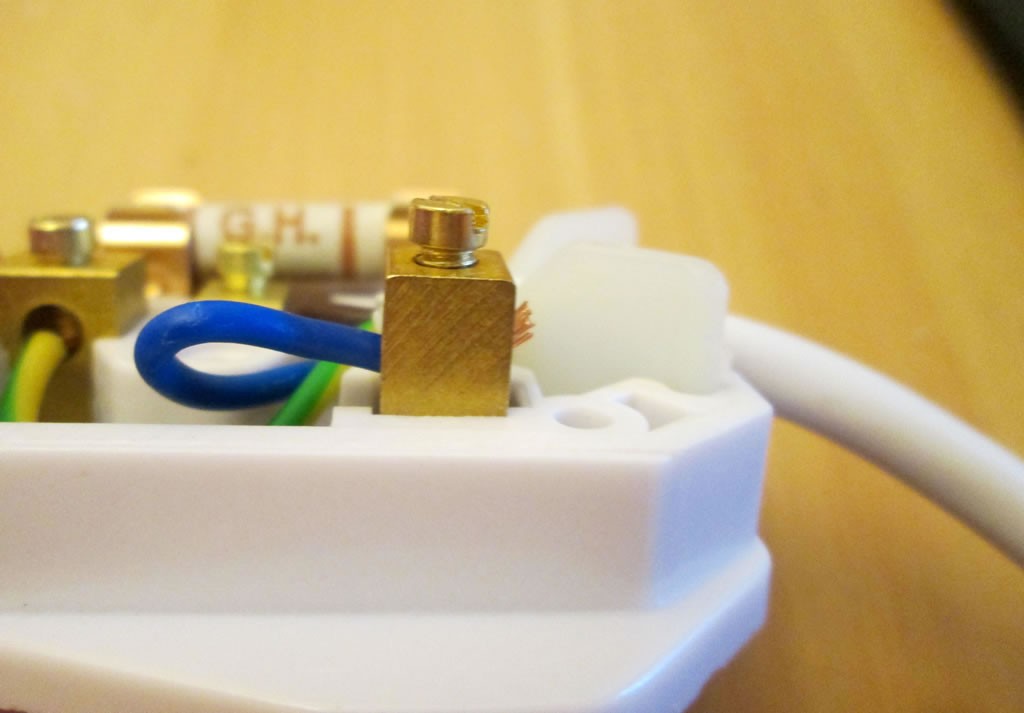
9. Check that you’ve done it right! Seriously, if you have any doubts at all about the plug or about the wiring of the lamp holder, consult somebody who knows more about electrics than you do. In my case, that person is my dad.
Make sure that the flex with white plastic coating is wedged inside the thingy at the entrance to the plug.
10. Put the top bit back on the plug and replace the screw, doing it up as tightly as you can.
11. Put in the right kind of bulb and you should have a functioning lamp!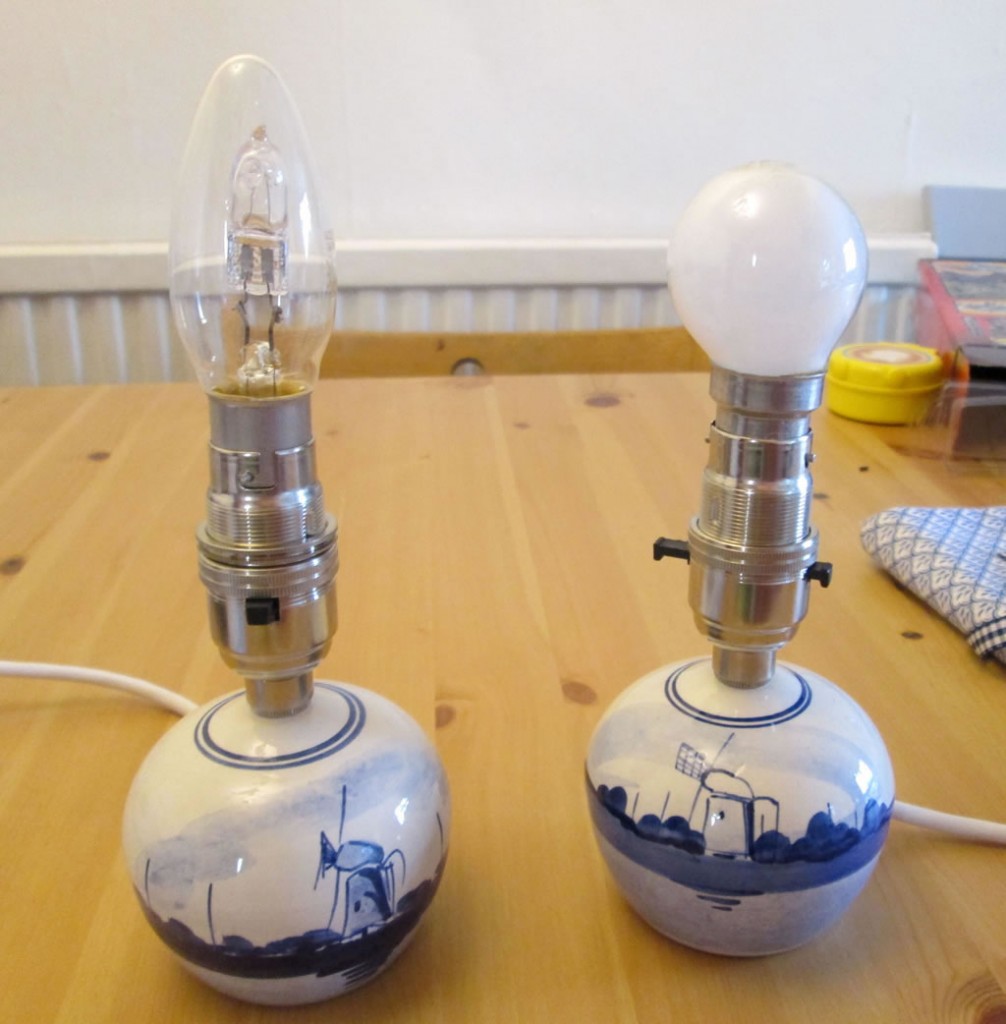



Do you have a lampshade recovering service?
#new How To Recover A Lampshade (and Rewire A Lamp!) https://t.co/4VbauabFeq https://t.co/USG1ZkQodV