Is jam special enough to give to somebody as a gift?
I love homemade jam. Fruit that you’ve picked yourself, warm and ripe from the sunshine, cooked up with some sugar and lovingly made into a little bit of heaven to spread onto a warm crumpet or a homemade scone. And not a preservative or additive in sight.
But will my kids’ teachers think the same at Christmas when I hand them a jar of homemade jam in a jar that clearly once contained pesto? Or pasta bake sauce? Or pickled onions?
Thankfully making jars pretty is just as easy as making jam!
How to Make Jars Pretty
Please note that if you are going to make jam, you will need to sterilise the jars, so decorate them afterwards!
The jars and the washi tape I had already. Most of the other stuff I bought from Amazon. I’ve included affiliate links to the stuff I used.
Washi Tape
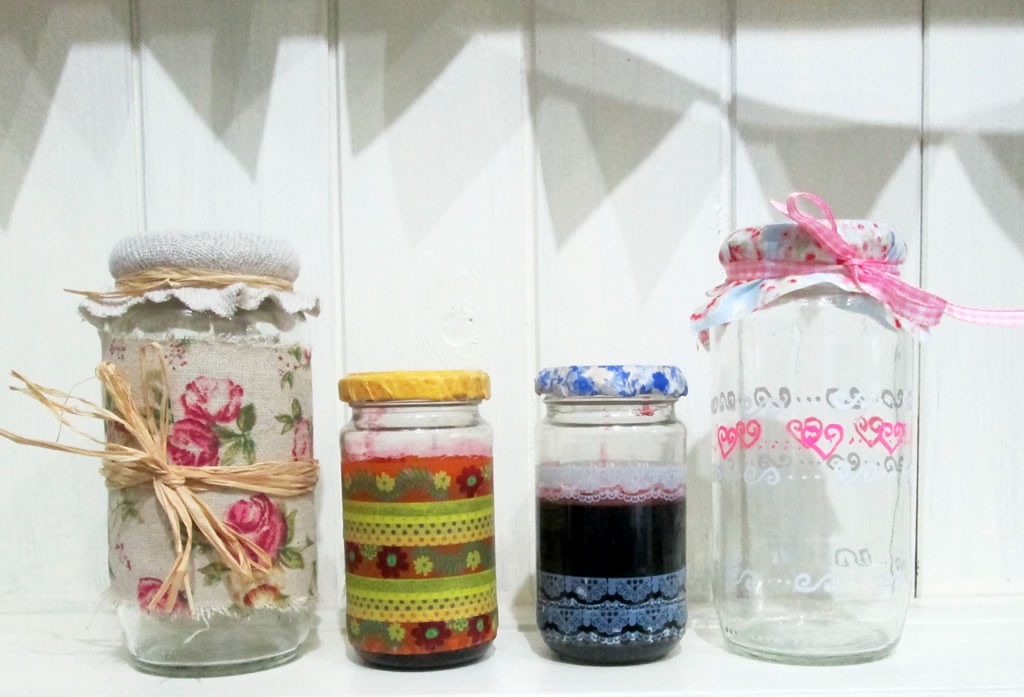
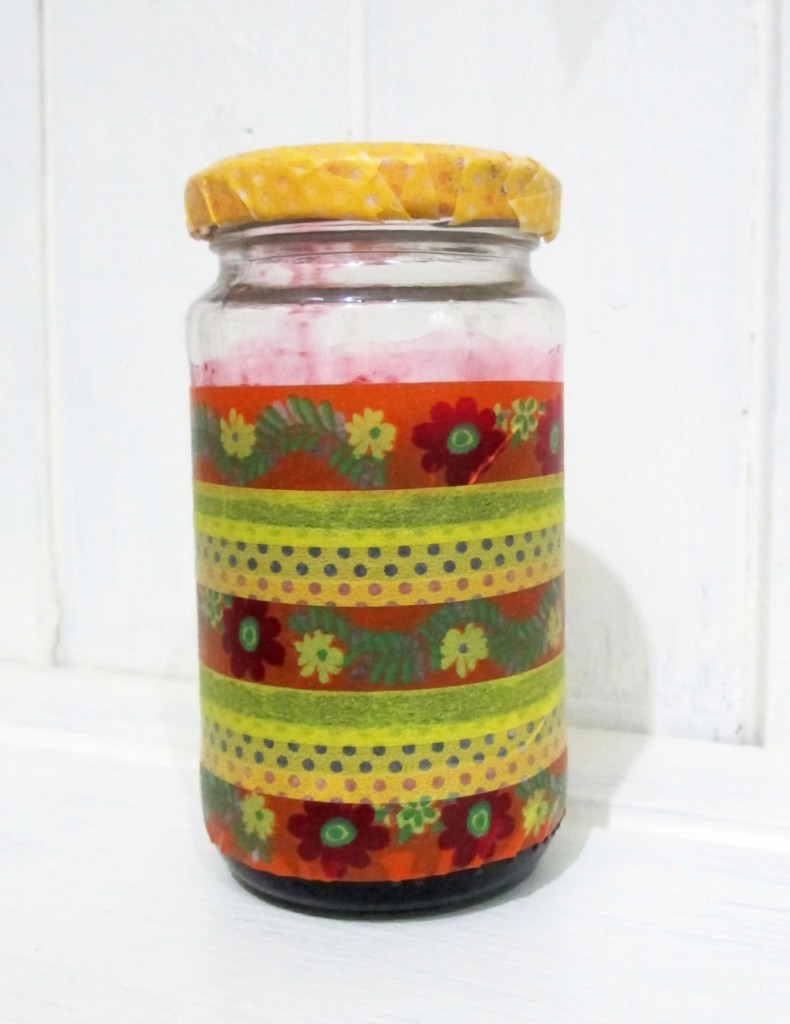
Cut strips of washi tape and stick them round the jar. You could stick them so that they overlap or leave gaps between them.
This is a great way to cover up a jar especially if you had difficulties getting the label off!
You can also decorate the lid with washi tape. This is very useful if you don’t want the recipient of the jar to think that the jam was made in Italy.
Starting with the middle, stick lengths of washi tape over the lid, leaving just enough to fold underneath.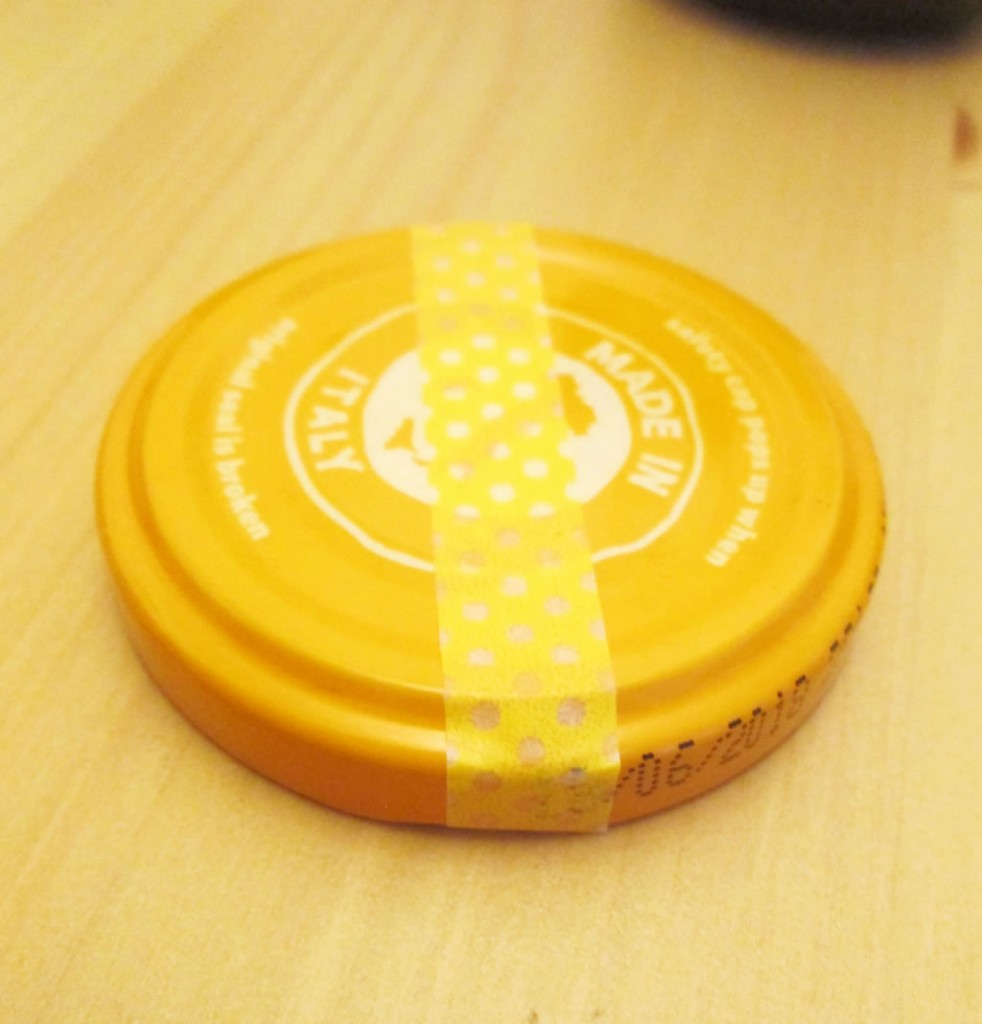

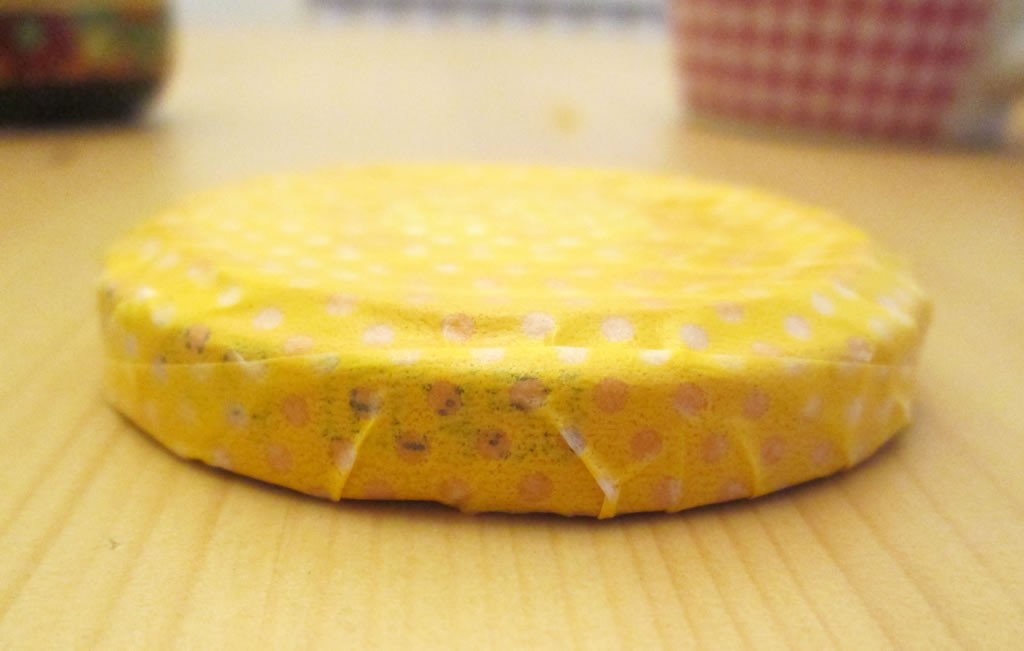
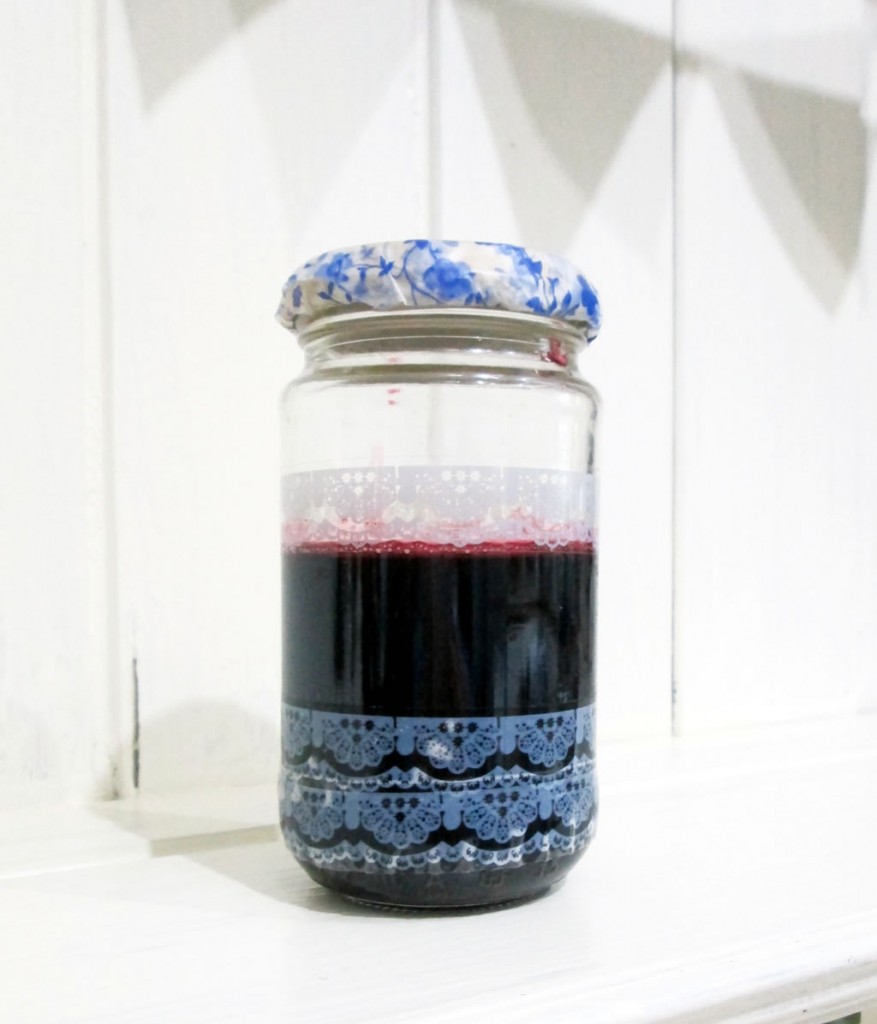
Lace Tape
Very similar to washi tape. Just stick lengths of it round the jar. You could cover the whole jar or just use a bit.
Glass Pens
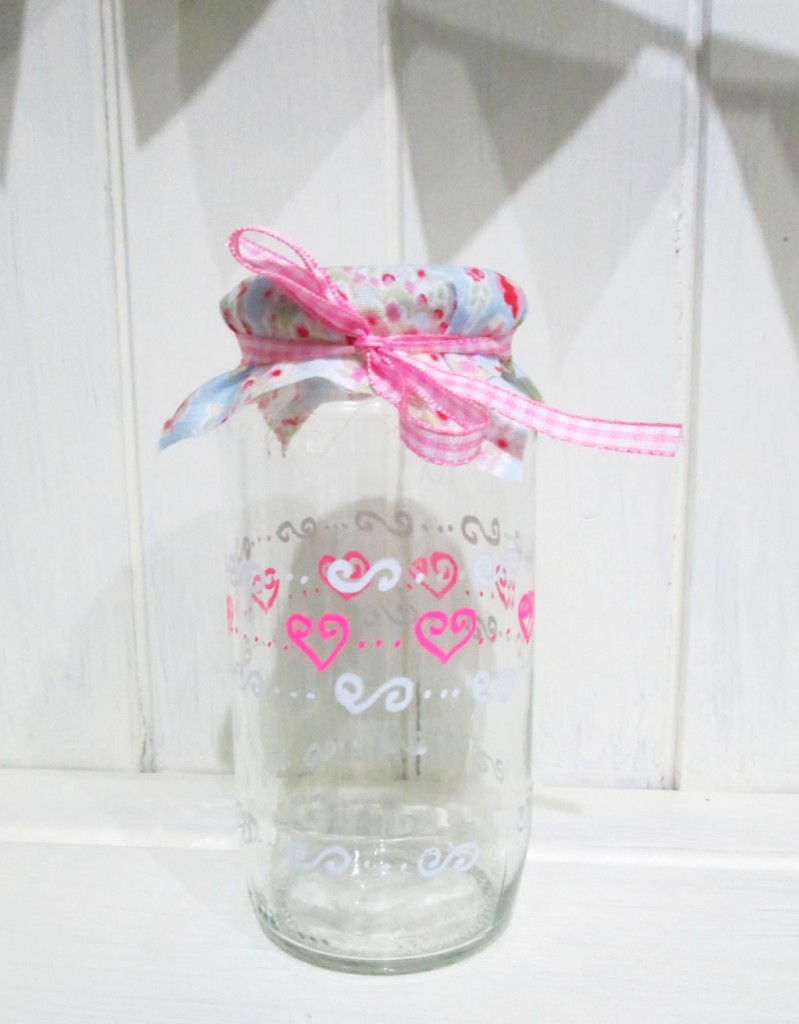
If you are artistic, you could probably have a lot of fun decorating jars. f you are like me and not so good at drawing, it’s best to keep things simple and practise your design on a piece of paper first.
I covered the lid of this one with a circle of fabric and tied it with a ribbon. A roll of sellotape proved to be a good size for a template!
Burlap and Raffia
Cut enough burlap ribbon to round the jar with a little bit extra to overlap. Take several strands of raffia and wrap it wound a couple of times before tying in a bow.
For the lid I cut a circle from a bag that used to contain flour and tied it on with raffia.
I think this one would be lovely with handmade smellies in it!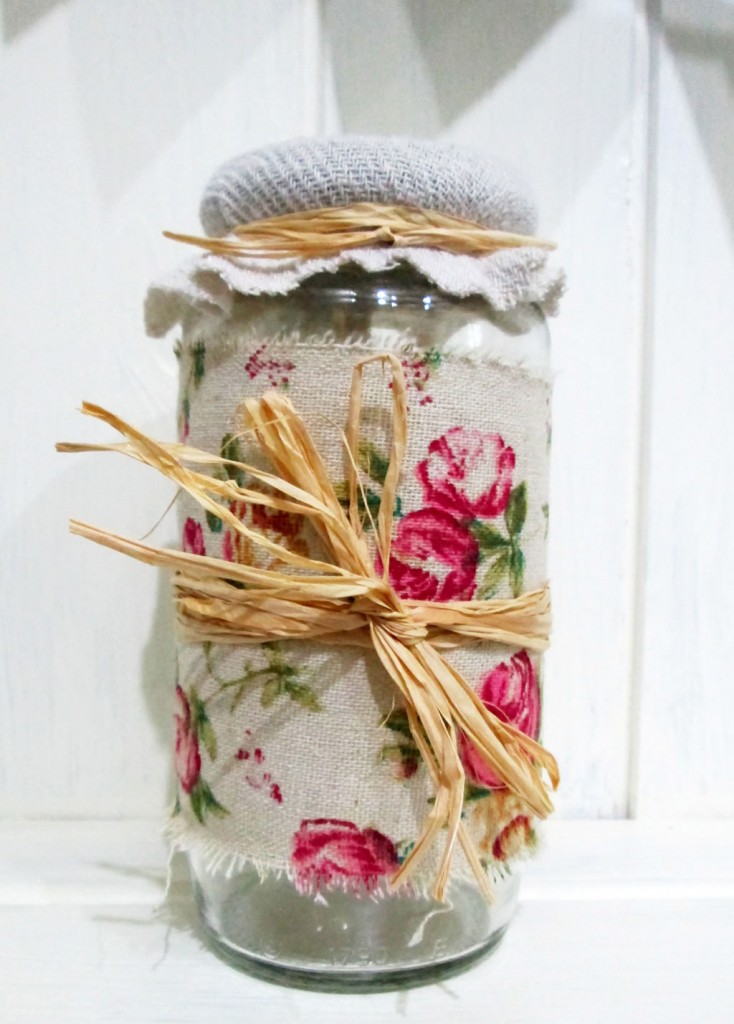
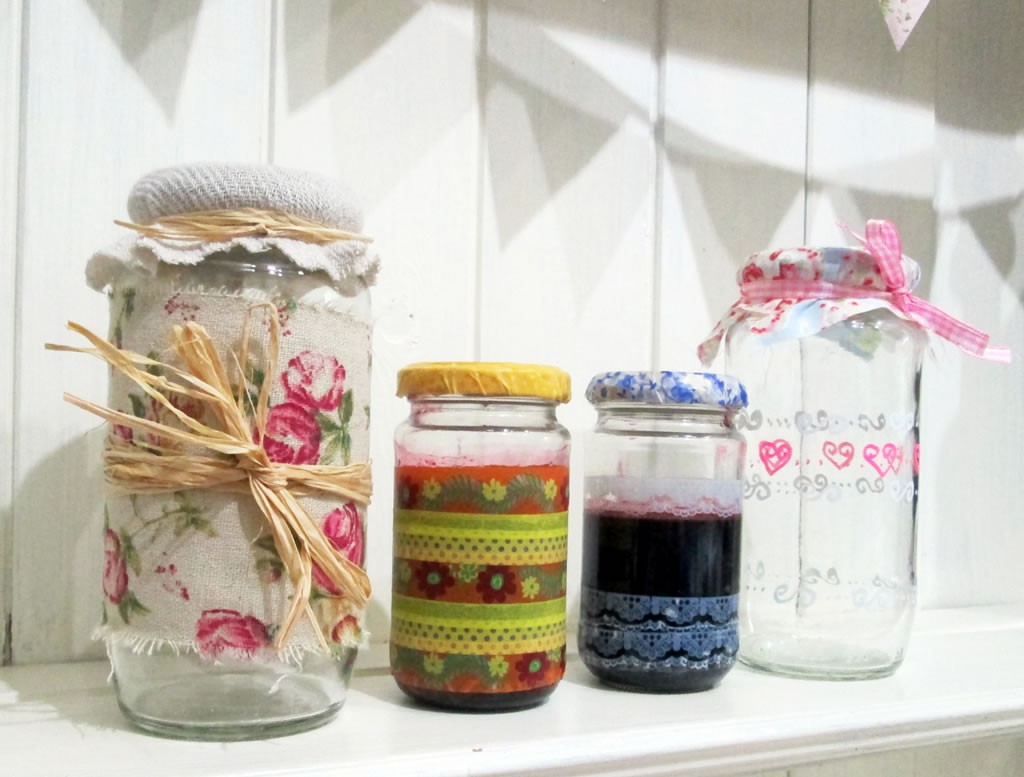
If you want to put jam in your jars, here is a recipe for bramble jelly!
How to Make Bramble Jelly
1. Collect your blackberries. You could buy them from a shop, but I find blackberries packaged up in plastic sad. Even if you live in a city, you will probably be able to find blackberries growing wild. Overgrown patches of waste ground is a good place to look.
You’ll need more that you think! But remember the rules for foraging: that you pick from all over the plant and leave some. Don’t be tempted to strip the plant! When I took the boys blackberry picking last week there were loads, and lots that were still not ripe.
https://instagram.com/p/8OCe6ssBFr/?taken-by=annawilson77
2. Put a plate in the freezer. All will become clear later!
To sterilise the jars, check that they are clean and rinse them. Don’t dry them! Pop them on a baking tray and put them in the oven at 200 degrees c. Otherwise you can use them straight from the dishwasher.
3. Give the blackberries a wash and remove any little creatures, including children who are eating the blackberries.
4. Put the blackberries in a pan with a cut up apple. Don’t bother peeling or de coring the apple or removing any stalks from the blackberries. You’ll catch all those later! Cover with water, then heat it up. Let it simmer for about 10 minutes until it goes all squishy.
5. If you have one of those fancy jam strainer things, use that. Otherwise a muslin cloth or a piece of old net curtain over a sieve will do the job just as well. Put the sieve/ fancy jam thing over a bowl and pour the contents of the pan into it.
6. As a general rule for jam, you need pound for pound sugar and fruit. Here you are just using the juice, but the same rules apply. Measure the juice as you pour it back into the pan. You could use a measuring spoon (I used a half cup measurement) or you could use a plastic cup or a ladle. Pour the same amount of sugar into the pan.
The first time I made jam, I was horrified at the amount of sugar! However it is important to remember that it is the sugar that preserves the fruit and you’d just have a tiny bit on a crumpet anyway ;).
You can get jam sugar with pectin in it, but I don’t bother. Normal sugar works just fine.
7. Heat the juice and the sugar gently until the sugar has dissolved. Then bring it to the boil and let it boil away and it reaches setting point. This is usually a few minutes.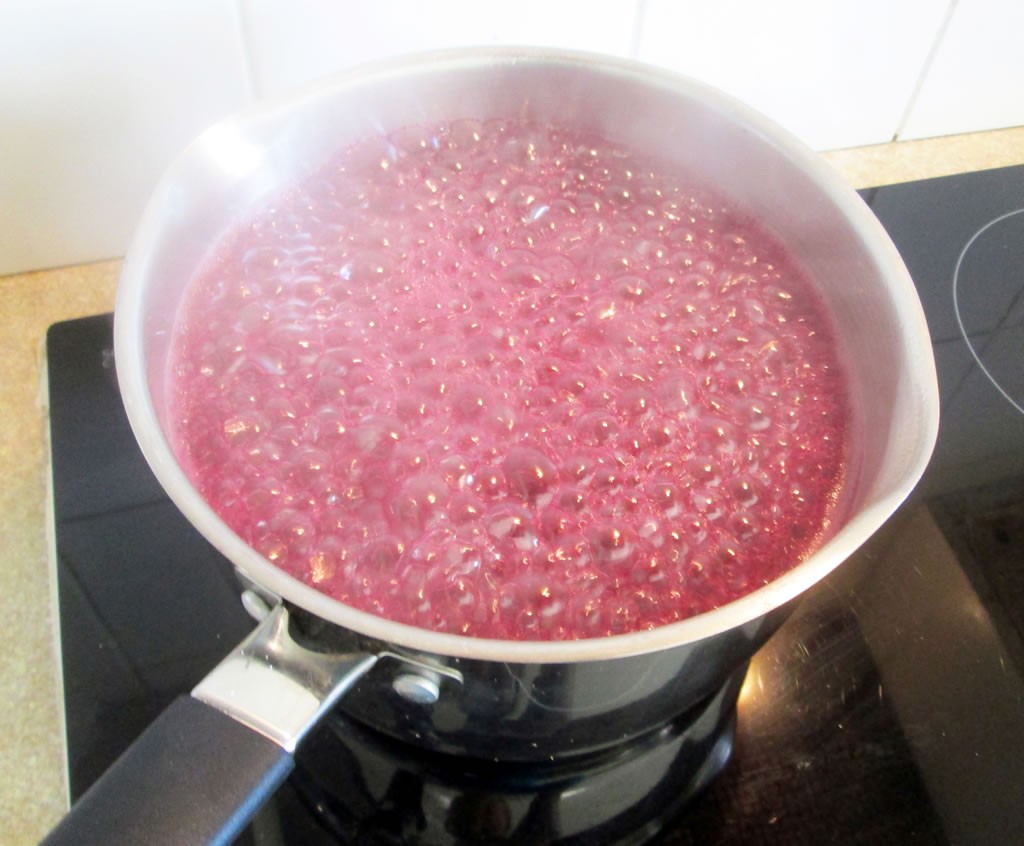
If you like to go about things in a scientific way, you might like to use a jam thermometer. The setting point is 121 degrees c.
If you don’t want to use a jam thermometer, you can do it the old fashioned way, which is where the plate comes in!
8. Drop a small amount of the jam onto a plate. Give it a few seconds, then poke it with your finger. If it wrinkles, the setting point had been reached. If it doesn’t wrinkle, let it boil away a bit more then try again. Keep going until it wrinkles.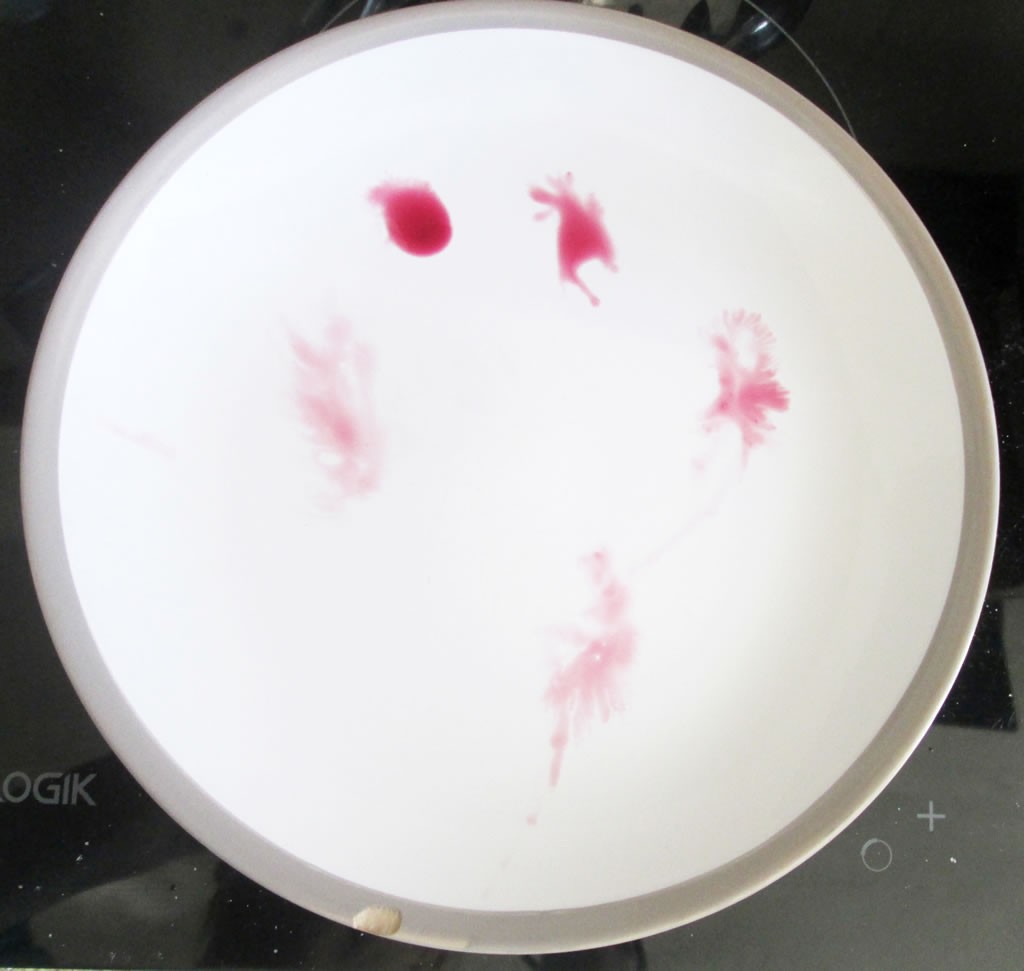
9. Remove the pan from the heat and give it a minute or 2 to cool down a bit. Pour it unto your sterilised jars. Make sure that the jars are warm or they may crack. Put the lids on.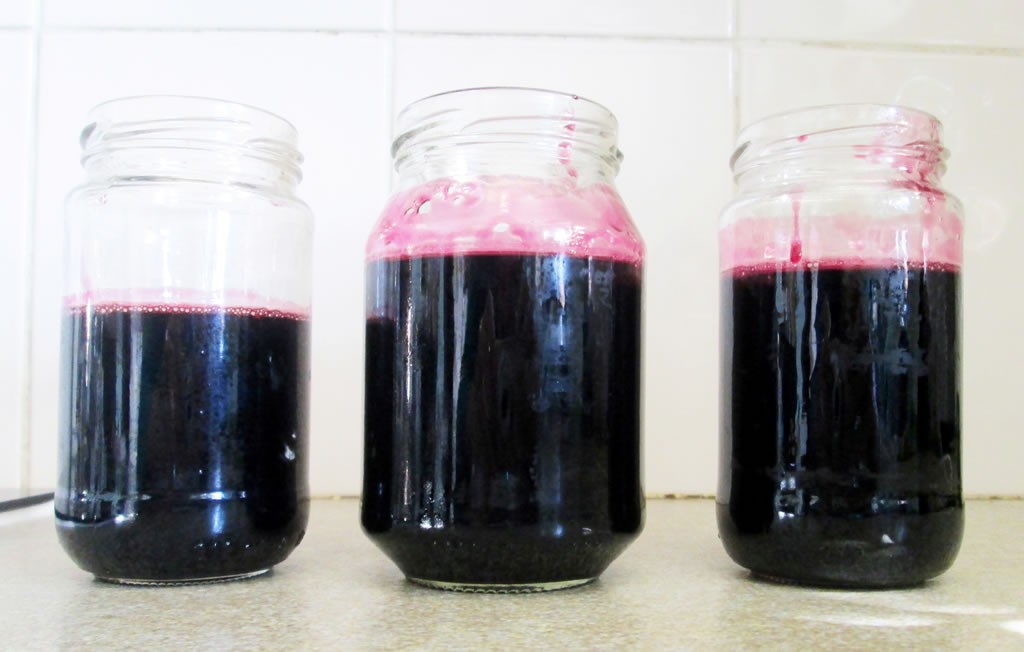
10. When completely cool, decorate the jars!


For sticky label goo on jam jars, try a paste of bicarbonate of soda and cooking oil, it works. The oil softens the glue and the bicarbonate of soda stays a little bit abrasive to get it all off. Sometimes have to leave the jars for a few hours or even a day or two but I have had success every time. Good luck!
I’ll be trying that, thanks!