How to sew a mitred corner might seem like something you only need to know if you make quilts.
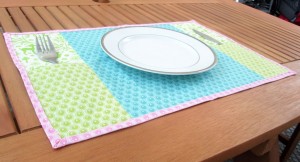
But it is actually a useful thing to be able to do if you make anything flat that has a lining and corners. I have used mitred corners on lined table cloths and table mats. You might also want to use them on table runners, playmats, baby blankets, lined napkins, picnic stuff, and probably a whole load I haven’t thought of.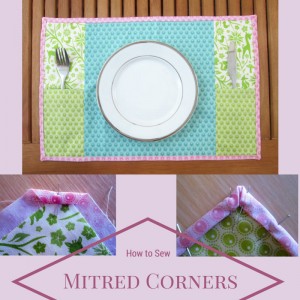
Mitring allows you to finish the corners easily and neatly and mitring the lining over the top of the thing that you are making means also that you have a pretty border to finish it off!
Here is how I mitre a corner when making something with a lining. I don’t know if this is the right way, but it is the way I have found to be easiest.
How to Sew Mitred Corners
1. Pin your thing that you are making to the centre of the lining with the wrong sides together. Depending on how much of a border you would like around the edge of your finished project, allow 1 – 3 cm of the lining to overhang the edge.
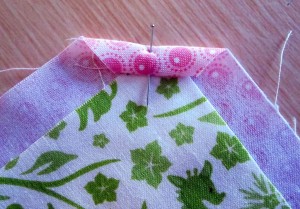
2. Cut a tiny bit off the point of the corner of the lining. Fold the corner of the lining inwards so that it touches the corner of the front section.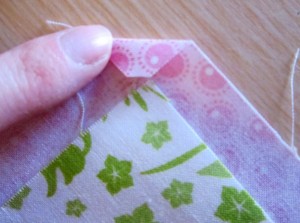 3. Fold the corner over again. The raw edge will now be enclosed and the lining will overlap the corner of the front piece. Pin to hold it.
4. Now fold the edge of the lining on one side of the corner inwards so that the raw edge meets the raw edge of the front. 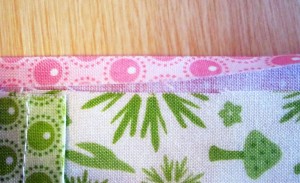 Fold it over again so that the raw edges are enclosed inside the border. Pin.
5. Repeat for the edge on the other side of the corner. Pin the corners carefully so that it doesn’t come undone.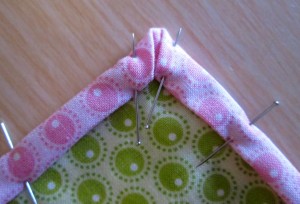 6. Repeat for the other corners
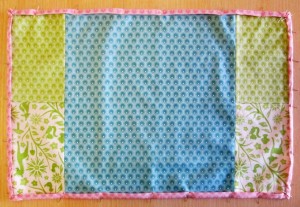 7. Keeping close to the inside edge, carefully top stitch all the way round.
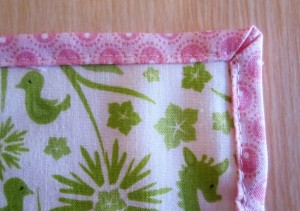
The pretty lining is visible instead of being lost underneath!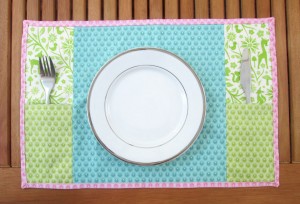
 Linking up at these parties:





 Doing
Doing 


Thanks for sharing this great tip at Submarine Sunday!
Thank you!
I love a good “how to” you just never know when you might need it and learning easy and professional ways of doing things is always good.
I think so too
This is a great idea
Thanks for linking up!!
Thanks!
Great How To Guide – I’ll be trying this
I’d love to know how you get on!
What a great tip, thanks for sharing
Thank you