As Boy 4 still does not object to being dressed up like a dolly, I have decided to make the most of it, especially as there may only be a few more months left before he really starts to resist! Last week I took him off to visit our local fabric shop to let him choose some stuff to make him some dungarees and some more little trousers.
Last time I made him dungarees was 2 whole years ago! You can read that post here.  Where does the time go? I used a pattern to make them, mainly because I was worried about messing them up and the fabric was expensive.
This time I decided to have a go without a pattern.
I could pretend that it was all plain sailing and as easy as pie, and that I whipped up a pair of dungarees without any trouble at all. If I said that this was the case, I would be lying. Sometimes when you make stuff without a pattern (and even with a pattern!), things go a bit wrong. However, the problems I encountered were all fixable, so I hope this post shows that things don’t always go according to plan, but some creative thinking is often all that is needed to turn around a potential sewing disaster.
How to Make Toddler Dungarees Without a Pattern
You Will Need: paper and pencil (greaseproof paper or newspaper are best, but normal A4 printer paper is fine), 1 – 1.5 m cotton fabric depending on the size of the child, 2 buttons, elastic, usual sewing supplies.
To Make the Pattern
1. Find a pair of trousers that fit your child well. I used a pair of pyjama bottoms.
2. Place the trousers on the paper and draw round them. Remember to add a seam allowance. If the waist is elasticated, you will need to stretch it out.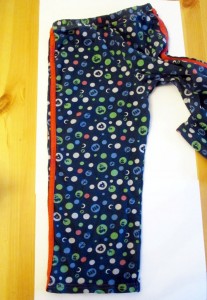
3. Add a bit extra at the top for elastic on the back. If your child wears cloth nappies, you might need to add a little bit more in the bottom area.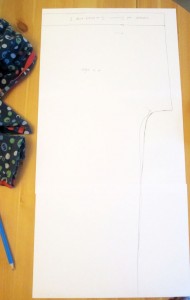
4. Pin the fabric and cut out. You will need 2 for the front and 2 for the back.
5. For the bib, I held a piece of A4 paper up against Boy 4 and quickly drew where the buttons would need to go. From this it was possible to work out where the top and the edges of the bib would need to be. To make it symmetrical, I folded the paper in half before cutting.
6. Pin the bib to the fabric and cut 2 pieces.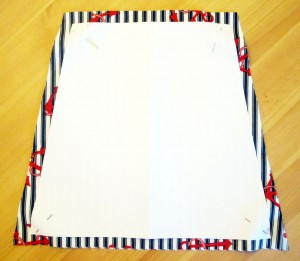
7. For the straps, cut 2 strips of fabric 10 cm wide and as long as the distance from your child’s waist, over their shoulder to where the button will be, plus a bit extra. Mine were 50 cm long.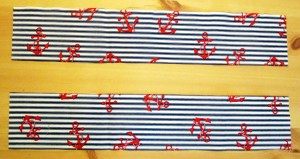
Making Up
1. Take the bib pieces and, with the right sides together, pin then sew along the top and the sides. Trim the seams, turn out and press. Top stitch around the top and the sides.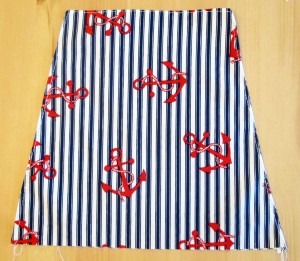
2. Take your front trouser pieces and sew along the middle seam. Repeat for the back pieces. Trim the seams and press them flat.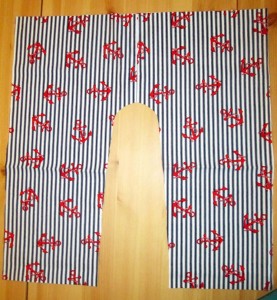
3. Did you forget to add an extra bit at the back for the casing? Never mind. So did I!
To solve that little oversight, I cut an extra strip of fabric and sewed it on to the back of section of the trousers. 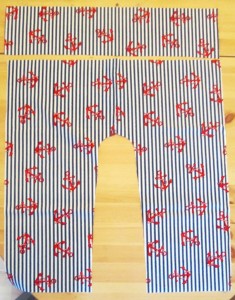
4. Pin the bib to the top of the trousers front section with the right sides together and the centre aligned. 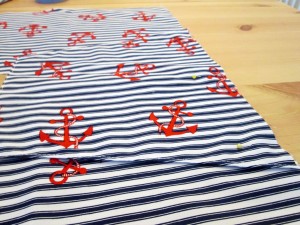 Sew. Press the seam downwards. Top stitch across the top of the trousers. This will help to reinforce the seam holding the bib to the trousers, and also hem the top of the front of the trousers.
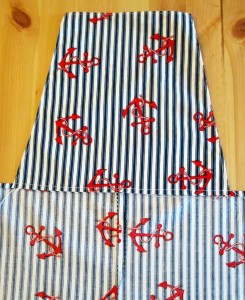
5. Pin the two trouser sections together. Starting at the leg end, sew the side seams, then the inside seam. 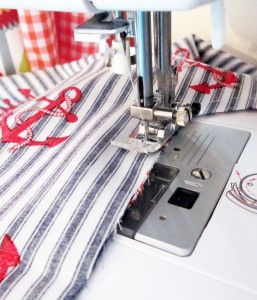 There will be an extra bit at the top of the back section. This is for the casing for the elastic. If you forgot to add an extra bit when you were cutting out, don’t worry! Go back to step 3, it’s still fixable!
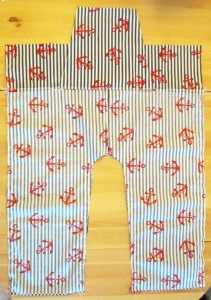
6. Press the side seams open. Unless you have one of those skinny little extra ironing boards, this could be tricky. Pressing it with your finger will probably do the job. Fold the raw edges at the side of the casing inwards. Sew.
7. Fold the casing over, folding the raw edge underneath. Pin, then sew. I know my casing looks huge! When I had cut out the pieces, I knew that there was no way the trouser bits would cover Boy 4’s chubby little bum so the casing serves as an extra bit to make them big enough!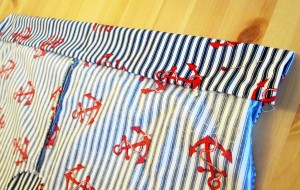
It was far to big to be casing for the elastic, so I added another row of stitches nearer the top.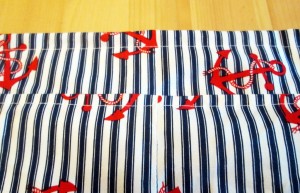
8. Work out how much elastic you will need for the back of the trousers. I measured the elastic against Boy 4 while he was asleep! Thread the elastic through the casing. The easiest way to do this is to put a safety pin in one end of the elastic and wiggle it through. 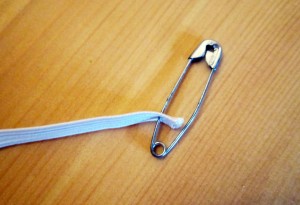 Pin it in place. Don’t sew it just yet!
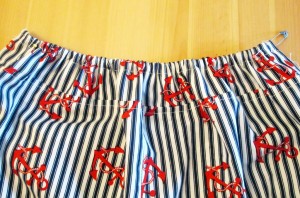
8. To make the straps, fold each strip of fabric in half lengthways.  Open out, then fold the raw edges inwards.
 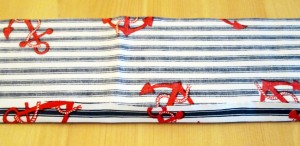 Fold in half again and pin.
 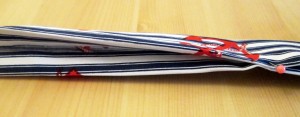 Sew along the open edge. I also sewed along the other side.
9. Lay out the straps and pin them where you want them to cross over. Sew them together. 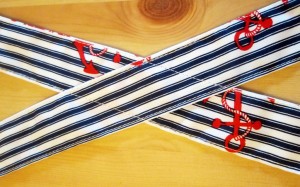 Pin to the back of the dungarees on the wrong side, checking that each strap is the same distance from the centre seam.
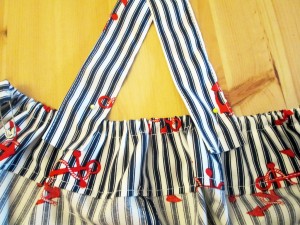
10. Unpin the elastic and sew the straps on, taking care not to sew over the casing. Also I would recommend getting the safety pin right out of the way. On my first attempt I did not. Thankfully I only ended up with messy stitches and not a broken sewing machine!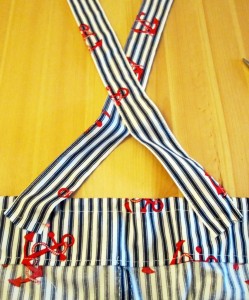

11. Rethread the elastic. Pin, then sew over the ends a few times to hold.
12. Because I added such a large section to the back, it looked really messy. To fix this, I cut two triangles, hemmed the long edge then sewed them over the side of the back and onto the front.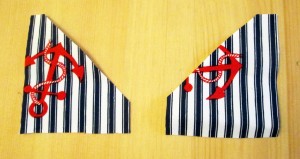
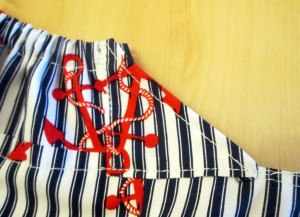
13. Wrestle your toddler into the dungarees. Work out where the buttons need to go on the straps and pin (or mark with chalk if they are very wriggly!) the hem of the trouser legs.
I found that the trousers were far too big! Did I mention that I’m paranoid about things being too small? I added some more elastic to the front between the side seams and the bib, but they were still huge. In the end I resorted to tucks between the bib and the side seam. They are a little bit clownlike but at least Boy 4’s trousers won’t be draughty!
14. Sew on the buttons and make the button holes.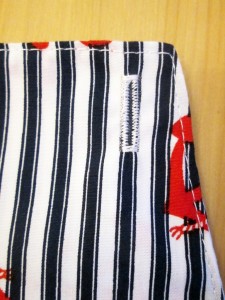
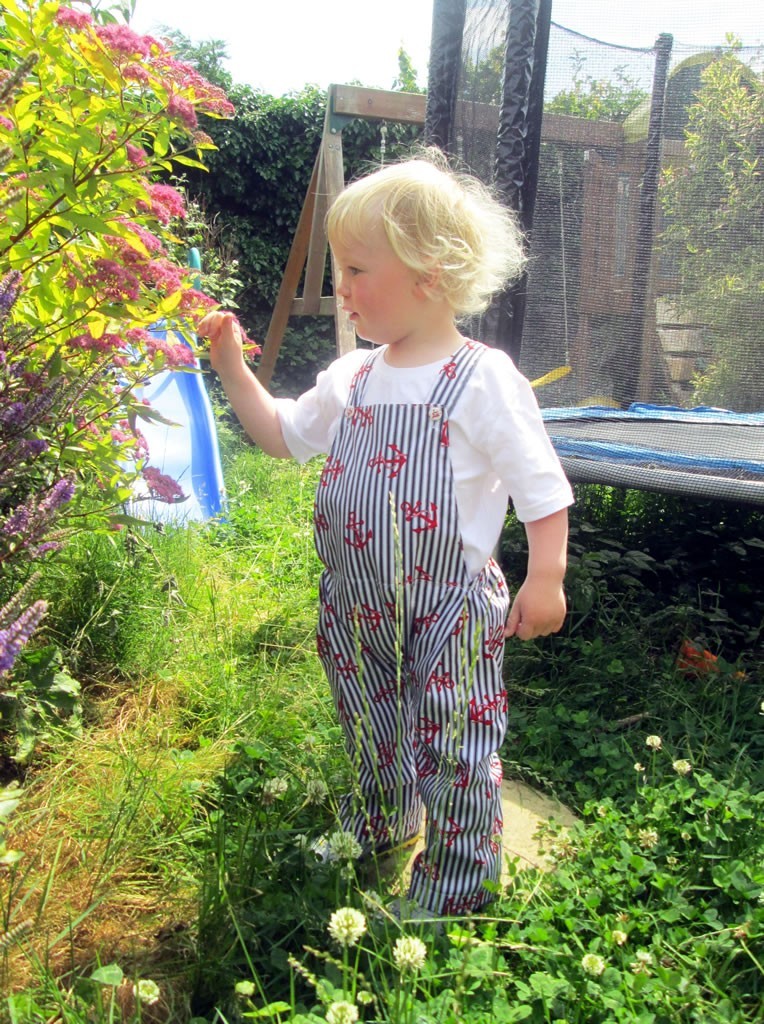
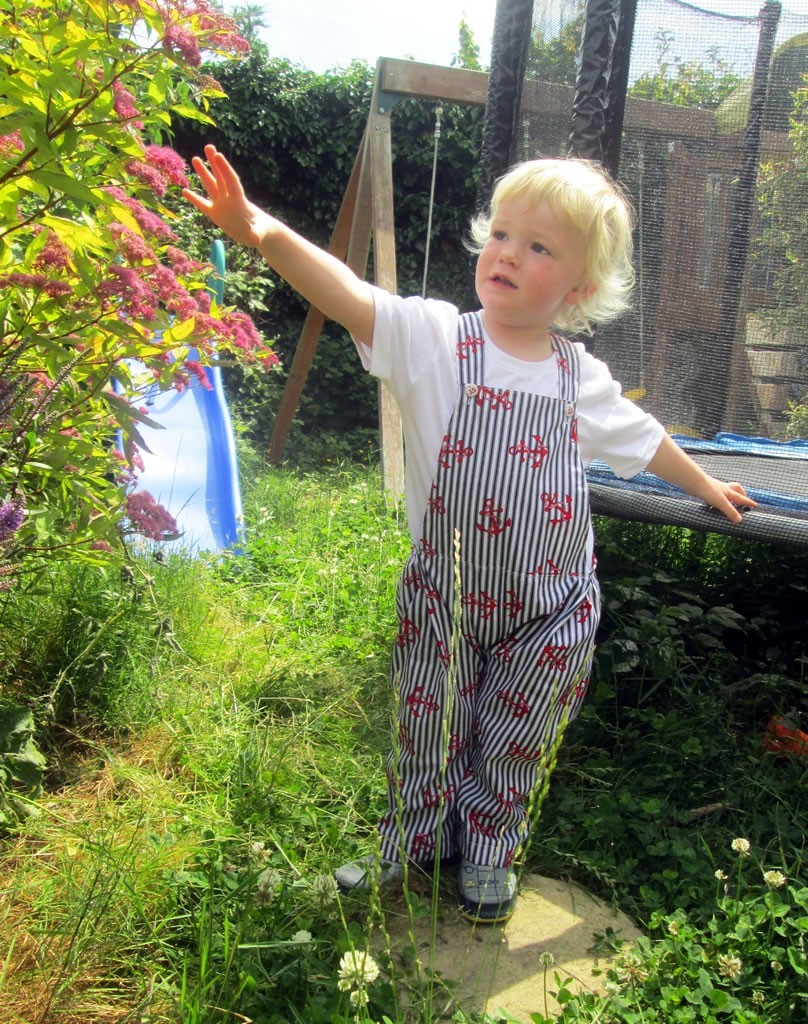
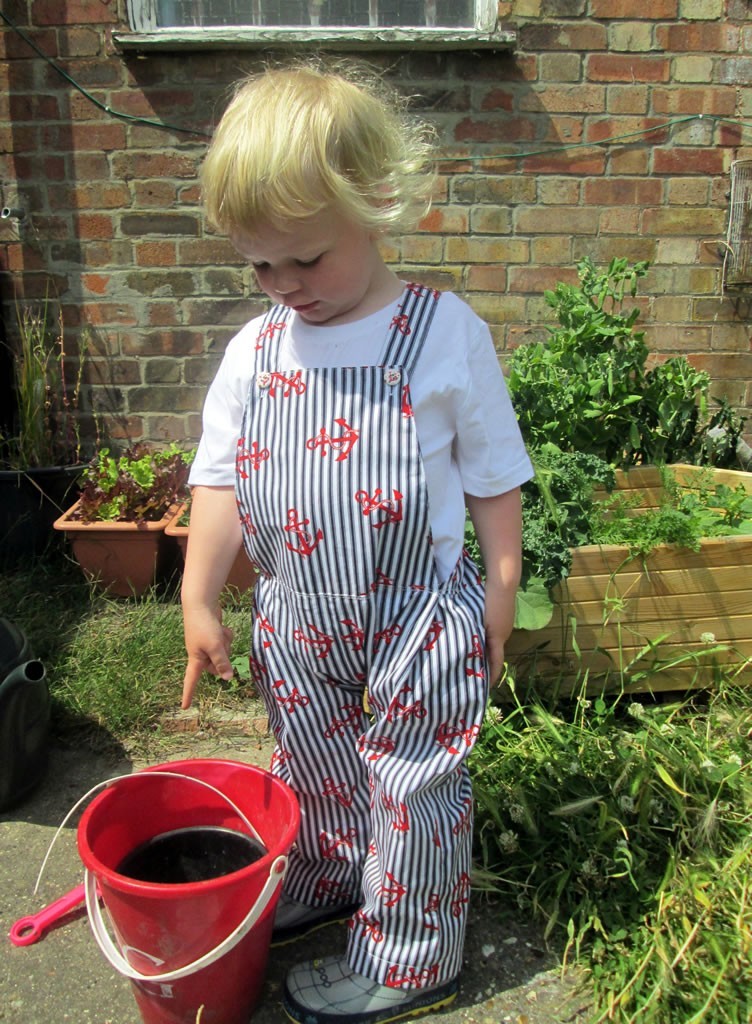
15. Hem the trouser legs.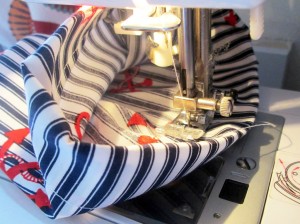 Here is Boy 4 in his new dungarees, made from fabric he chose himself. Despite the difficulties I had, I’m pleased with the results!
- Don’t forget to add seam allowances.
- You may need to allow a bit more fabric if your little person wears cloth nappies.
- If the bits look huge, they are probably the right size! If they are too big it is usually easy enough to make things smaller.
- When sewing the inside leg, start at the middle seam and do one leg, then go back to the middle seam and sew up the other leg. That way the seams will match.
- Clipping the curved seams will make the leg seams less likely to look wrinkly.
- Keeping some extra fabric in the trouser legs and the straps, and some extra elastic will allow you to adjust the dungarees as your child grows. All you’ll have to do is move the buttons, let down the trousers and let out some of the elastic. This is especially good if the dungarees turn out to be very cute!
Linking up here:





Really looking forward to trying this for my granddaughter – winter is coming in the Southern Hemisphere and dungarees are good when potty training in cold wet weather! Thanks for the tips.
I’d love to see if you do make some!
These are FABULOUS! Well done you! Thanks for linking up with #MMWBH
Thanks!
They are really cute
My little model is also very cute, which helps!
Love this. I have a sewing machine but really do need a refresher course on using it. I love the material of those dungarees, plus he is so cute!! 🙂 #mmwbh
2 is a very cute age!
Oh these are lovely 🙂 I really need to get my sewing machine out of the loft and get sewing really!
Thank you!
“Wrestle your toddler into the dungarees” Lol!
Great tutorial!
They always seem to have a preference to run around naked!
So cute, and what a great choice of fabric 🙂
He chose well!
Great tips, these look so sweet. I used to love making clothes for my little ones. Now they are big ones they are less keen on homemade stuff – sigh!
Thank you!