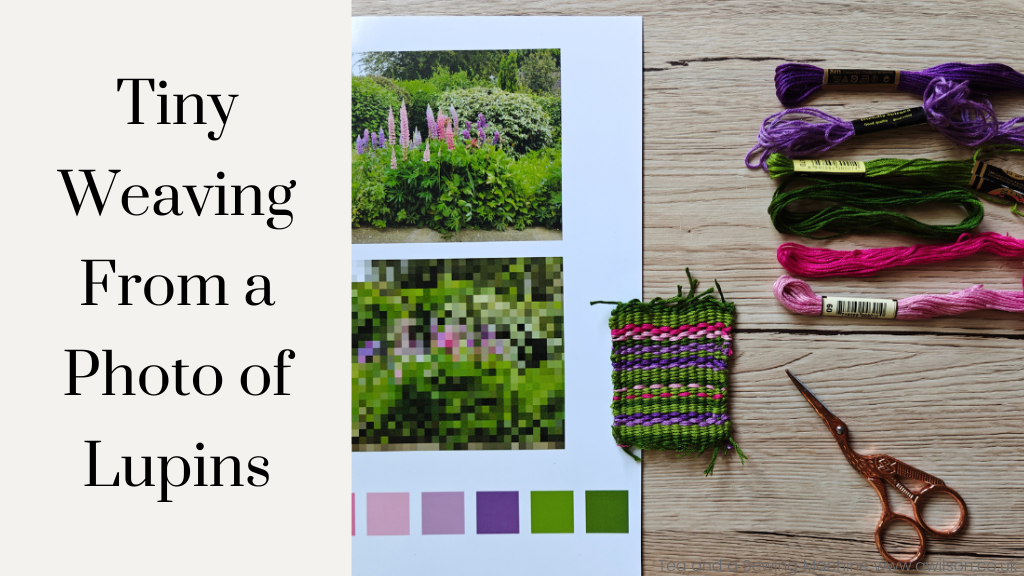
About a month ago, I was sitting outside the library in Dersingham eating my lunch and admiring some lupins that had been planted nearby.
I’m not much of a gardener myself, but I like gardens, and somebody had made the little bit between the library and the car park into a garden.
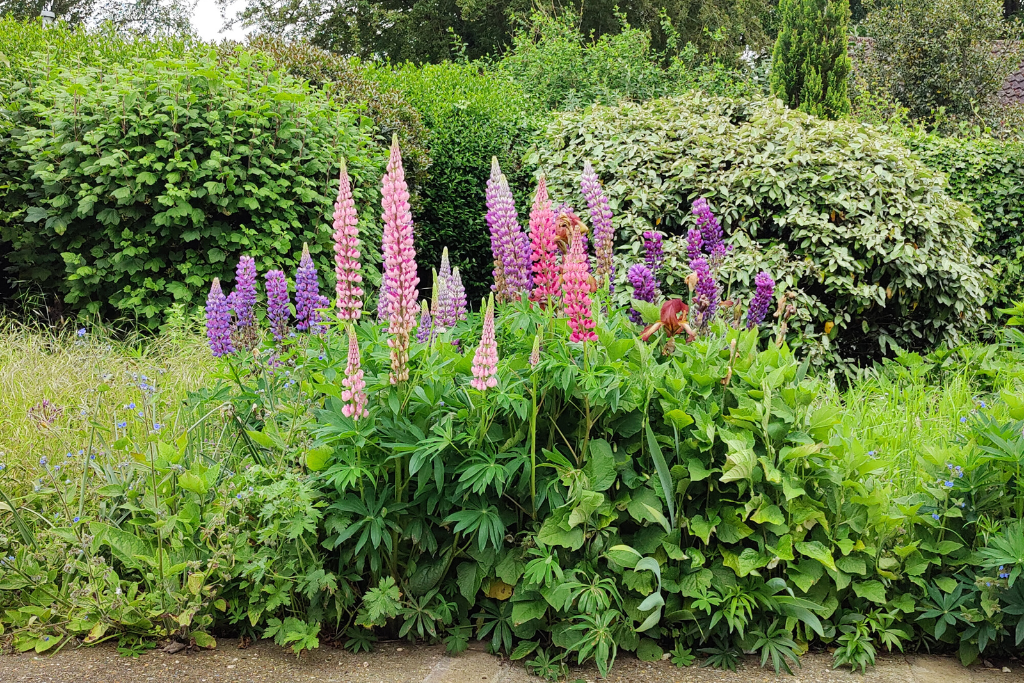
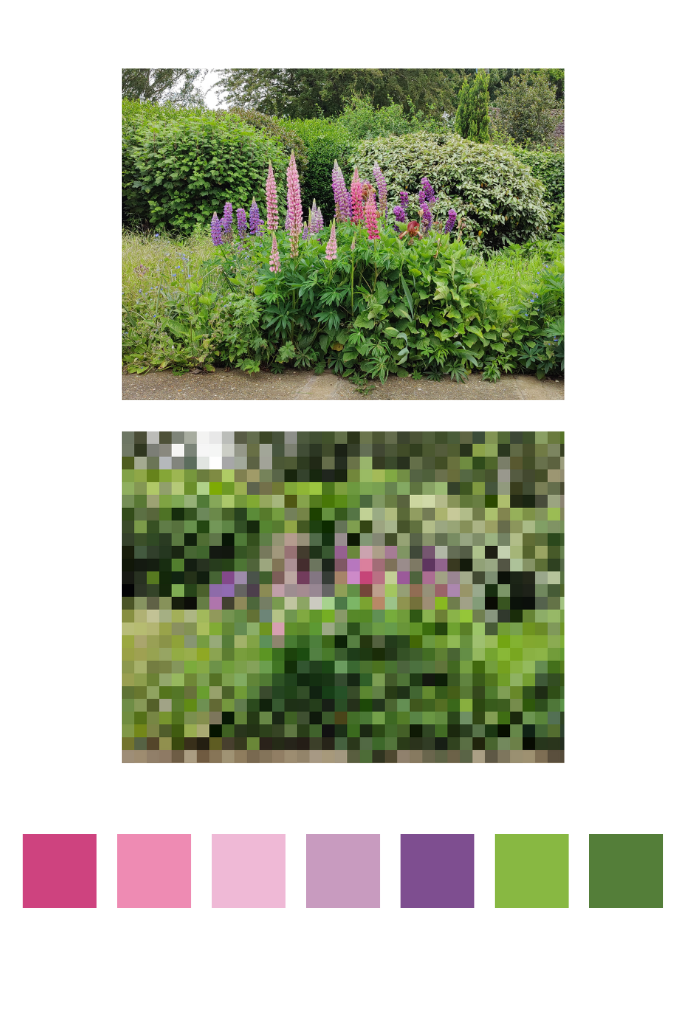
As I liked the lupins, and in particular the colours of the flowers, I whipped out my phone and took a photo.
Later on, looking through my photos, I decided to make a colour scheme from it.
I’ve made a few of these, because it’s one thing to feel inspired by colours in nature, and another thing entirely to come up with a colour scheme that actually works.
Not every creative endeavour has to result in some big finished project, and often I find that making the colour scheme is enough. Sometimes I want to make something, and other times I just want to play about with the colours a bit.
This is what I did this time. The lupins are pretty. I love pink and the purple is nice too. In nature the background, especially in late spring and summer, is green. I wonder if the people who say that green doesn’t go with everything have ever stood in a garden in June!
Making a little weaving allowed me to try out different colours next to each other. It’s not the tidiest thing I’ve made, but the colours are every bit as lovely as they are in the photo.
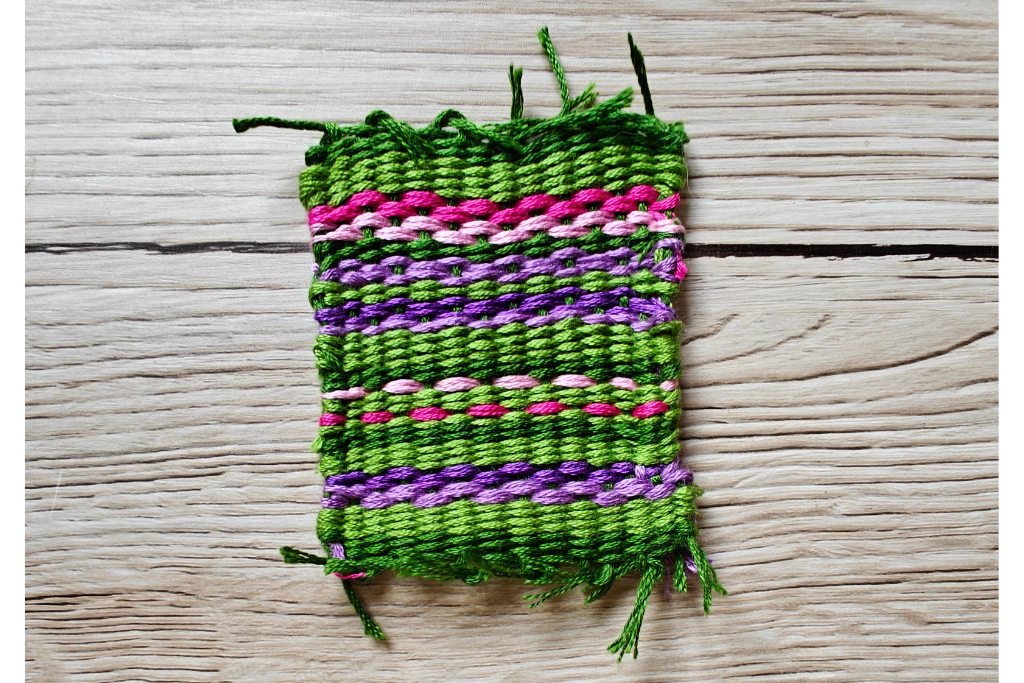
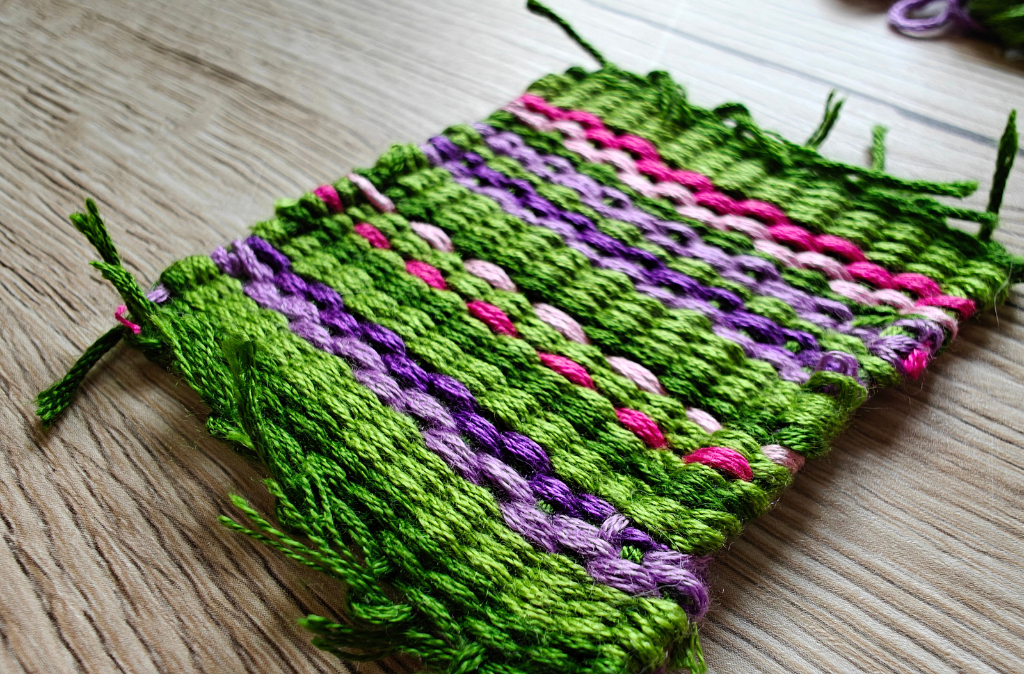
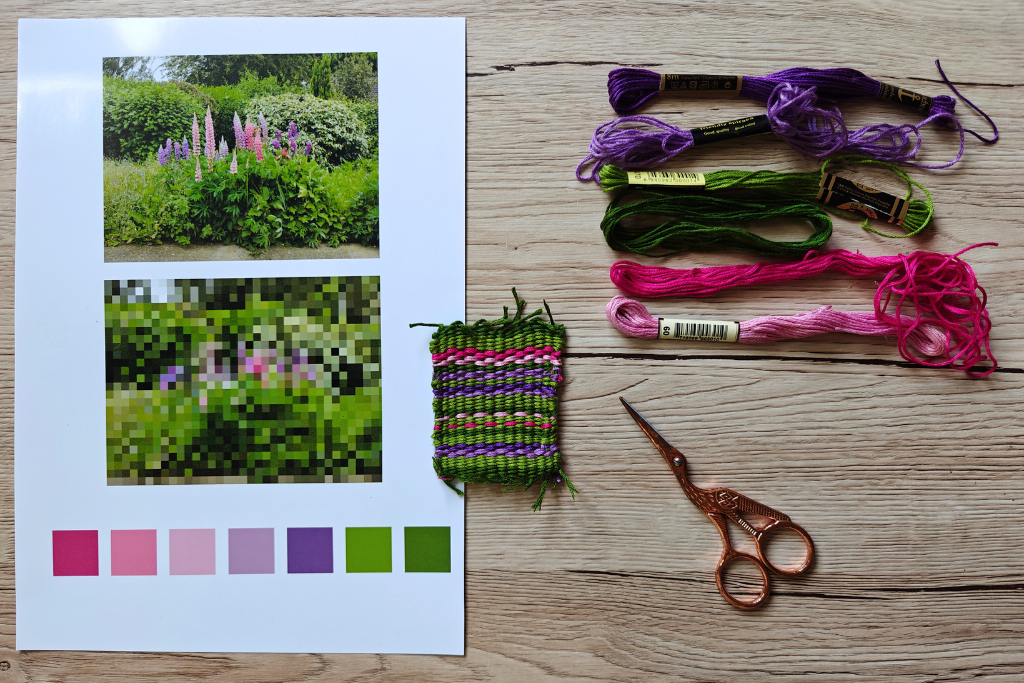
I still don’t have any plans for a bigger project with these colours, but I haven’t finished with them yet!
As to what I will do with the weaving, I’ll probably pop in a sketchbook to come back to later.
I’ve written out the instructions below, but I just want to say that these are only a guide. You might prefer to try things out and do it in your own way. There’s no wrong way!
Instructions for Tiny Weaving
There’s a video of me making it here. It’s quite fast though!
You Will Need
A smallish piece of cardboard. A cereal packet might be too thin, but you could glue 2 pieces together. The back of a pad of paper is perfect.
A tapestry needle
Something to weave with. I used embroidery thread. You might prefer to use ends of yarn, or you could try fabric scraps cut into strips.
Making the Loom
Cut a small piece of cardboard. Mine was about 6 cm x 10 cm. I didn’t measure it first, I just decided how big I wanted the weaving to be, then cut the cardboard into a rectangle that was slightly bigger!
Make little cuts into both the short edges, about half a cm long and half a cm apart.
Tying the Warp Thread
The warp threads are the ones that go up and down. I actually didn’t do any tying of knots at all! The little cuts in the cardboard board will probably hold the thread or yarn, but you might like to stick some tape over the ends just in case.
Put the end of the thread through the little cut nearest the edge at one end. Bring the thread down, then thread it through the cut at the other end.
Then pass it round the back and through the next little slit, then back to the other end. Keep going in this way until you have threaded through all the slits.
Weaving
The weaving itself is very easy, just over, under, over, under, until you get the end of the row, then swap. So where you previously took the thread under the warp threads, you go over, and where you went over, you go under.

With the first two pink rows, I accidently did two rows with the same overs and unders. But as I liked the effect, I declared it a happy accident and did the same for the rest of the pink and purple rows!
Tips
Don’t worry about tying the ends. You can weave them in when you have finished.
When you start a new row, try not to pull it too tight. It’s a good idea to take a moment to check it and pull at the sides a bit if it’s starting to become noticeably skinnier.
Push each row up with the needle so that they sit nice and close.
Mind changing is fine! Just pull it out and try again with a different colour.
Be aware of happy accidents! Sometimes mistakes can turn out to be a good thing.
Finishing Off
Weave in the ends by threading them through down the sides.
To remove the weaving from the loom, snip the warp threads behind the little slits.
There are various ways to finish off a piece of weaving so that it doesn’t all escape off the warp threads. I just tied them together in pairs. It doesn’t look very neat though, so there is probably a better way! I considered adding a fringe to hide them, but I decided to leave it. The weaving had fulfilled its purpose of giving me a chance to play about with the colours a bit!
There are various ways to finish off a piece of weaving so that it doesn’t all escape off the warp threads. I just tied them together in pairs. It doesn’t look very neat though, so there is probably a better way! I considered adding a fringe to hide them, but I decided to leave it. The weaving had fulfilled its purpose of giving me a chance to play about with the colours a bit!
If you like the colour scheme idea, you might also like these posts:
Finding Inspiration in Spring Colours
How to Crochet Granny Squares in Spring Colours
Finding Inspiration in Winter Colours
And I have a free colour scheme thing for you if you’d like to sign up for my email newsletter.


[…] scheme I made using a photo of some lupins that were growing outside the library. On that occasion, I used embroidery thread to make a tiny piece of weaving. So this time I decided to make a woven braid […]