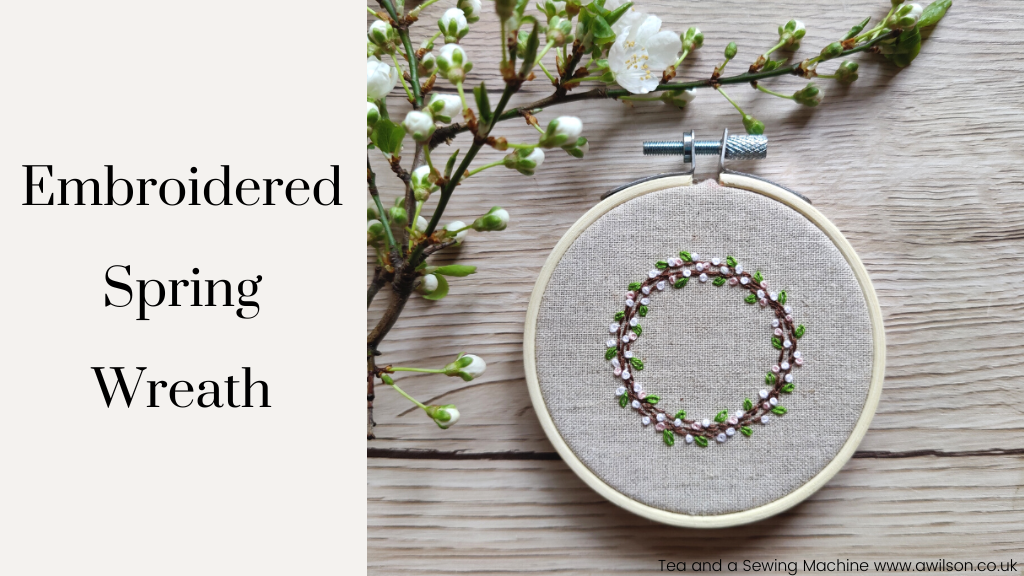
Back in the autumn, I made a little embroidered autumn wreath in an embroidery hoop.
It was my plan to make one for each of the four seasons. I haven’t yet made the winter one, and while February is most definitely not spring, this week has felt like spring might be on its way. That’s enough to want to start some spring themed projects!
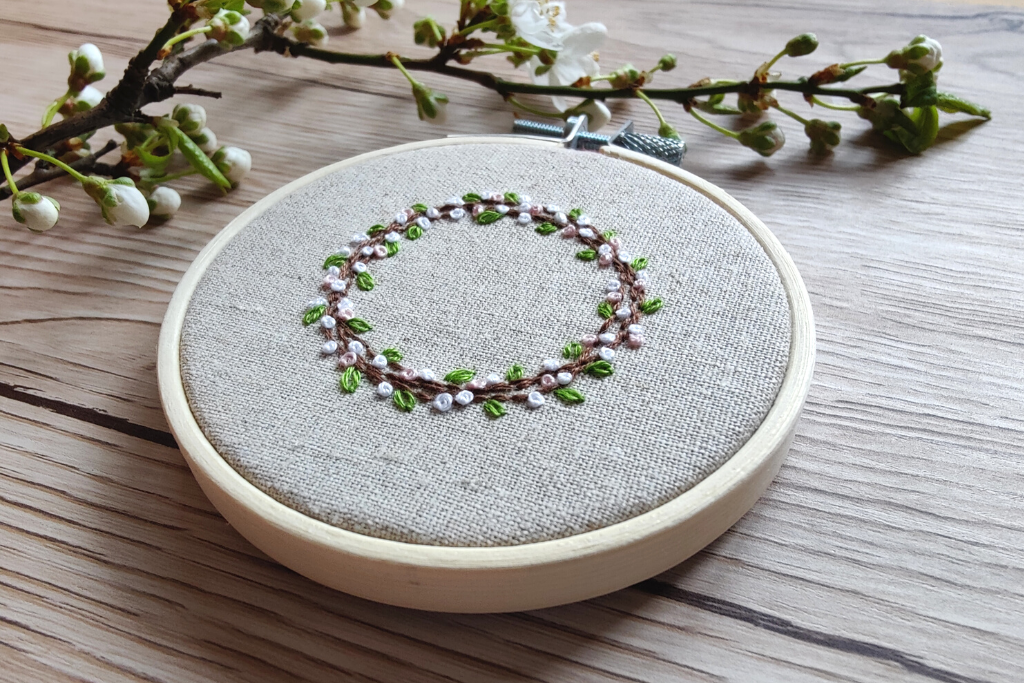
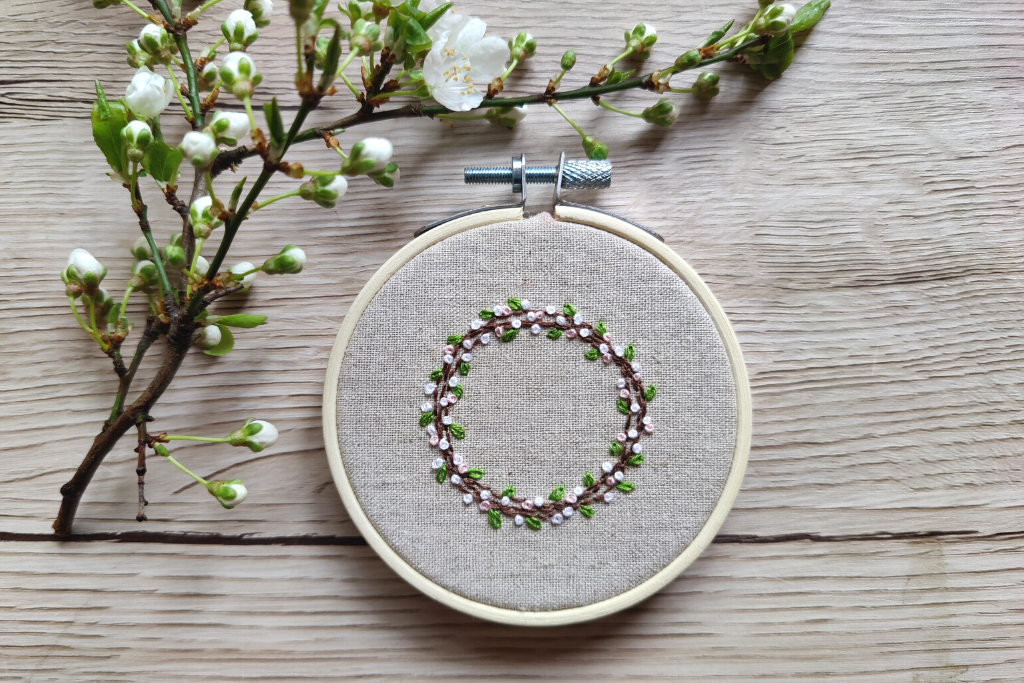
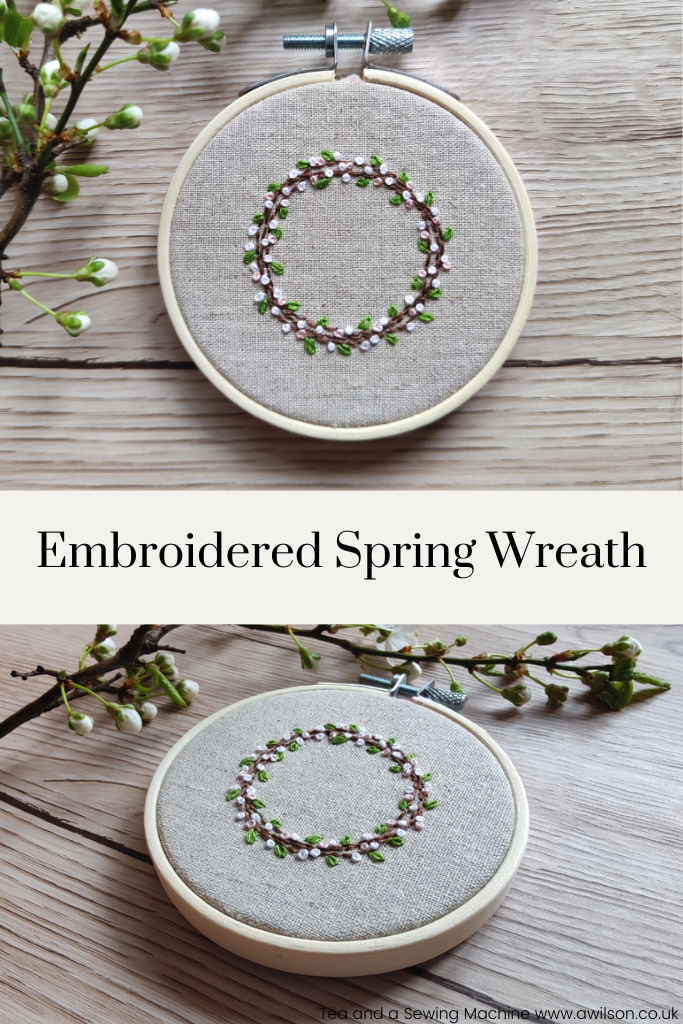
So I’ve made my little spring wreath.
It’s the same size as the autumn wreath. The hoop is about 8 cm across, and like the autumn version, it was quick to make and a nice little project to keep my hands busy.
The instructions for making it are below if your hands as well as your mind and your heart want it to be spring! I’ve also got some kits for sale in my Etsy shop.
How to Make an Embroidered Spring Wreath
You Will Need
Fabric to sew into. 12 cm x 12 cm (5 inches x 5 inches) will be big enough. I used a cotton linen blend.
Embroidery thread. You’ll need brown for the wreath, a fresh green, white and pale pink.
An 8 cm (3 inch) embroidery hoop
A piece of felt for backing.
A larger embroidery hoop to use while you’re embroidering the design makes things easier, but isn’t essential.
You might also like to use a template for the wreath design. There are some that can be downloaded via the form below (they are Christmas ones, but the wreath is the same), or you could draw it yourself with pencil onto the fabric.
Before You Start Sewing
When I made the autumn version, I traced the design onto the fabric using one of the wreaths from the download.
If you want to do that, there are a number of ways. You could use a light box if you have one, or you could hold it up to the window, or you could turn up the brightness on your computer screen and stick the design and the fabric to it. If you do that, please be careful not to press too hard or you might break the screen!
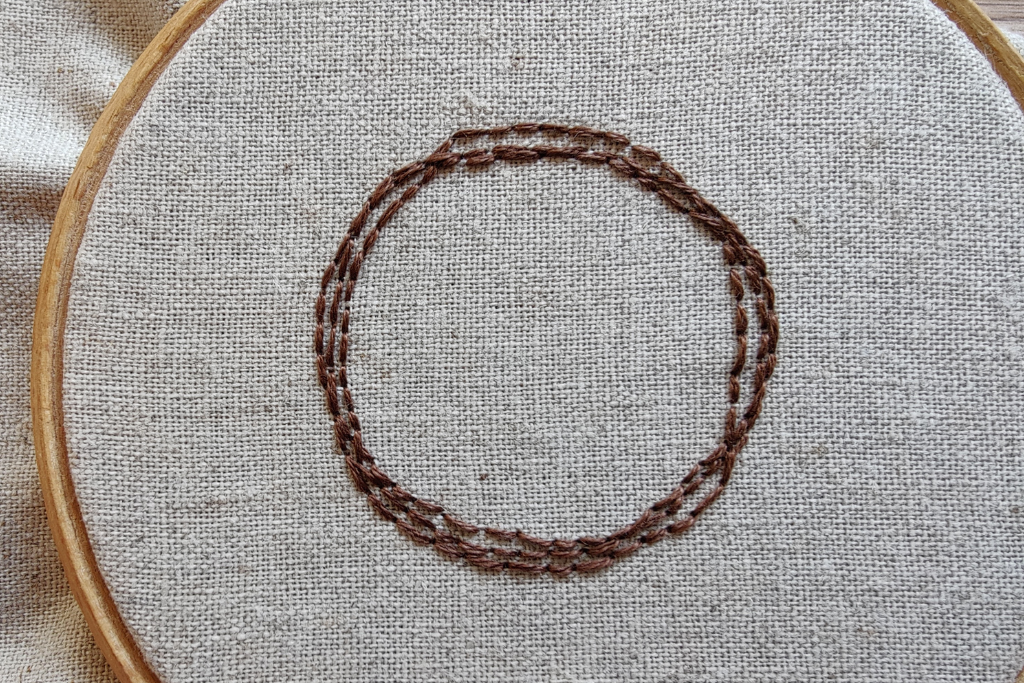
This time I didn’t bother to trace the wreath. Instead, I drew a vague circle on the fabric, using the hoop as a guide to get it the right size. When I sewed the wreath, I didn’t follow the circle exactly, and I went round it 3 times. It’s not going to look perfect if you do that, but if I took some twigs and twisted them into a wreath shape, it probably wouldn’t be perfect either. That’s all part of the charm!
Embroidering the Design.
Use 2 strands of embroidery thread for all the stitches.
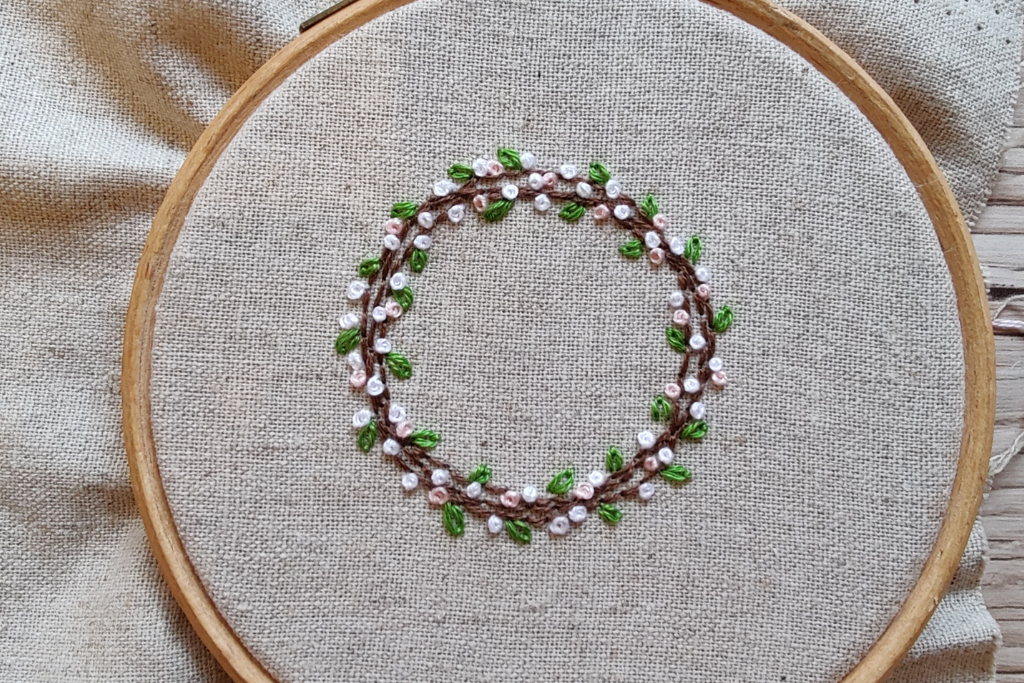
First sew the wreath in back stitch.
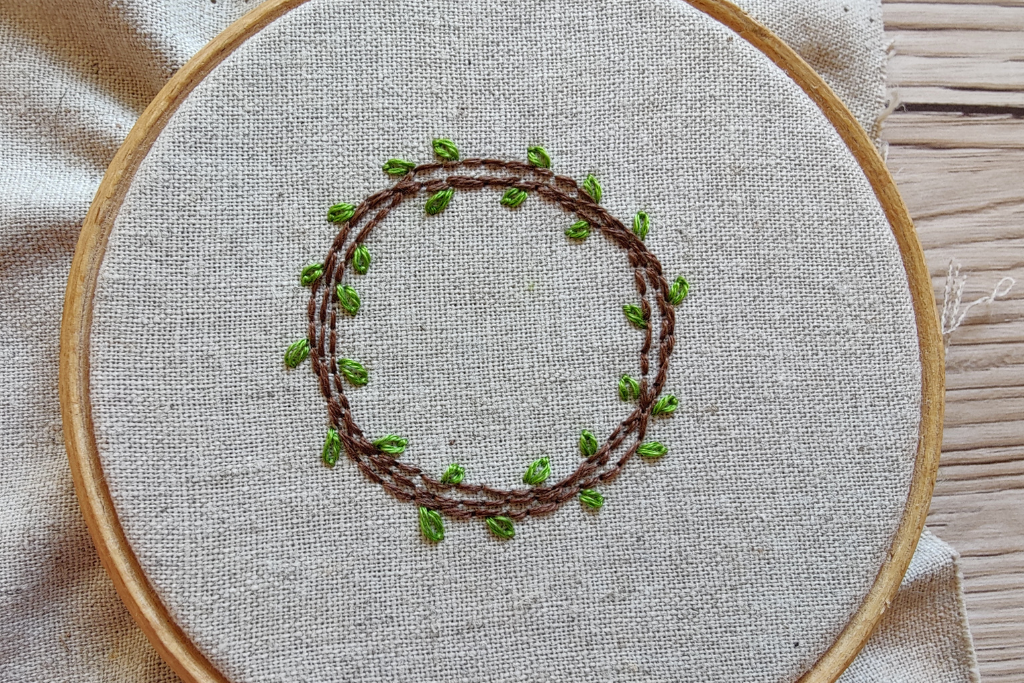
Then add some leaves. Not too many! The leaves are little lazy daisies. If, when you wreath is finished, you feel that there are not enough leaves, you can always add some more.
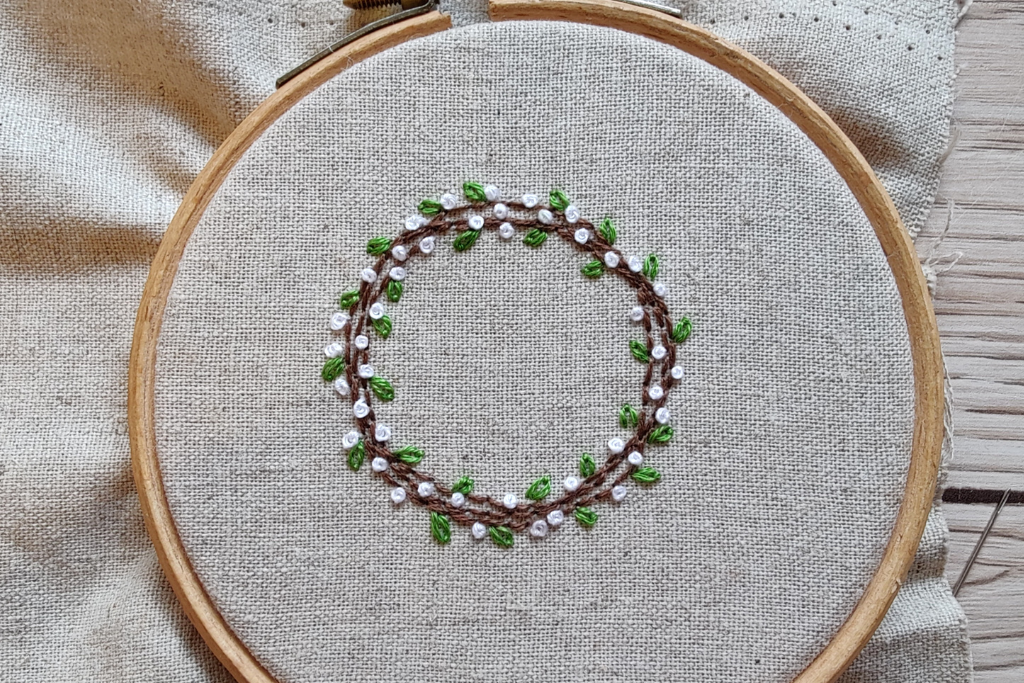
Then sew some French knots in white and pink, or you might prefer to use just one colour.
Finishing Off
Pop your finished design into the embroidery hoop.
Cut away any excess fabric. Not too much though! Leave a cm or 2.
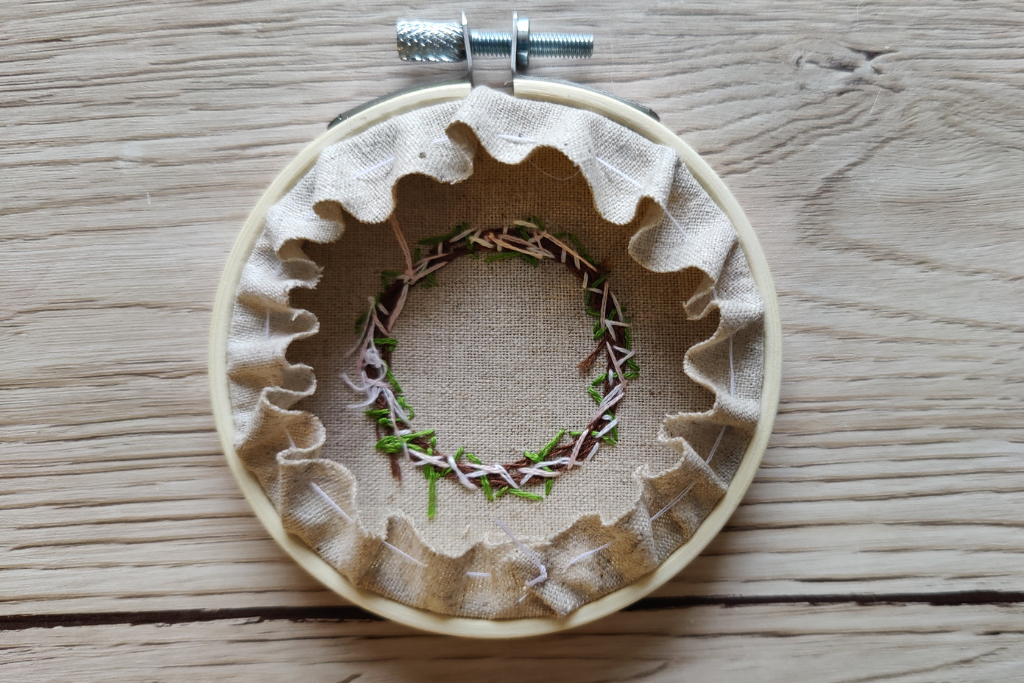
Sew a running stitch around the fabric at the back and pull it to gather it.
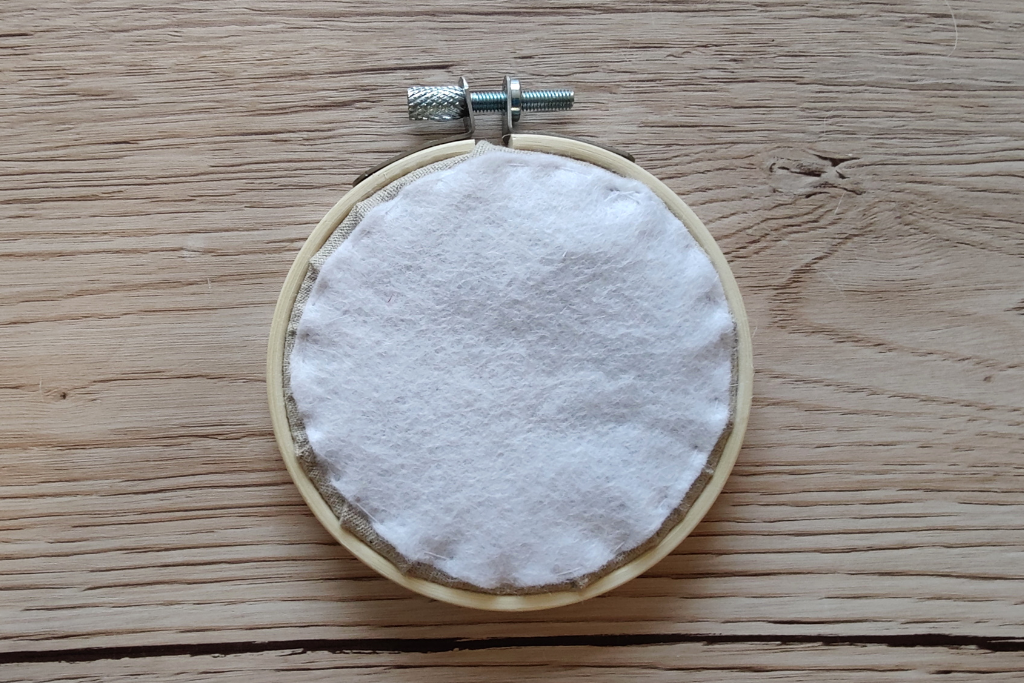
Cut a circle of felt and sew it to the back of the hoop.
You might like to thread a piece of ribbon through the hoop if you want to hang it up somewhere.
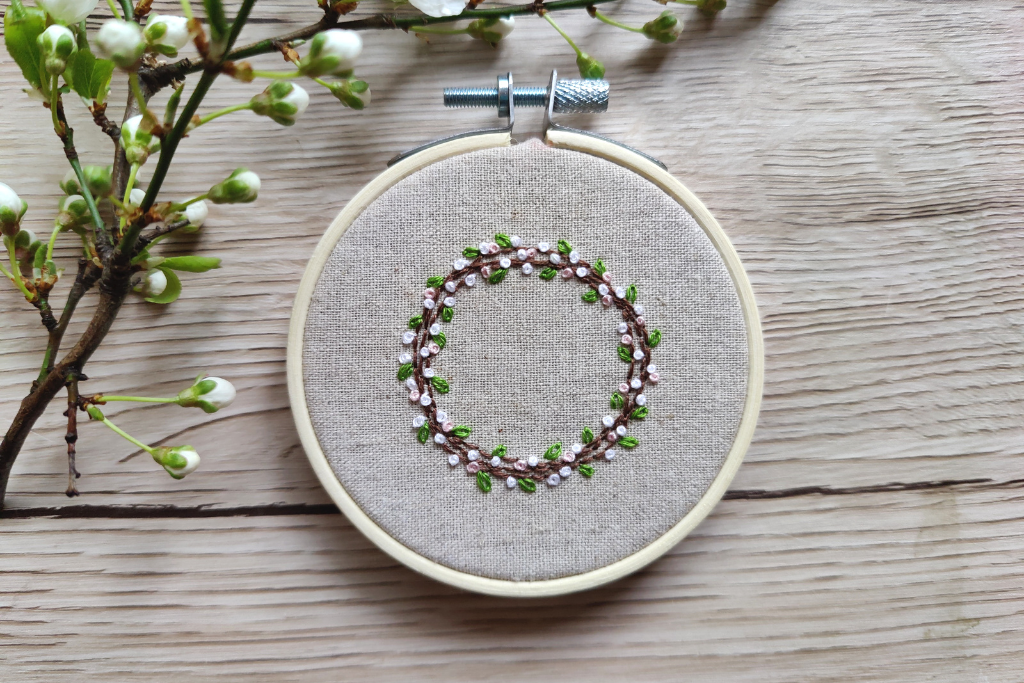


[…] might remember the autumn one I made last year, and the spring one I made back in February. I thought it would be nice to make one for each season, so now I only have the winter one left to […]