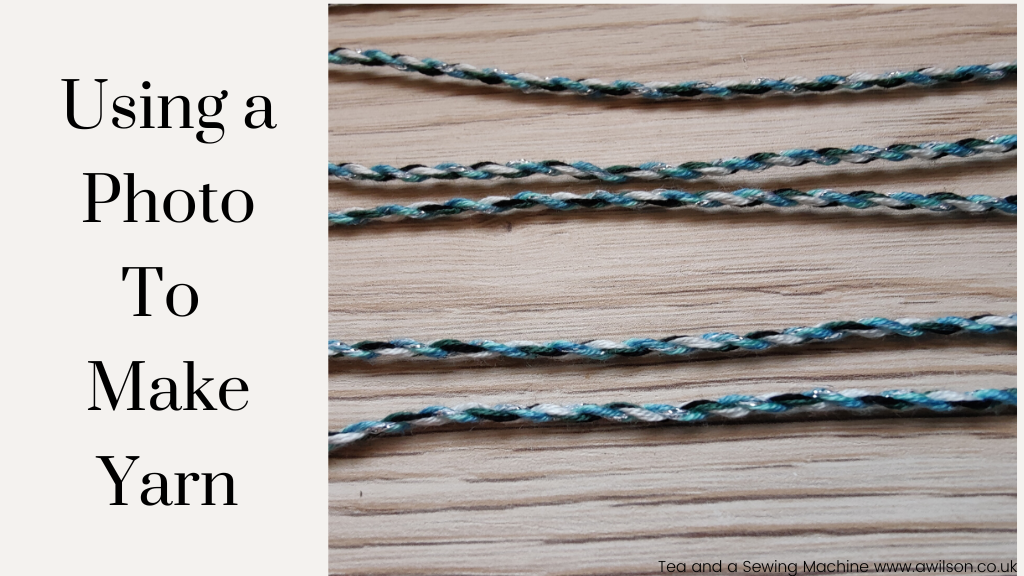
Before Christmas, and before I had the lurgy which was possibly the actual flu as opposed to a cold, I started a slow stitching project.
By started, I mean I had sorted out some bits and pieces that I could use, but I hadn’t got any further.
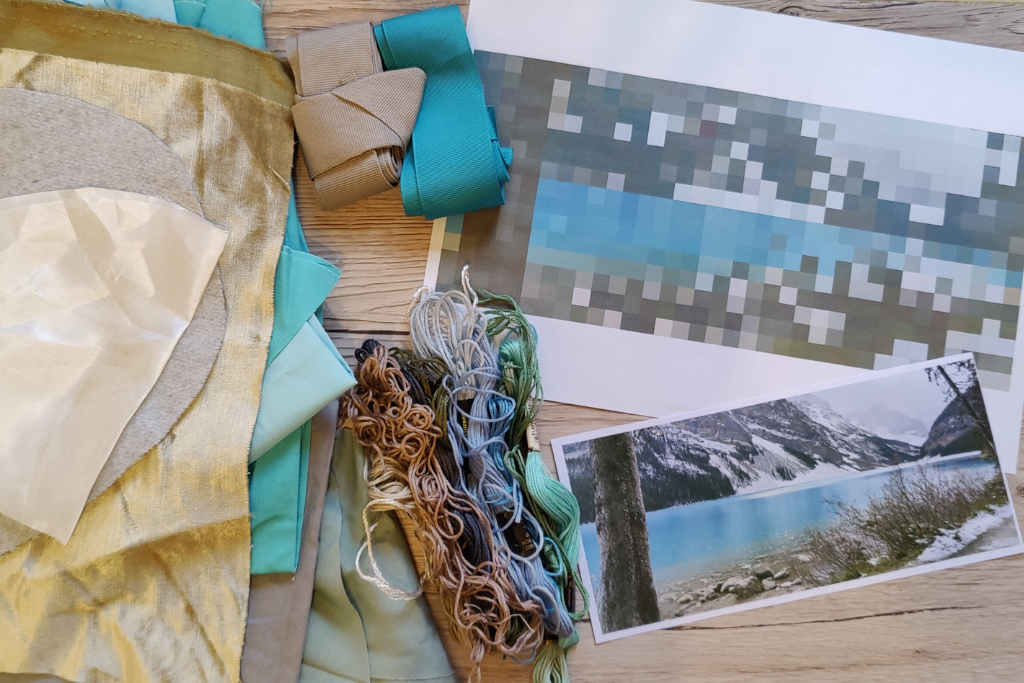
I’d had an idea to make something inspired by our trip to Canada, and I wanted a little project for my hands to do.
Once I’d sorted out the bits and pieces, I had course deadlines, I was ill, and then it was Christmas. I also have a tendency to overthink things, which then leads to doing nothing at all!
One of the good things about getting older is that you have more experience to draw on. Having trouble getting started has been a problem for as long as I can remember, but I have found ways to pull myself out of feeling stuck.
One of the things I was required to do in the last unit of my textiles course was to make yarn, and when working on some bigger pieces towards the end of it, I found that making yarn helped to make me less stuck.
So I did the same thing here.
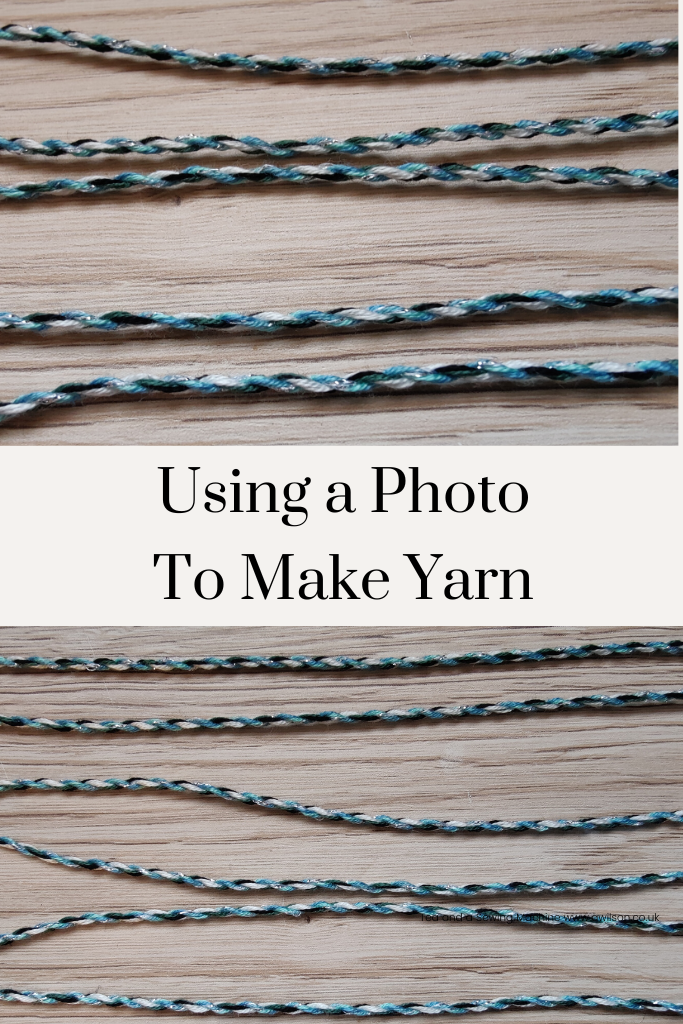
I’ve only made 2 yarns, and they are both fairly conventional and made from embroidery thread. I have plans to make yarn out of other things too, perhaps rice paper, but I haven’t yet.
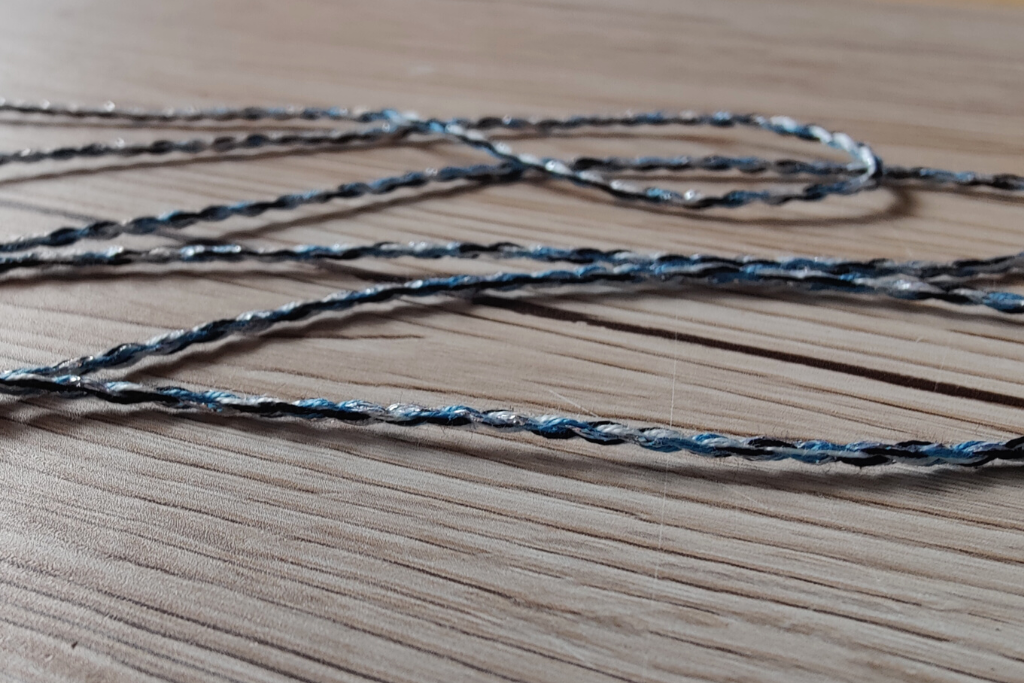
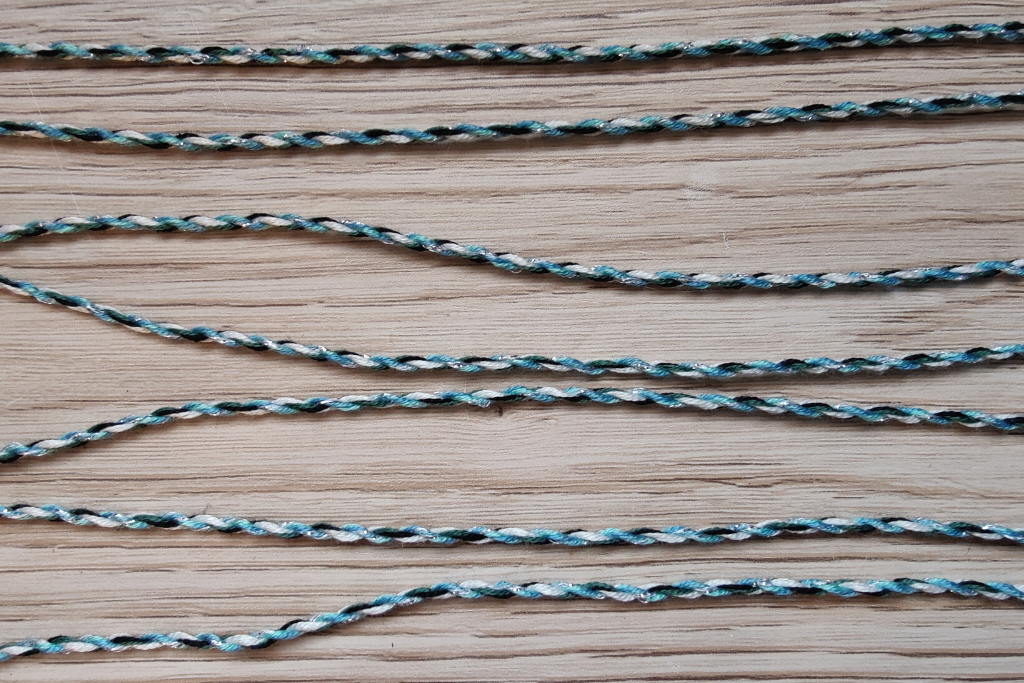
It’s a lot of fun and I’d recommend it! You don’t need any special equipment, only a hook or a door handle. The pieces of yarn are quite short, but they will do for what I have in mind, and there are things you can do with short pieces of yarn. That will be another post!
In the rest of the post, I’m going to describe the process I use, and maybe you’d like to try it yourself!
Using a Photo to Make Yarn
Choose a Photo
I had terrible trouble choosing one photo from the dozens I took while we were in Canada.
Questions to ask yourself could be:
Do I like the colours?
How does the picture make me feel?
Is it sparking ideas?
Do I already have what I need?
You could use the questions to make a short list of your favourite pictures. A thing to remember is that you can always go back to your pictures and choose another if you find you enjoy it. Or you could use your other photos in other ways. That sounds like another post as well!
Pick Out the Colours
Sometimes it’s quite easy to identify a few colours in the photo that you could use.
If you’re finding it difficult because there are lots of colours or different shades, or if you just don’t know where to start, this is where photo editing software comes in handy.
It might be possible to use Photoshop if you have it and know how to use it. I used an online program. Photo editing software allows you to turn a photo into larger pixels, which makes it much easier to pick out the colours. The larger the pixels, the less colours you will have to choose from, which makes deciding which colours to use much easier.


You could try doing this with a few photos and choose the one you like the most.
Deciding What Threads and Fibres to Use
Embroidery thread is good to start with. It’s available in every colour imaginable, and if you have some already, you might have the colours you need. If you need to buy some, going to an actual shop, or getting a card with the thread colours on first is better than buying them online without having actually seen them. I’ve done this in the past and although sometimes it’s alright, other times I’ve ended up with thread that was a different colour to what I was expecting.
Having said that, I wouldn’t spend to much time trying to match the colours perfectly. Near enough is probably fine.
Other things you might want to consider are the textures and qualities in the photo. If there’s a sparkly element, like sunlight on water, you might want to have metallic fibres in your yarn. If it’s soft, that might be another, or delicate, spiky or shiny. Including one or more will make your yarn more interesting.
Twisting the Threads into Yarn
This is the most fun part!
I use 2 different methods to turn threads into yarn. The first way is quicker and easier. The second take a bit longer, but you’ll have a longer piece of yarn.
You’ll need the threads you want to use cut into lengths that are about the same. Obviously the length of the threads will affect the length of the yarn, although some of the length will be lost in the twisting.
Method 1
Take the lengths of thread you want to use and knot them together at one end.
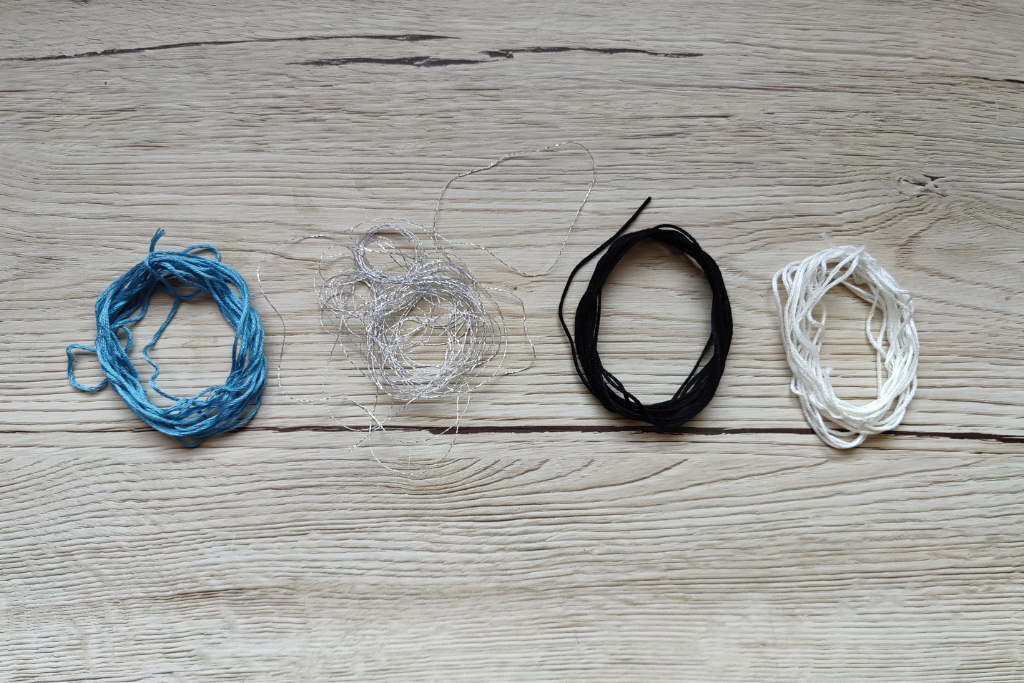

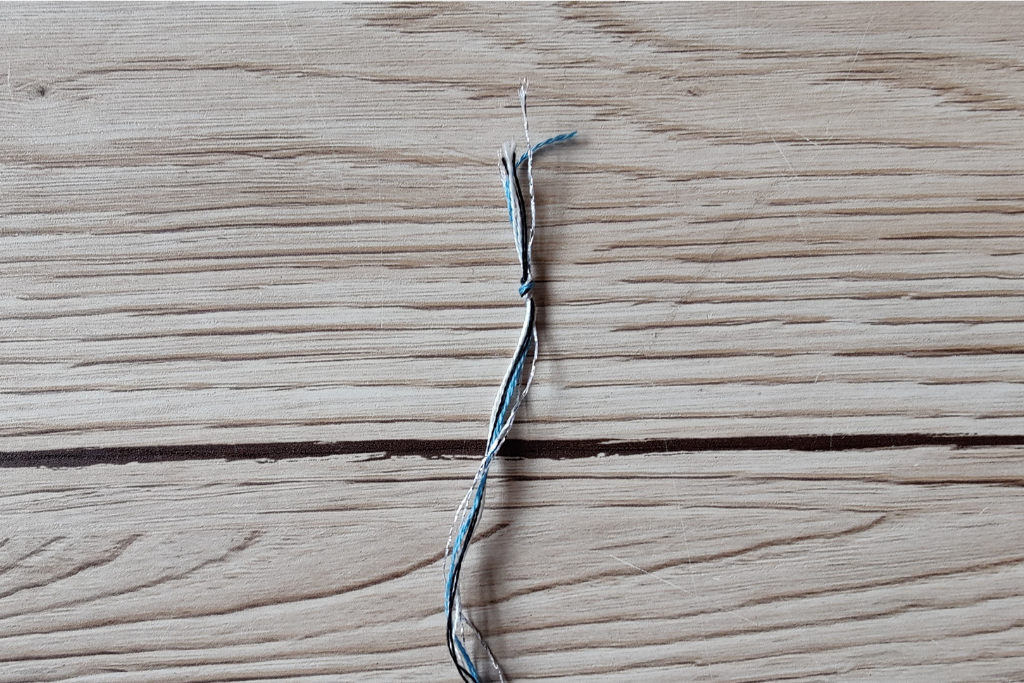

Then tie them at the other end.
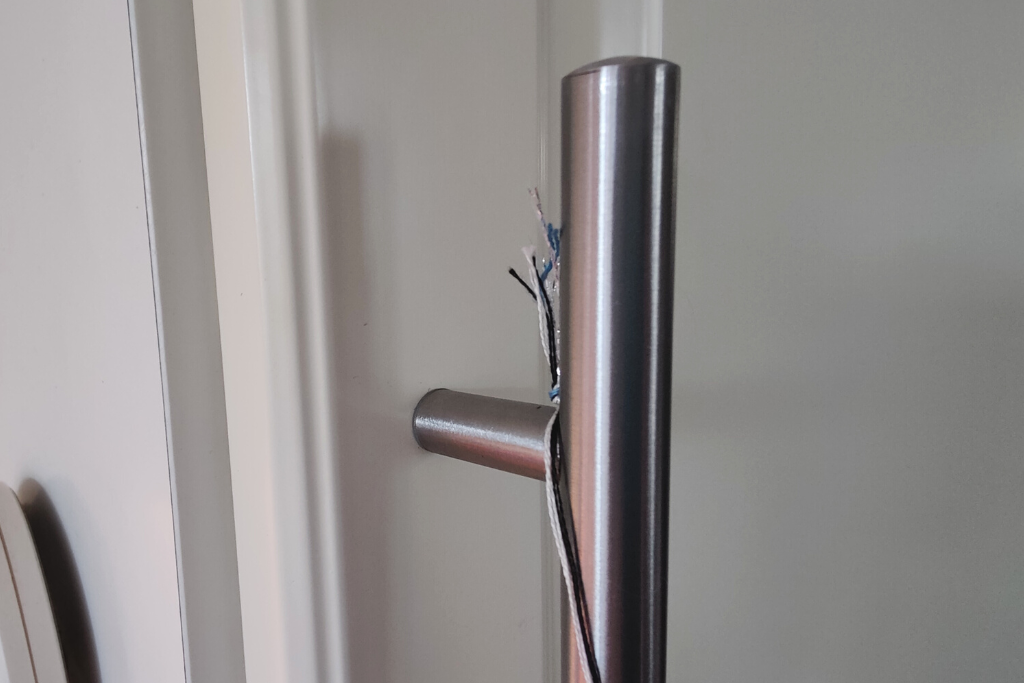
Pop one knotted end over a handle or a hook. I normally use either the handle of the fridge or a little plastic hook that’s used for hanging Christmas lights up.

Put a pencil through one end. A little bit of masking tape or washi tape to will stop the know from moving about.
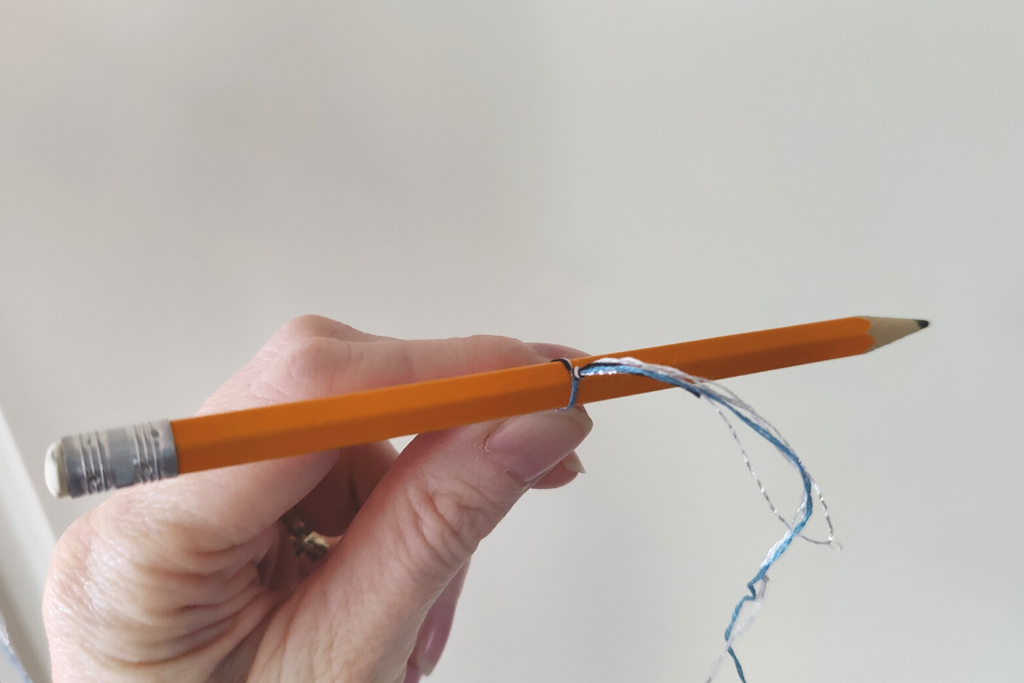

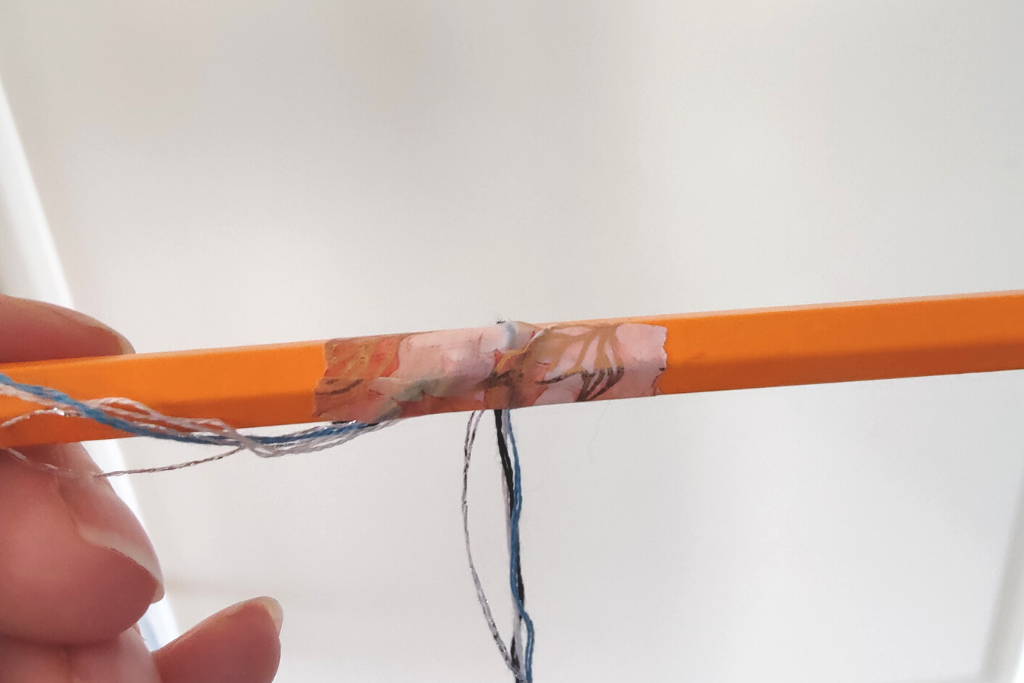

Start twisting! Keep going in a clockwise direction until it twists back onto itself if you let the tension go a bit.
Once you’ve got to that stage, remove the pencil from the end and stick your finger in it so that you don’t lose the loop.
Using the pencil or a spare hand to keep the yarn taut, slip the end that was round the pencil over the door handle.
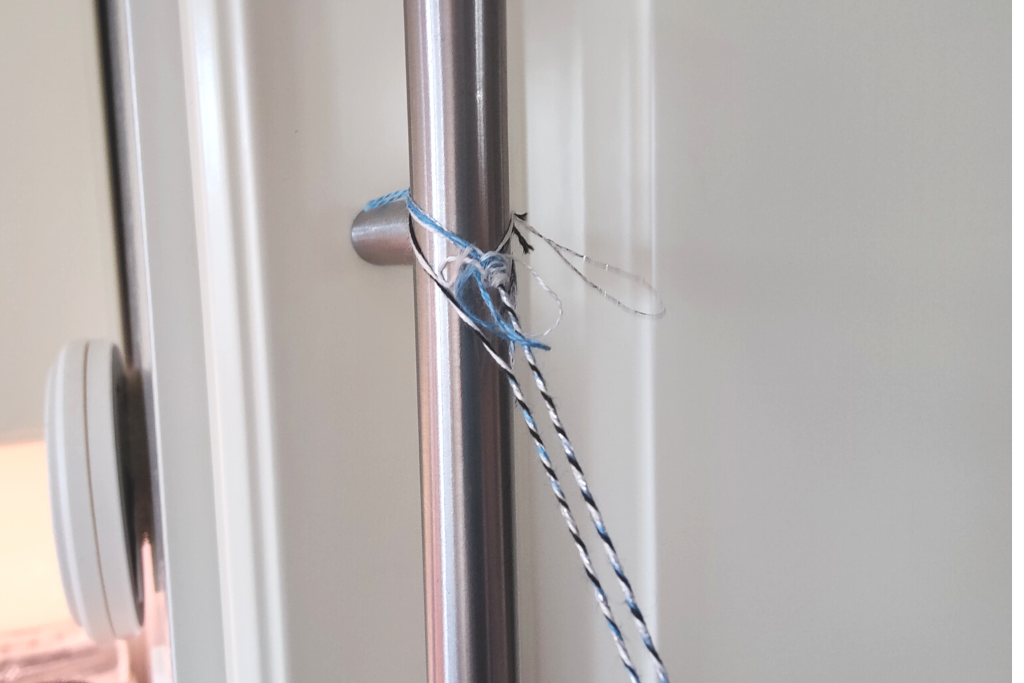

Slip the pencil through the middle of what is now the end. It’s a good idea to tape it again. Start twisting anticlockwise.
After a few twists, you’ll be able to let go and allow the strands to twist round each other.
Take the loops of the handle and tie a knot. You might want to tie a knot in the other end as well, although it won’t untwist if you don’t.
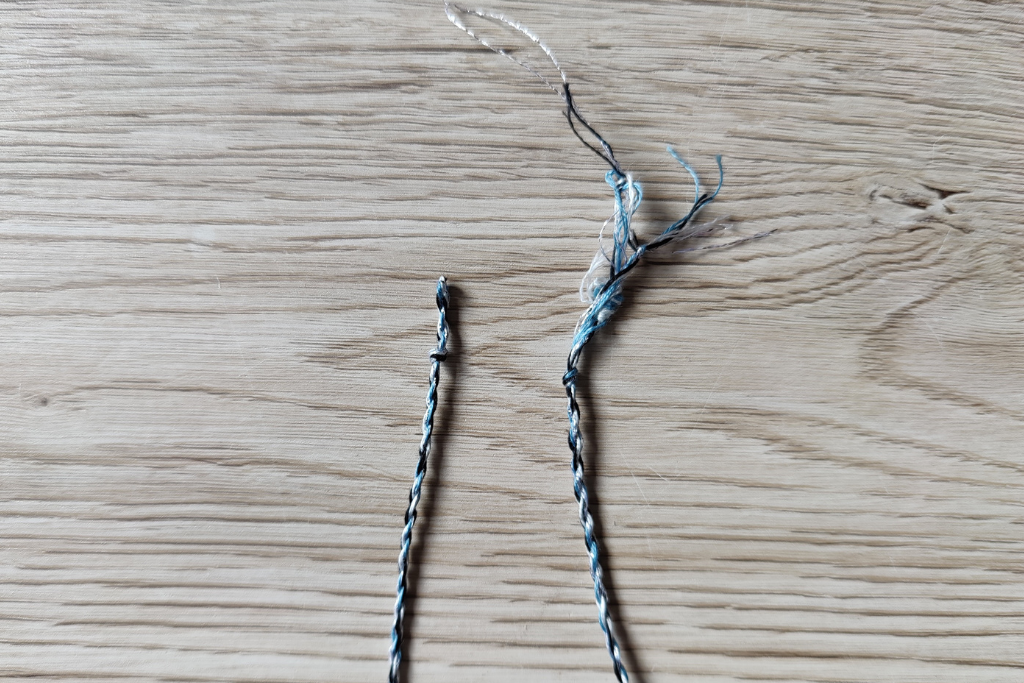

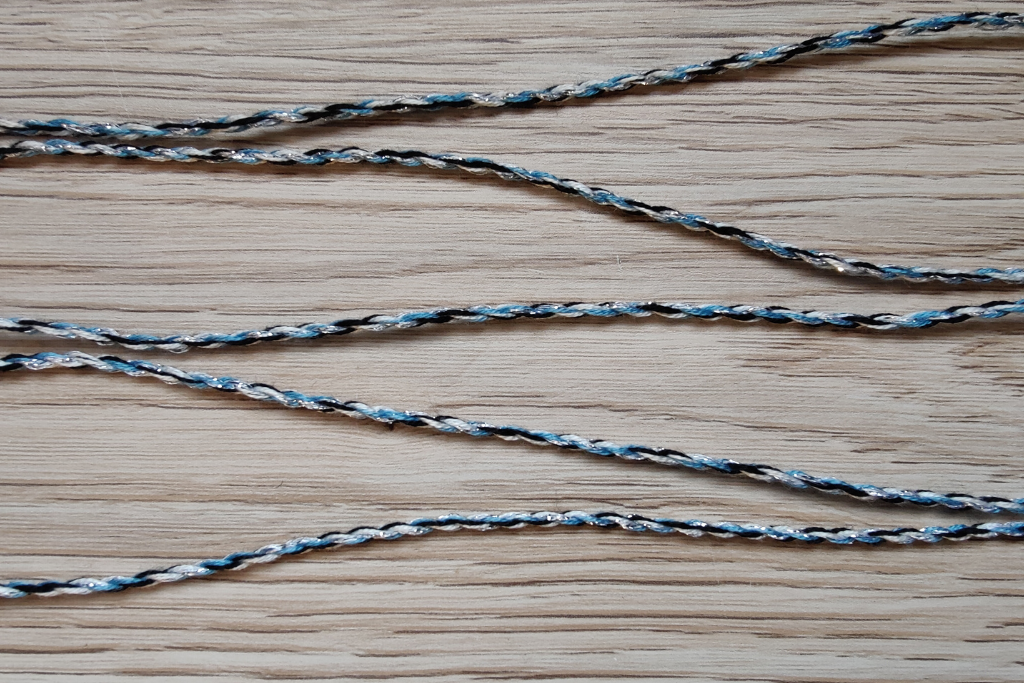

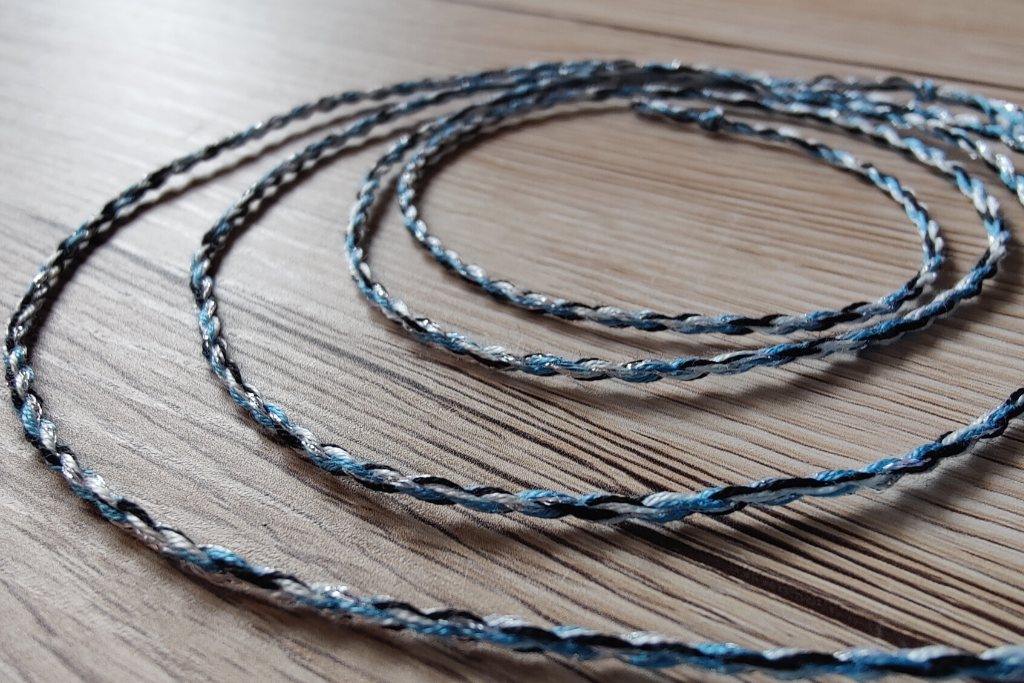

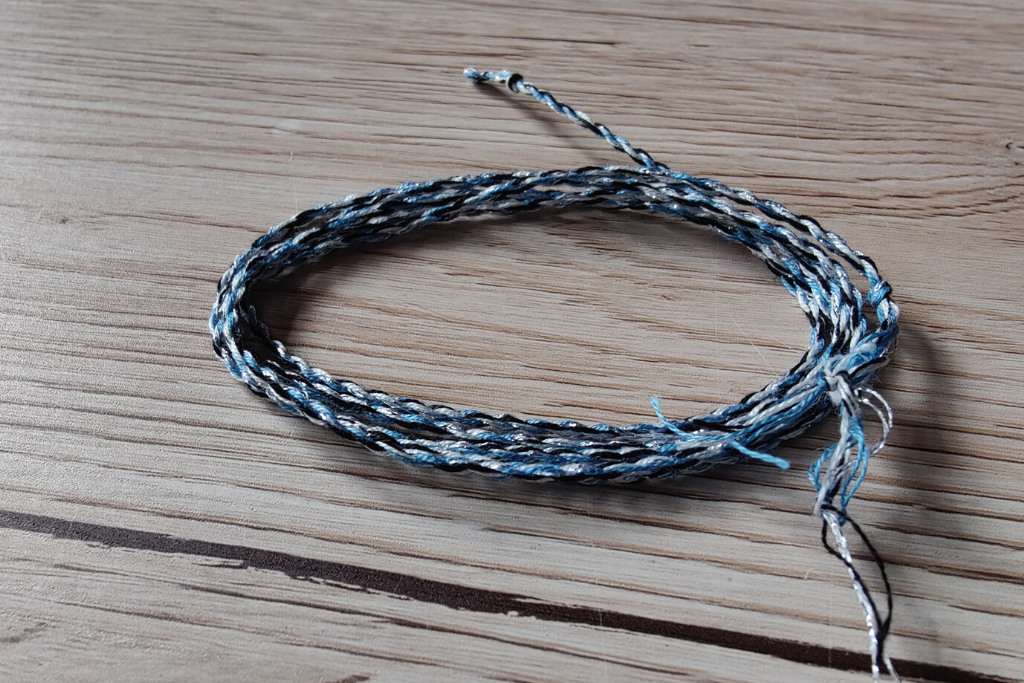

Method 2
This method is very similar, except that the threads are divided into at least 2 groups, with each group of threads being twisted separately before being twisted together.
It doesn’t matter how many groups you have as long as there are at least 2, or how many threads you have in each group. For this yarn, I used 2 lots of white, one black and one green in one group, and 2 blues, 1 green and some silver in the other.
I also forgot to take photos. Sorry!
Take your first group and knot them at both ends.
Put one end over a hook or a door handle.
Put a pencil through the loop at the other end. Stick the knot to the pencil with tape.
Twist in a clockwise direction. Keep going until the threads twist back on themselves when you ease the tension.
The tricky thing is now figuring out what to do with the twisted threads while you deal with the others. I stick the pencil into one of my walking boots, or into a basket of books if I’m in the front room! You just need it to be somewhere where it won’t get in the way and it won’t become untwisted.
Twist the next group of threads in the same way. Try to get them to about the same length as the first group. It will make the next stage easier if you can.
Now, with all the groups of threads on the handle or hook, pop the pencil ends of your threads all onto the same pencil. You might need to adjust some of them if they are not all the same length.
Now start to twist anticlockwise. The pairs of twisted threads will twist around each other.
Once you’ve got it started, you could hang it up somewhere, with the pencil still on the end, and let it twist itself.
Run a thumb and a finger down the yarn to make sure it is even. Remove it from the hook and tie a knot. Take the pencil out and tie a knot in that end too.
The second method meant I could use more colours without worrying about them getting lost in the twisting. It also gave me a chance to consider proportions more, although you can do that with the first method as well.


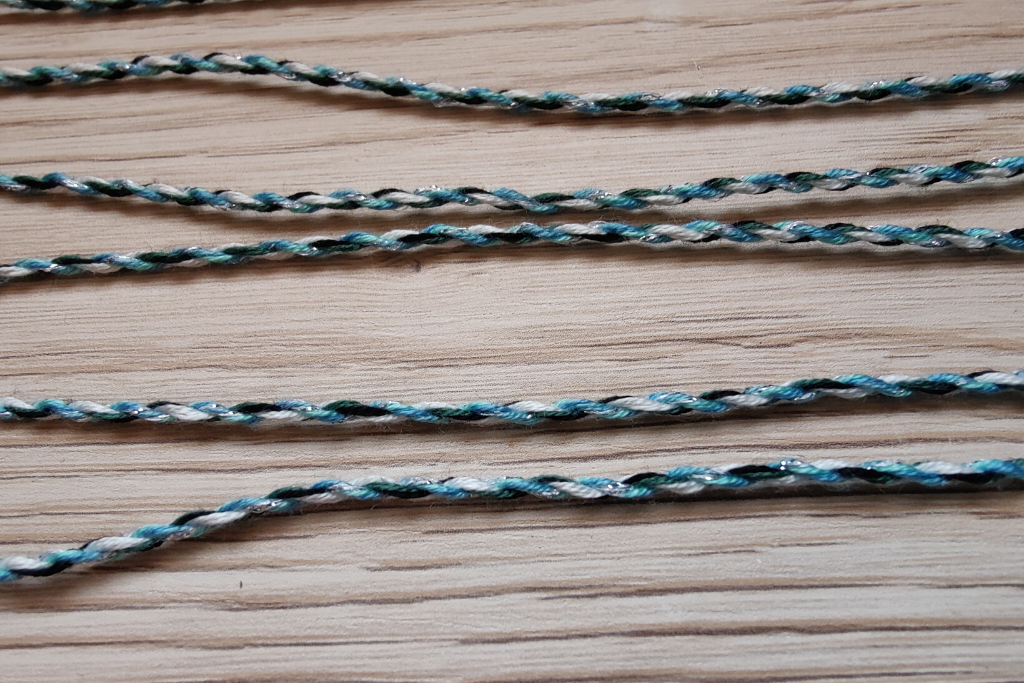

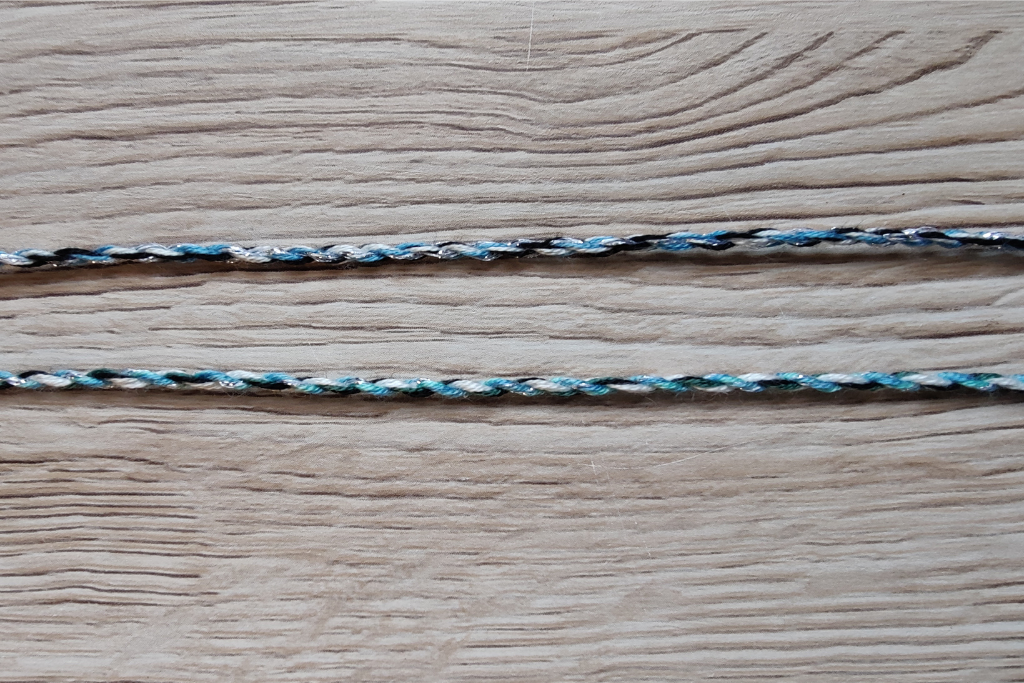

It’s a different kind of way to preserve holiday memories. Although it’s not going to be enough yarn to knit or crochet with, there are other ways you could use it, perhaps as a trim on a cushion.


[…] Make yarn. I wrote a post about making short bits of yarn from embroidery thread here. […]