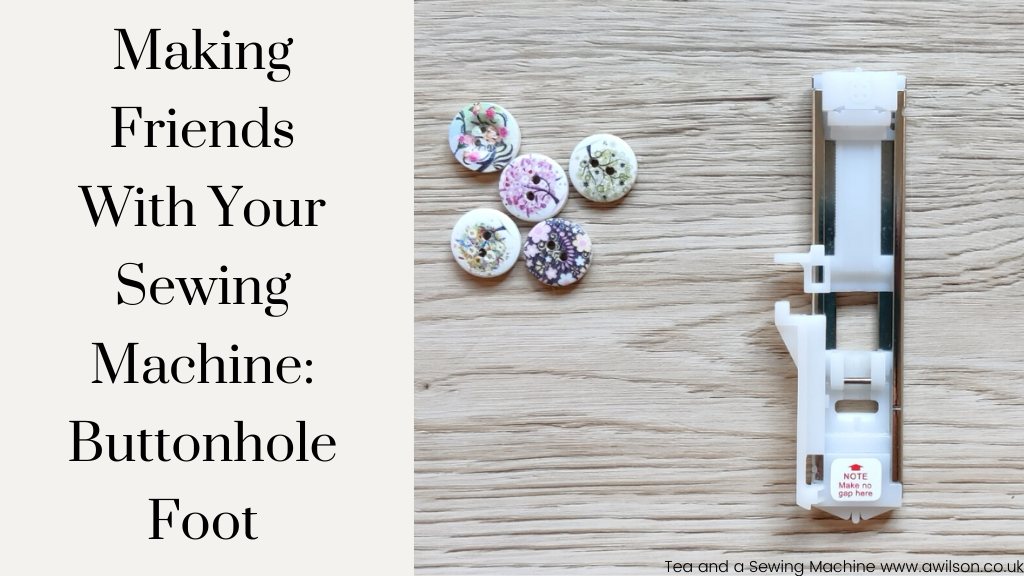
We’ve covered using a zip foot (the post is here if you missed it!), so in this post, I’m going to talk about using a buttonhole foot.
Like zips, it’s very difficult to avoid ever needing to sew a buttonhole! Whether it’s sewing a shirt or a dress, a bag or wallet with button fastening or a cushion with buttons at the back, sooner or later you’re going to need to know how to make a buttonhole.
Thankfully, the buttonhole foot makes the process much easier.
Which Foot is the Buttonhole Foot?
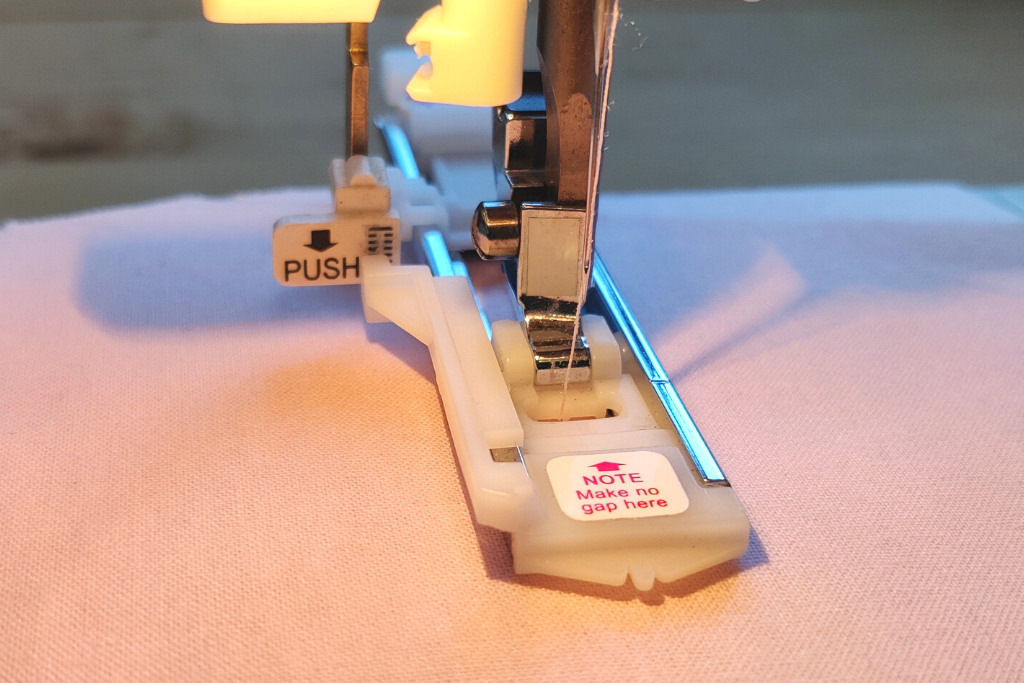
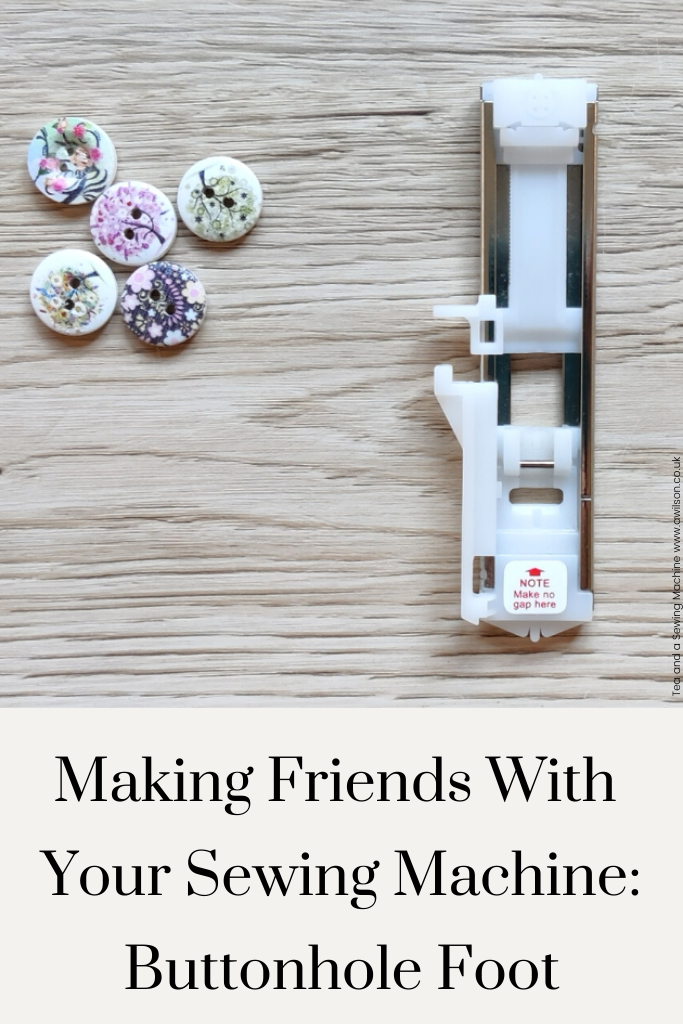
The buttonhole foot is this one.
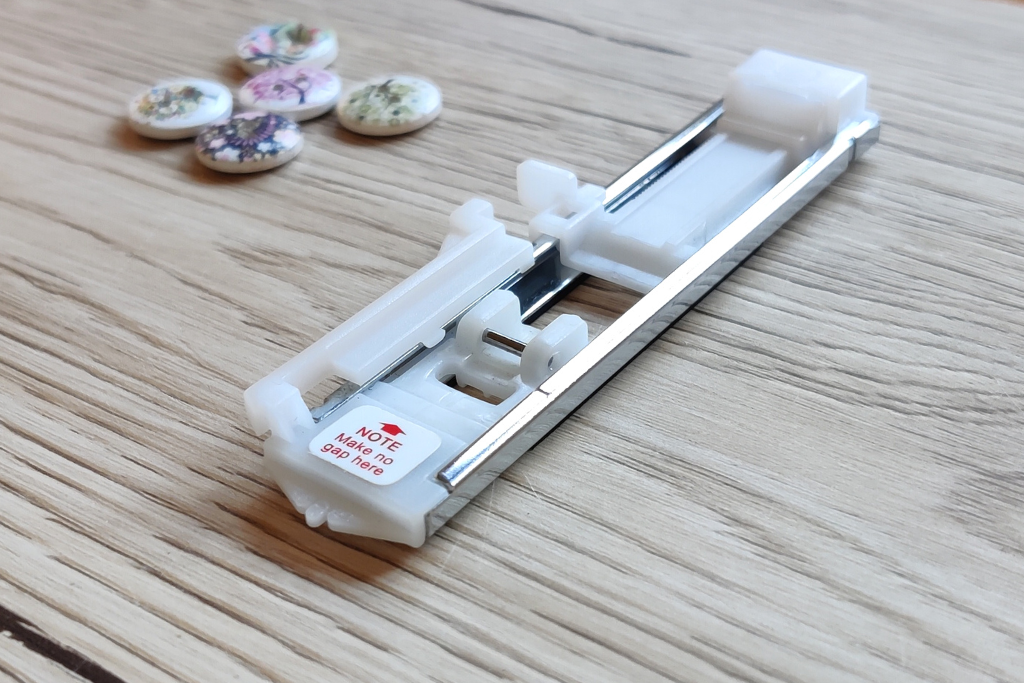
If you bought your sewing machine new, it probably came with one like this or very similar.
If not, don’t worry. Like the zip feet, you can buy them separately if you need to. Just check that the foot you want to buy is compatible with your machine. Mine clips on, but with some sewing machines, changing the foot involves a screwdriver.
How Does It Work?
The buttonhole foot is a little piece of geniusness.
My old sewing machine (a Singer from about 1970) didn’t have a buttonhole foot, so I used to make them using zigzags.
This involved careful measuring of the button and the projected buttonhole, and careful sewing. I am not an especially careful person! It also involved some guessing and hoping for the best.
I did manage to sew buttonholes in this way, but I get much better results with the buttonhole foot!
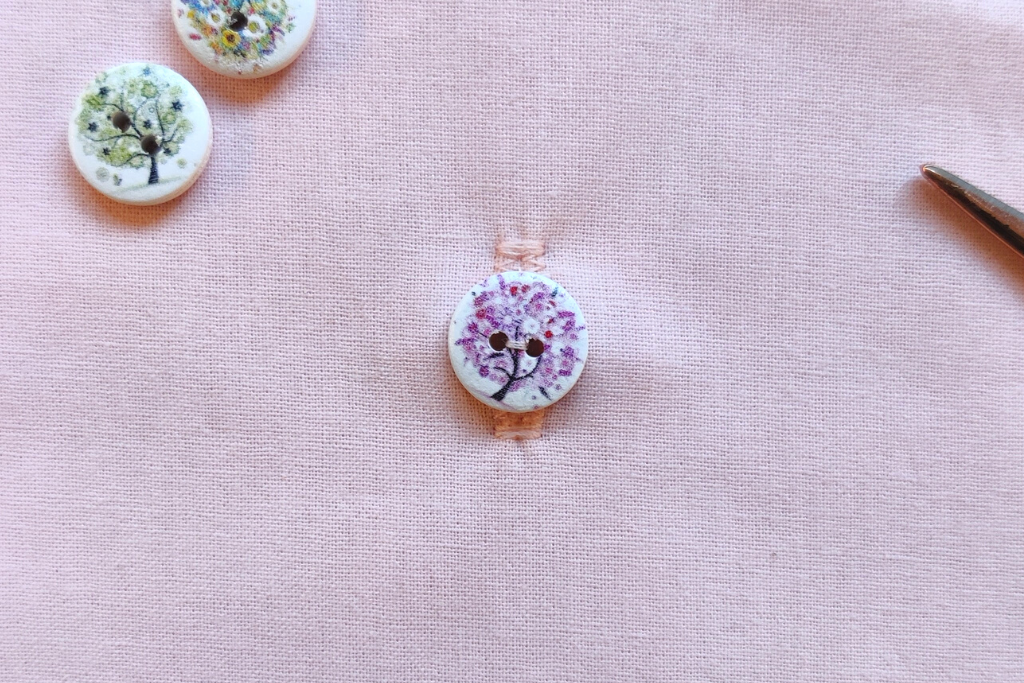
There’s no guessing the size of the buttonhole if you use a buttonhole foot. You pop one of the buttons you are planning to use in the bit at the back, and the machine uses the button as a guide to make the buttonhole the correct size.
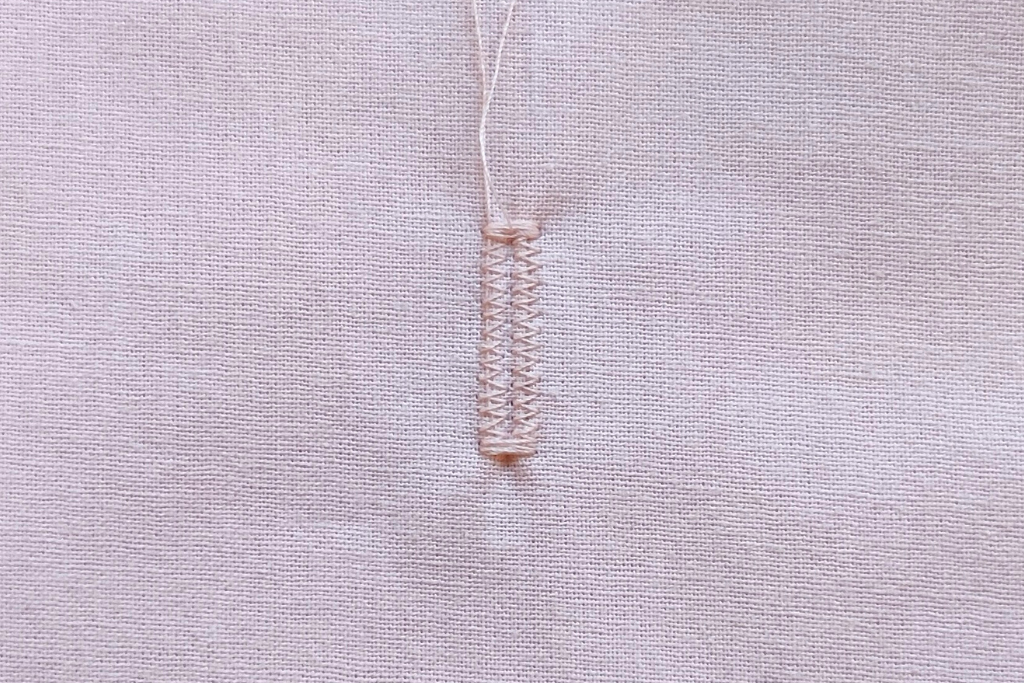
The machine sews two rows of satin stitch (very close together zigzags), and across the ends.
It knows how big to make the buttonhole because there’s a thingy (technical term!) on the sewing machine that you pull down. When one half of the buttonhole is sewn, the bit that sticks on the foot hits the thingy, and it will start sewing in the opposite direction.
Then all you need to do is carefully cut between the two rows of satin stitch.
Using the Buttonhole Foot
It’s always a good idea to practice first! If the fabric you are using is very light, you might need to use a little bit of interfacing on the wrong side.
This is how I use the buttonhole foot on my sewing machine. Yours will probably be similar, but if you are in any doubt, then it’s best to check the manual.
Take one of the buttons you are going to use and pop it in the little space at the back of the foot. Adjust the slidey thing so that it’s up against the button.
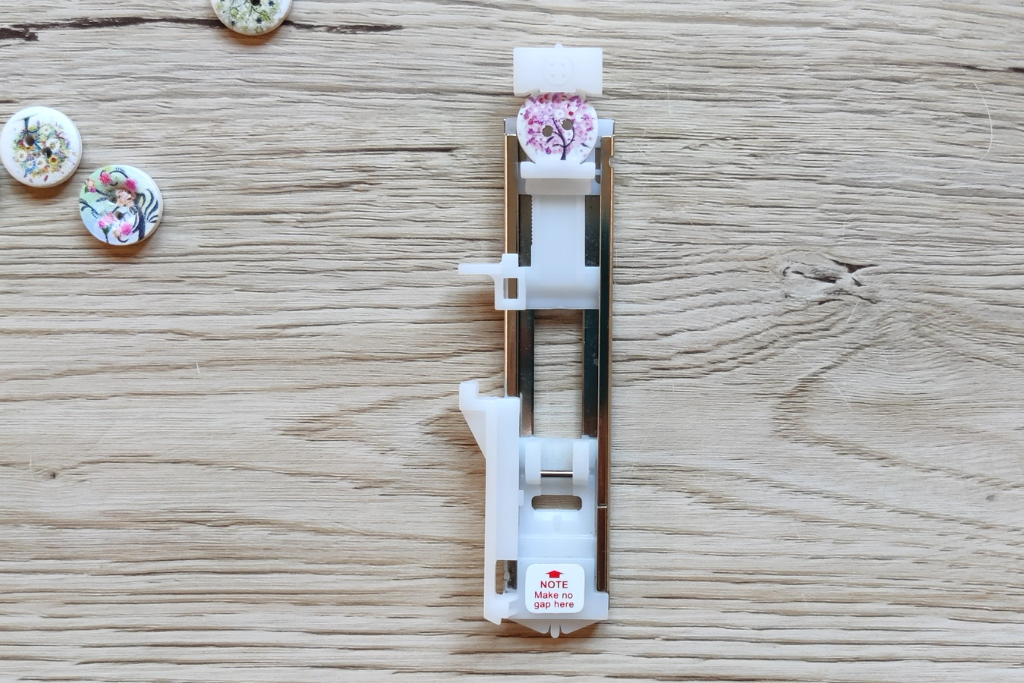
Remove the sewing foot from your machine and put it somewhere safe. Attach the buttonhole foot.
On mine, there is a lever to release the foot. Then to attach a different one, I pop the foot over the needle hole, then lower the leg that holds the foot. It usually clips straight on.
You won’t need to rethread the machine, but you will need the top thread to go through the little gap where the needle goes.
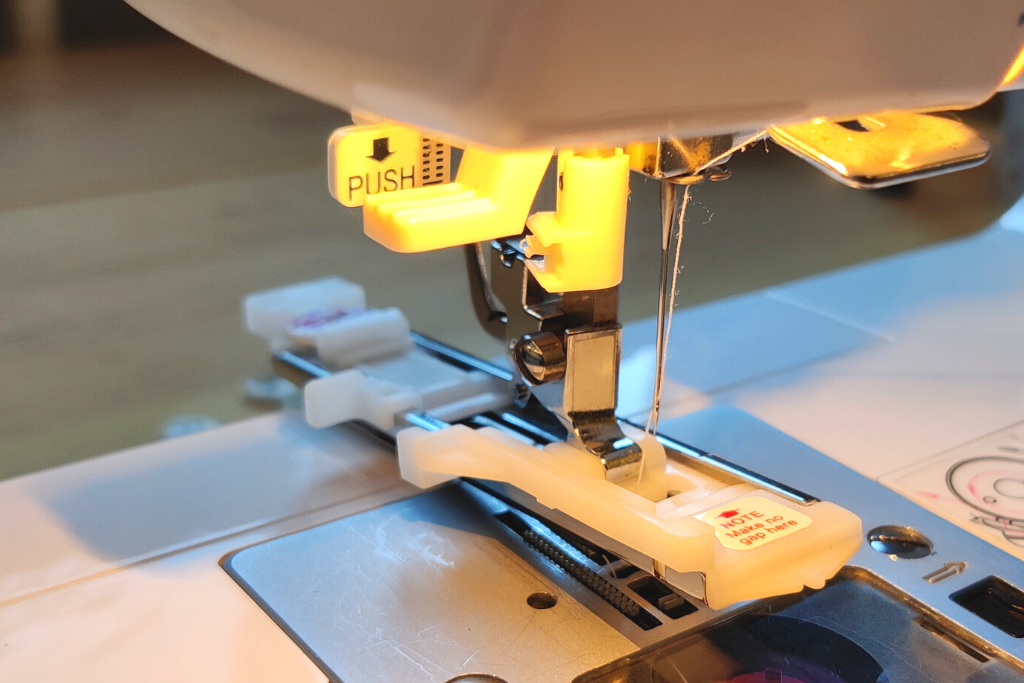
Slip your fabric under the foot. Lower the foot, lining the pointy front end of the foot with where you want the end of the buttonhole to be.
Pull down the little thingy. It needs to be far enough down so that the bit on the side of the foot will hit it.
Select the buttonhole stitch from the stitch menu on your machine.
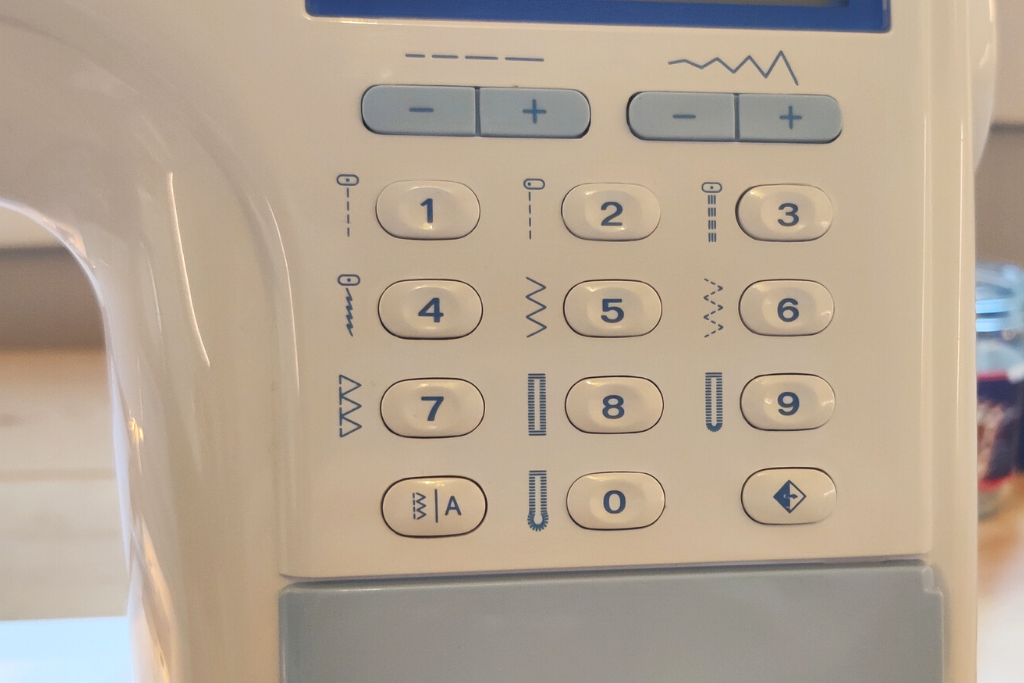
Press down on the pedal and let it do its thing! You’ll know when it is finished because it will sew on the spot a few times, then the needle will return its original position.
Remove your sewing from the machine.
To cut the buttonhole, the safest thing to do is to put a pin at each end, then cut it either with a seam ripper or with a small pair of scissors.
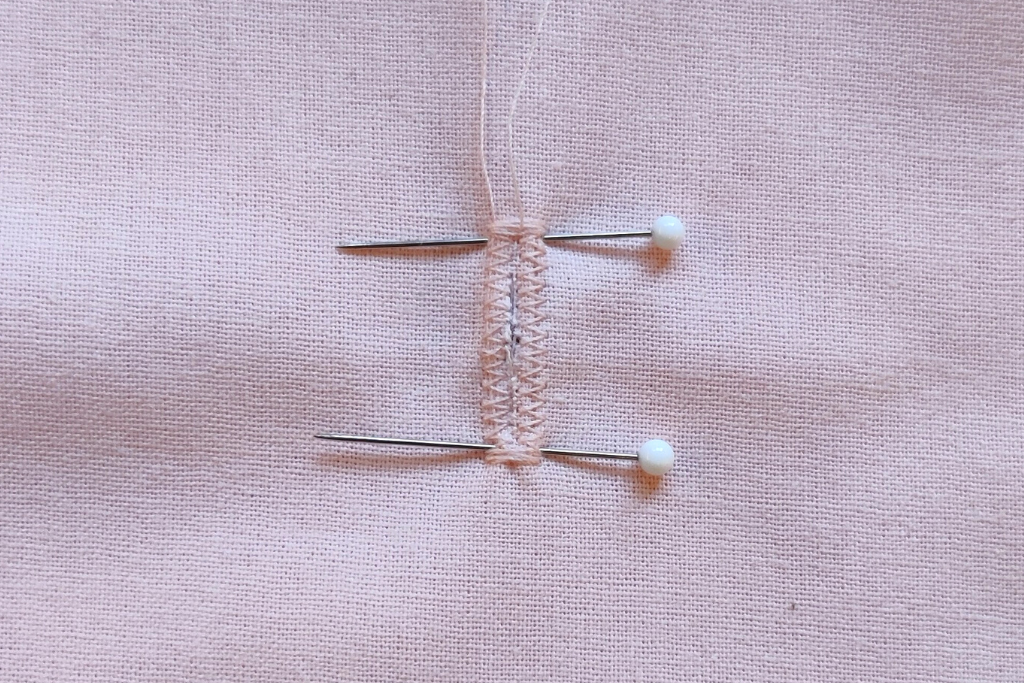
It might seem daunting, but once you have practiced a little bit, you’ll be making buttonholes all over the place!


The guidance and tips you shared is very helpful. Thank you so much Anna. 🙂
pickthecoupon recently posted…Online Only! 20% Off Mens Basics