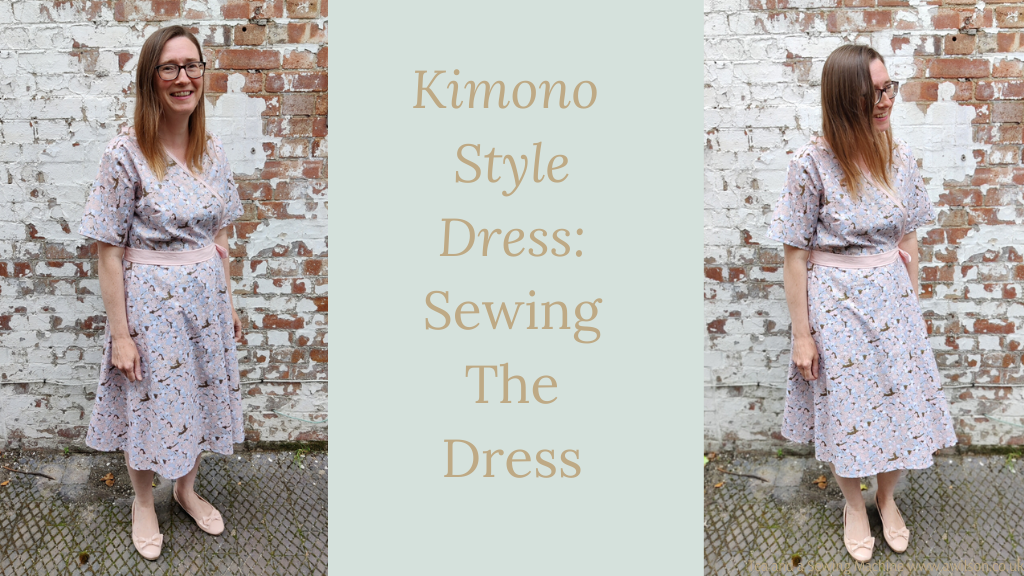
In the previous post, I walked through drafting a pattern for a kimono style dress. It’s here if you missed it!
Once you have your pattern ready, you can start making the dress. It’s tempting to get stuck in straight away, but it’s a good idea to check a couple of things first!
Before You Start
Check that you have added a seam allowance to your pattern pieces.
Make sure you have checked the fit, either by making a toile (cheap polycotton is good for this), or by pinning the pattern pieces to yourself. Bear in mind that darts in particular sometimes need moving and you might need to make more adjustments as you go.
You Will Need
3-4 metres of cotton fabric. How much you need will depend on your dimensions and whether the fabric you are using has a directional print.
1 metre of contrasting cotton fabric
3 metres of bias binding
2 buttons
Cutting Out
The pattern pieces you should have are 1 bodice front, half a bodice back and half a skirt.
The half pieces will need to be cut on the fold and the bodice pieces will need to be cut on folded fabric, so that you end up with a left hand one and a right hand one.
The grain on the skirt pieces and the bodice need to run up and down the centre front and centre back.
Cut 2 bodice front pieces on folded fabric.
Cut 1 bodice back on the fold.
Cut 3 skirt pieces on folded fabric.
Sewing the Kimono Style Dress Together
Bodice
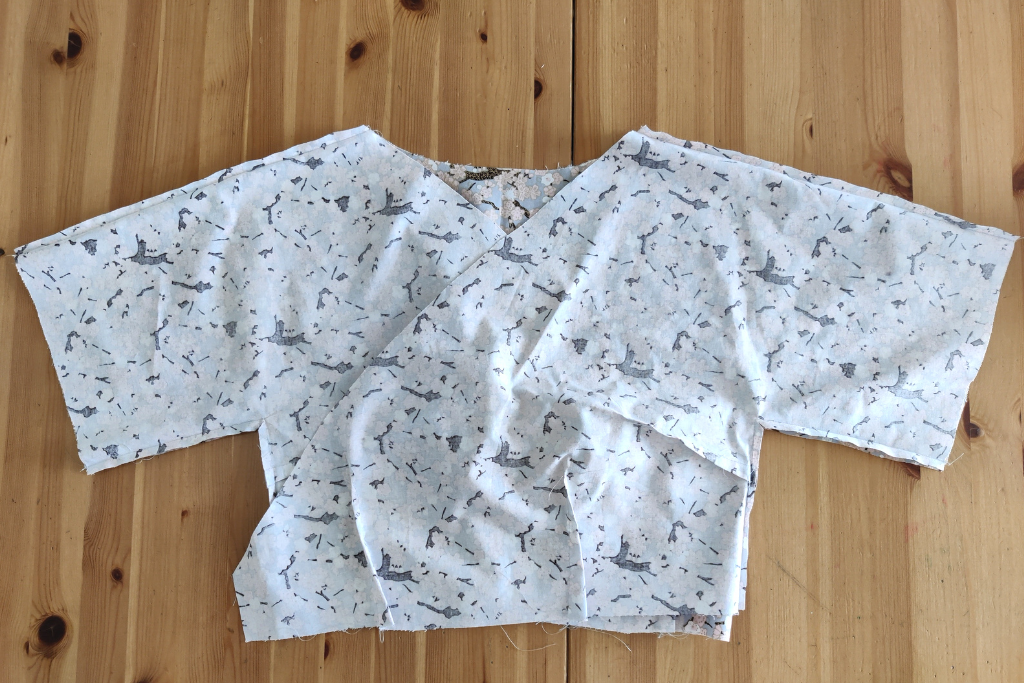
Pin and sew the side darts and the darts at the waist on both of the bodice front sections. When you’ve done this, don’t trim them! Even if you checked before, they might still need adjusting, so leave them for the moment.
With the wrong sides together, pin one of the front sections to the back piece at the shoulder. Sew from the neck to the elbow. Pin, then sew, the other front piece to the back at the shoulder in the same way.
Pin the side seams and try it on.
Check that the darts are in the right place and adjust them if necessary. The side seam might need adjusting as well. Remember that the dress is designed to be on the loose side, so don’t worry if it’s not a perfect fit. We’re aiming for roomy!
Sew the side seams.
Once you are sure that the fit of the bodice is fine, then trim the seams and press them open. You will need to make a little cut into the corner of the armpit. Just be careful not to cut the stitches!
Skirt
Sew the skirt sections together. As they are all the same and symmetrical, you don’t need to worry about them being a certain way round. As long as you sew them with the right sides together and the tops all at the top, it will be fine!
if you got your maths correct, the side seams of the skirt will match the side seams of the bodice, but it’s a good idea to check and adjust the skirt if necessary.
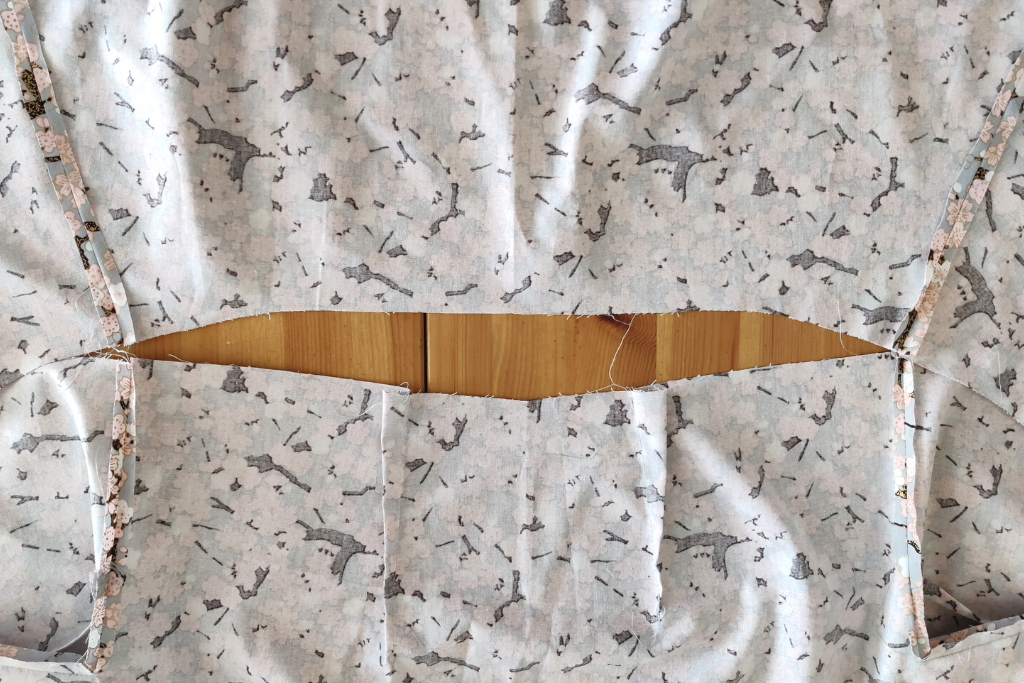
Pin the skirt to the bodice at the waist, taking care to match the side seams. Don’t worry if they are a little bit off, as Patrick and Esme won’t be checking! If it’s more than a few millimetres though, you will need to adjust it. For some reason I had got the maths entirely wrong and I needed to take a couple of cm off each side of the skirt! But as I had taken a few minutes to make sure that the seams would line up, I didn’t have to do a lot of unpicking, so I would definitely recommend checking, even if you’re tempted to skip it!
Try the dress on and check that the waist is at your waist. One potential problem area is where the bodice and the skirt meet at the bits that wrap round. So pull the dress round you and hold it at the waist where the buttons will be before making adjustments.
Sew the waist seam.
Finishing Off
Finish the raw edges of the neckline, the bodice and the skirt with bias binding.
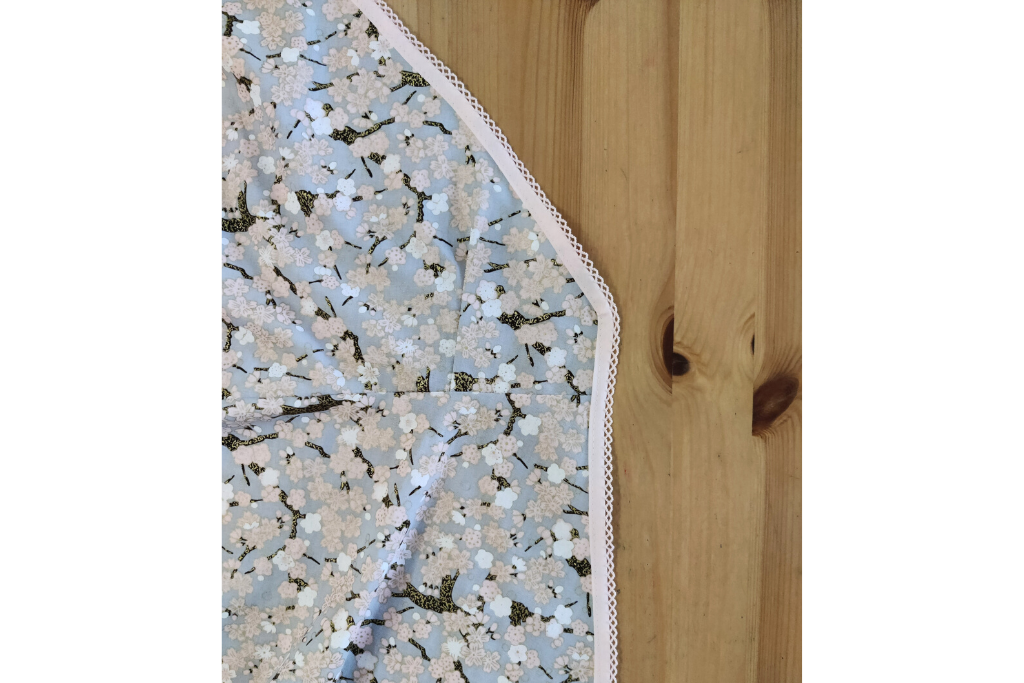
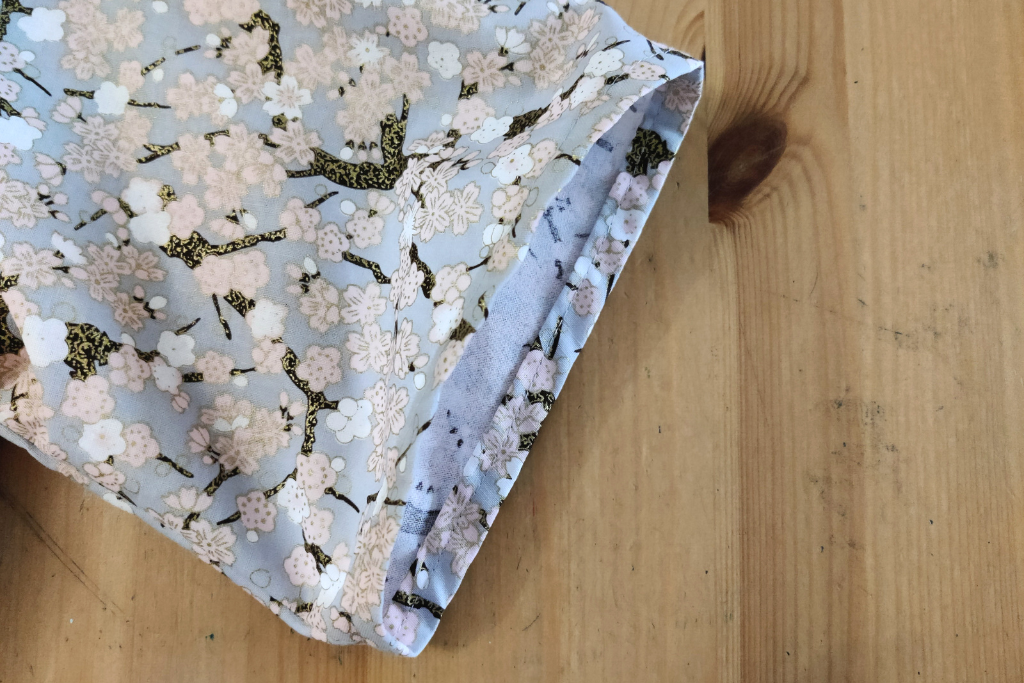
Hem the sleeves.
Hem the skirt.
I used a folded hem, but you can use whichever method you prefer.
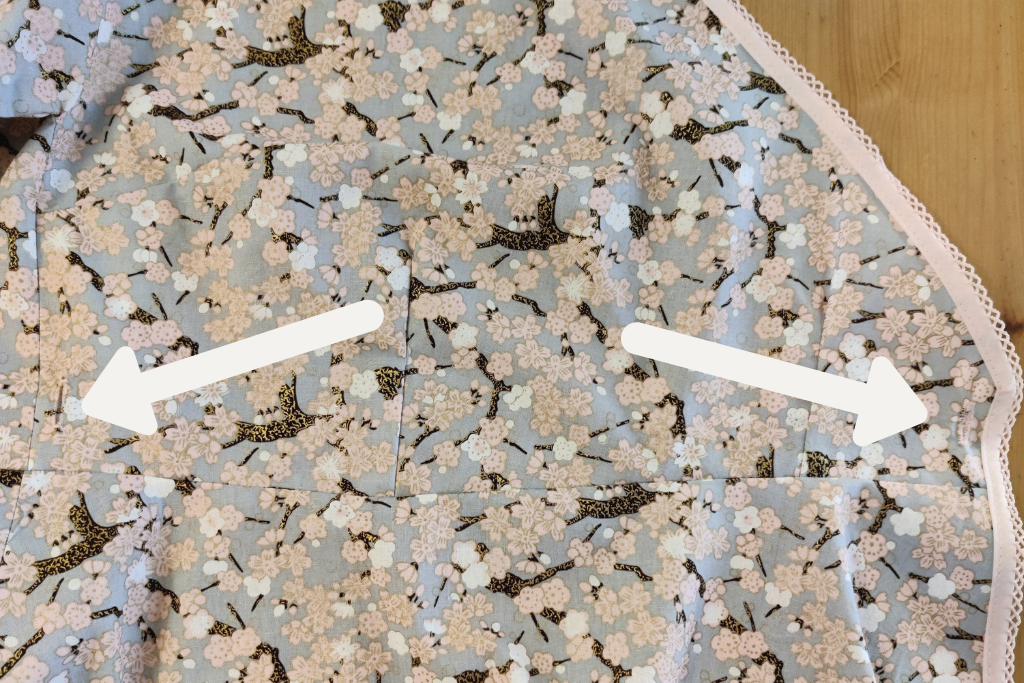
Make the button holes. You’ll need one on either side, in the bodice near the waist. When you’ve made the button holes, pop the dress back on and mark with a pin where the buttons need to go. Then sew the buttons on.
Making the Belt
Cut 2 1 metre sections 10 cm wide from contrasting fabric.
Join them together at the short edge. Trim and press the seam open.
Fold it in half lengthways and pin. Sew along the raw edge, leaving the ends open.
Trim the seam, then turn the belt the right way out.
Cut the ends into a point. Fold the raw edges inwards. Pin them and sew across them. Run the iron over it.
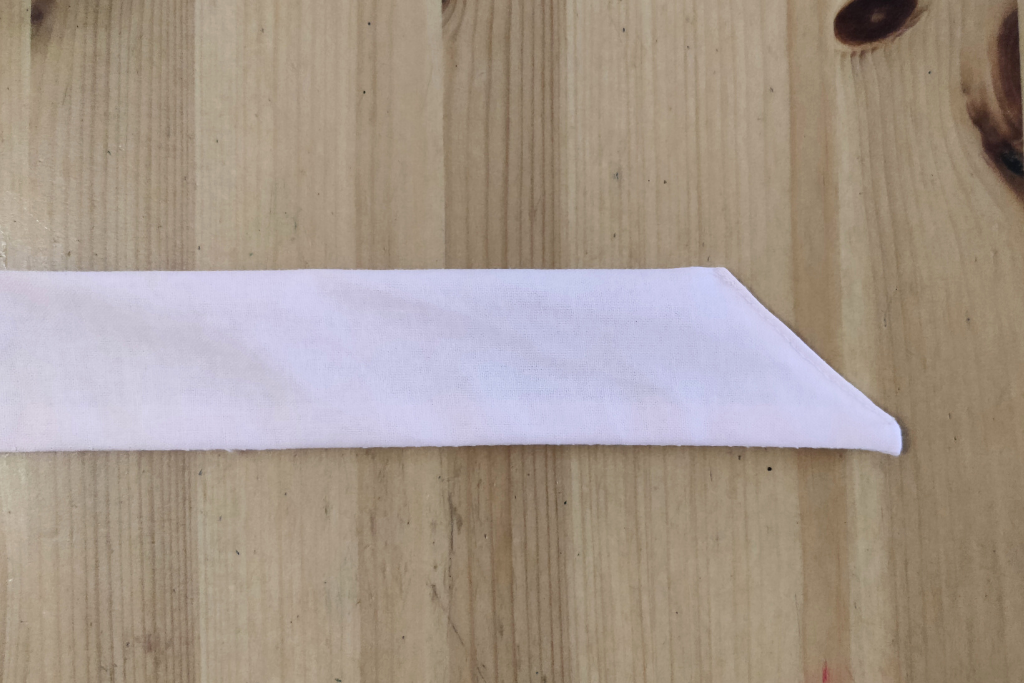
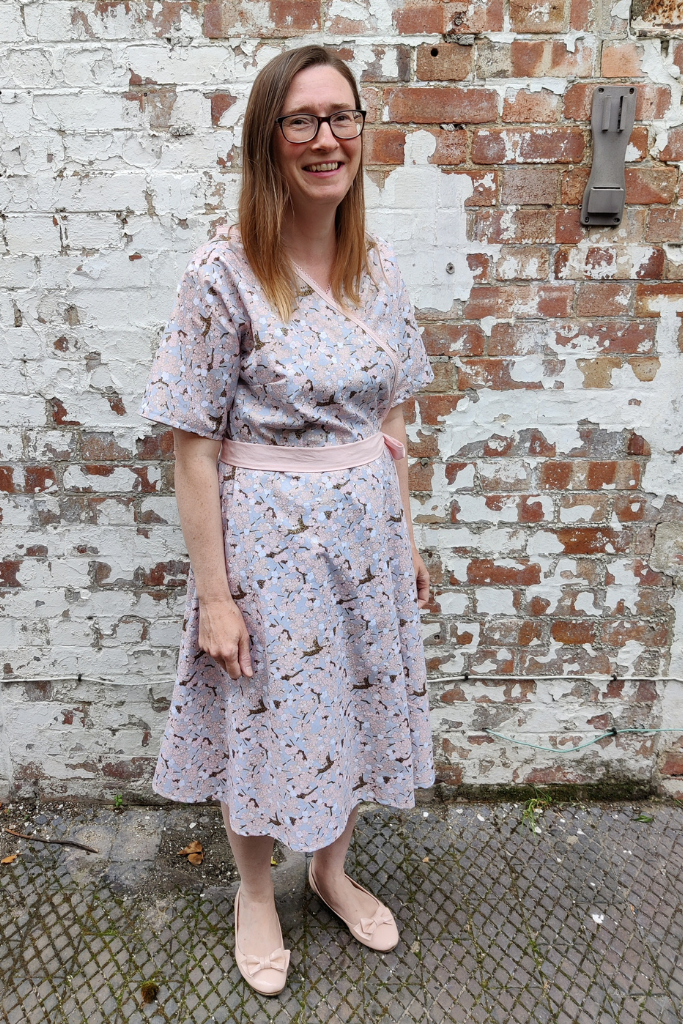
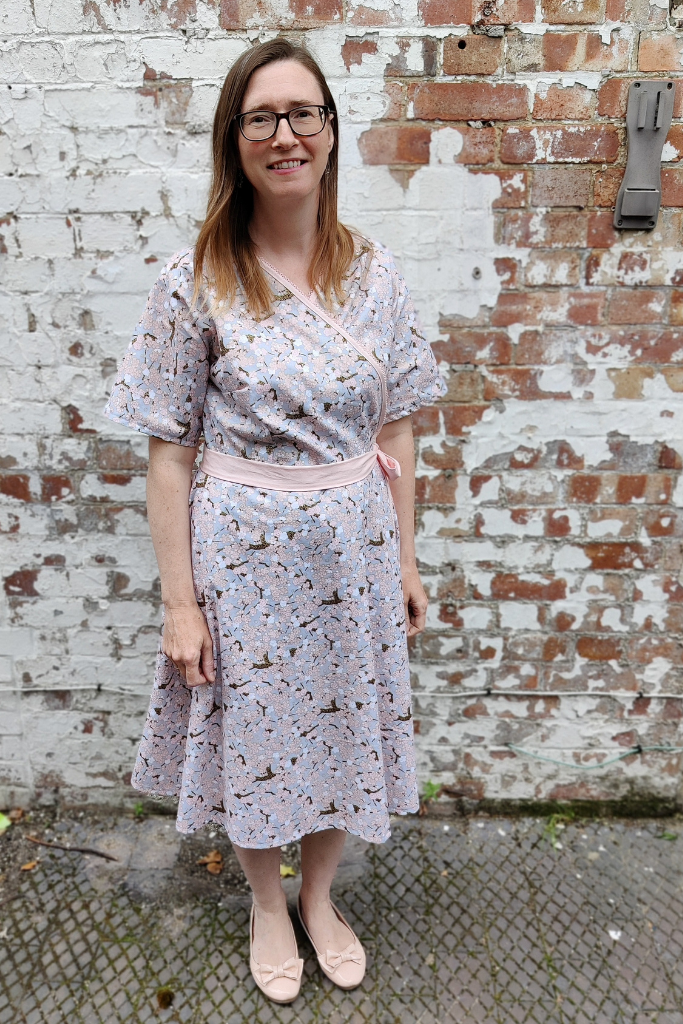
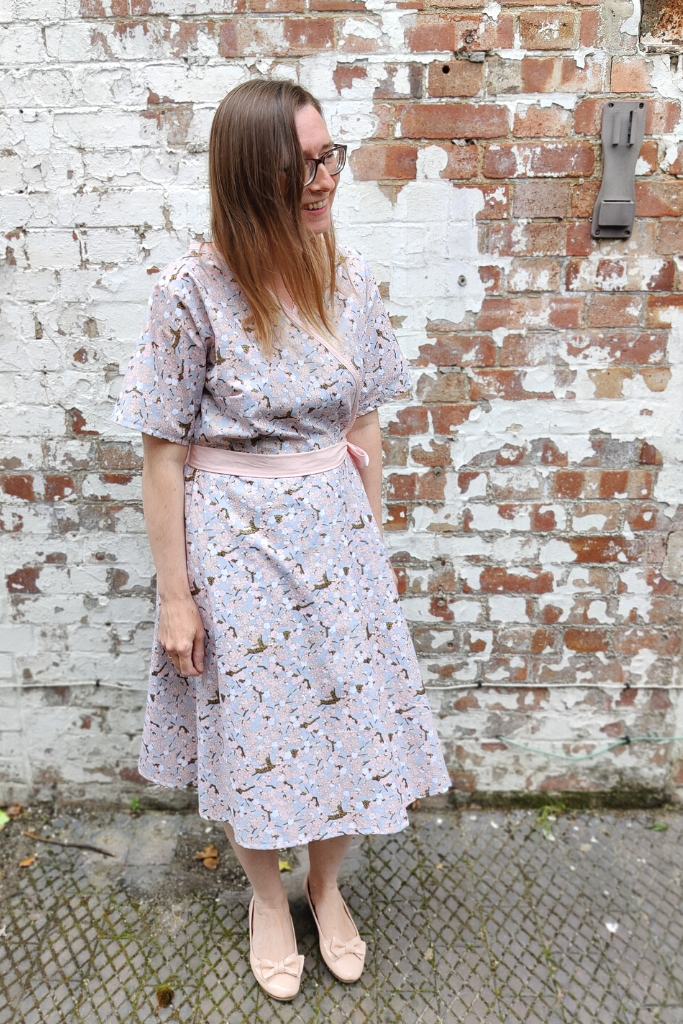
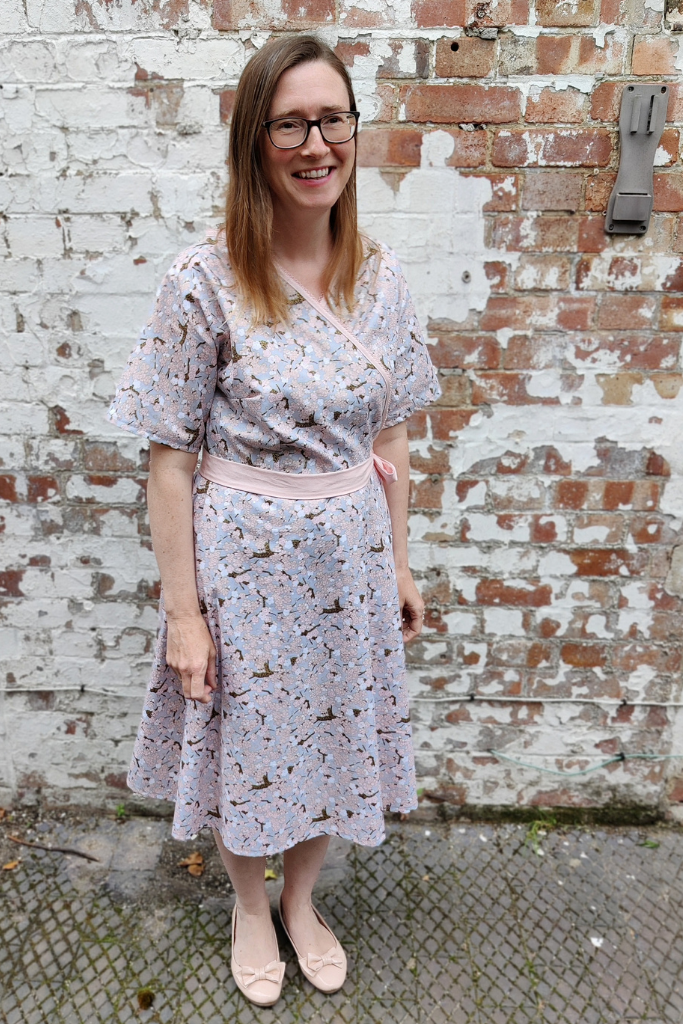
Now your kimono style dress is ready to wear!
Tips
When you try the dress on to check the fit, put it on inside out. It makes it much easier to access the seams if you need to make adjustments.
Don’t be tempted to be stingy with the seam allowances. A generous seam allowance means that you have extra fabric if you accidently make things too small.
Don’t trim the seams until you have tried it on and are sure that it fits. I have learnt this the hard way!
If the end result isn’t perfect, don’t worry! Nobody will be looking at it that closely, so wear it and enjoy it!


Very cute! I love it! I’m sorry your trip was canceled but you did a great dress! Thank you for sharing!
Thanks Karen!