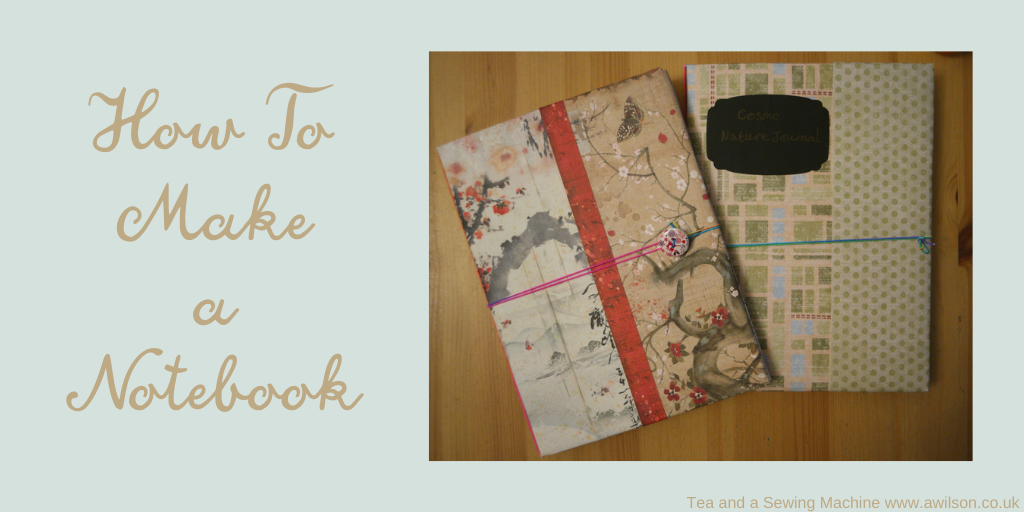
Easiest Notebook Ever! How To Make a Notebook
This post contains affiliate links. It doesn’t cost you anything but if you click on a link and make purchase, you’ll help to support Tea and a Sewing Machine.
Oh my goodness, who doesn’t love stationery??
Pretty notebooks, matching pens, washi tape, colouring pencils that are pretty to look at and colour nicely too, it all comes second only to a pile of fat quarters!
Notebooks are probably my favourite. I usually have several on the go at once, and I’ll buy another one at the slightest excuse.
One of the things I want to do with the home ed boys is nature journaling. (I’ll be writing a post at some point about how home education looks in my house!)
Writing is often an issue for boys in particular. During his time at school, Barnabas was put off writing, and I’m treading carefully with Cosmo as I don’t the same to happen with him.
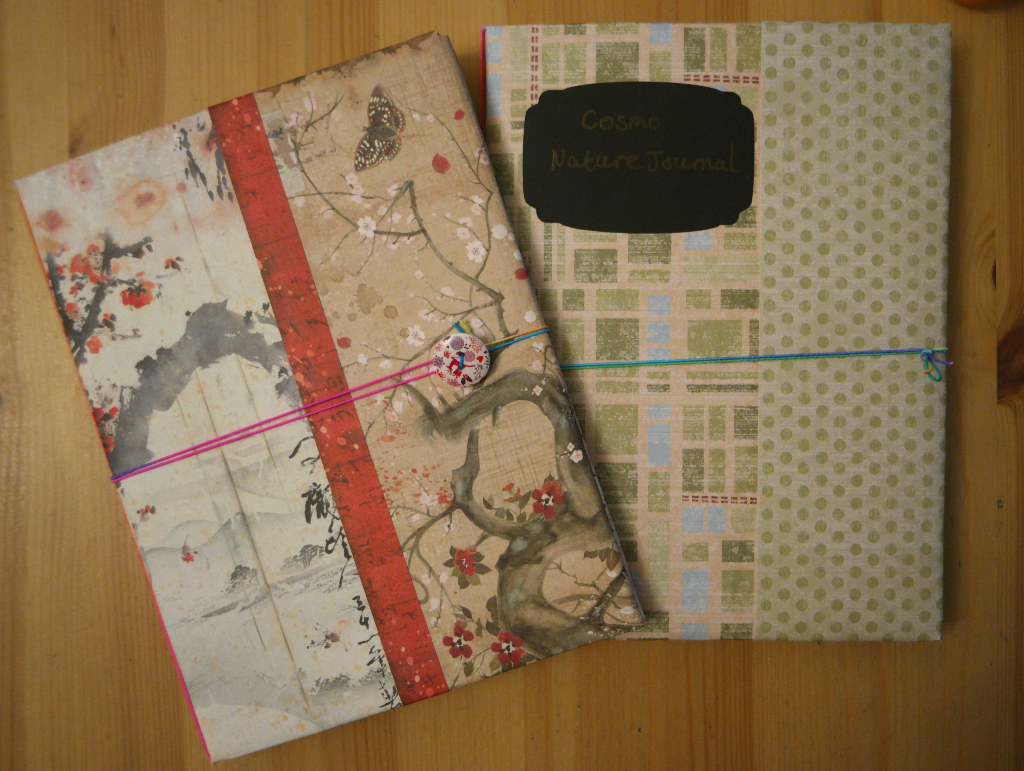
Nature journaling sounds like fun. It’s one of those things where there’s no one way, so you can make it whatever you like! Cosmo has said that he wants to learn about space, so we’ve started using it to record stars and things that we’ve seen. With any luck, Barnabas will decide that he wants to do one too!
It’s also the perfect excuse for a new notebook, and what could be better than making one yourself?
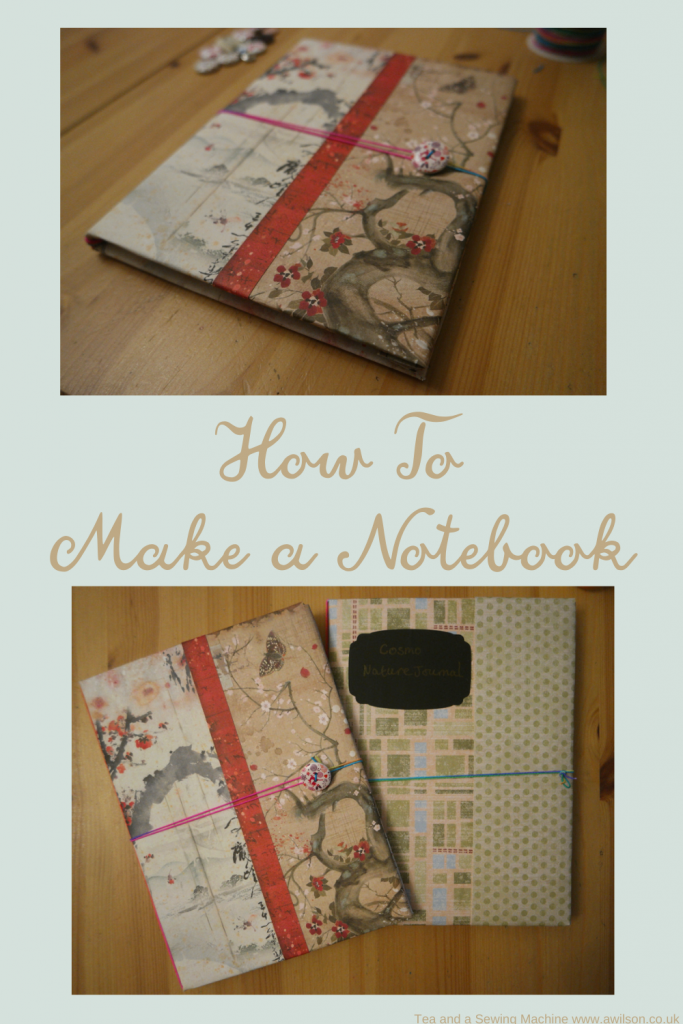
These notebooks are made from stuff you may well have lying about already. Using elastic to attach pages makes it very easy (no faffing about trying to sew through paper!) and you can add as many different sections as you like.
How To Make a Notebook
You Will Need
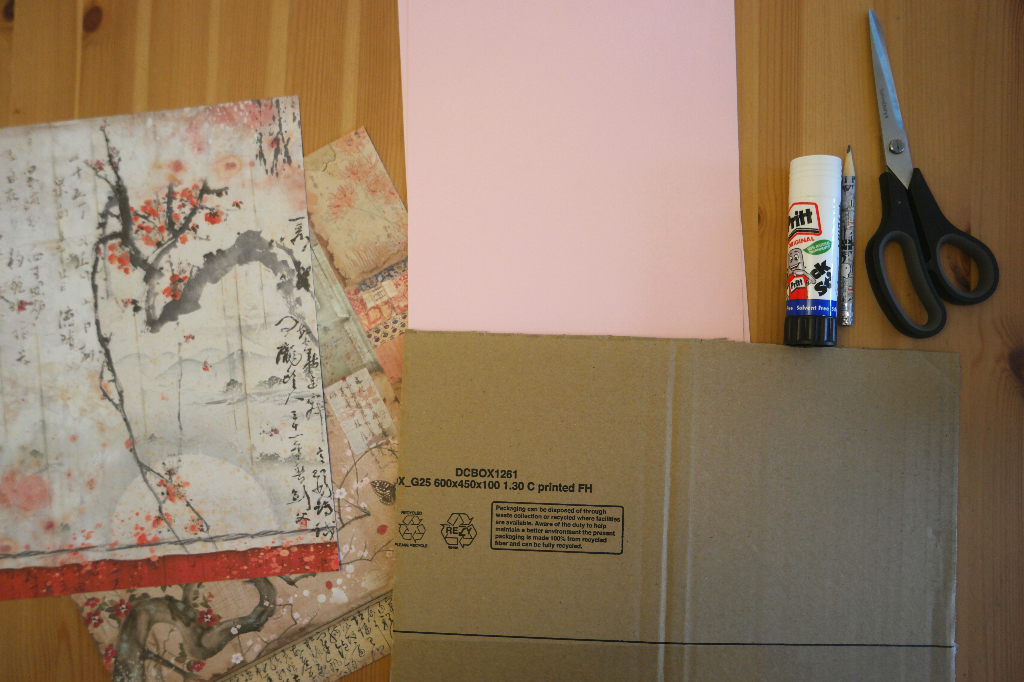
Thick cardboard. Amazon boxes are ideal. A cereal packet might be a bit thin, but you could stick to pieces together to give it some more weight.
Pretty paper. I used scrapbooking paper that I had already (this from Amazon). You could try wrapping paper as long as its quite thick. The cheapy thin kind probably won’t last long. Paper packs that come free with papercraft magazines would be just the thing, although you’ll probably need to patch pieces together to make it big enough.
If you don’t want to use paper, here are some other things you could try: fabric, felt, an old map, your own artwork, pretty much anything that you could fold round a piece of cardboard and sew it or glue it!
Glue that will stick whatever it is you are using. I used a glue stick. For fabric or felt you’ll need to use PVA.
Elastic. I used this from Amazon. The kind you might put in a waistband probably won’t do. It needs to be the stringy kind. At a push, you could use long elastic bands.
A button. You’ll need this for the closure so a largish one is best.
Paper for the pages. The easiest thing to do is to take some sheets of printer paper and fold them in half.
Instructions
Decide on how big you want your notebook to be.
For the pages I was planning to use sheets of A4 folded in half, so the cover needed to be slightly bigger than A5 so as to protect the pages inside.
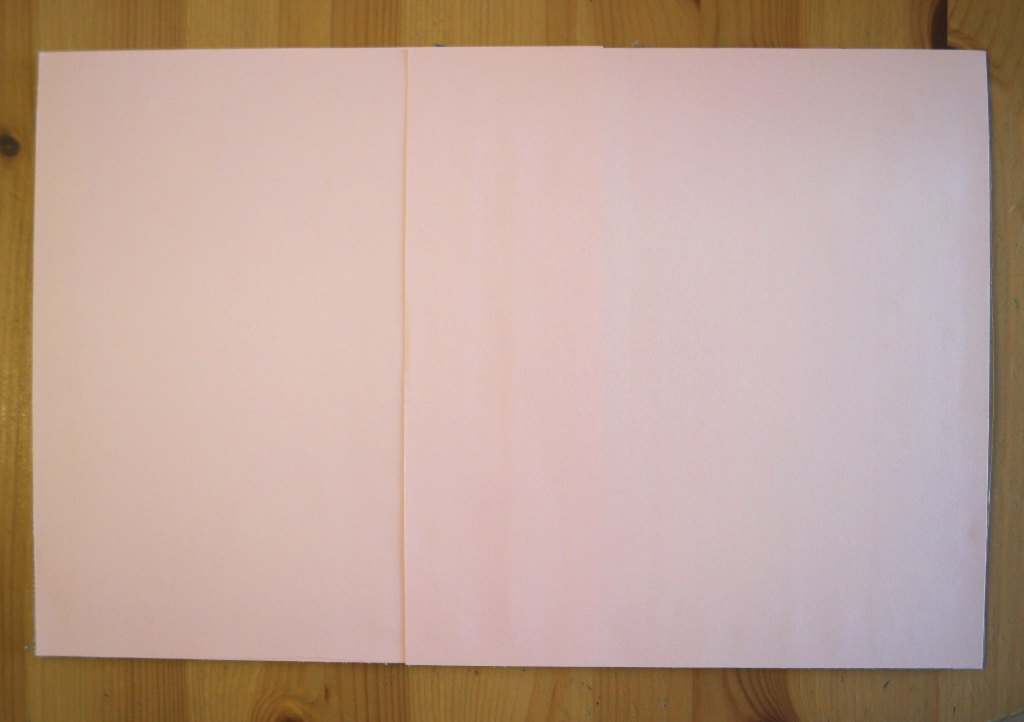
Cut a piece of cardboard so that it will be a little bit bigger than the pages when folded in half. I cut the cardboard 32 cm x 23 cm. Yours can be whatever size you like, but ideally slightly larger than the pages.
Cover the inside of the notebook. I used a piece of plain paper, cut to the same size as the cardboard, and glued on using a gluestick.
Cut a piece of scrapbooking paper (or whatever you’ve chosen to use instead) a couple of cm (about an inch) larger all the way round than the piece of cardboard. This is so that you have enough to fold over the edges.
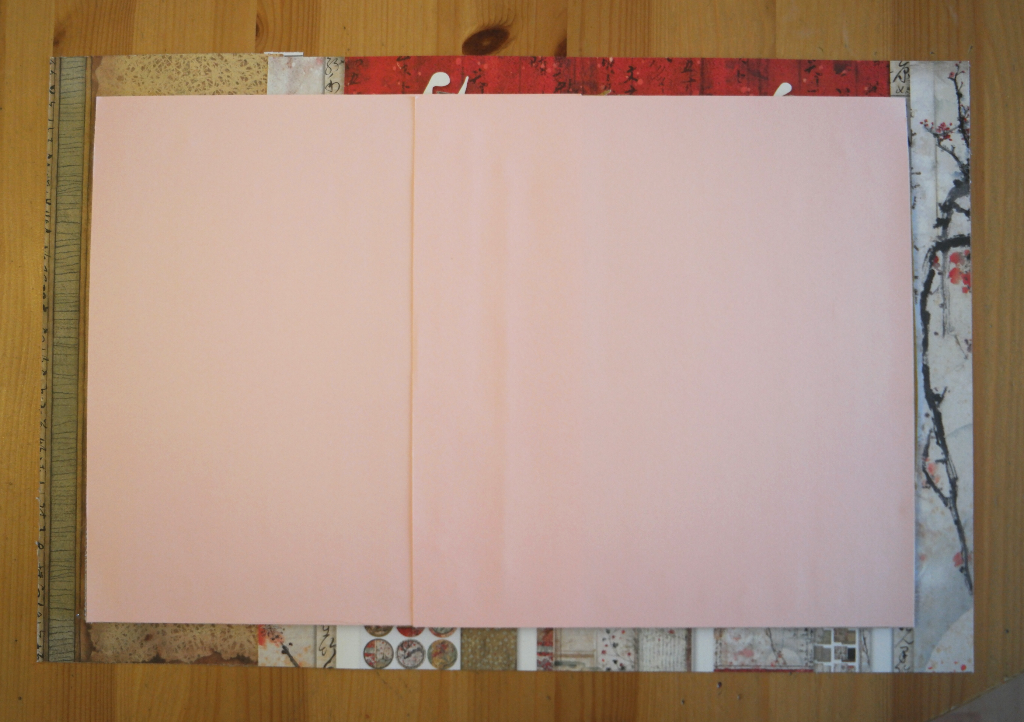
If you are using bits of paper or fabric that are of different sizes, you could glue them on as you go or stick them to a piece of paper the correct size first. You could even sew them straight onto the cardboard. I haven’t actually tried this, so you might want to experiment a bit yourself first!
Don’t forget to cut a little square out of each of the corners!
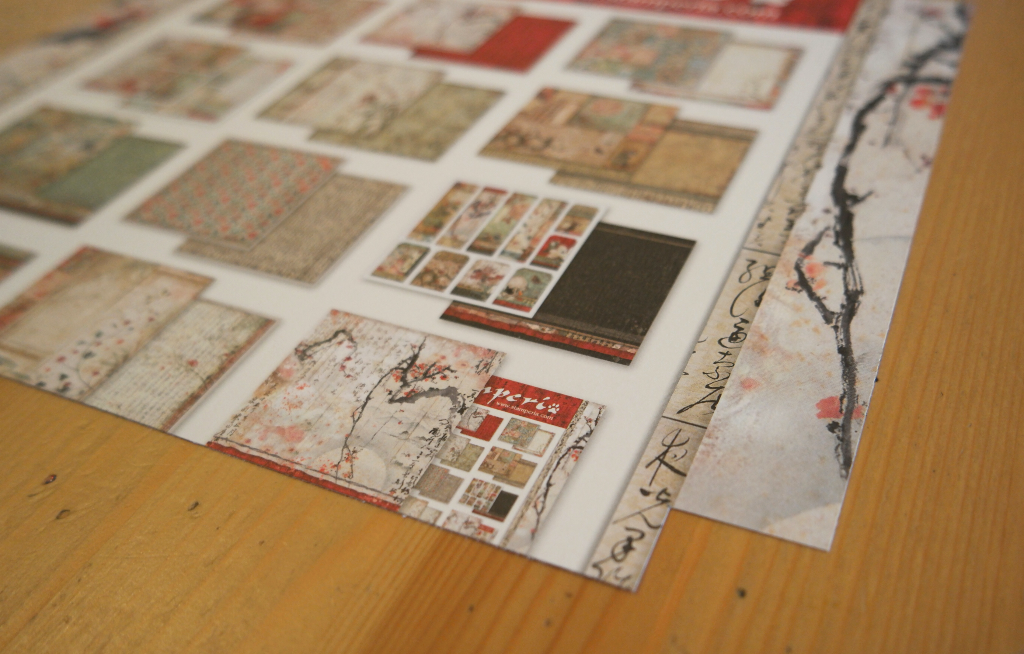
Attach your covering to the outside of the cover, then fold the edges over and stick them down onto the inside.
If you’re using paper and a gluestick, you might want to leave it for an hour or two under a heavy book so it has a chance to stick properly.
When everything has had a chance to dry, fold the cover in half.
Adding Pages
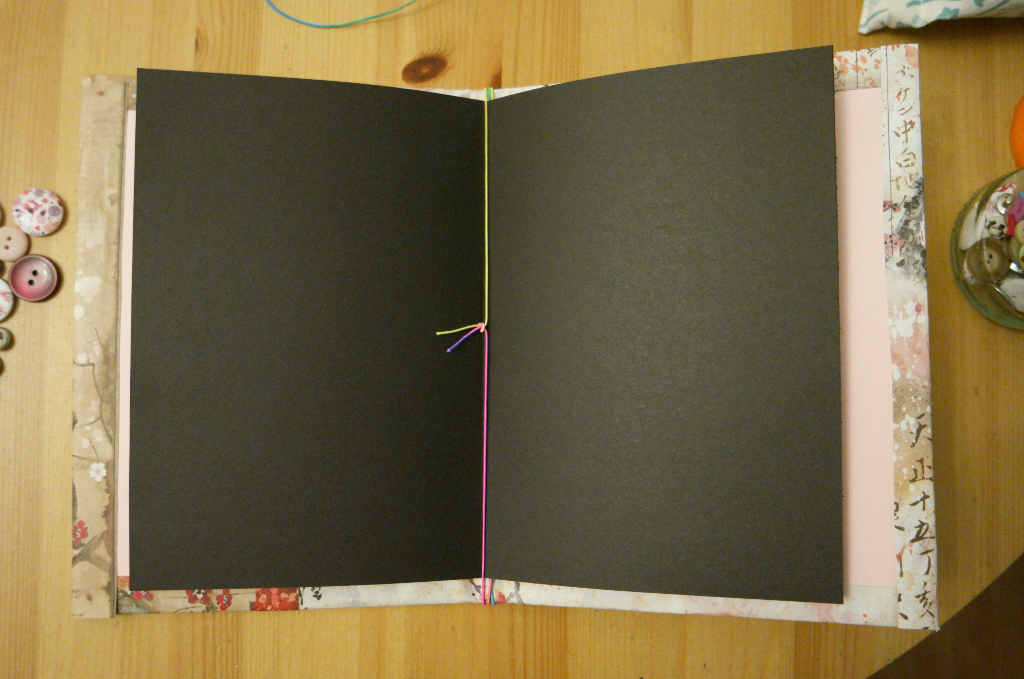
Cut some pieces of elastic about the same length as the distance round the spine of your notebook. I’ve started off with three. It will be easy enough to add more later if I need them.
Tie the ends together and slip them over the notebook so that they sit in the spine of the cover.
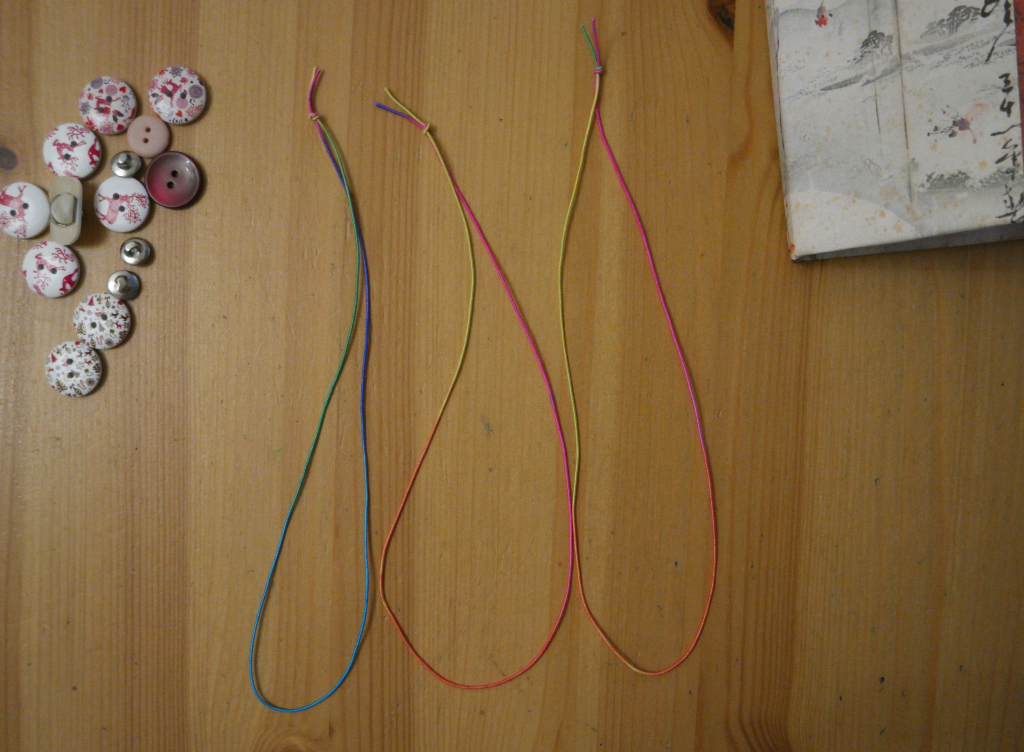
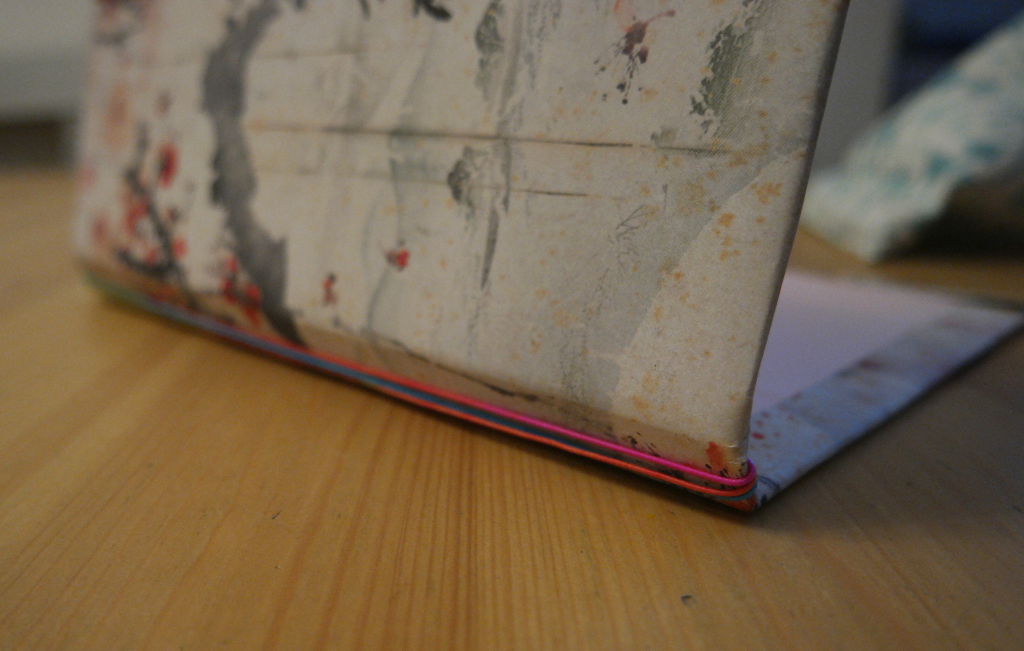
Add some pages. The easiest way to do this is by taking some sheets of A4 and folding them in half. I used black paper for the first section because I’m going to be recording space stuff too! Slip the pages under one of the pieces of elastic so that the elastic is in the fold of the paper.
Making the Elastic Closure
Having some way of keeping the notebook closed is handy. The cover of mine springs open, but even if yours doesn’t, you might find that if it gets very full, you might want an option for keeping it closed.
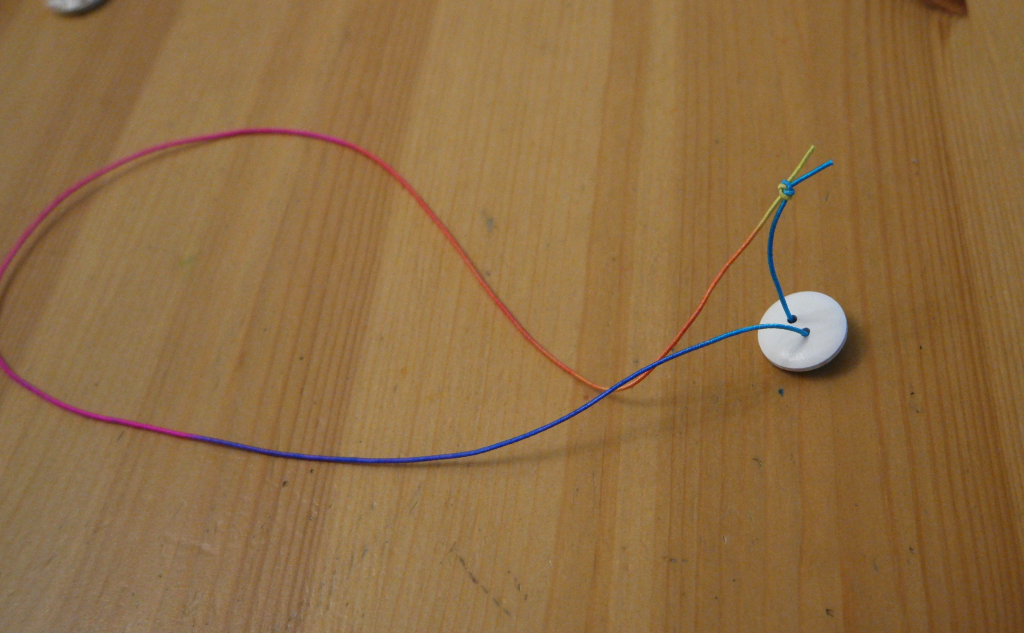
Cut a piece of elastic long enough to go all the way round your notebook widthwise doubled.
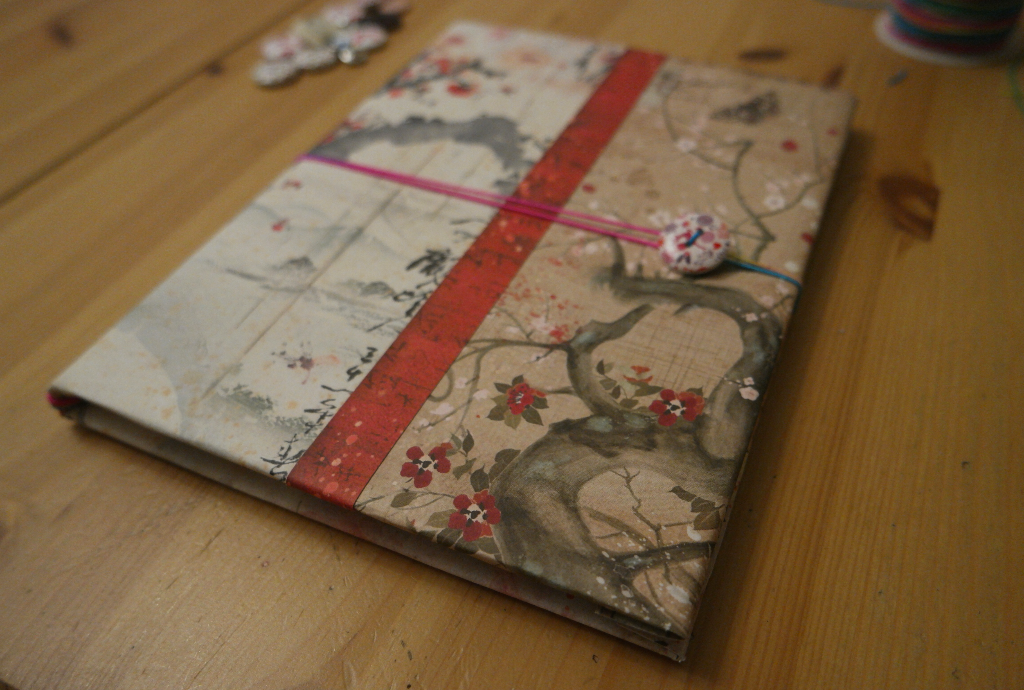
Slip a button onto the elastic and knot the ends. Move the button down so that it hides the knot.
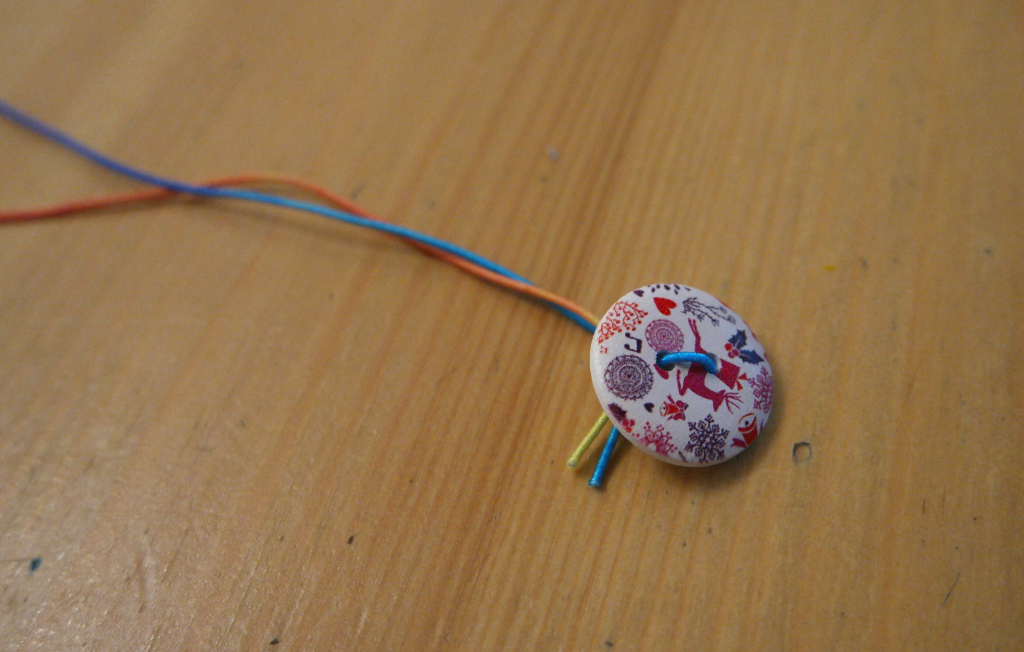
To keep your notebook closed, pop the elastic round the it and loop the end of the elastic over the button.
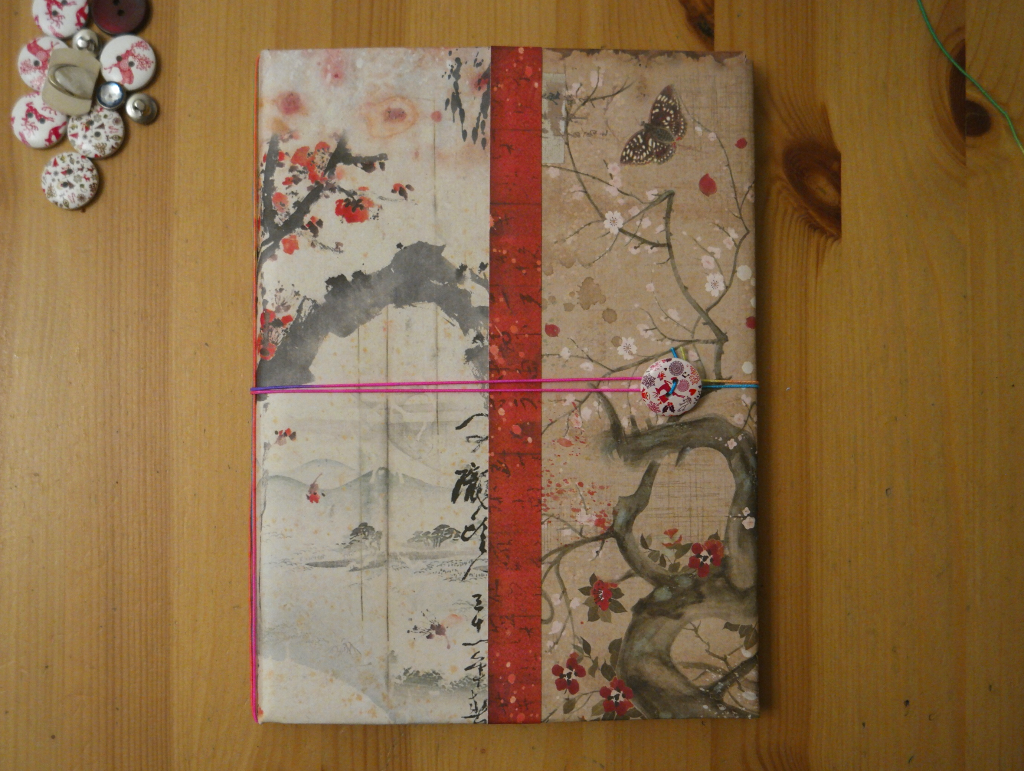
If you’re worried about losing it, you could make a couple of little holes in the back of the notebook and thread it through.
Now your notebook’s ready to use! If you find yourself running out of pages, or if you need another section, just add some more elastic to the spine and slip some more in.
If you liked this post, you might also like this one showing how to make a fabric diary cover.


You have inspired me to make a notebook for my mother who lives in an assisted living home.
That’s lovely! I hope she likes it