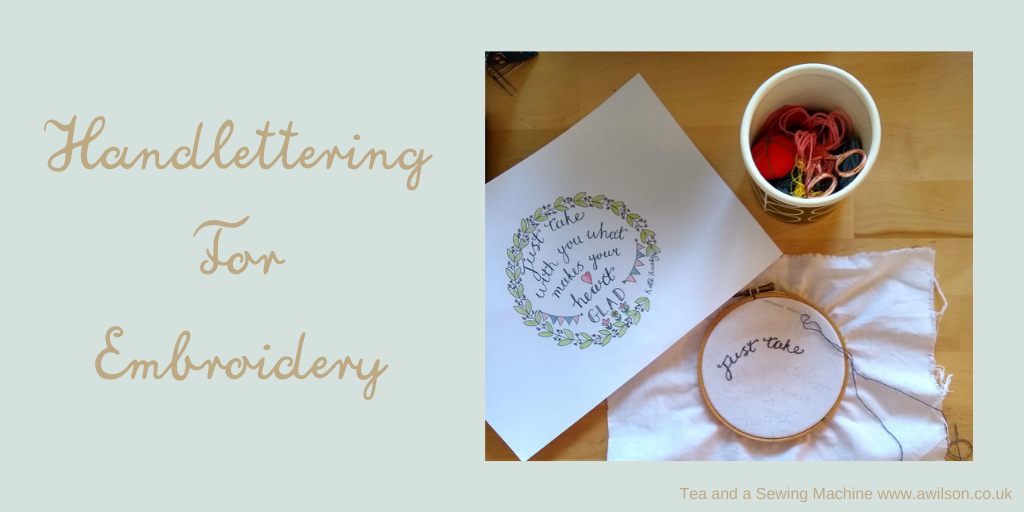
Hand Lettering For Embroidery
What is Hand Lettering?
Hand lettering has been a thing for a couple of years now, and having tried it myself, I can tell you that it is both easy and fun!
It doesn’t matter if you consider yourself not very artistic or if you don’t naturally have beautiful handwriting.
All it takes is a little bit of practice. You don’t even need any special equipment, just a pen, a pencil and and some paper!
I discovered hand lettering 2 years ago, and although my handwriting is not naturally beautiful (it could even be described on occasion as awful!), I have produced some things I’m quite pleased with, including the design for my tote bags.
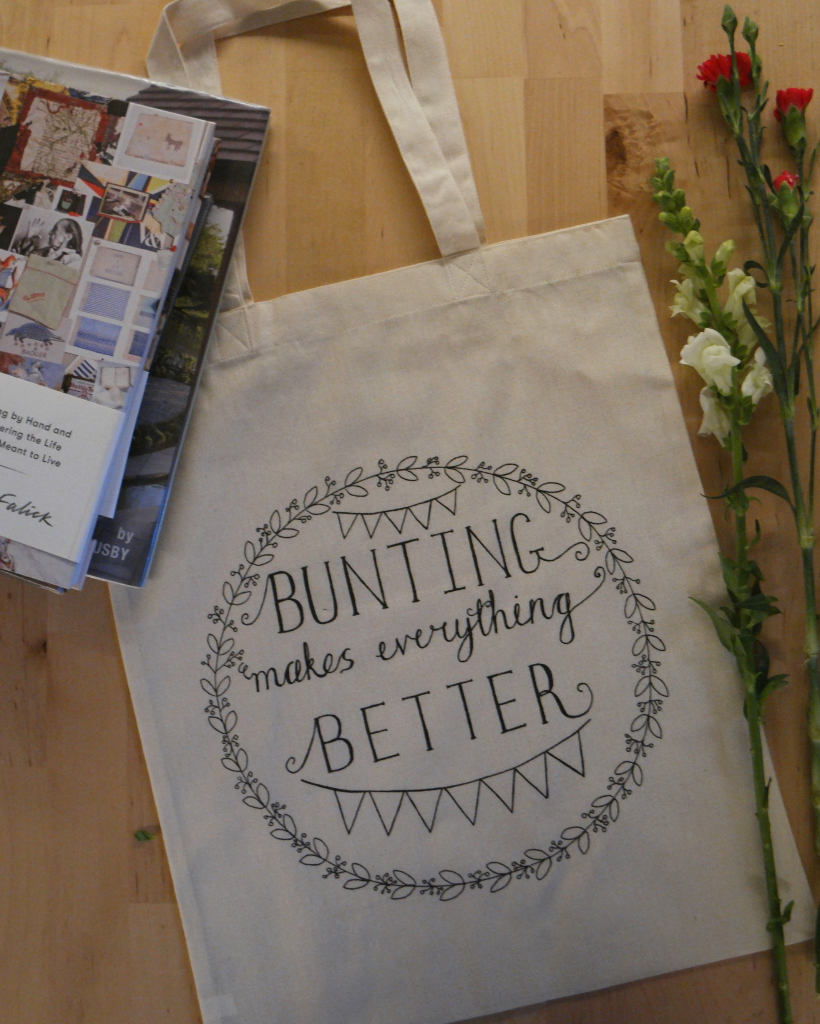
So having tried hand letting and found it enjoyable and quite easy, I decided to have a go at handlettering for embroidery.
Hand Lettering and Embroidery Projects
What I found was that hand lettering for embroidery is exactly the same as hand lettering with a pen, just with a needle and thread!
My first attempt resulted in these Christmas embroidery hoops. The words are embroidered in a hand lettered style. I actually made these for All Free Sewing’s National Sewing Month in 2018.
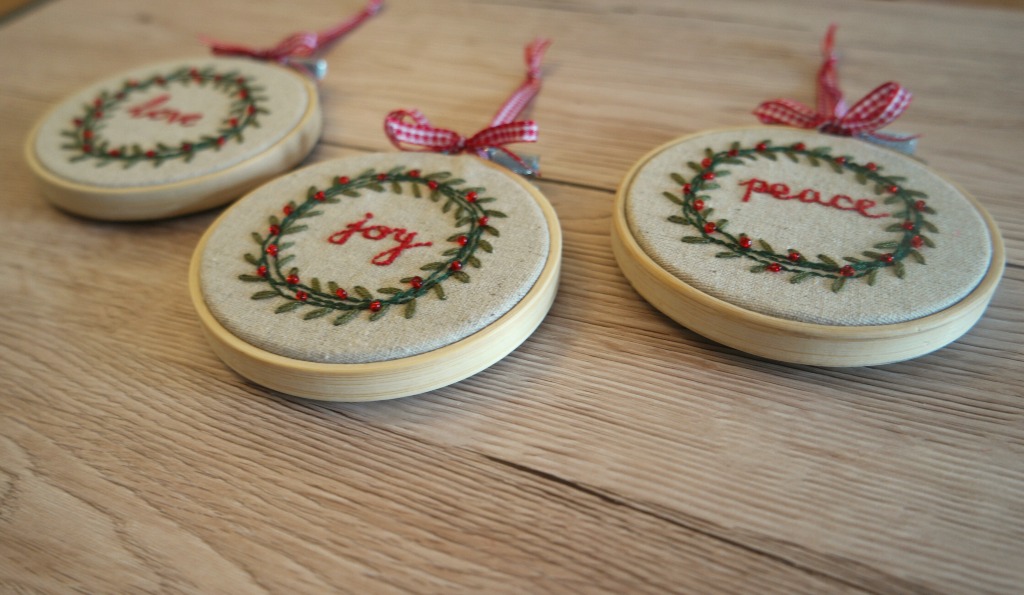
I was in a hurry to get them made because we were going on holiday, and I don’t think a project has ever come together so quickly! The hoops were designed, made and written up within a week!
So hand lettering for embroidery can be good for a quick project, although you can make it longer and more complicated if you want to.
Hand lettering: The Quick Version
Before giving handlettering for embroidery a whirl, it’s a good idea to practise with a pencil and paper first.
The first thing to do is to write out your word or phrase in your neatest joined up handwriting. You’ll need to write the letters larger than usual, which can be a challenge for those of us with small writing!
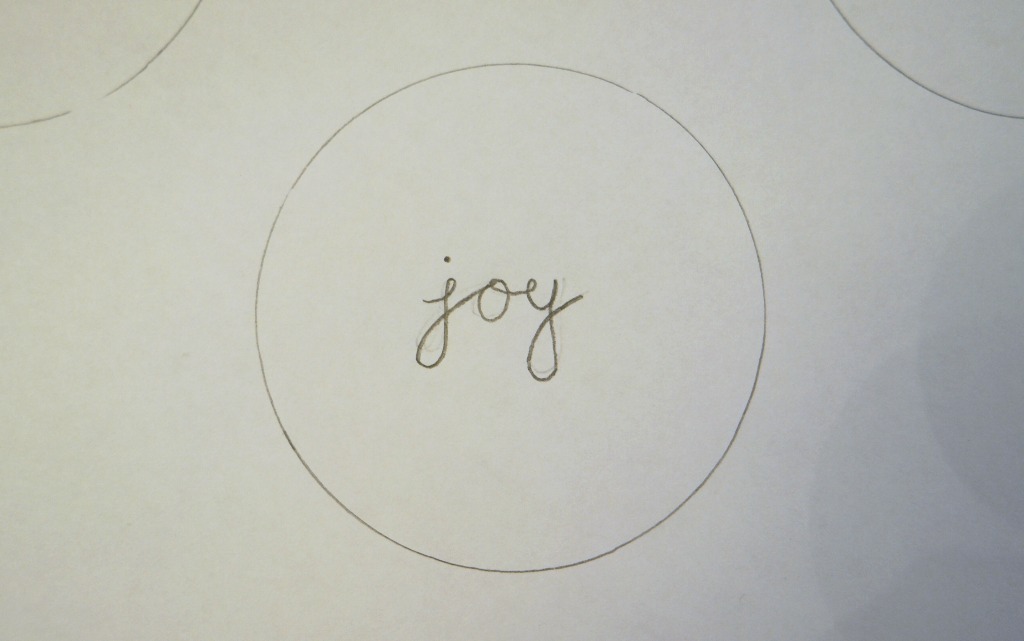
Make sure you space everything out a bit too, because you’ll be making some of the lines thicker and you need to have room on the paper to do that.
It might not be perfect first time, so keep practising! If you’re finding that the letters are all over the place, you might find it helpful to draw some lines as a guide.
When you’re happy with your word or phrase, the next step is to make the downstrokes of the letters thicker.
So look at your word or phrase, and whenever your pencil moved downwards to make part of a letter, add another line on the inside. If there’s a bit of a gap between the line and the rest of the letter, shade it in with you pencil.
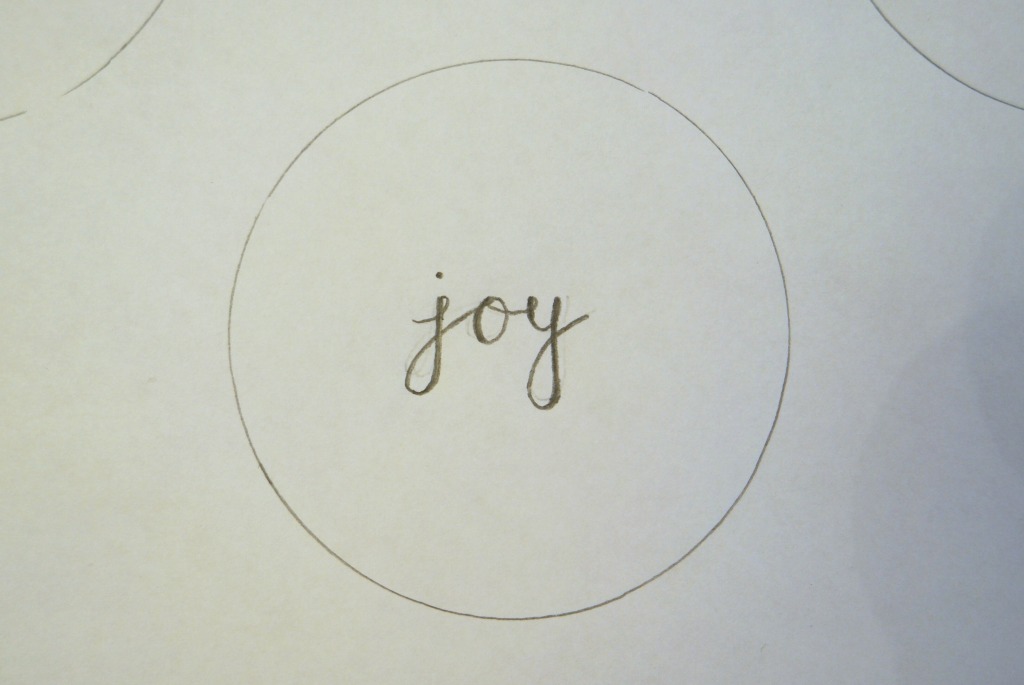
It can be hard knowing when to stop sometimes, and if you’re not careful you might end up thickening all the lines! As a general rule, only thicken the line until it starts to change direction.
Once you’ve done this, go over it with a pen. My favourite pens are these because they write nicely, they’re waterproof and they don’t smudge.
Give it a little while for the ink to dry, then rub out the pencil marks.
As I’ve already said, you probably won’t get perfect results straight away. But if you keep practising you will get better. I noticed a marked improvement after only 3 or 4 attempts, so don’t be discouraged if you don’t like your first attempt!
If you descide that you love handlettering and you want to do more of it, I recommend Handlettering For Relaxation by Amy Latta.
Embroidering Your Design
To embroider your design, you go about it in exactly the same way.
If you’re feeling confident, you could lightly sketch the word of phrase onto your fabric with a pencil, chalk or a washable pen suitable for this kind of thing.
Otherwise, trace the design onto the fabric.
(If you need to know about transferring embroidery designs to fabric, you might like to take a look at this post here.)
I wouldn’t bother with transferring the thicker lines, just the first lines so that you get the word onto the fabric with the letters the correct size and in the right place.
Now start to embroider over the lines that you have drawn using back stitch. Although the advice is usually to try to keep your stitches the same size so that they look neat, this advice doesn’t apply when you are embroidering letters. The straight parts of the letters look neater if you use longer stitches, but the curves will look better if you sew smaller ones.
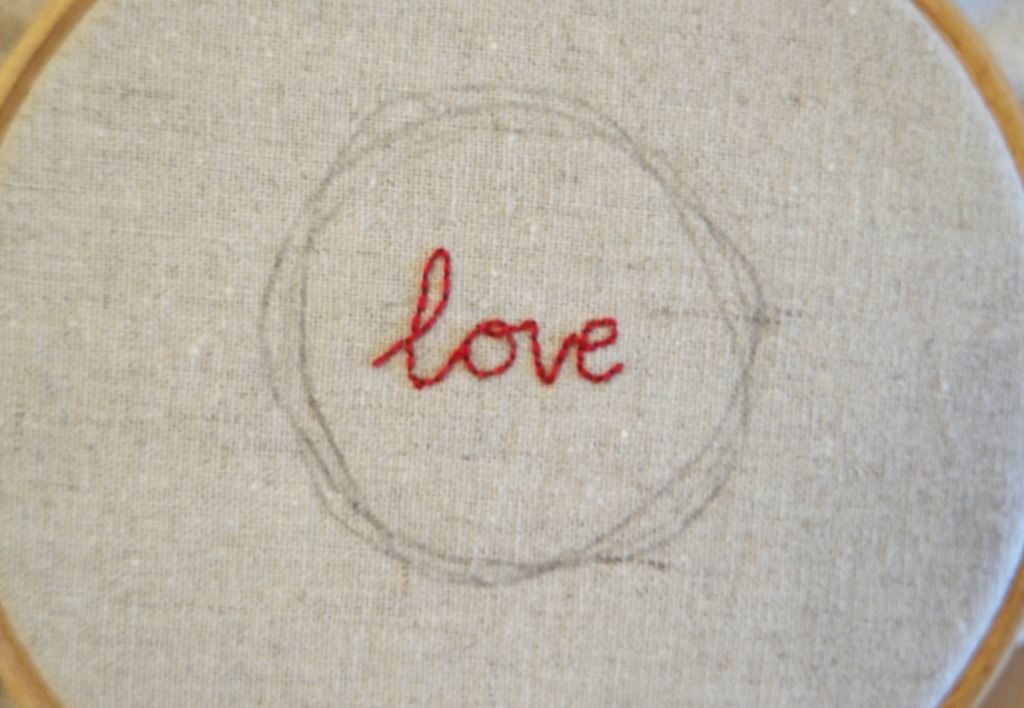
There are instructions for sewing backstitch in this post here if you need them.
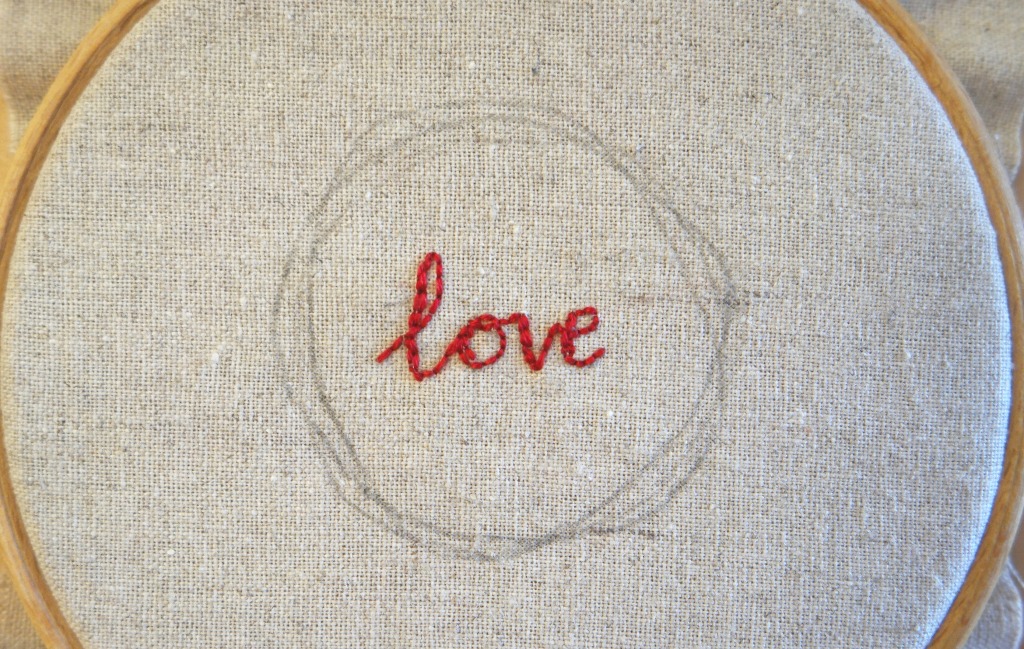
Once you’ve done this, find the downstrokes on the letters and add another row of stitches. Depending on the size of your letters you might need to add a second row of stitches to the whole word and a third row to the downstrokes.
Finishing Your Design
You might be happy to leave it as it is. It’s your design so it’s up to you!
However, if you want to add something to it, here are some suggestions. I’d recommend trying them out on paper first!
Put your design inside a wreath. You could draw a circle and add leaves, either freehand or by drawing round a bowl/ plate/ roll of sellotape. I acually think that circles that aren’t perfect have a rustic charm that’s much nicer than a perfect circle. It can be hard to draw them though, so another option is to go round and round a few times in the style of a willow wreath.
You can then sew over this using back stitch and add leaves, flowers, buds or berries. Woven wheels make nice flowers as do French knots. Seed beads also work, and that’s what I used on my little Christmas hoops.
Add some flowers underneath the text. Again, woven wheels make good flowers, or you could sew lazy daisies to make the kind with petals, or fern stitch for the kind on a long stalk.
Bunting. The answer to everything! If in doubt, add bunting! You could embroider it like I did here, or applique some little triangles to your design.
To display your embroidery, embroidery hoops are idea;, or you could pop it in a frame. You might have a plan for it already, and want to use it as part of something else, perhaps a purse or a notebook cover.
If you make something, I’d love to see! You can either share it on the Tea and a Sewing Machine Facebook page, post it on Instagram and tag me (@annaatteaandasewingmachine) so that I’ll see it, or send me a picture at [email protected].


Thanks for sharing a great idea with us.
Almost thou persuadest me to start hand embroidery
Lol Brenda!