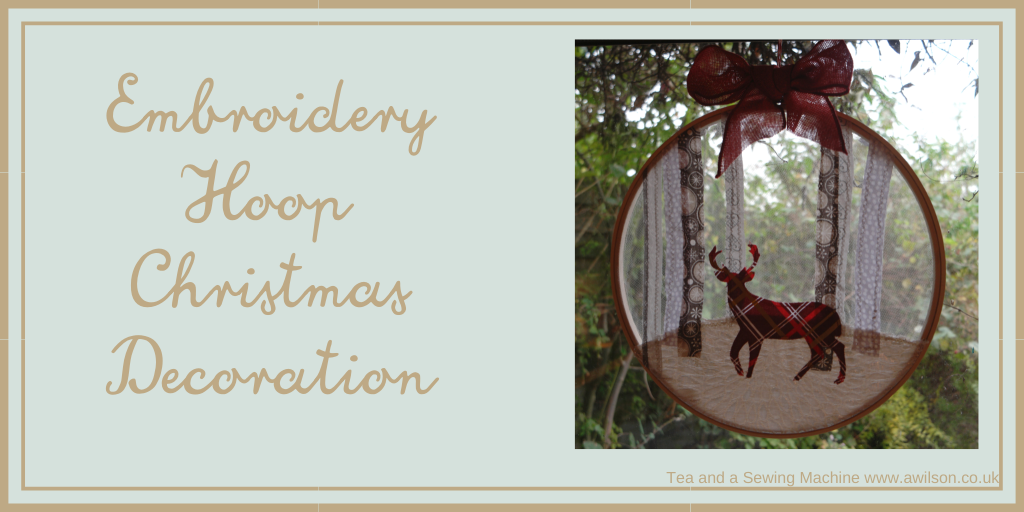
Embroidery Hoop Christmas Decoration
It’s fun to make things for Christmas, but it can be difficult to find the time, especially when it’s such a busy time of year anyway.
I actually gave up trying to make a lot of things for Christmas a few years ago. I never managed to live up to my Pinterest fuelled expectations of having a perfectly decorated, tidy house full of calm, happy people, including myself!
Christmas is nice but not if you’re stressed. So now I focus on what is necessary, and do some other bits and pieces if I have time.
One obvious option when you’re busy is to make things that are straightforward and quick to make.
Another less obvious thing to do is to make things that aren’t too Christmassy. That way, you won’t feel too weird making it in October, hanging it up straight away and leaving it up until spring!
It also has the added bonus that it will help to reduce the horrible empty feeling in your house when you’ve put everything away.
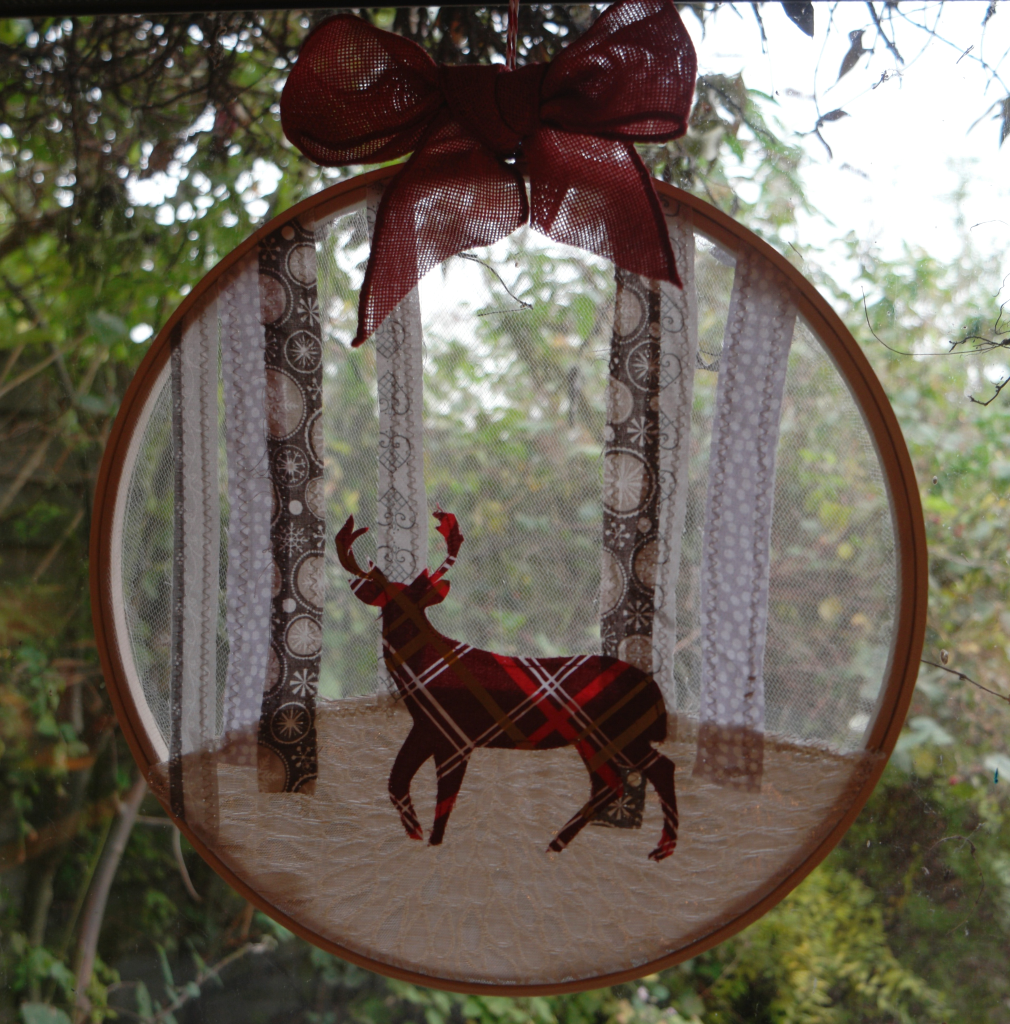
This embroidery hoop Christmas decoration is one of these that you can get out when the weather turns cold and leave up until the clocks change back to summer time.
Tartan is cheerful at Christmas, but also in the autumn and the rest of the winter. And deer live in the woods all year round!
It’s easy to make and you might already have the fabric you need already.
To save time, the templates can be downloaded at the end of the post.
The deer was fiddly to cut out, but you could always use a precut deer instead, or cut your own if you have a die cutting machine.
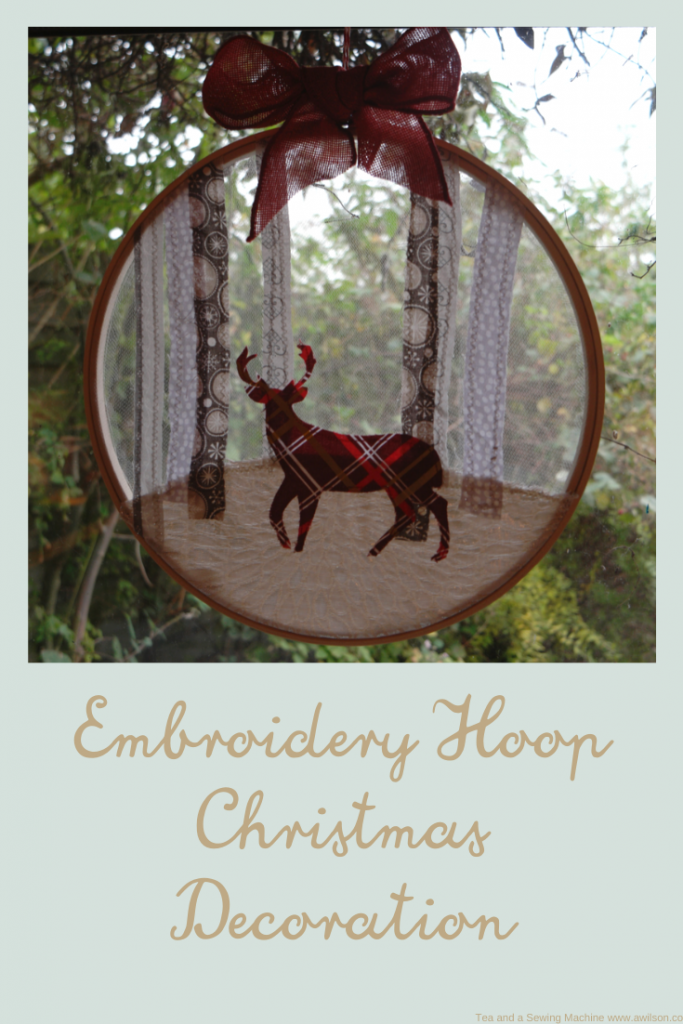
How to Make an Embroidery Hoop Christmas Decoration
You Will Need
A 30 cm embroidery hoop (Amazon have them here. This is an affiliate link)
Net or tulle in white or pale grey
Scraps of fabric. I used tartan for the deer and grey for everything else.
Ribbon
Instructions
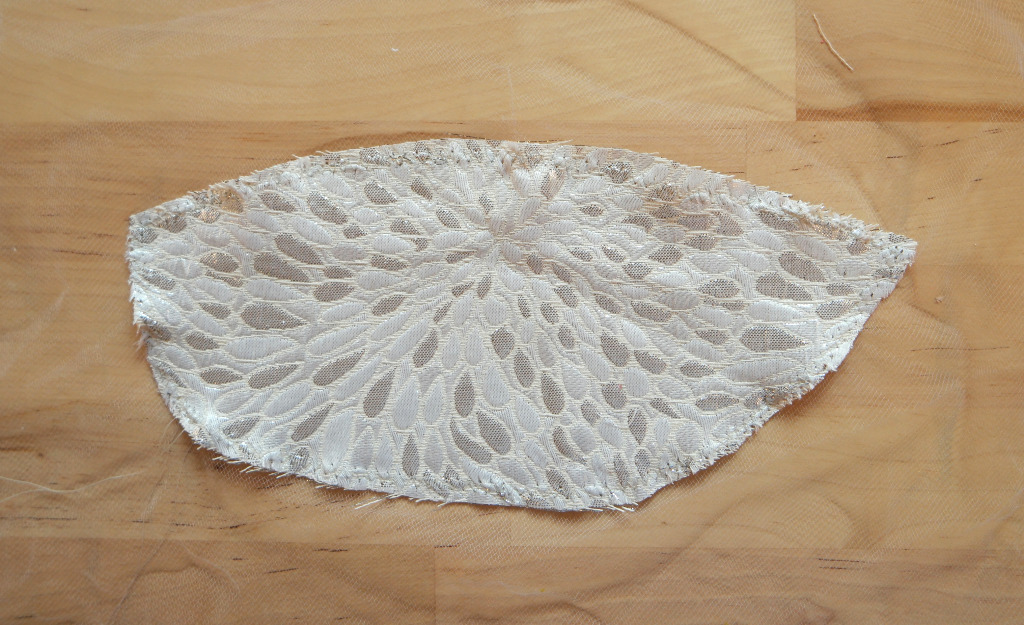
Use the templates to cut out the pieces. You’ll need 1 hill and 1 deer. Mine has 7 trees, but you can use as many or as few as you like. The templates can be downloaded at the end of the post.
Cut a piece of your background fabric that’s larger than your hoop. The hoop I used was 30 cm in diameter and I cut a square about 45 cm x 45 cm.
Using the hoop as a guide, position the hill on the background and pin. Turn it upside down so that the tulle is on the top and use a zigzag stitch to sew the hill in place.
Now position the trees. It’s up to you where you put them, but bear in mind that it will look most effective if there’s some space between the trees for the light to come through.
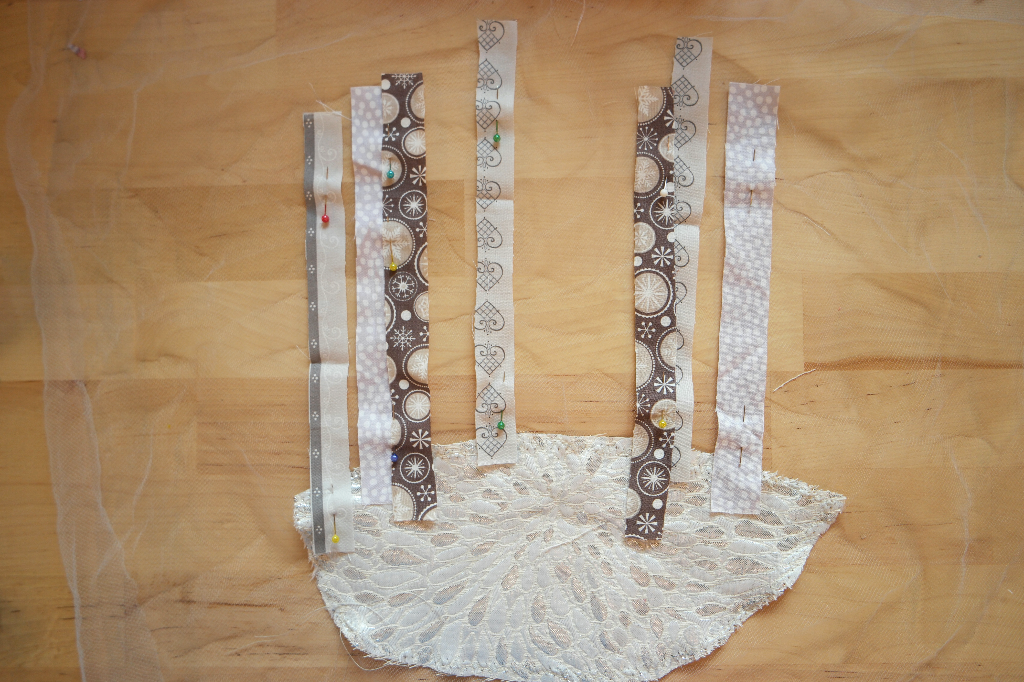
Once you are happy with the arrangement and you’ve pinned them on, sew the trees onto the tulle with the trees underneath and the tulle upwards.
Sewing it this way means that you won’t catch all of the long edges of the trunks if you have some overlapping. So turn your work over and sew those long edges.
The next step is to pin the deer on and sew him in place. I used a straight stitch and I appliqued him on the right side up. The antlers are fiddly, so I sewed straight up past his ears and made a line of stitches up into each antler.
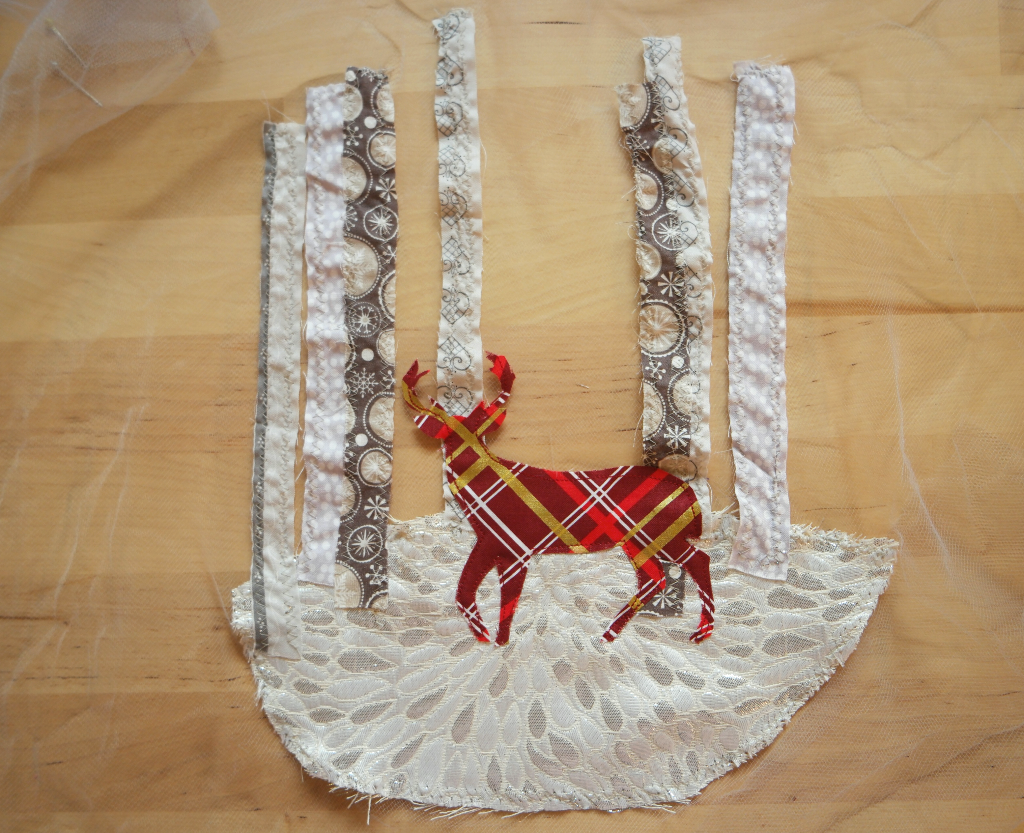
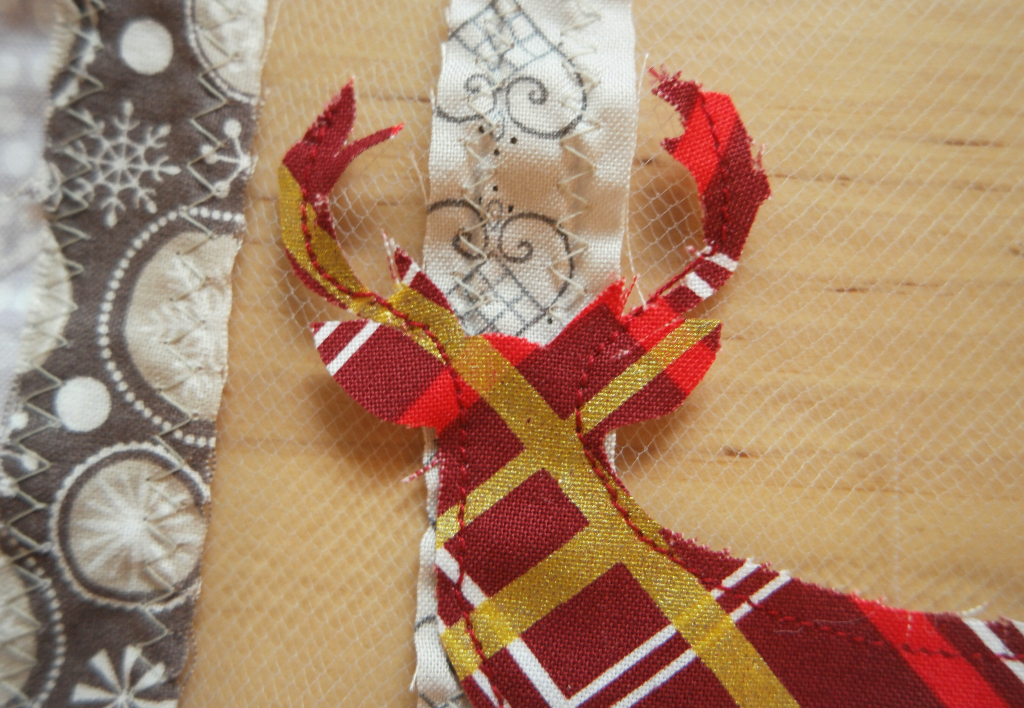
It might seem at this point a little bit bumpy and uneven. But how many times have you been in a wood and everything’s been perfect? As Bob Ross says, a wonky tree has a story and at least it won’t be cut down and made into a telegraph pole! Any imperfections here are what will give your embroidery hoop Christmas decoration rustic charm :).
Put your design into the embroidery hoop. Check that the metal screw is at the top. Gently pull at the edges so that the fabric is taut.
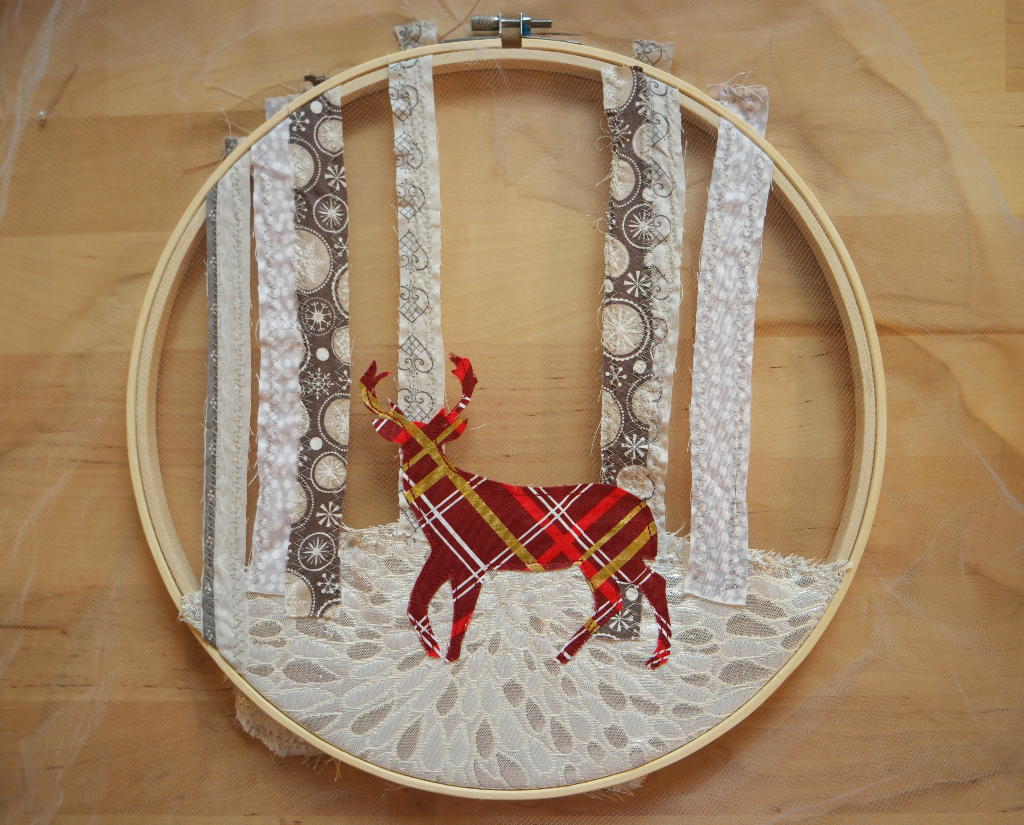
Trim the excess off so that you’re left with about 2 cm all the way round. With a needle and thread, sew a running stitch around the excess tulle, keeping close to the hoop. Pull it tight to gather it and tie off the ends.
You might need to trim it down a bit more, but like I’ve already said, the aim here is rustic and charming, not perfect!
Tie some twine to the metal part of the hoop and attach a bow. I had a bow already that I used from this wreath that I found in my cupboard of Christmas decorations!
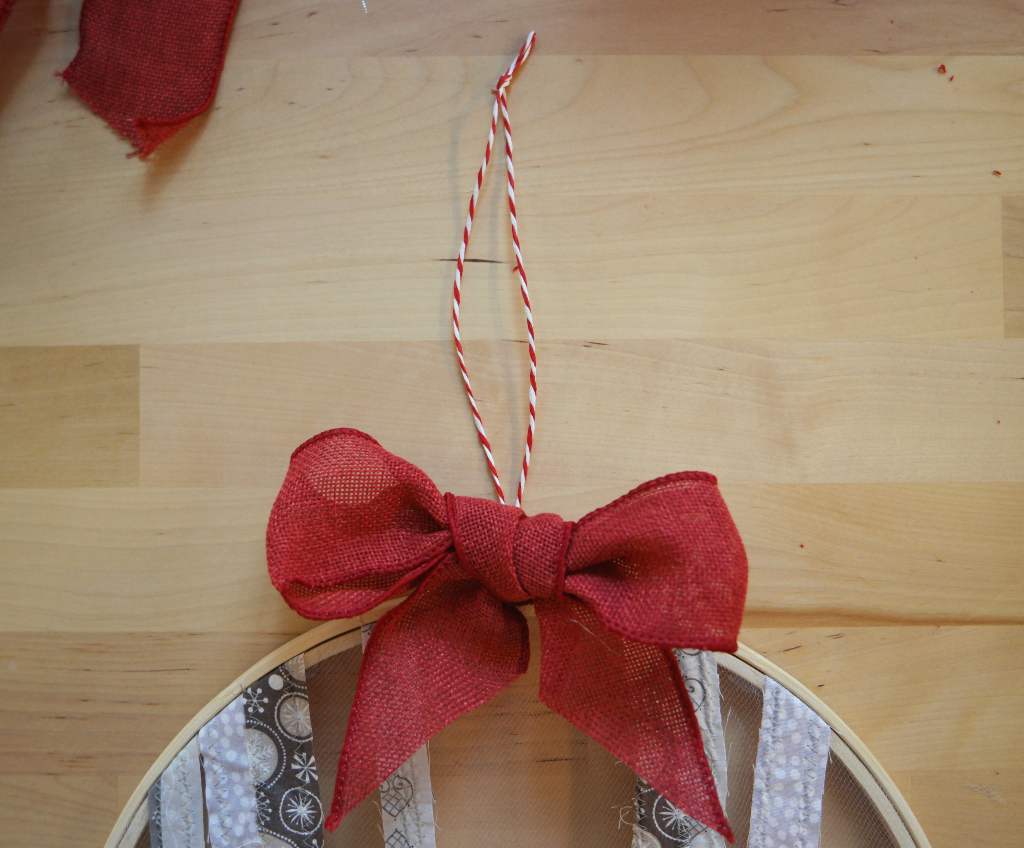
Hang your embroidery hoop Christmas decoration up in a window and enjoy it until well into February!
If You Have More Time…
You could sew more trees over the deer so that he’s in the forest, not just standing in front of it.
You could embroider branches either by hand or with the sewing machine.
Using the sewing machine or by hand, you could add more stitches to the tree trunks to give them some texture.
If you have some white or gold embroidery thread, you could embroider some stars.
If You Have Less Time…
Cutting out the deer was fiddly and took some time, so another option would be to use a precut deer (a felt one would be fine), or if you have a die cutting machine, you might be able to make your own more quickly.
You could glue the farbic into the hoop instead of gathering it.
If you make one, I’d love to see it! You could email me a picture at [email protected], or post it onto the Tea and a Sewing Machine Facebook page, or post it on Instagram and tag me (@annaatteaandasewingmachine) so that I’ll see it.
To Download the Templates
Please fill in the form below. Please note that by doing this, you will be added to the Tea and a Sewing Machine email list.
[chimpy_form forms=”45″]
I won’t send spam, email you repeatedly or share your information. I will however send you a weekly newsletter with updates, links, tips and the the occasional freebie. You can unsubscribe at any time.
For more information about why I require an email address, please click here.


I would appreciate getting the templates for the Embroidery Hoop Christmas Decoration. It is so pretty.
Hi Karen, it’s here: https://www.awilson.co.uk/wp-content/uploads/2019/11/Untitled-design-29.pdf
I would like to make this but the link to the templates seems to be broken. Are the still available?
I changed email service providers a little while ago and I’m still swapping everything over. The templates are here: https://www.awilson.co.uk/wp-content/uploads/2019/11/Untitled-design-29.pdf
Can’t wait to try this……..Thanks for sharing
Love this idea for fall/winter scene.
I need the Templates for the Embroidery Hoop Christmas Decoration, please.
Thank you.
S
Hi Sharon, the template is here https://www.awilson.co.uk/wp-content/uploads/2019/11/Untitled-design-29.pdf
LOVE your creations ! Rustic , charming and elegant. Will be making the deer embroidery. Thanks !
Thank you!
I have signed up and want to make the stag in the embroider hoop but each time I go to the instructions I am asked to sign up and the instructions are obscured by the request to sign up again. How do I get around this?
There should be an X, I think it’s in the top right hand corner but it might be on the left. If you click on it it should go away.
I love how you have used a transparent net as a base – it really emphasizes the design, plus it is perfect for keeping up throughout winter 🙂
Thank you xx
So pretty! I love the effect with the tulle. I’ll have to try this!
Anna,
what a beautiful piece. Love that it lets light through – it makes it a perfect window decoration for the winter months.

Damjana recently posted…37 Best Diy Christmas Decorations – To Make in Under an Hour
This is a perfect winter window decoration. I love the use of the tulle make it look so light–other worldly!
It is a pleasure following your creative journey!
Thank you! I feel a little bit Narnia now!
thank you Anna. Are you not on WordPress now- I cannot find you there
I’m on self hosted wordpress, don’t know whether that makes a difference xx
This is so pretty! I love that you can see through the upper section. It looks perfect hanging in the window!
Thank you, I like being able to see the garden through it xx
Well Anna, I find it hard to believe you don’t have a house full of calm happy people enjoying the Pinterest inspired festive wonders that you have magically created each Christmas – I know that is exactly what it’s like in my house each year!!! ;-D

Seriously though, your deer is super sweet, charming and rustic is the best and he is both! I love the applique on net effect, I’m wondering if I have a few embroidery hoops about the place that I can snaffle to try this out. Gorgeous!
Julie recently posted…Christmas Gift Bag Mini Shoppers Tutorial
I know lol, it’s so far from reality! Thank you xx