9 Photography Tips For Crafters (And Some Myths!)
If you’re trying to sell handmade things online, or if you’re trying to promote your blog, your photography is the thing that’s going to make the biggest difference.
Stop and think about it for a minute. Can you can think of at least one occasion when you either clicked away or kept on scrolling because the photos were awful? I bet you can!
When I started Tea and a Sewing Machine, my photographs were terrible! The ones for my Etsy were just as bad, and it’s no wonder that I didn’t make any sales at all in those early days!
All the advice I read either didn’t make any sense, or I felt it wasn’t possible in a small house with lots of kids, or I ignored it. I might even have thought that my pictures weren’t that bad (they were that bad!)!
If you’re just starting out, or if you’ve already started and you want to get things moving along a bit, the good news is that it’s actually easy to take good photos.
I’m not going to pretend to be an expert, but I do have some photography tips that I’ve picked up along the way, and I can tell you it does make a difference.
The world we crafters inhabit is very visual. Whether you’re selling your handmade bits and pieces on Etsy or Amazon Marketplace, or promoting your blog on Pinterest, the basic principle is the same. People are going to click on items they like the look of. That gorgeous thing you’ve made might be just what somebody is looking for, but if the photo is dark and grainy, nobody’s going to click on it unless it’s by accident.
Craft Photography Myths
Let’s get these out of the way first. Anybody can take good photographs, but if you believe the myths, it won’t help because you won’t want to try.
Myth 1: You have to have a fancy camera. No, you don’t. There are people out there who take all their photos with their phones. Obviously you need a camera of some description but it doesn’t need to be fancy.
What you do need is one that works (and that you know how to work!), that doesn’t have spots all over the lens and that has the option of turning the flash off.
Myth 2: You need a load of extra stuff, tripods, special lights and those brolly things. No! You’re not photographing toddlers that won’t sit sill in a dingy hall with bad lighting. Some lights might be useful, but you don’t need them as long as you have access to decent natural light.
Myth 3: You have to be an expert in Photoshop. No, not true. I don’t even use Photoshop, mainly because my eldest who fancies himself as a computer expert managed to delete it and I’ve no idea how to get it back.
You will need to edit your photos though, but the best thing to do is to take good photos in the first place that don’t need a lot of editing. And any editing you need to do can be done in anyone of a number of free, easy to use programs (more about that later!).
Myth 4: When it comes to photography, you either have it or you don’t. This is nonsense. Anybody can learn, and if you follow tips below you’ll be taking lovely photos in no time at all.
Tips For Taking Good Photos
So with the myths out of the way, what can you do to take good photos? Here are my 9 best photography tips for crafters!
Use Natural Light…
This is the first rule for taking good photos. Turn the flash off, even if in auto mode the flash would be used. Try to take your photos somewhere that is well lit, like a sunny kitchen. You might prefer to take your photographs outside. Even in winter it’s possible to get nice photos with good lighting if you take them outside in the middle of the day.
…But Not Too Much!
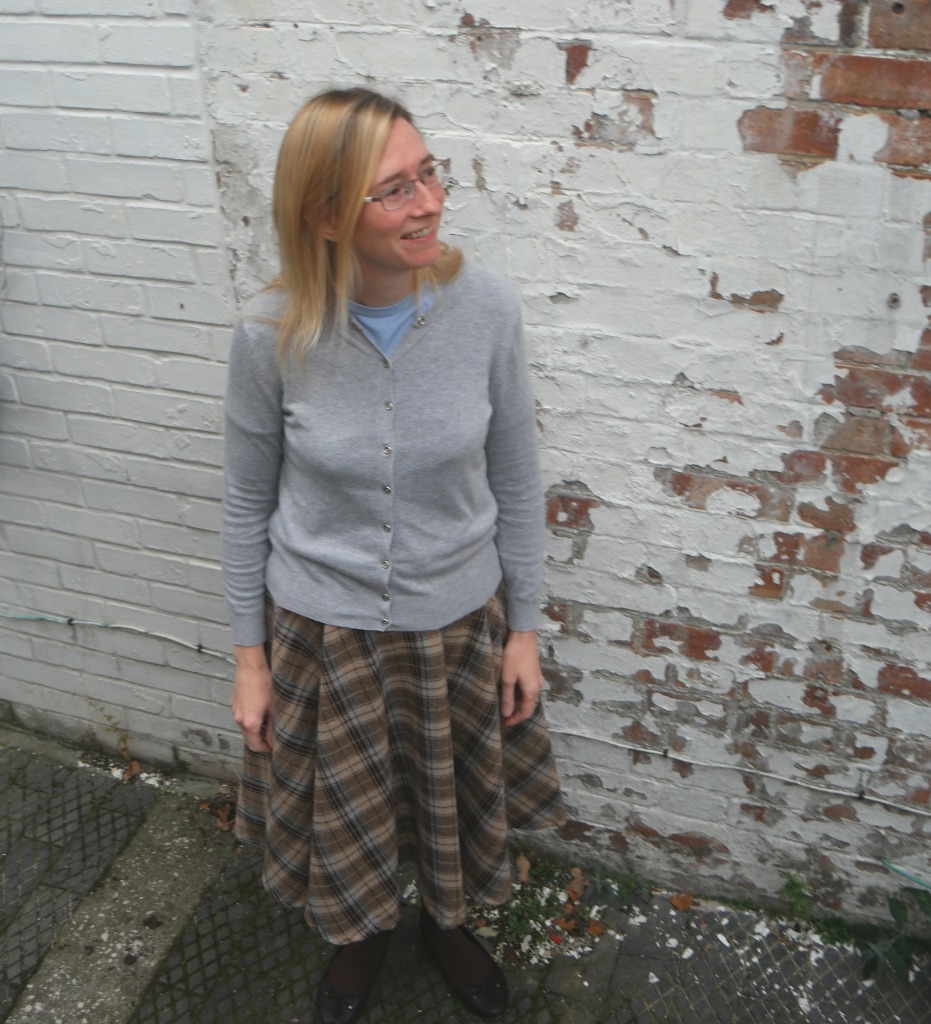
Harsh lighting doesn’t make for good photos either. If you’re taking photos outside in summer time, the best kind of days are the grey ones. Otherwise the light is better early in the morning or in the evening.
If you are taking your pictures inside, try to avoid having the sunlight fall directly onto the thing you are photographing. If there is too much light or direct sunlight, this problem is easily solved by sticking printer paper over the windows.
Find Somewhere To Take Your Photos That’s Clean and Uncluttered
Grubbiness and mess isn’t going to enhance your photographs at all!
If it’s difficult to find somewhere in your house that’s clean, tidy and has plenty of natural light, don’t panic because there is an alternative!
For a lot of my photos, I use the keyboard section of an old Ikea computer desk. I’ve covered it sticky backed plastic with a wood grain design. In real life it’s not that nice because it looks plasticky, but in photographs it looks like an scrubbed wooden table top.
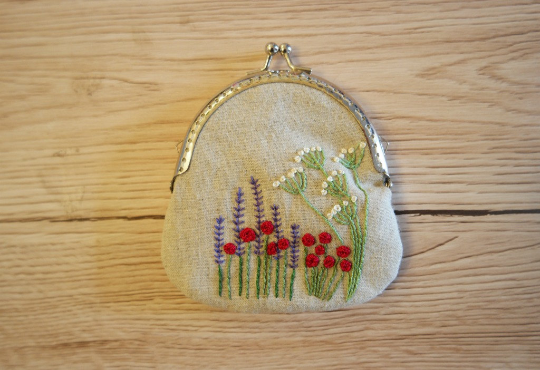
You don’t need to spend a fortune. Just see what you have lying about. A board, a large piece if plywood or even a bit of an Amazon box will do. Just cover it in the sticky backed plastic, or you could paint it if you have some left over from another project. This could also do for a background if your walls are either dark or have dinner stains and toddler art on them.
Make Sure That Your Pictures Are In Focus.
If you press and hold the shutter button gently and not all the way down, it will allow you to focus the camera. If it’s not, try moving back a bit or switch to macro mode which will allow you take better close ups.
Be Sure That Your Pictures Are Clear In What They Are Showing.
Clutter and mess have already been mentioned, and I’ll talk about props in a sec. This is about the information you’re trying to convey with your photo.
Are you showing off the finished item?
Do you want to draw attention to some particular detail?
Is it a step photo in a sewing tutorial?
Remember that you need to make thing as easy for people as possible. You know it’s amazing, the stitching’s neat and the buttons are cute. So show them off and don’t expect people to guess that it’s that tiny little thing they can’t really see!
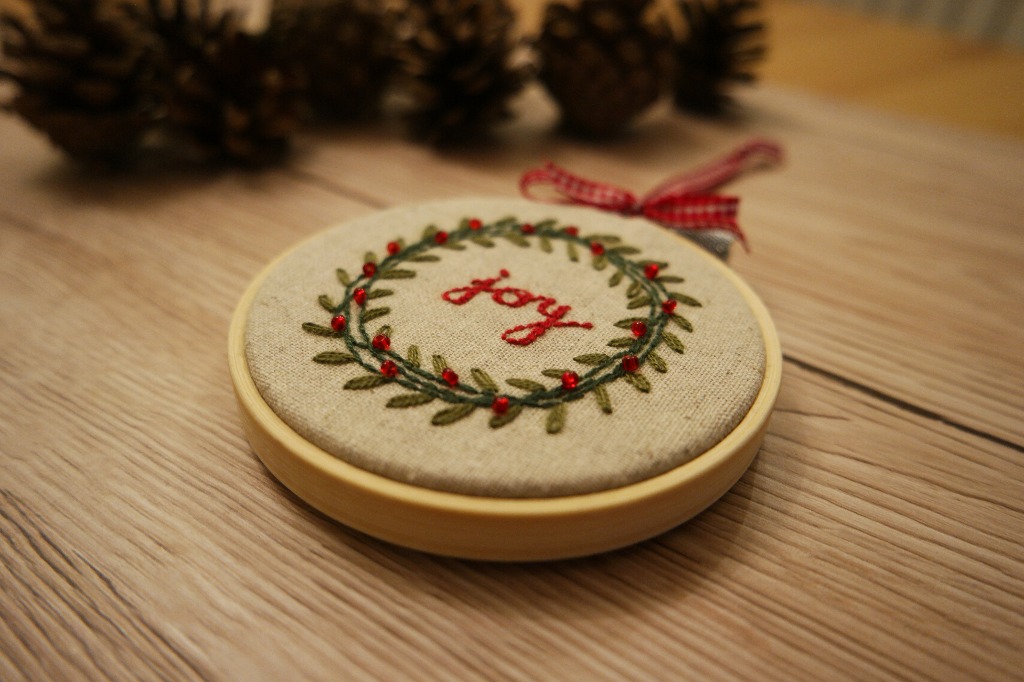
Try Different Angles
You’ll need pictures of the entire thing so that people can actually see what it is, but a closeup or a pictures taken at an angle will help show off just how beautiful the thing you have made is.
Use Props Sparingly
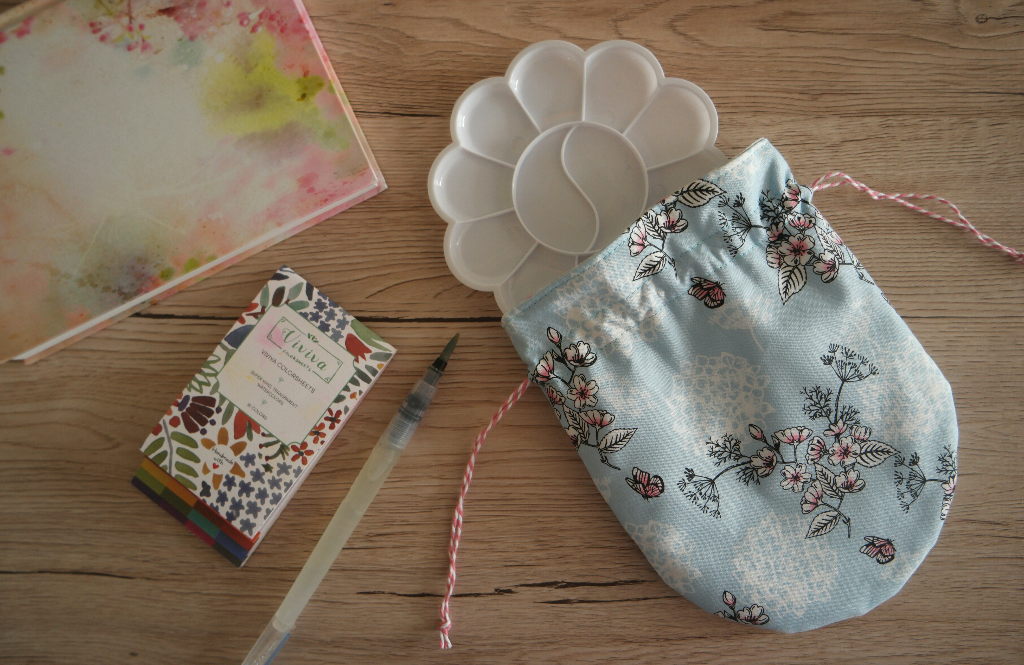
Sometimes it can be useful to include something in the photo that gives a sense of scale, but be careful! To many props or the wrong sort of prop will detract from your handmade gorgeousnesses.
So if you’re going to use a prop, choose something that enhances your item. Flowers are a nice thing to add to photos sometimes if you’re stuck for ideas.
Otherwise consider what you might use with your item or what you’ve used while making that will look nice in the pictures. For example a nice pen or some pretty embroidery scissors. If you have trouble knowing where to stop, too little is always better than too much!
Batching Photos Will Help To Give Your Photos a Cohesive Look.
The idea of having a cohesive look was something that took me a long time to get my head round. Put simply, there needs to be something about your pictures that pulls them all together.
An easy way to achieve this is by batch processing your photographs. So if you have several items to list on Etsy, take the photos in the same same place in one session.
That way they’ll have the same lighting and the same background. Also, if you find that a particular prop is working well, you’ll be able to use it in all your photos.
Edit Your Photos
As I said in the myths, you don’t need to be a Photoshop expert, or even use Photoshop at all. The best pictures are often the ones that you don’t have to do much to, and it saves you time if you can take photos you can use without too much editing.
Having said that, you will sometimes have to edit them. In wintertime I always have to brighten mine up, and often I have to crop them.
You will also need to resize them. Mine are usually 1024 pixels wide. Much larger than that and they’ll slow your site down, or Etsy won’t like them.
Free photo editing software you could try includes Fotor, Pixlr, Photopea and Krita. I usually use Fotor, but I’ve discovered Photpea recently and I think I might start using that more.
Whatever you use, all you’ll probably need to do is crop them and turn up the brightness and the contrast. You might also want to increase the saturation (this makes the colours brighter) and adjust the temperature. If you’re taking pictures in a room with warm lights rather than daylight bulbs you might find that the pictures have a yellowish tinge. Turning the temperature down will remove this and increase blue tones. Equally you can warm a picture up by turning up the temperature.
Please mind though that you do need to take decent pictures in the first place! If they’re blurry or grainy there’s not much you can do.
I hope you’ve found this helpful. What else would you recommend? Let me know in the comments!
If you like this post, you might also like this one, 9 Tips For Selling Your Handmade Crafts Online.
And if you’re interested in learning more about taking good photos, there’s an interesting post here with some more tips.


Love the clear explanation and encouragement you give, thank you
Thank you, glad you found it helpful xx