Halter Neck Dress Without a Pattern: Sewing the Dress
This post is a little bit overdue!
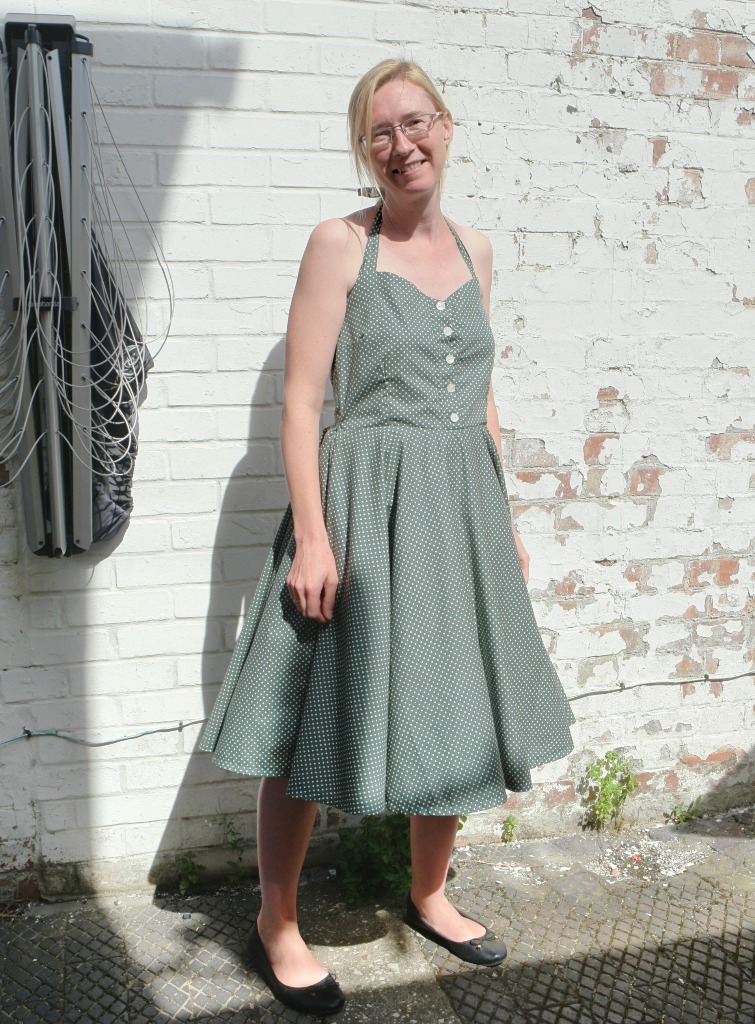
Back in the summer when the weather was warm (sigh!) I made this.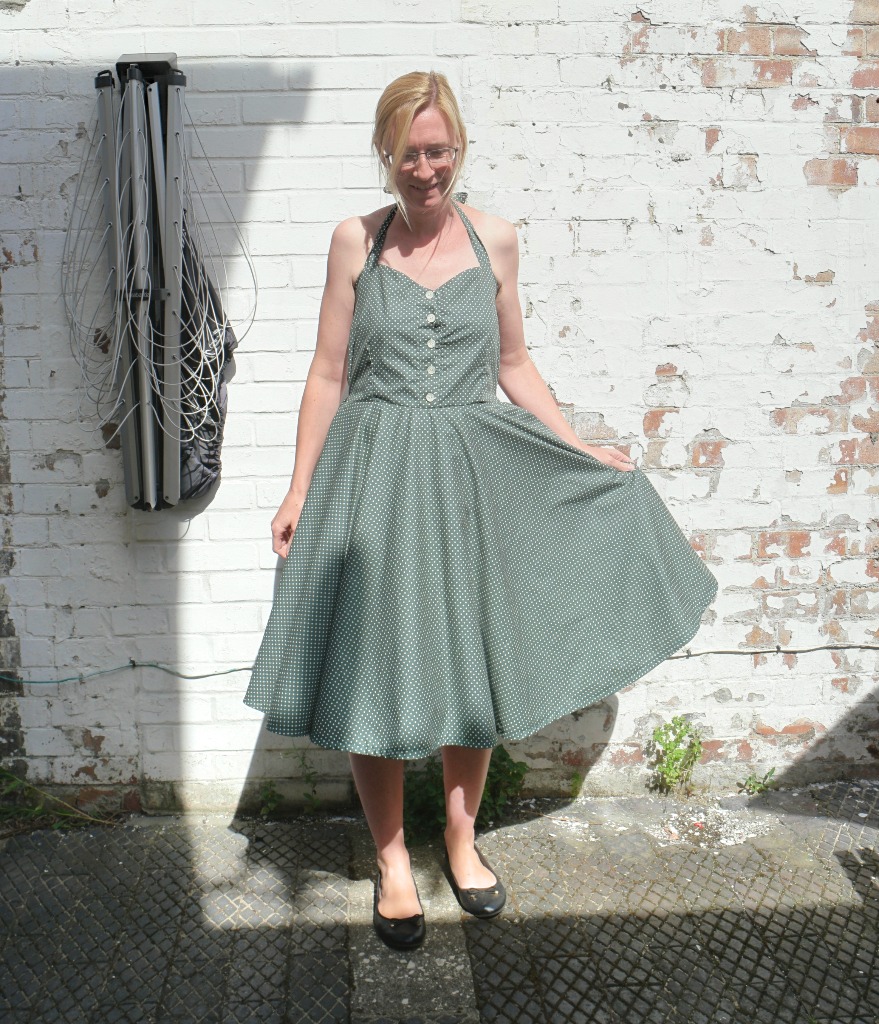
I’d seen a dress on Pinterest that I rather liked. Actually I saw dozens I liked, but this was the one I decided to have a go at making!
My vintage style dresses turned out very well, so I decided to use the same style and a similar method to make a halter neck dress.
I’d never made a dress like this before, so it was fun to try something new! I also wanted an excuse to try out the printables from my ebook Designing and Making a Dress From Scratch.
I wrote a post about designing the dress here, and another about drafting the pattern pieces here. And you can find out about the ebook here!
Once the dress is designed and the pattern pieces are made and cut out, you’re ready to get sewing!
Sewing the Dress Together
The steps for this dress are in a slightly different order than for the other dresses I’d made. I was actually very thankful that I’d worked out the steps first as it saved me quite a lot of time with the unpicker!
1. Pin the darts in one of the bodice sections. Hold it up against yourself to double check that they are in the right place (hopefully you did this when you drafting the pattern pieces!). Pin the darts on the other bodice piece and the bodice lining. Sew the darts. If you haven’t sewn darts before (or if you have but it’s been a while!) there’s a more detailed tutorial here.
2. Pin the side seams of the bodice. Put the bodice around yourself to check that it fits. The centre front edges should meet in the middle. If you need to adjust the side seams, do so, then sew them. Trim the seams and press them open.
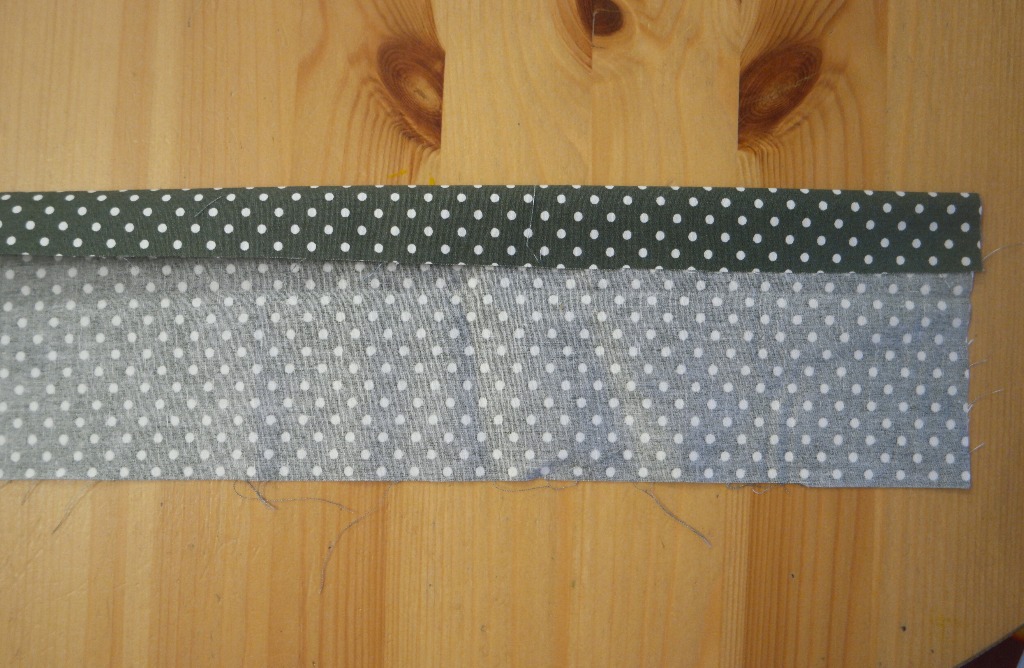
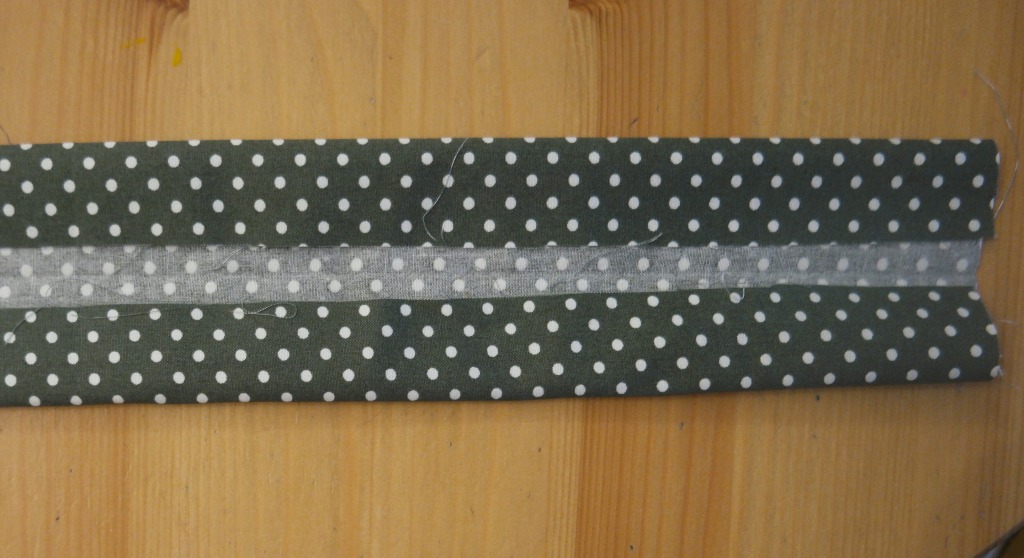
3. Make the straps. Take one of the strap sections and fold it in half lengthways. Crease it with your finger, then open it out. Fold one of the long edges into the centre.
Fold the other edge into the centre.
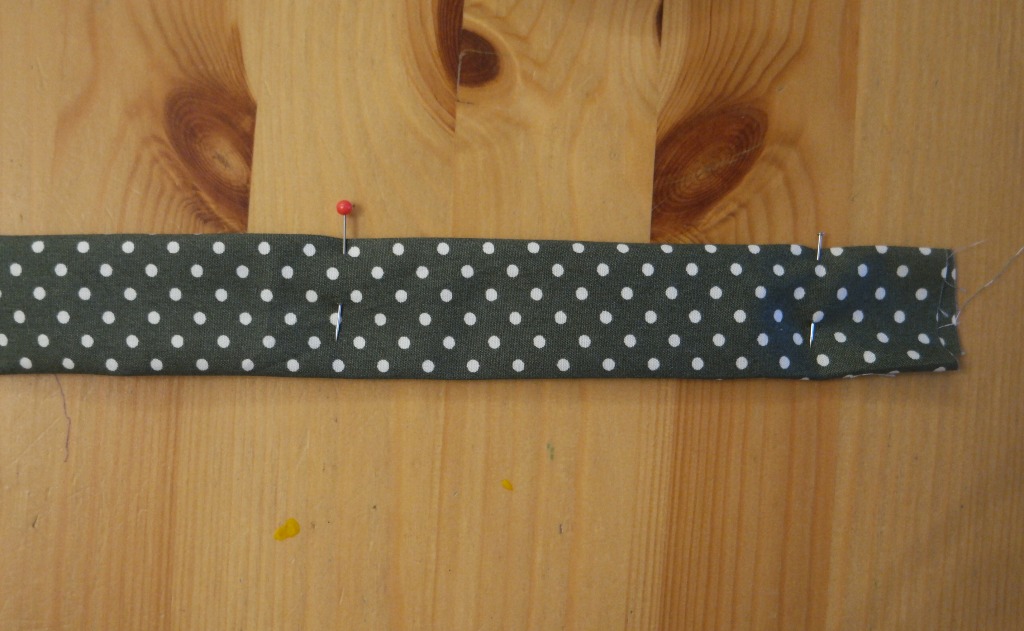
Fold the strap in half so that the raw edges are enclosed and pin. Sew along the open edge.
In the interest of keeping things symmetrical, you might like to sew down the other long edge too.
Fold one of the short edges inwards. Pin, then sew.
4. Pin the straps to the bodice. Try the bodice on again to work out where the straps need to go. They’ll need to be just in front of your armpit, in a similar to place to the straps of your underwear. Pin the straps to the bodice so that the raw edges are together and the strap is downwards. The straps will need to be on the wonk a little bit.
5. Pin the lining to the bodice at the top edge with the right sides together. Sew the lining and the bodice together along the top seam. Trim and clip seams and turn it the correct way out. Run the iron over the seam.
5. Sew the button bands to the bodice. To make the button bands, take one of them and fold it half lengthways. Open it out, then fold the raw edges into the centre. Pin it to the bodice centre edge so that the right sides are together. Sew, keeping close to the fold. Fold the button band around the raw edge of the bodice centre so that the raw edges are enclosed. Pin then sew, keeping close to the open edge.
6. Make the button holes in the button band on the right hand side. Mark with pins to show where you want them to be. Don’t forget that you’ll need a seam allowance at the bottom of the bodice! The easiest way to sew the button holes is with an button hole attachment on your sewing machine. If you don’t have one, you could try one of these methods here.
7. Position the buttons using the button holes as a guide and sew them onto the bodice. Do the buttons up.
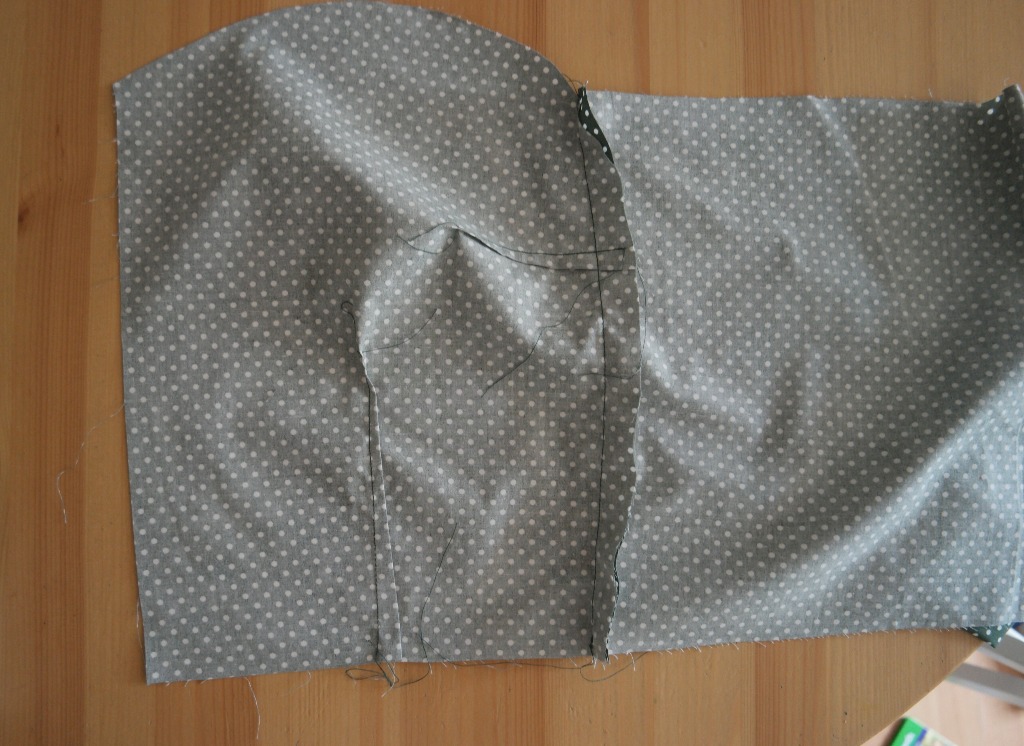
8. Sew the skirt sections together. Take 2 of the skirt pieces. Check where the grain is if it’s not obvious! Ideally you want the grain running up and down the centre seam. Do the same with the other 2 pieces. It might be an idea to mark the centre seams with a pin.
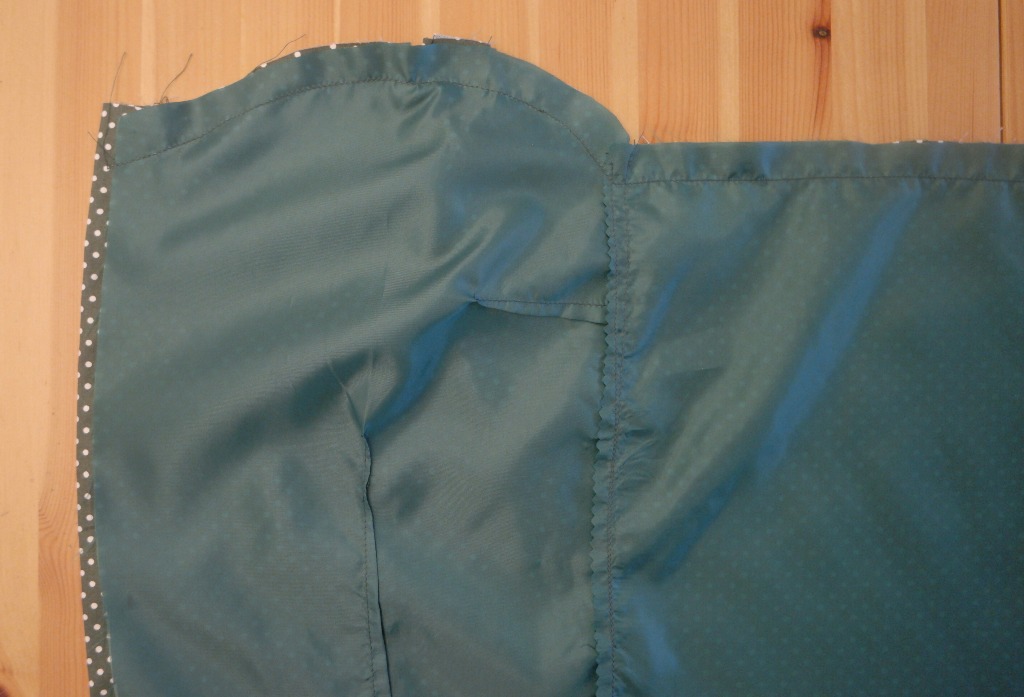
You should now have 2 half circles. Pin the side seams and check the skirt against the bodice. You need the waist to be the same size on both the skirt and bodice or you’ll run into problems when you sew them together! Sew the side seams. Trim the seams and press. Now repeat with the lining.
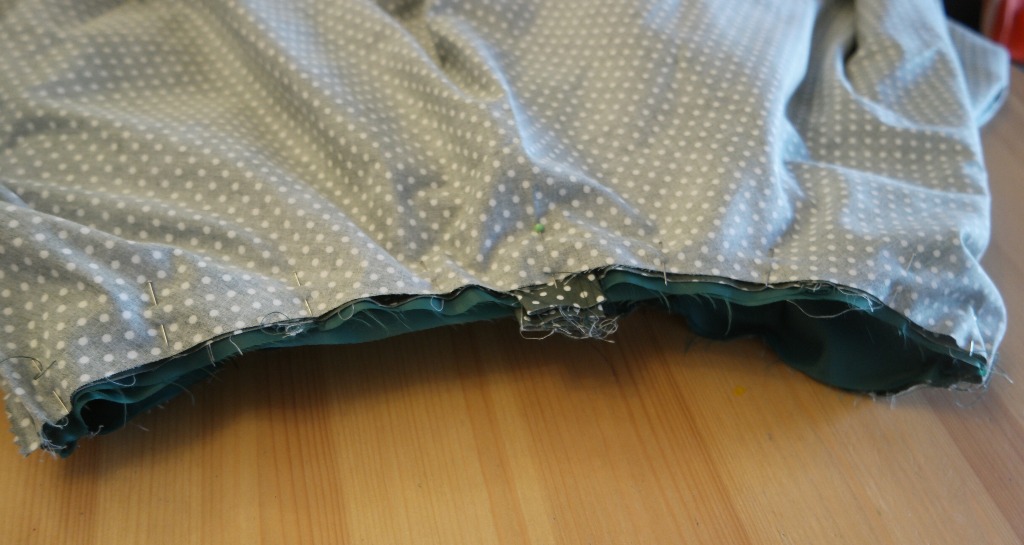
9. Sew the skirt and the lining to the bodice. Pin the skirt to the bodice so that the bodice is inside the skirt, the right sides are together and the waist of the skirt and the bodice are aligned. Check that the centre of the skirt is matched up with the centre of the buttons. Ideally the side seams should match too, but it will be less noticeable if they don’t.
Now pop the lining inside the bodice so that the wrong sides are together. Pin the whole thing together.
This is a bit fiddly! You might find it helpful to pin the skirt to the bodice before sorting out the lining.
Try it on and check that the waist is in the right place. If it is, trim the seam and press.
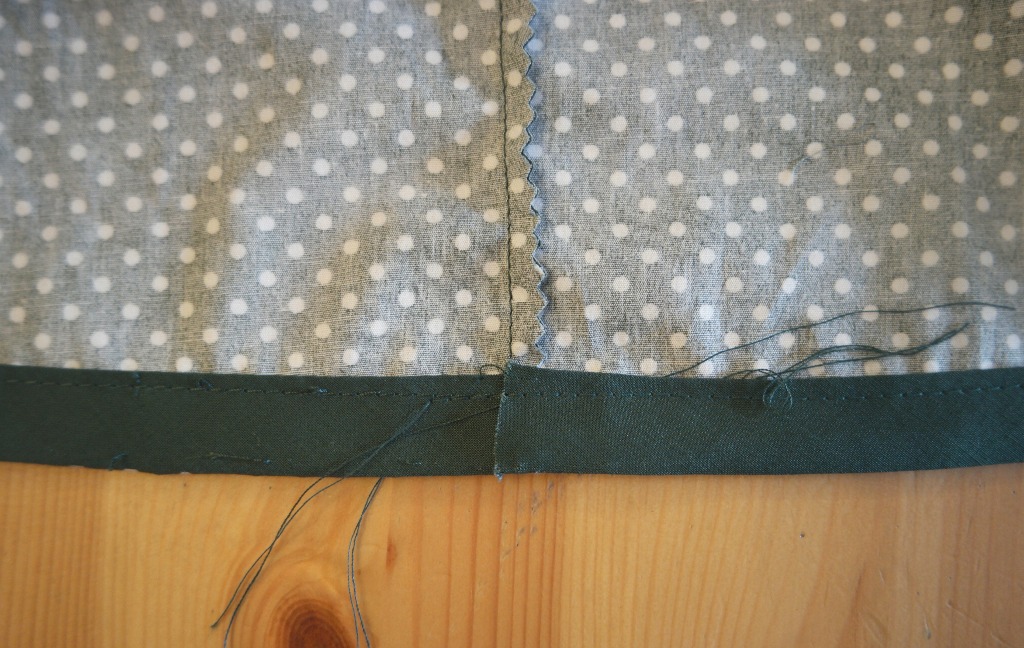
10. Finish the hem of the skirt and the lining with bias binding. Unroll some of the bias binding and open it out. Pin one end to the raw edge of the hem so that the right sides are together. Sew, keeping close to the fold. When you get all the way round, leave a couple of extra cm so that it overlaps. Sew to catch the end.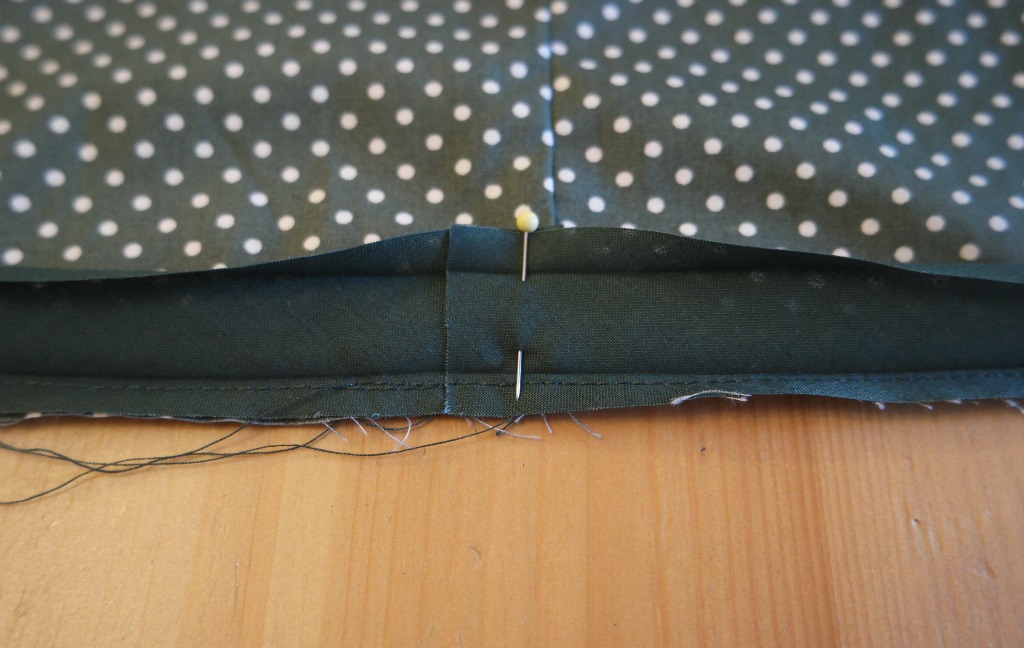
Fold the bias binding over so that it’s on the wrong side of the fabric. Press the seam, then sew the open edge of the bias binding.
Trim away any stray threads and run the iron over it once more. Now your dress is ready to wear!


Leave a Reply