DIY Circle Skirt From a Duvet Cover
Circle skirts are fab.
They’re easy to make, lovely to wear and they suit most people, whatever shape or size you are.
One tiny little problem is that they take quite a lot of fabric, probably 3-4 metres depending on your dimensions. This can end up being expensive.
An alternative option is to use a gently used (or new and unused!) duvet cover. A double duvet cover has plenty of fabric for making a circle skirt.
So when I was recently offered some faulty but unused duvet covers, curtains and pillowcases by lifestylish.com, I jumped at the chance. These duvet covers and things were technically rubbish and would otherwise have been thrown away.
I love this kind of project, mainly because it makes me feel like Maria from The Sound of Music!
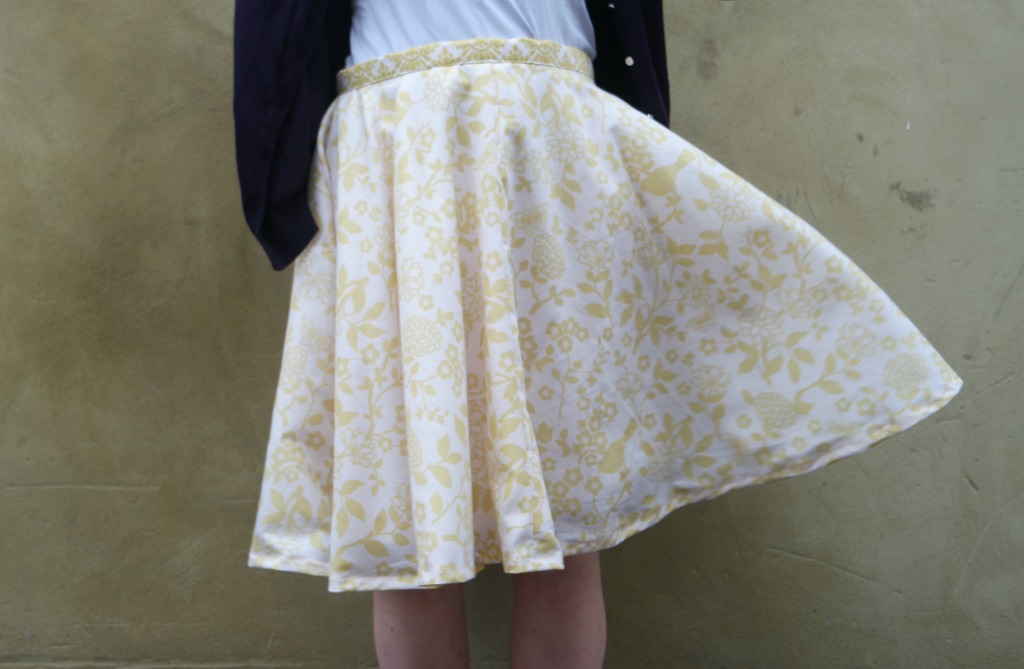
The duvet cover I used had a bird print on one side and contrasting sections on the other, so I chose the bird print.
For the waistband, I cut a contrasting section from the pillowcases.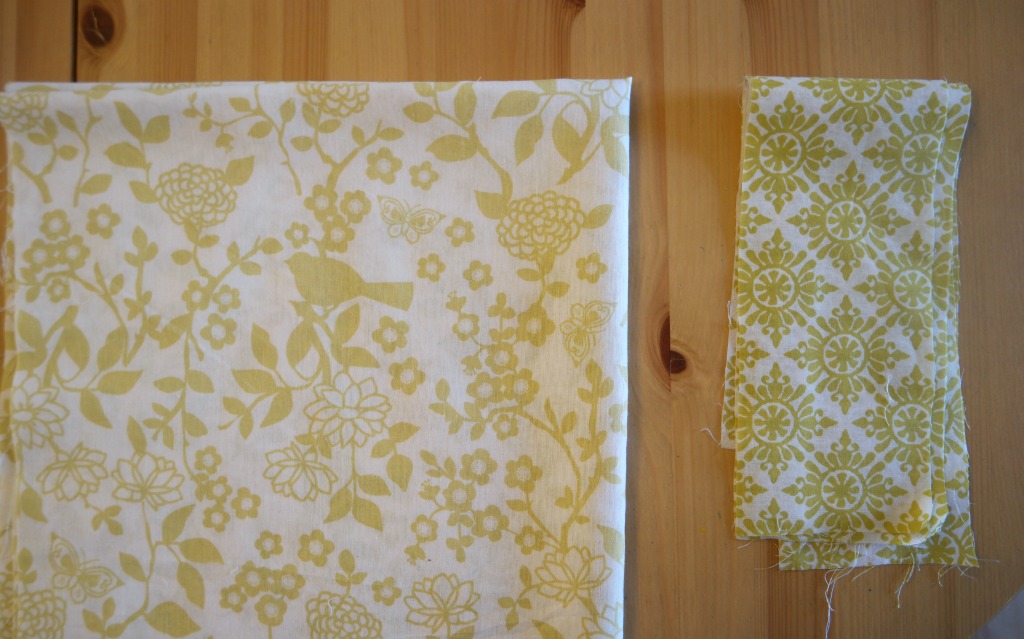
The fabric was quite thin and white, so I’ve lined it with some lining fabric I had already. I made the lining in the same way as the main skirt, just 10 cm shorter.
Here’s the tutorial for making a circle skirt from a duvet cover!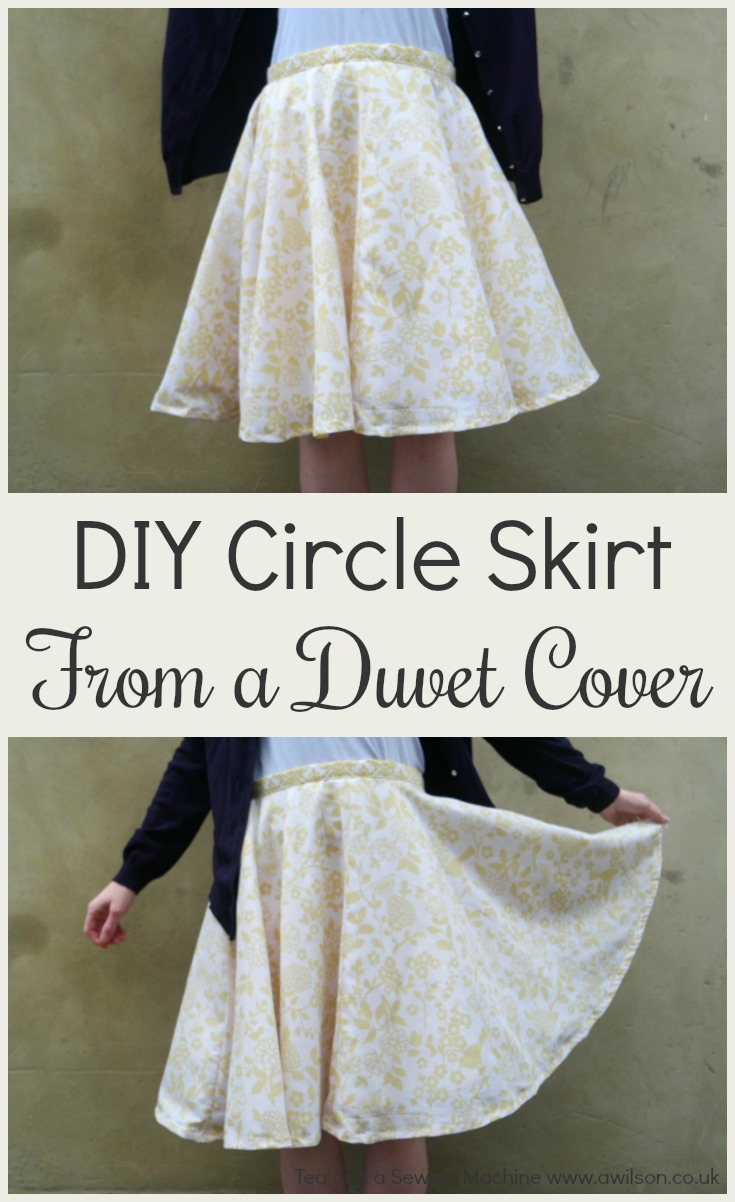
Making a Circle Skirt From a Duvet Cover
You Will Need
A double duvet cover, bias binding, fusible interfacing (for the waistband), a zip, pencil and paper, calculator (try your phone if you don’t have one), usual sewing supplies.
If it looks as though the finished results might cause some underwear visibility issues, you’ll need some lining fabric too.
If you’re going to make a circle skirt from a duvet cover, you’ll need to consider the design of the fabric. Anything with stripes probably won’t work well. Don’t forget to have a look at the wrong side of the duvet cover! Sometimes there’s a plainer print underneath, which might be more suitable.
Before You Start
Preparing the Duvet Cover
To make a circle skirt from a duvet cover, you’ll need to get the duvet cover ready first. Unpick the seams and cut off the bits from the bottom with the press studs on. Running the iron over it might be an idea too if it’s crumpled.
Working Out the Measurements
You’ll need to find out your waist measurement, and decide how long you want the skirt to be.
Measure your waist and add 8 cm for the seam allowances.
Then measure from your waist to where you want the hem of the skirt to be. It’s easiest to do this if you dangle the tape measure upside down, then the number you need is where you can see it!
If you need more advice about taking measurements, you might like to take a look at this post here.
To make the skirt, you will need to cut 4 quarter circles, each from a square of fabric.
To calculate the size of the square that the quarter circles will be cut from, you’ll need to do some maths.
A circle skirt is basically like a doughnut. At the moment, we know the distance across the doughnut, but we need to know the distance not just to the edge of the hole, but to the centre of the hole.
The way to do this is to use pi. Pi is the relationship between the distance around the outside of the circle and the distance across the circle passing through the centre. However big the circle is, the distance around the outside is always roughly 3 times more than the distance across the middle.
So take your waist measurement plus the 8 cm and divide it by pi.
Because we only need to know the distance to the centre, not right across the middle, divide this number by 2.
Now add this to your desired skirt length.
This is how big you need to cut the squares. You’ll need 4 of them 🙂
Cutting Out
Decide which corner is the top. From this corner, measure down one side, marking off your skirt length plus the number you calculated using pi. Do the same on the other side.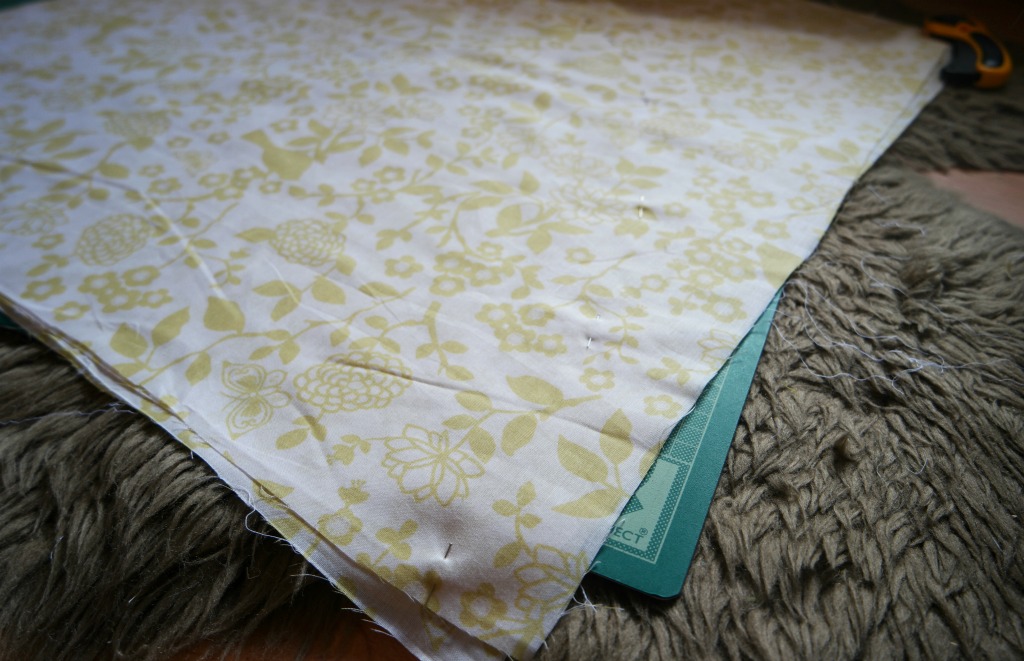
From the same corner, measure down just the number you worked out using pi. Measure across from the corner to the other side.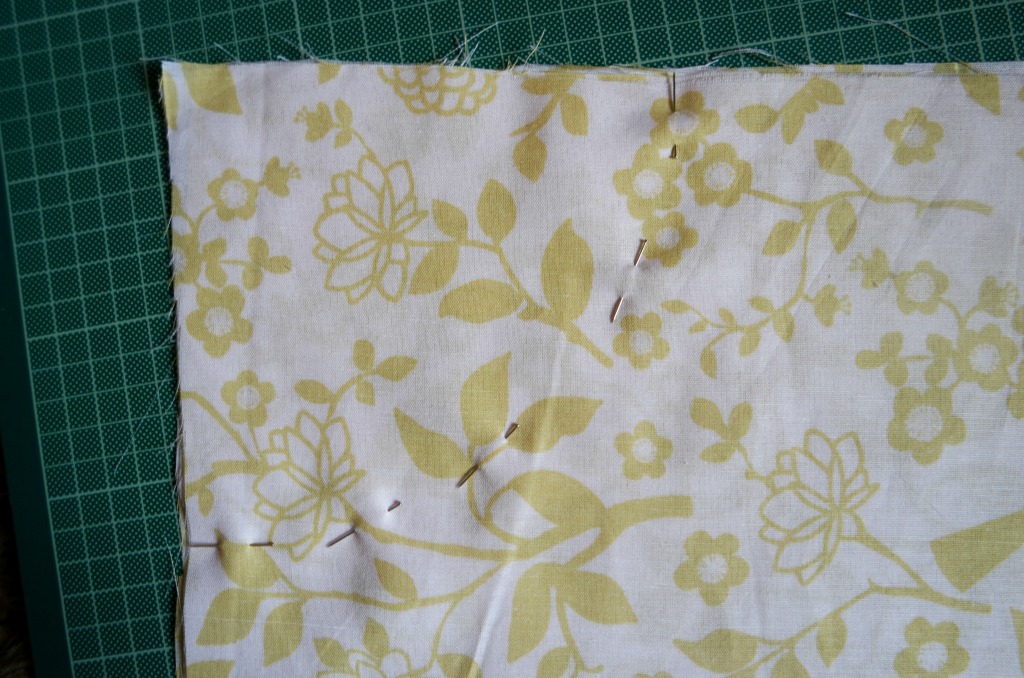
Cut where you have pinned. If you want to save some time, you can cut all 4 pieces together. Just make sure you have all the bits the right way up. It’s easiest to do this with a rotary cutter, but it’s possible with scissors if you use plenty of pins.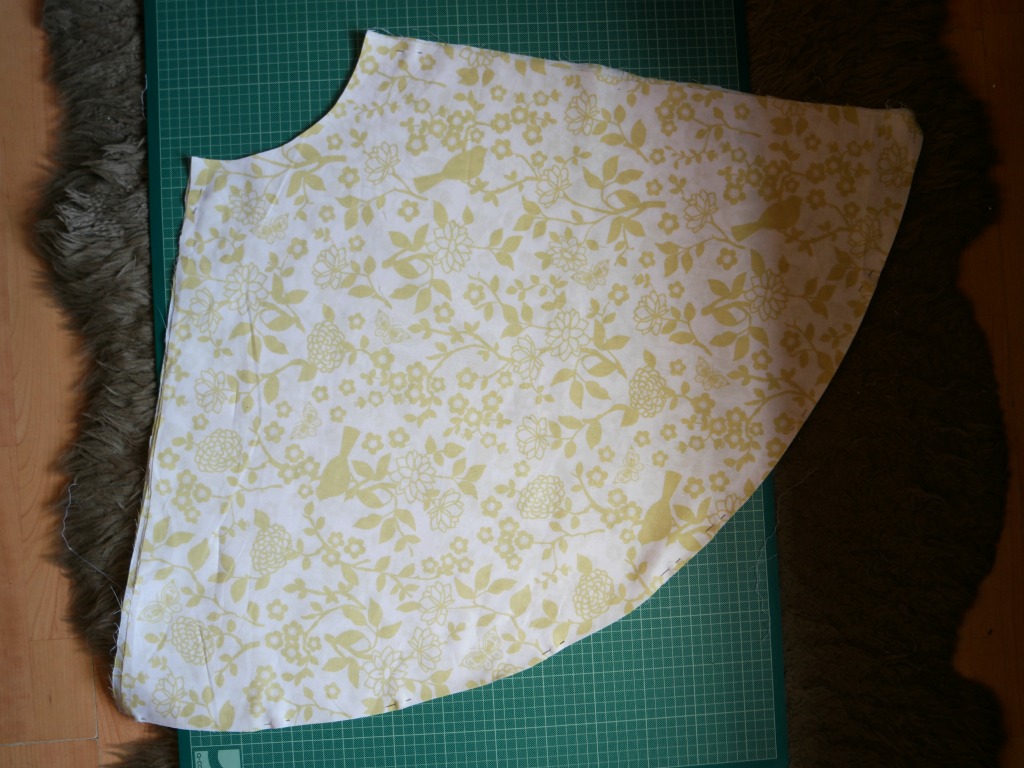
To make the waistband, you will need a strip of fabric 8-10 cm wide and long enough to go around your waist, plus a bit extra. If you need to join 2 pieces together, remember to allow enough for a seam allowance.
Sewing the Skirt
1. Take 2 of the quarter circles and join them along one side. The skirt will hang better if the front and back seams are on the grain.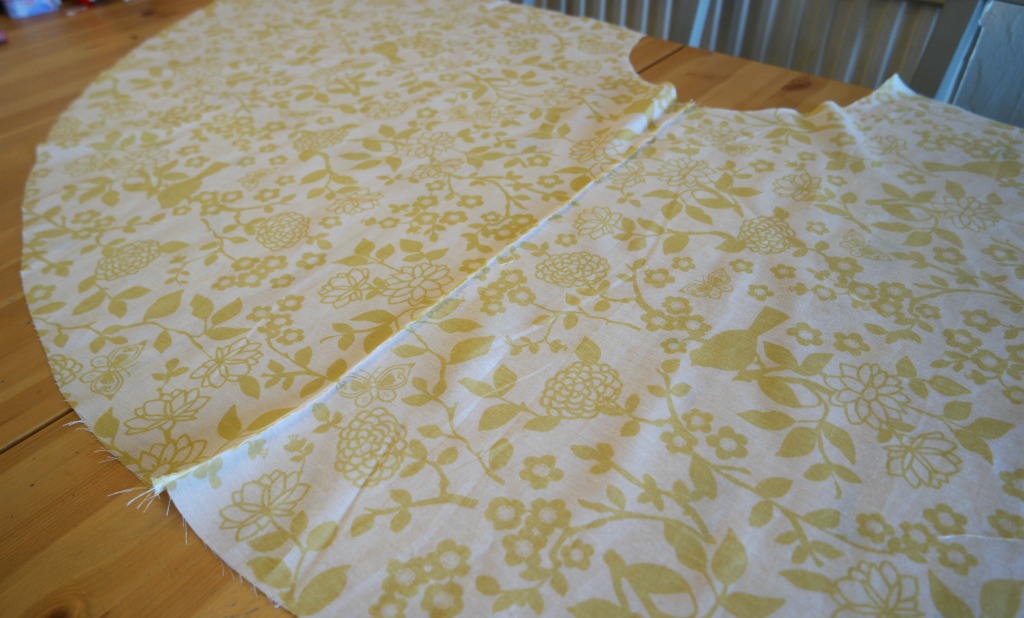
Repeat with the other 2 quarters.
Trim the seams and press.
2. Pin the 2 halves together on one side at the waist. Put it round yourself and pin the other side. Check that the seam allowance is about the same. Mark with a pencil or a fabric pen.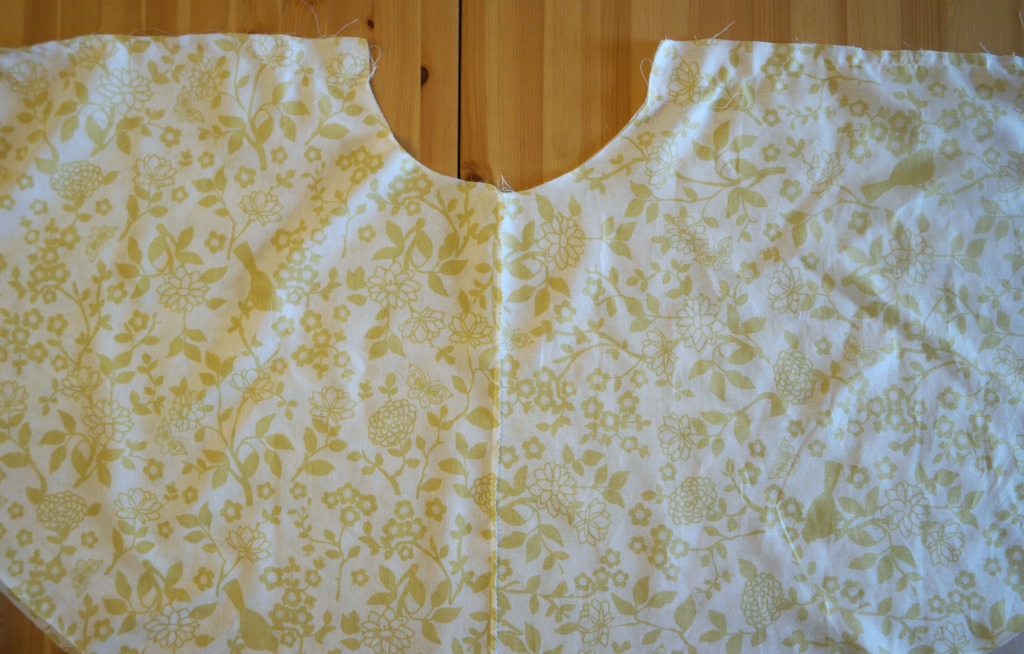
3. Unpin and sew the side seams. Press the seams.
4. To install the zip, pin it face down over the seam on the wrong side. Check that the teeth are aligned with the seam. Tack the zip in place. Keep checking that the teeth of the zip are over the seam.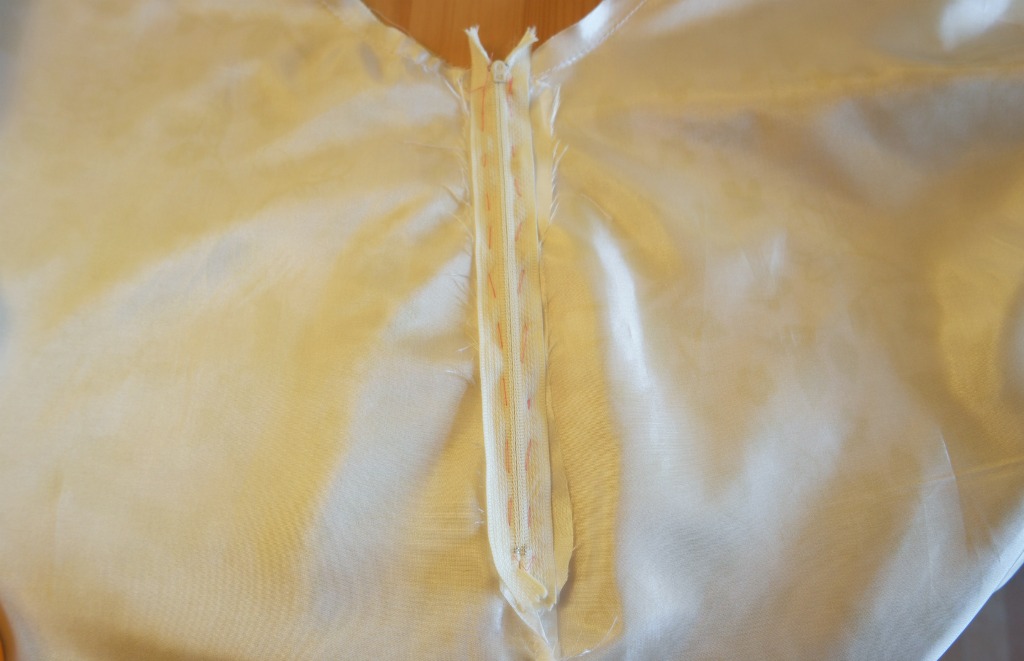
Sew around the zip. This is easier with a zip foot, but it’s possible without one.
If you need a more detailed tutorial showing how to sew in a zip using this method, there’s a tutorial here.
5. Take the pieces you cut for the waistband.
I got carried away at this point and forgot to take photos! If you want some pictures for clarification, there’s a tutorial for sewing a waistband here.
If the pieces need joining, do that now. Press the seam open. For lighter fabrics, you might want to use some fusible interfacing to give it more weight. Do that before joining the pieces.
Fold the waistband in half lengthways. Press it, then open it out. Fold the sides inwards. You don’t have to fold them right into the centre if you don’t want to. Just try to make them the same on each side. Press, then fold in half again and press once more.
6. Open out the waistband and pin one long edge to the waist of the skirt, so that the wrong sides of the waistband and the skirt are wrong side up. When you get to the zip, fold the end of the waistband over.
7. Sew the waistband to the wrong side of the skirt, keeping close to the fold.
8. Fold the waistband over the top of the skirt so that the raw edges are enclosed. Pin, then top stitch all the way round. When you get to the bit near the zip, you can either sew it with the machine, or by hand.
9. Finishing the hem on a circle skirt can be tricky because of the curve. The easiest thing to do is to use bias binding as it will stretch with the curve of the hem.
Unroll some of the bias binding. Starting at one side, pin the bias binding to the bottom edge of the skirt so that the right sides are together. Sew the bias binding to the skirt, keeping close to the folded edge.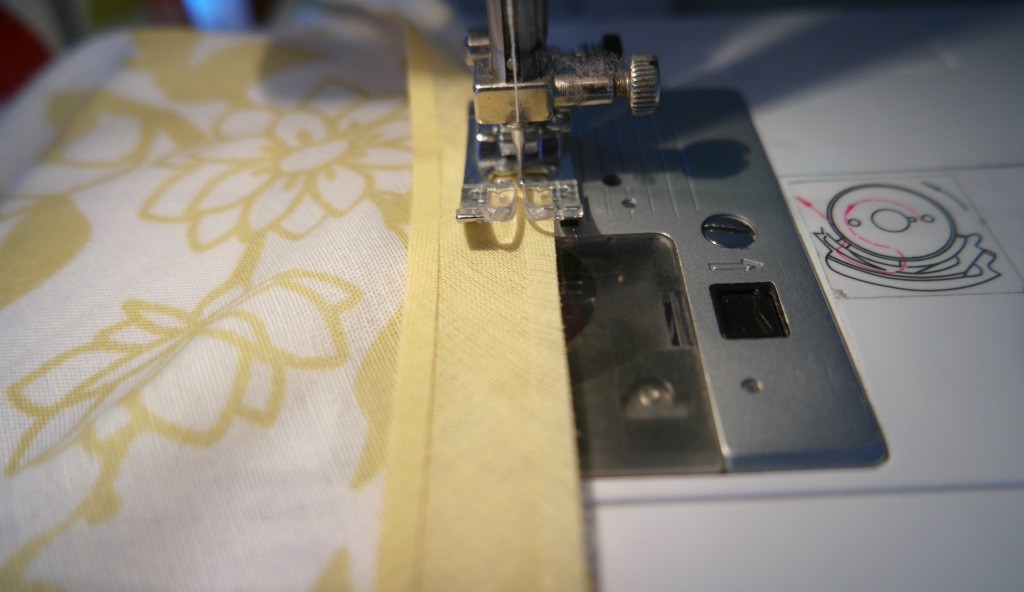
Press the tape upwards towards the skirt, then fold it underneath. Sew the bias binding to the skirt again, this time keeping close to the other folded edge.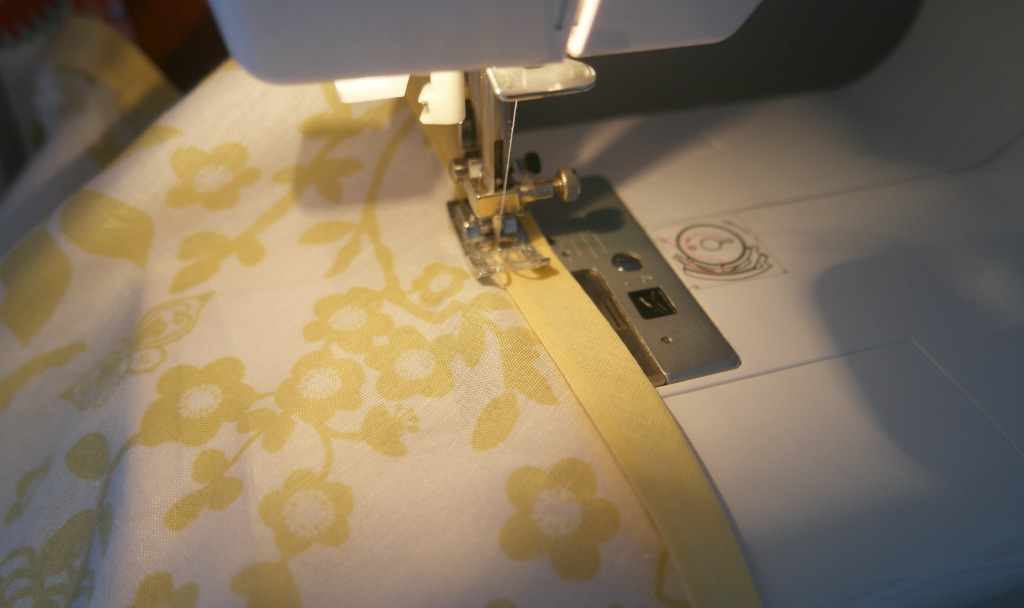
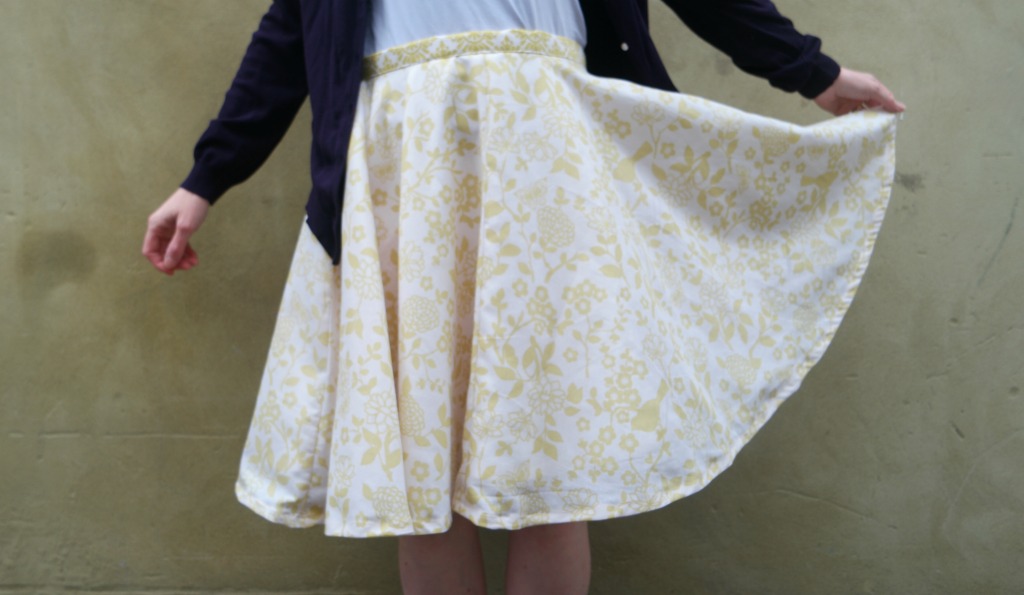
Run the iron it, trim away any loose threads and your circle skirt from a duvet cover is ready to wear!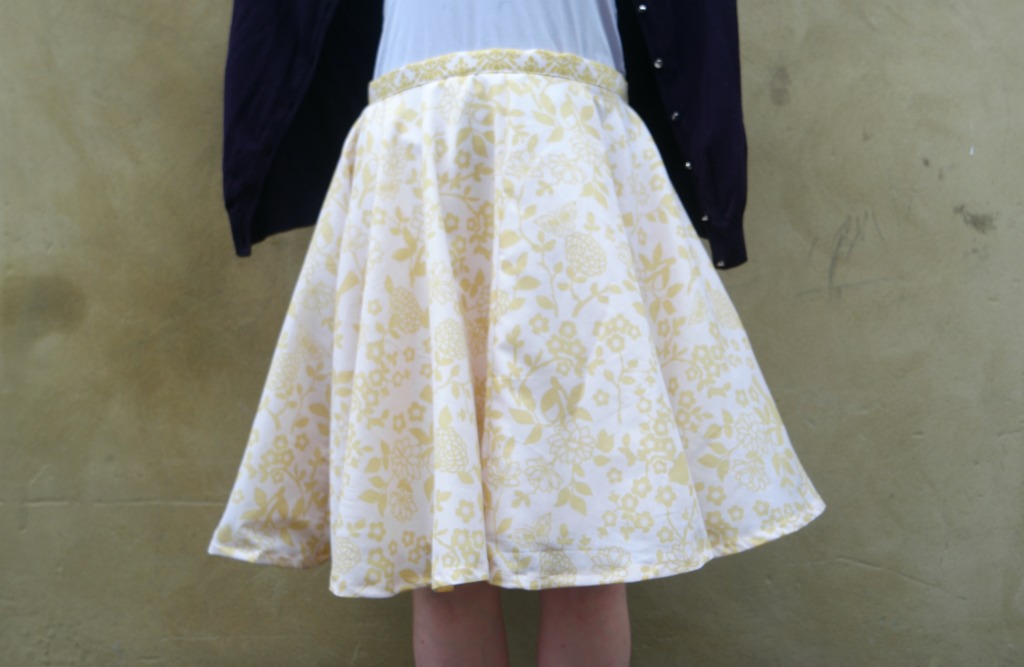
If you like this post about making a circle skirt from a duvet cover, you might also like these:
25 Tips For Sewing Clothes Without a Pattern
Cherry Blossom Dress Without a Pattern
You might be interested to know I have an ebook and some other downloads about sewing clothes without using a pattern! You can find out more here.


I really like this tutorial! can’t wait to try it. Do you have a tip about how to add pockets to this skirt?
That’s a good point, I need to make more things with pockets in! You could either google pocket piece, or use one from a pattern you already have, and slip them into the side seams just below where the waistband would be.
Hi Anna,
This is such a great DIY. I have beautiful but old duvet covers. I wish I could make our sewing machine run again. Been so busy with all other home reno and organization lately. I’d definitely make time sewing again.
Thank you for sharing this DIY.
Cheers,
Jessica
Hi Jessica, I’m glad you liked it! Could you get your sewing machine mended? If you have a fabric shop near you they might know of someone xx