How To Make a Burlap Christmas Wreath
One of my favourite pre Christmas jobs is to make a wreath for the front door.
In the past, I’ve used a foam ring and made one with greenery and berries. But over the last few years, I’ve tried making different kinds of wreaths instead.
Making a green wreath was going to be harder this year as my source of Leyland Cypress has been cut down and replaced with a fence. It’s less work for the people who run the plant nursery behind us, but it’s less useful at Christmas!
The oasis flower foam people recently sent me a couple of rolls of burlap ribbon along with a vase and a lantern. I’ve used the lantern, and I wanted to make something with the ribbon.
I also made some felt poinsettias earlier in the week, and as somebody on Facebook suggested, they would look very nice on a wreath!
So I decided to make a burlap Christmas wreath.
Initially I decided to have a go at making a bubble wreath, but I discovered that my wreath form wasn’t the same as the ones used in the tutorials I’d found on YouTube. It’s also not as easy as you’d think, and you need masses of ribbon! I had 3 rolls, each with 3 metres on, and it wasn’t enough.
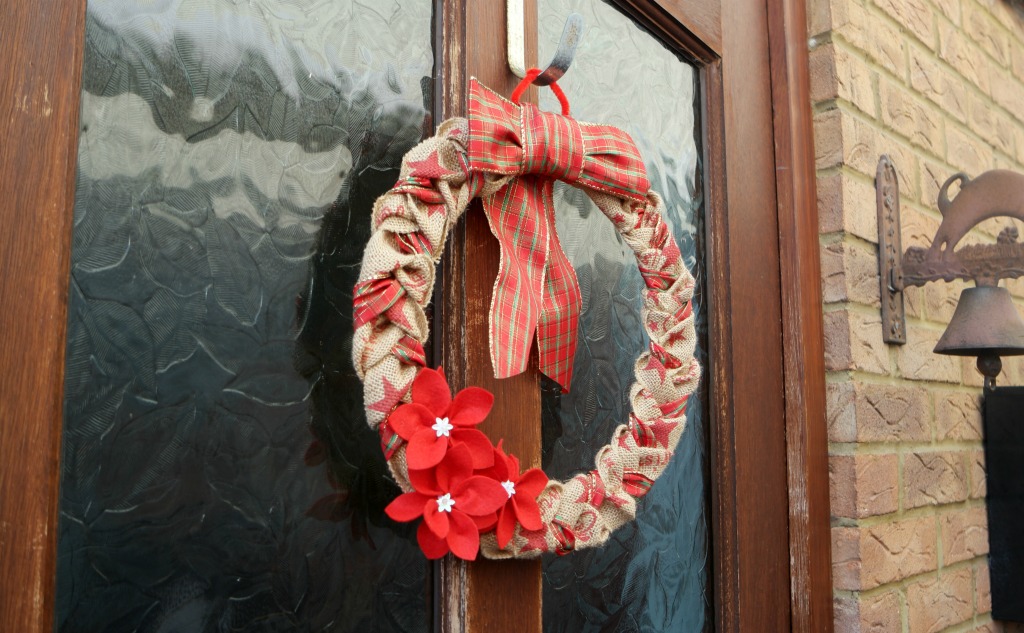
So I undid it and tried something else! This is what I came up with.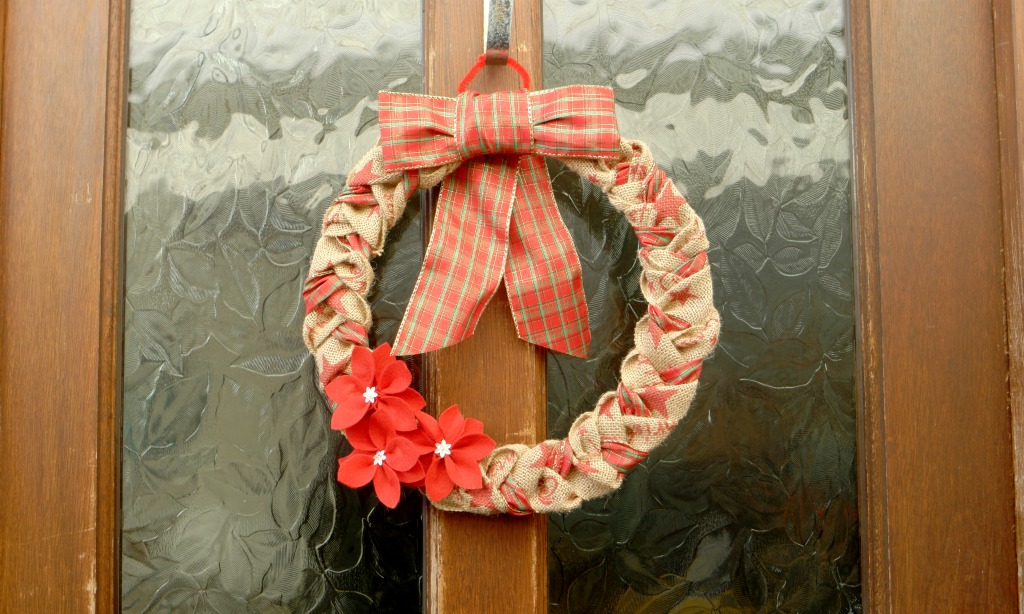
The ribbon is plaited around the wreath form. The messy bit where the ends are is covered with the bow. The felt flowers are the same ones I made earlier in the week (the tutorial for them is here).
So here are the instructions for making a plaited burlap Christmas wreath!
I have included some affiliate links.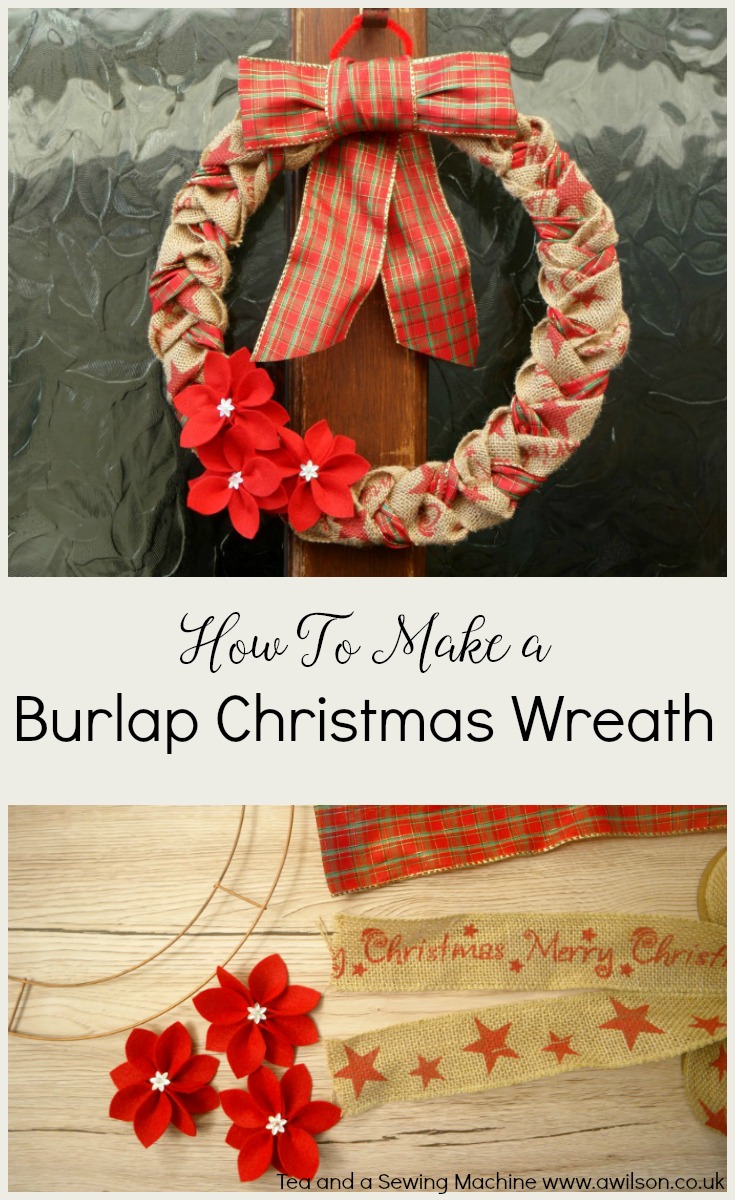

Plaited Burlap Christmas Wreath Tutorial
You Will Need
A wreath form (I got these from Amazon), wide ribbon in 3 different designs (3 3 metre rolls will be plenty), felt flowers (the tutorial for the poinsettias is here), a pipecleaner or an elastic band, a needle and thread.
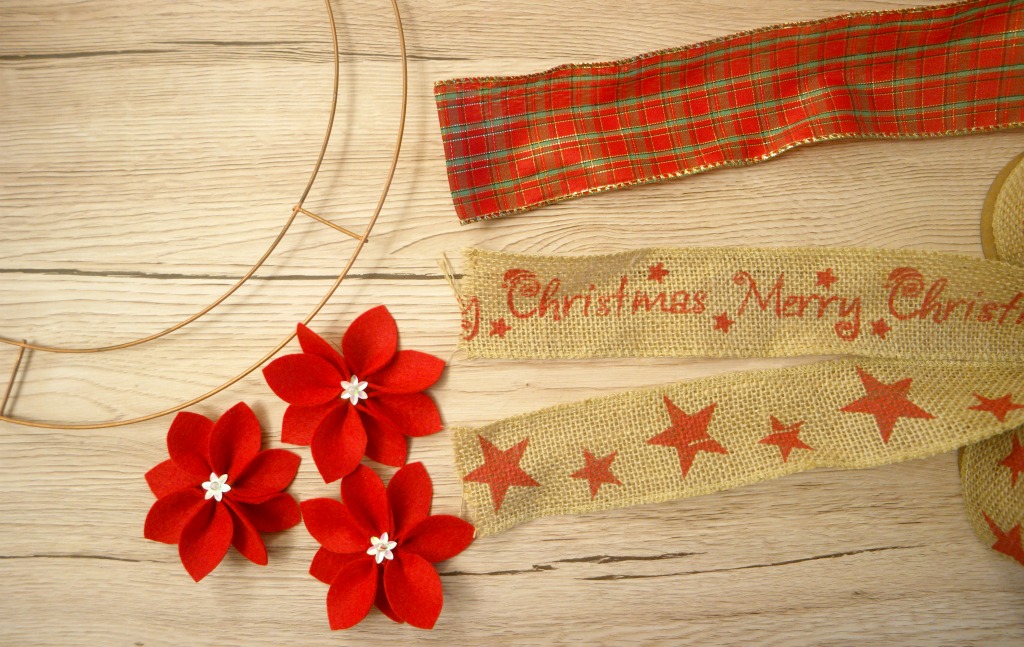

The burlap ribbon I used came from Oasis Home and Hobby. The tartan stuff came from the weird little shop over the road from my house.
Making the Wreath
1. Using the pipe cleaner or an elastic band, secure the ends of the ribbon to the wreath form.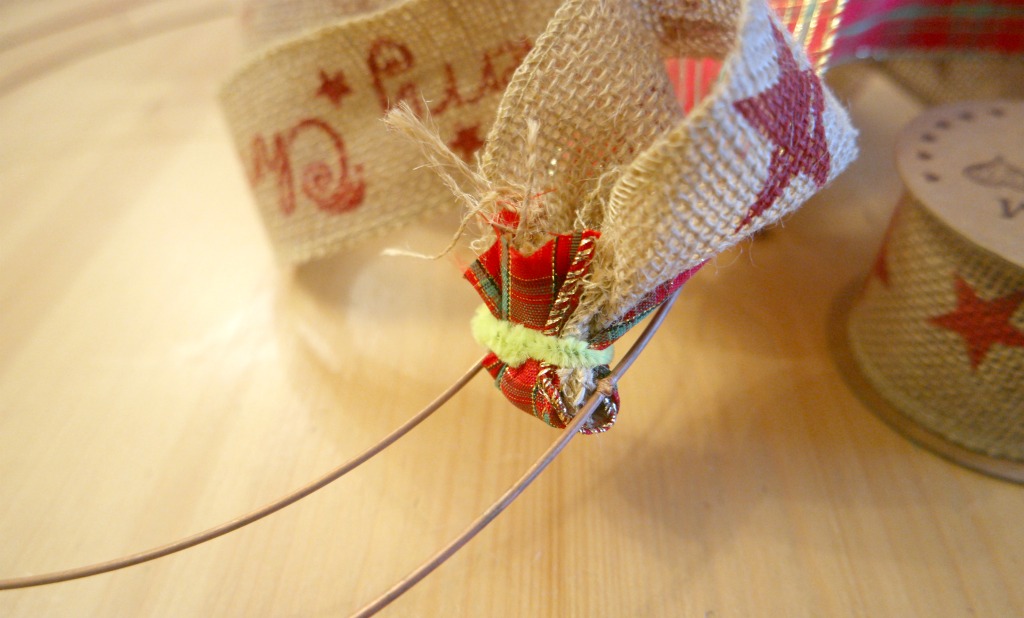

2. Start to plait the ribbon around the wreath form. To do this, take the ribbon from the back around the edge, then through the gap in the centre. 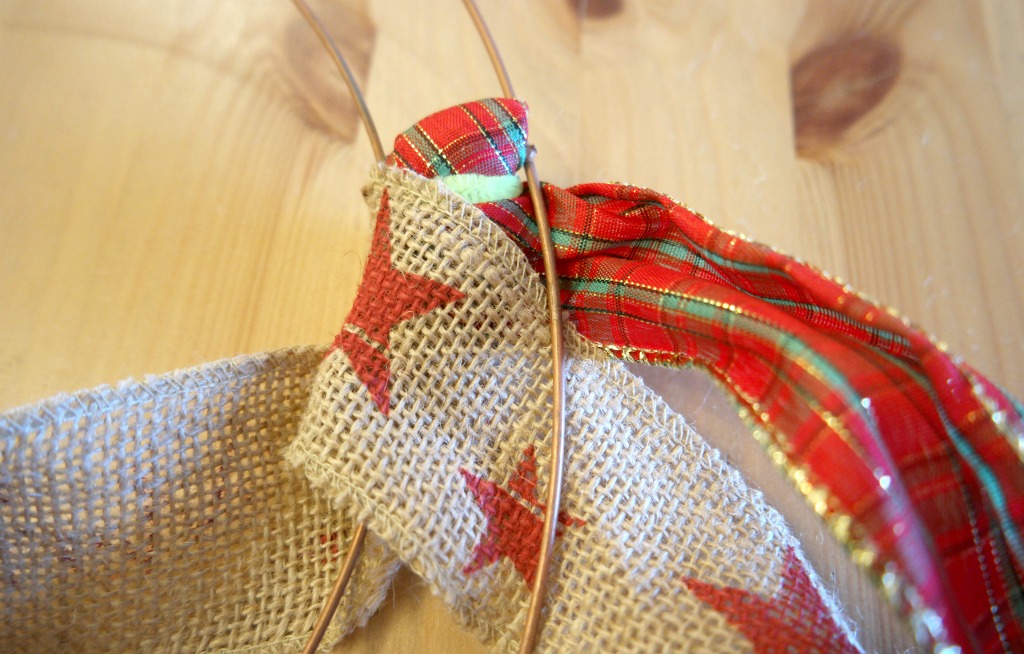

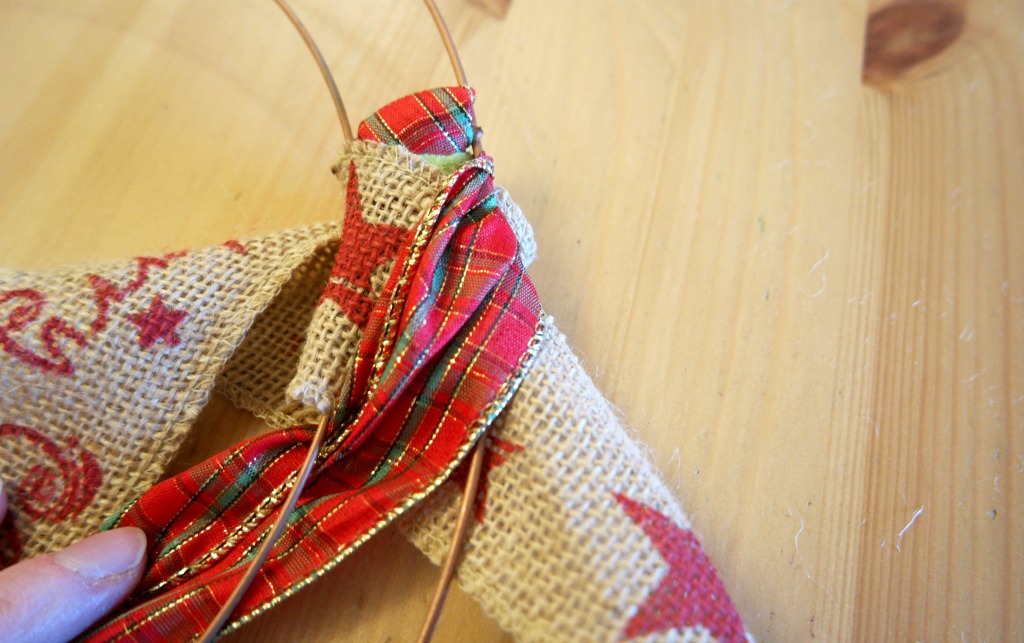

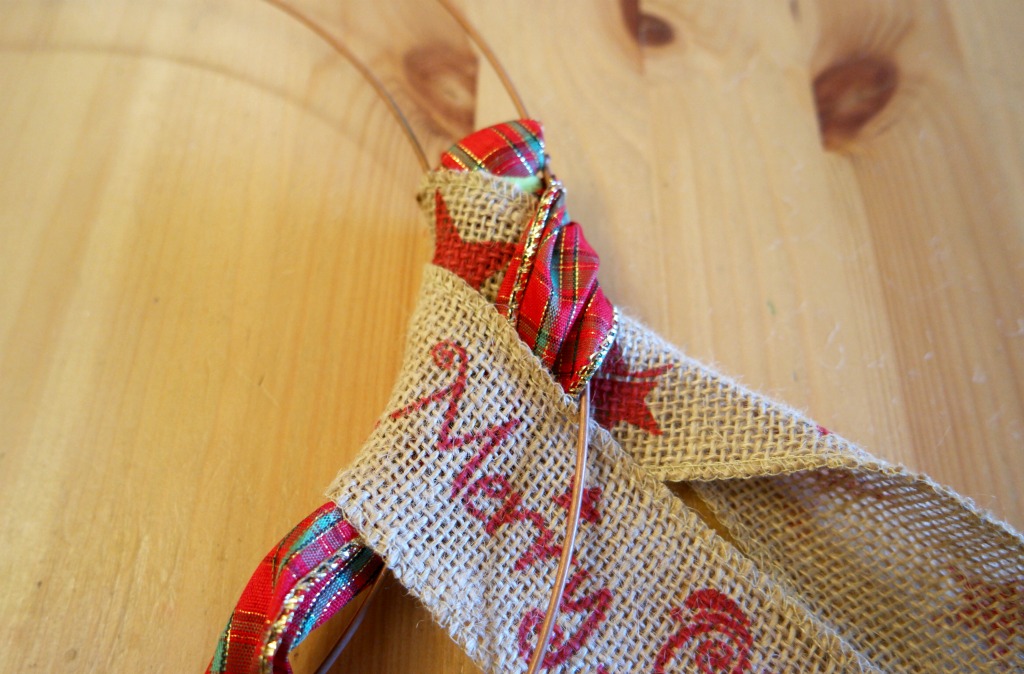

Keep going! Try to keep the plaited sections about the same size.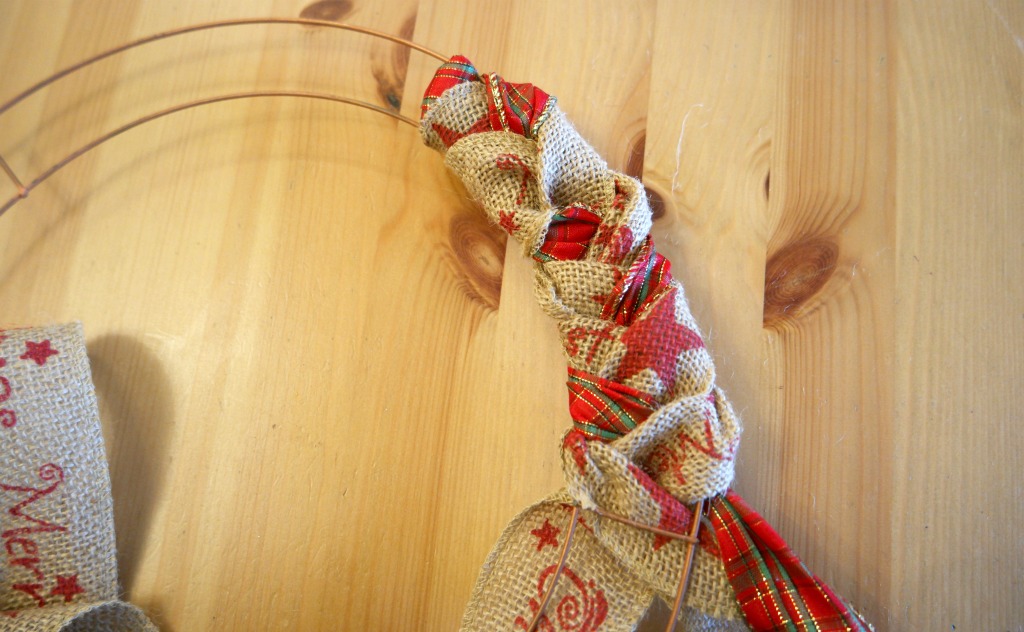

When you get to the joins, just take care to cover them up. You can always pull the ribbon a little bit to hide them.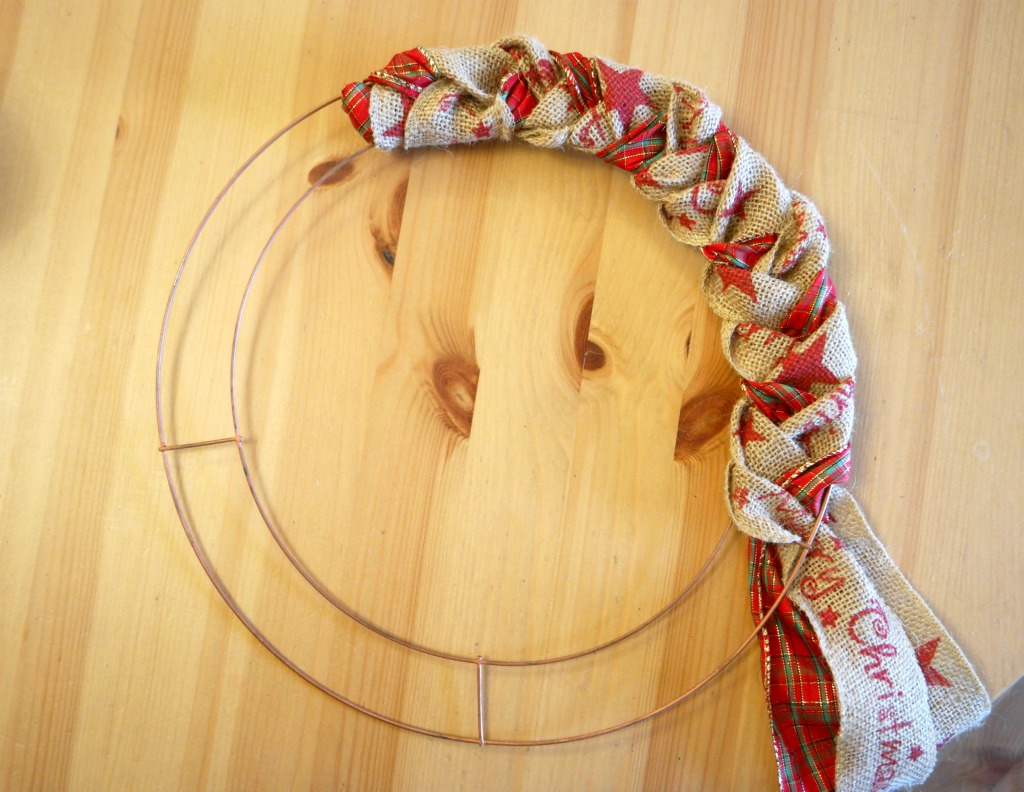

3. When you get back to wear you started, tie the ends by wrapping them round the wreath once and pulling the ends through.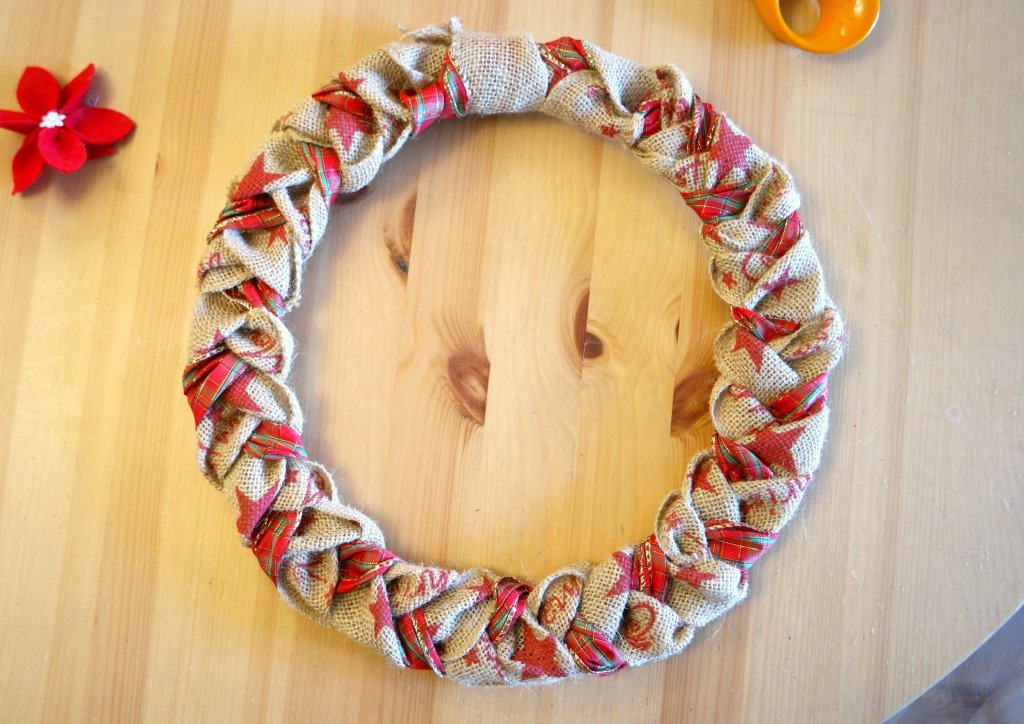

4. To make the bow, make a loop with a piece of ribbon and sew the ends together. You might like to gather it a little bit.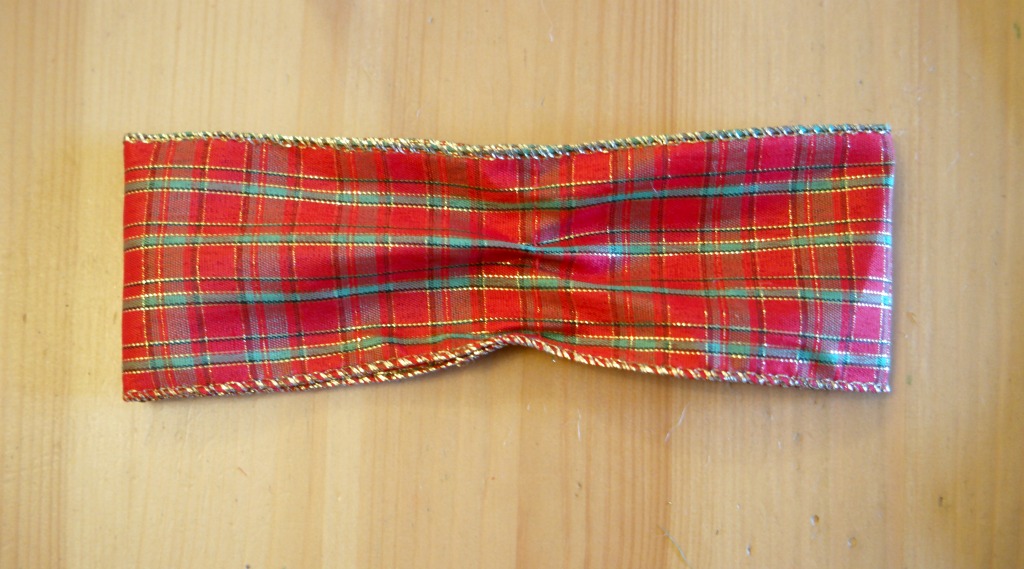

5. Hold the bow to the wreath over the ends, then take a piece of contrast ribbon and wrap it around the wreath and the bow. Sew a few stitches at the back to hold it in place.
6. Cut another piece of ribbon and fold it in half to make the tails of the bow. Sew it to the back of the wreath.
7. Take your felt flowers and arrange them at the bottom of the wreath on one side. Sew them to the wreath by sewing a couple of stitches into the back of the flower and passing the needle through the wreath. Sew a couple of stitches into the ribbon and tie off the ends. 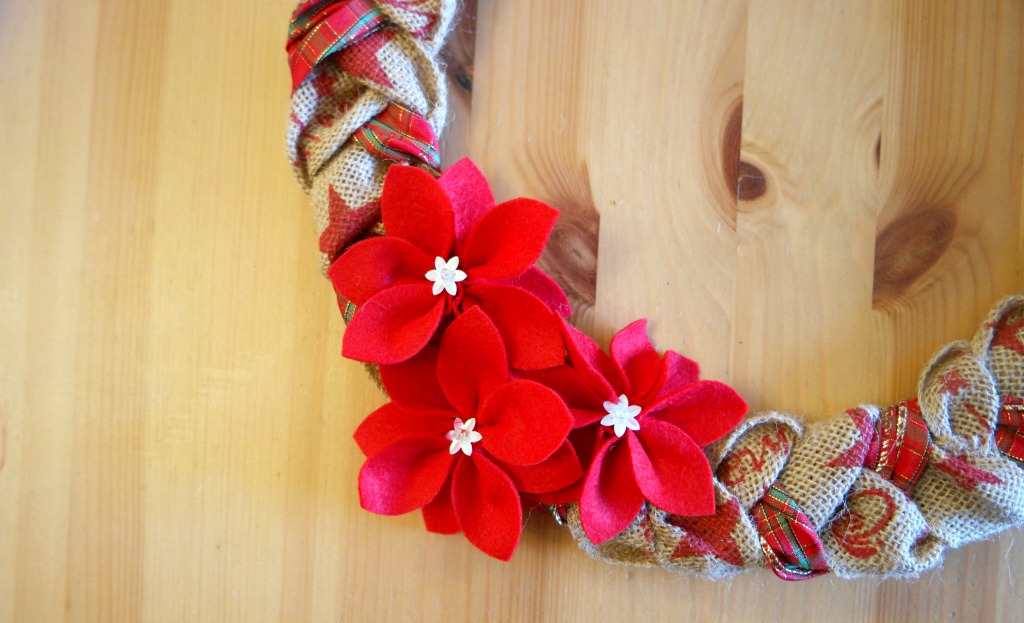

8. Hang the wreath on your door and expect to feel Christmassy every time you come home!



If you like making wreaths, you might like to take a look at these wreath tutorials here.


Shirley Donihoo says
January 28, 2019
Your Burlap Wreath is just beautiful! It’s exactly what I have been looking for. This is just perfect for me. I’ve looked at so many wreaths, but none were right. This is most traditional yet very elegant. Oh, thank you so much. You are so talented and gifted. I love looking at all your projects. Please don’t go anywhere, we all need you to help beautify our homes. Again, thank you, Shirley!
Thank you 🙂 I’m not going anywhere!
You have quit the family and a 3 legged cat! Love it… But this so beautiful! I have a friend that uses burlap and regular designed material to make Christmas ornaments using styrofoam balls… They are a hit here 🙂 I’m going to pass this along to her for new ideas!
Thanks 🙂 Toki
Thank you Toki xx
That’s really lovely. A bit different from the greenery we usually have but still rustic and traditional feeling.
Thank you 🙂
Hi Anna, just stopping by to let you know your lovely wreath is one of the features at this weeks Handmade Monday 🙂
Thank you 🙂