30 Minute Storage Basket
30 Minute Storage Basket
One of the things I’ve discovered since I began home educating my 3 younger boys a few months ago is just how much more stuff there is!
A while ago I posted this photo in a home ed Facebook group.
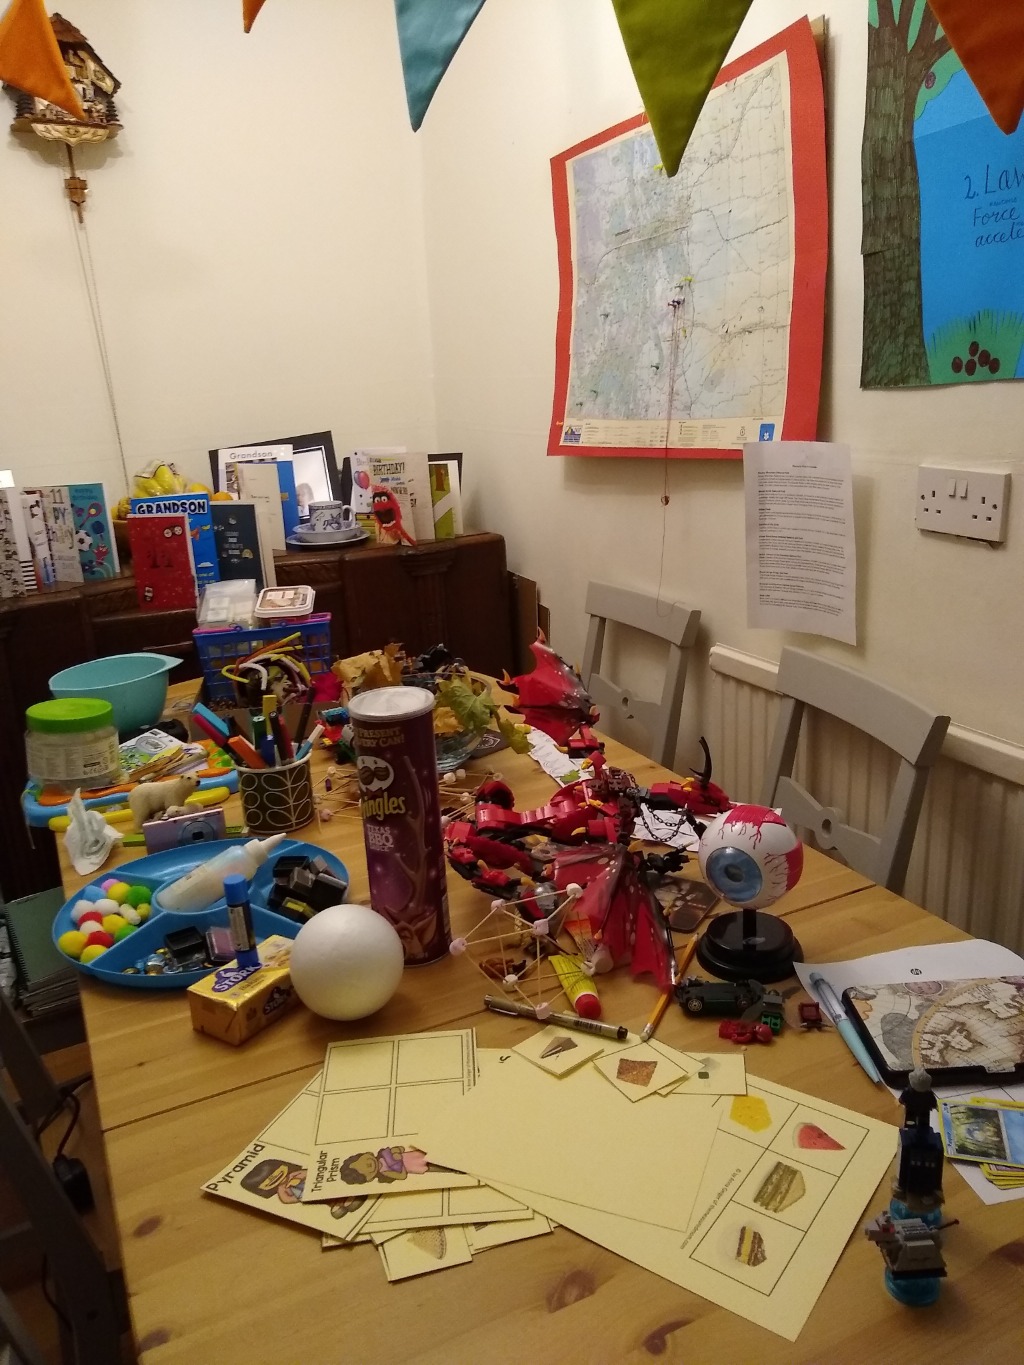
Obviously the boys had been very busy, but unfortunately we also use that table for eating! Quite aside from the fact that I don’t especially want to eat my dinner with Barnabas’ eyeball for company, the stuff takes up so much space, there was hardly any room for the plates!
In December I cleared all the stuff off the sideboard and rehomed things. This was so that I had a decent space to put out the Lego Christmas village.
Since Christmas, the Lego has gone away but I haven’t got round to collecting up all the stuff that used to live there and putting it back.
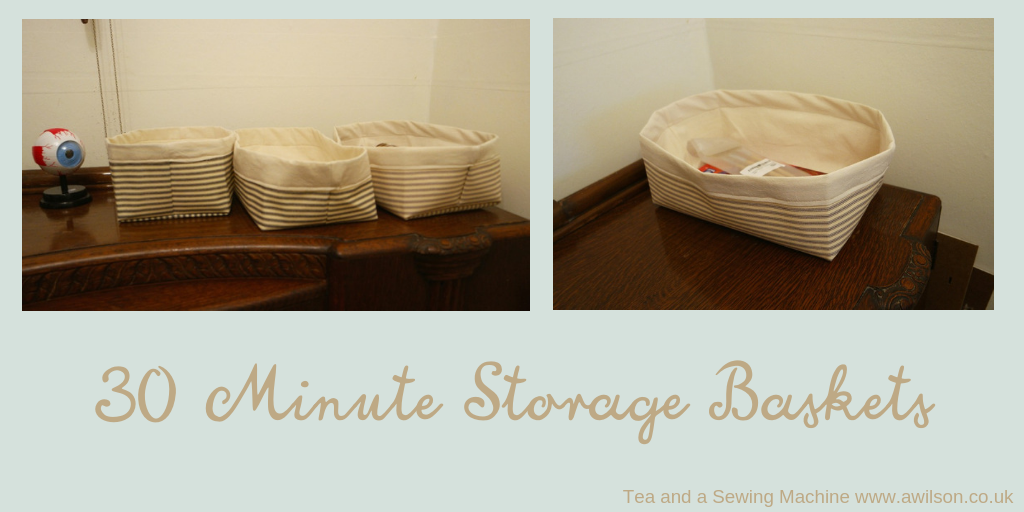
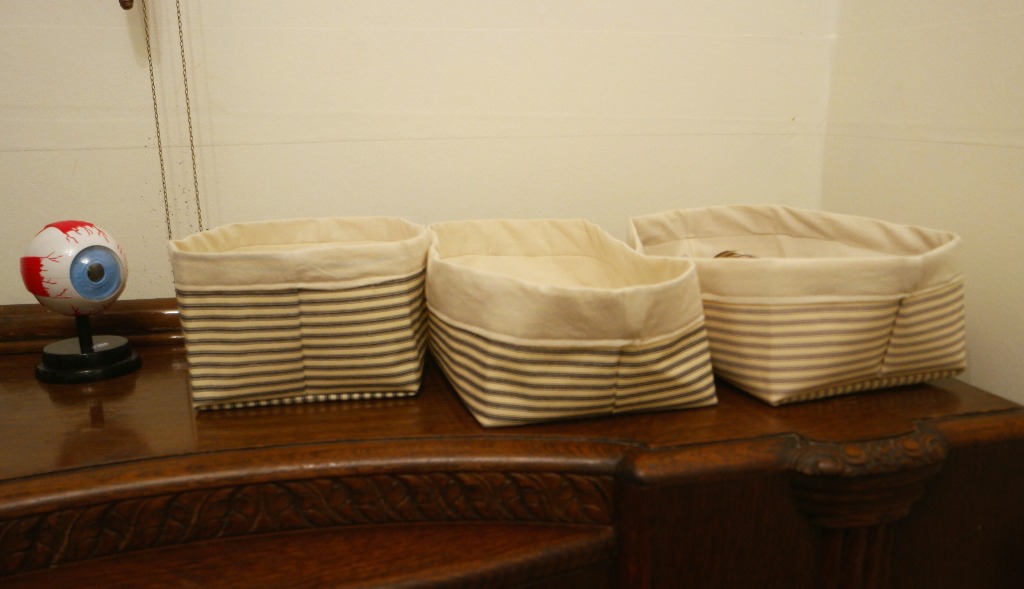
So I decided to make some storage baskets that can live on the sideboard. Hopefully they will help to keep the table clear enough so that we can eat there without eyeballs and science projects.
Whatever stage of life you are at, a storage basket is always useful. There’s always stuff that needs a home, especially after Christmas!
About The Storage Basket
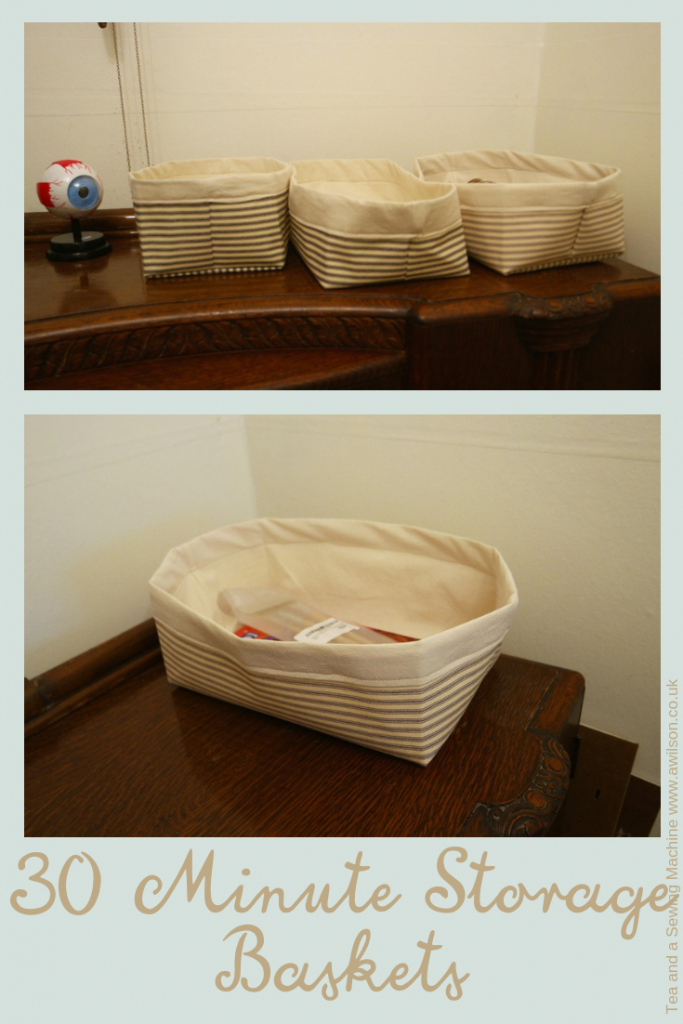
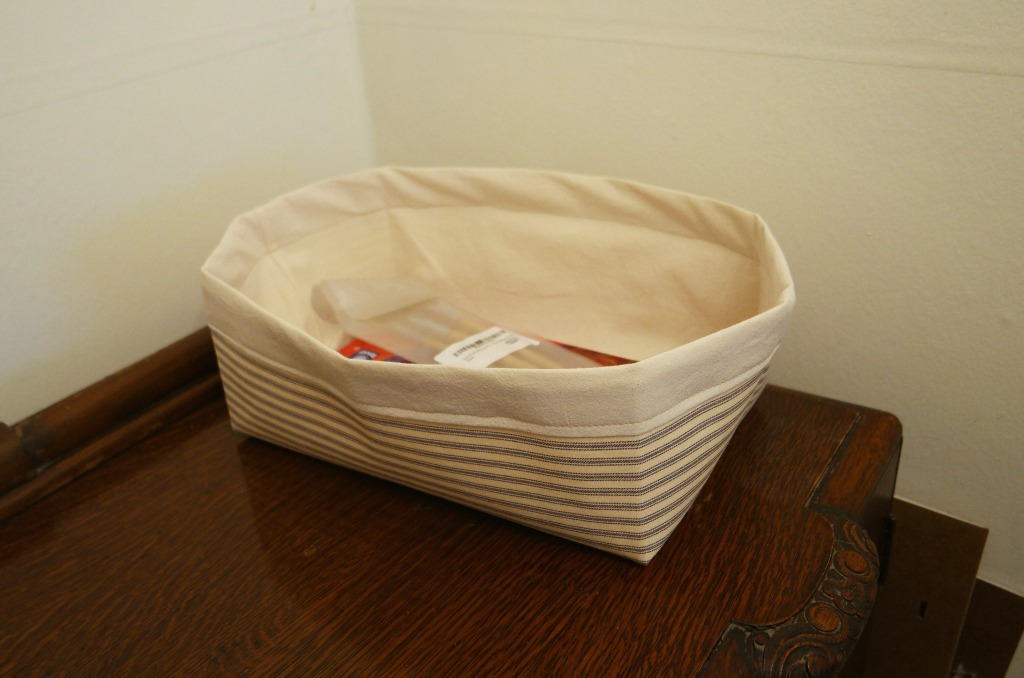
Size. The baskets can be made whatever size you like. I cut the outer sections of the 2 larger baskets so that they were about the same size as a tea towel. I made the third storage basket smaller because the piece of fabric was smaller.
Fabric. I used ticking and a cotton/ linen blend that I had left over from another project. Medium weight fabrics will work well. Cotton or polycotton is fine too as long as you use interfacing.
Storage baskets are a great way of using up bits and pieces from your fabric hoard, so just see what you have. You could even use actual tea towels!
Interfacing. I made one basket with fusible synthetic buckram, and 2 with firm interfacing. Both worked, but I think on balance that the interfacing was better.
The fusible buckram was great, nice and stiff, and the basket holds its shape well. The problem was that synthetic buckram has no give at all. If your lining is not exactly the right size, you can’t stretch it to make it fit. It was also difficult to press the seams properly.
The interfacing made a storage basket that was less rigid but it was much easier to sew.
Lining. Cotton or polycotton is fine for lining the baskets. Just see what you have already!
To cut the lining, use the outer piece as a template. Find the longer edge and add about 8-10 cm (3-4 inches). You need enough to fold it over the edge of the outer then tuck the raw edge underneath.
Timing. I’ve called this a 30 minute storage basket. To be honest, I didn’t time myself making them. I usually do a bit, then sort kids out/ make dinner/ drink tea etc, so I don’t actually know how long it took me.
The point is that they didn’t take me very long! It might even have been less than half an hour. I have made storage baskets like this before, and things often take a bit longer the first time you do them. Once you’ve made a couple, you’ll be knocking them out like nobody’s business!
How To Make 30 Minute Storage Baskets
You Will Need
Fabric for the outer (cotton, polycotton, canvas, ticking, oilcloth will all work well).
Fabric for the lining (Cotton, polycotton or something else lightish, although medium weight fabrics might work too. Try it and see!).
Firm interfacing, fusible buckram or similar.
A teatowel for measurements.
Usual sewing supplies.
Cutting Out
Using the teatowel as a guide, cut a piece the same size from the outer and the interfacing.
For the lining, use the teatowel as a guide again. Find one of the longer edges and instead of cutting along the edge of the teatowel, move 8-10 cm (3-4 inches) away, then cut it. You should end up with a piece that is as long as the tea towel, but a little bit wider.
Sewing the Storage Boxes
If you are using fusible interfacing, fuse it to the wrong side of the outer.
Fold the outer in half lengthways with the right sides together. Pin the short edges together, then sew. Trim the seams and press them open.
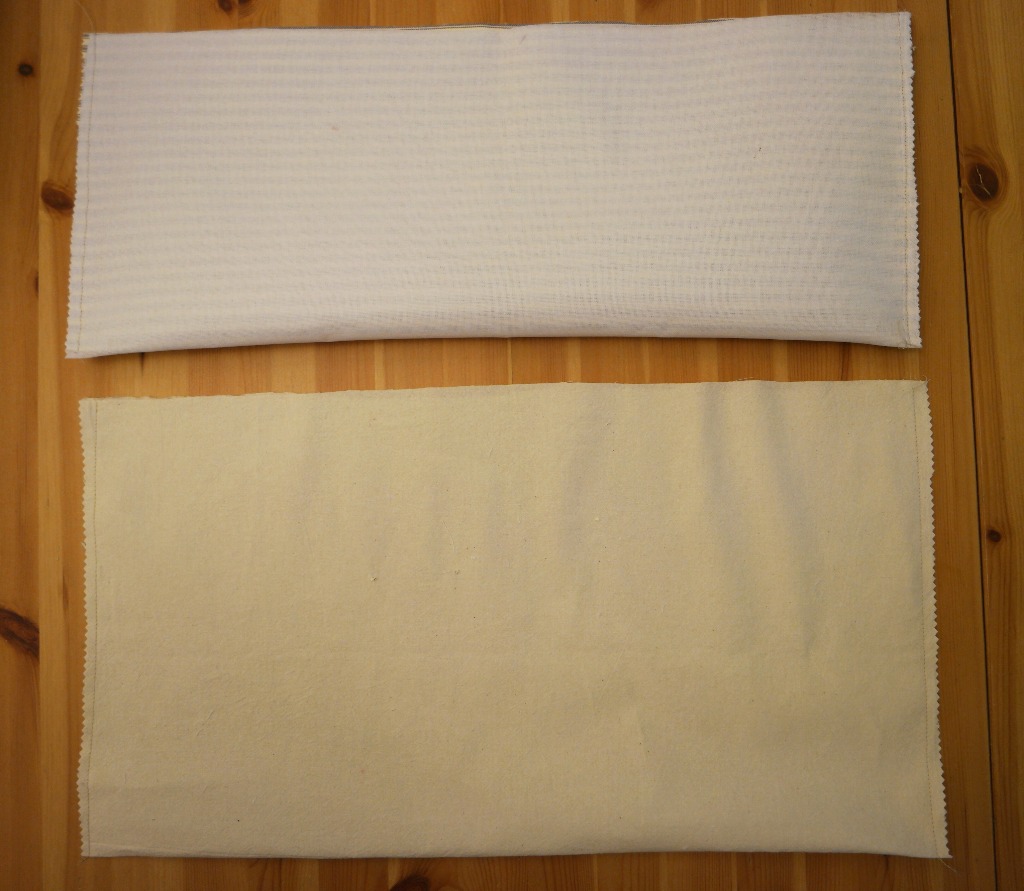
Take one of the corners. Open the box out then squish the corner flat so that the side seam is next to the fold at the bottom.
Measure about 8 cm (3 inches) up from the corner. Pin so that the pins are at right angles to the side seam. Pin the other corner in the same way.
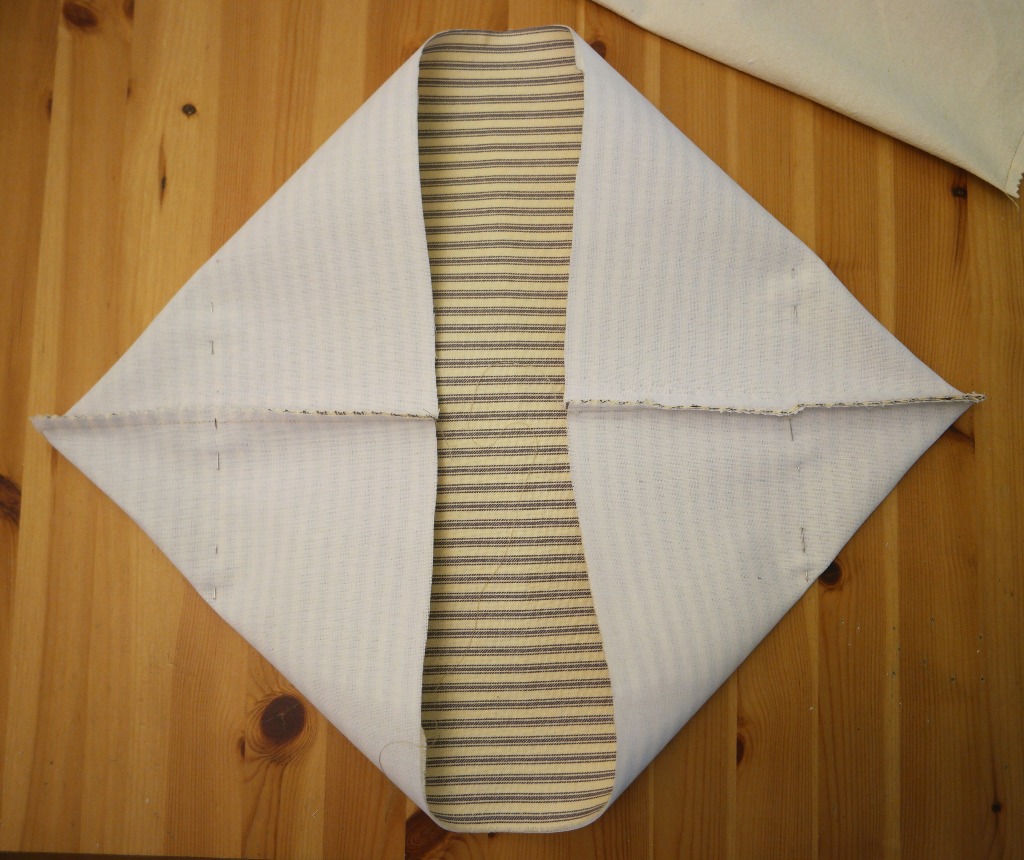
Sew across where you have pinned. Cut the corner off. Do the same with the other corner.
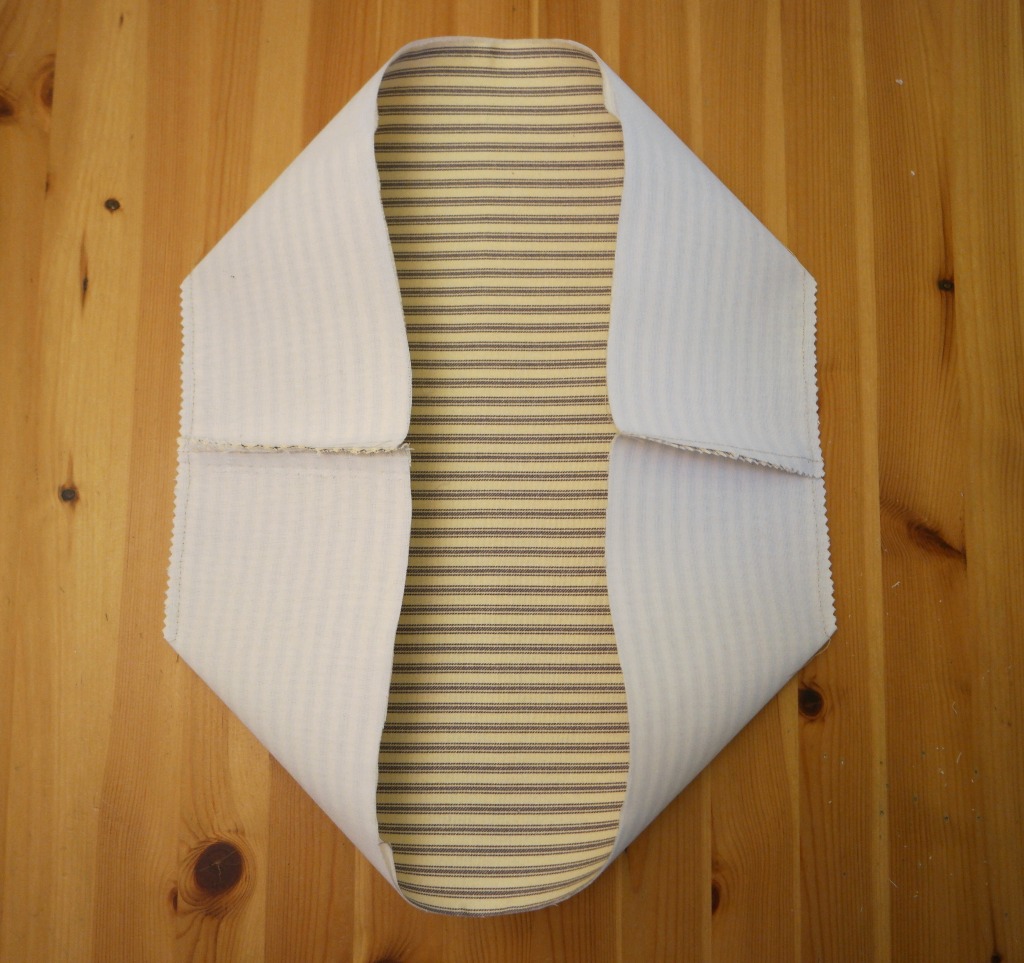
Repeat steps 1-5 with the lining.
Turn the basket outer the right way out. Pop the lining inside the outer so that the wrong sides are together. You might find it helpful to pin the corners.
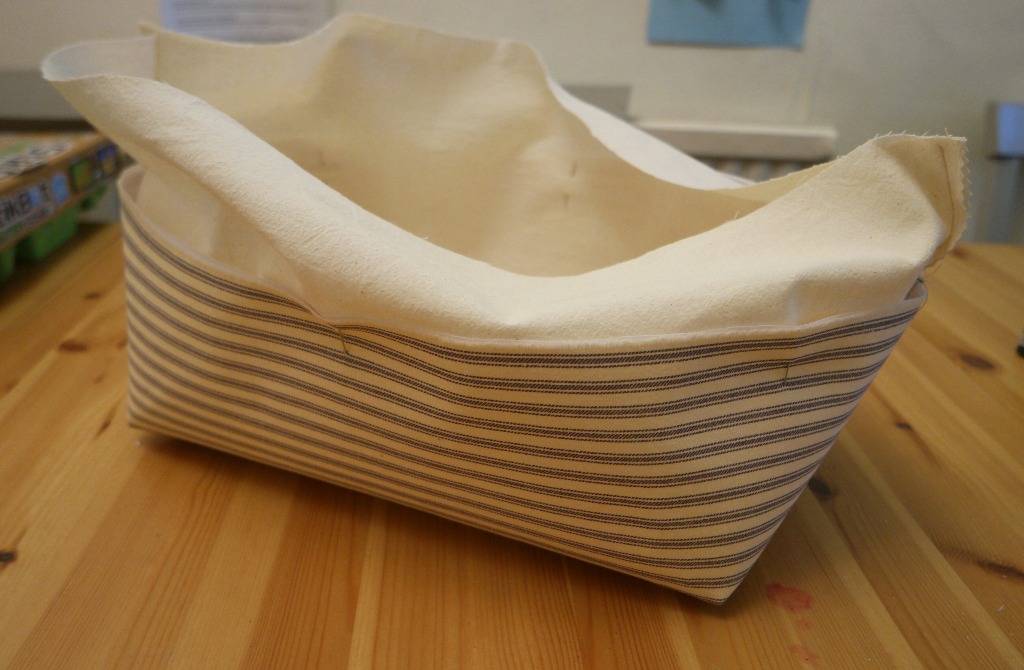
Fold the lining over the outer. Tuck the raw edge of the lining underneath. Pin, then sew around the outside of the basket, keeping close to the folded edge.
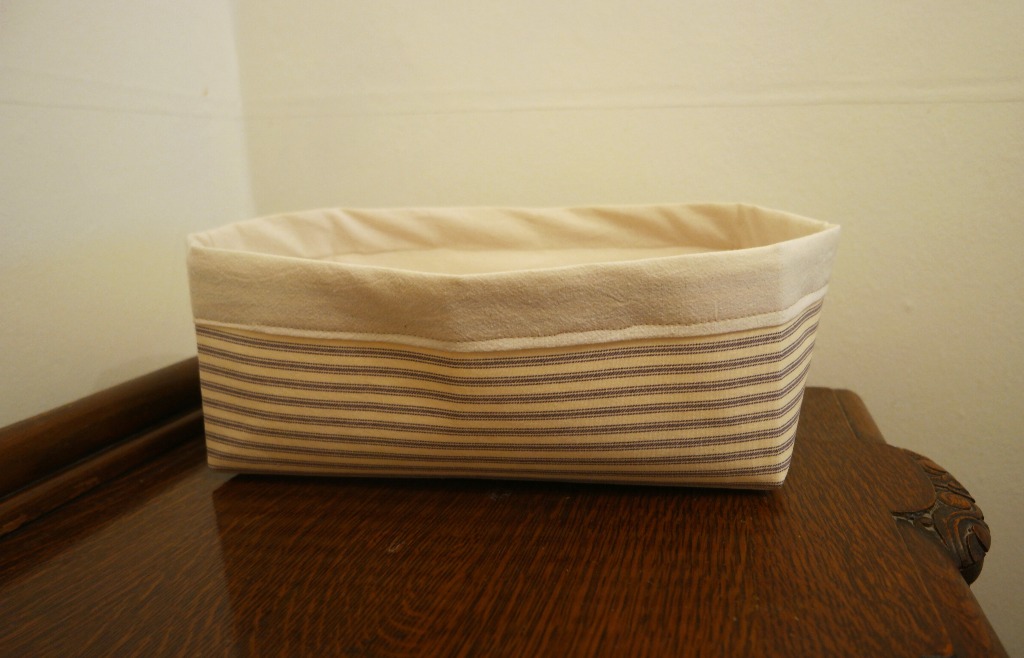
Tips For Making Several Storage Baskets At The Same Time
Choose fabrics that go well together. Try stripes or spots for the outer with a neutral lining, or quilting cottons from the same collection.
Batch the jobs. Do all your cutting out, then all your interfacing fusing, then all the side seams. As well as being more efficient than making each basket separately, it also means that if you have to move your sewing machine so that people can eat dinner, you’re more likely to get a whole stage done. This also works better for those of us with short attention spans!
Use a rotary cutter and pattern weights for cutting out. There’s a tutorial for pattern weights here if you need one! Doing it this way is much quicker because you don’t have to faff about pinning everything and you can cut out several bits at once.
If you make some I’d love to see! Please share them on social media, or you can email me :). And let me know how long they took you!


What a great idea. Love it thanks for sharing. ? ?
Thank you 🙂