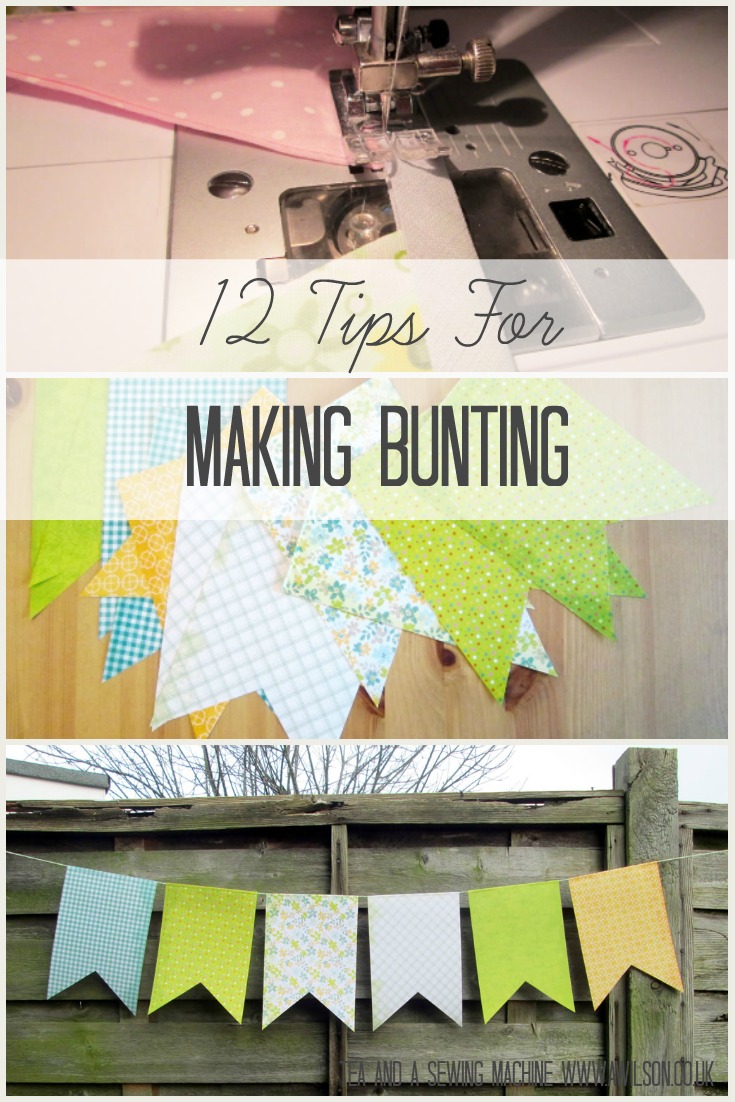
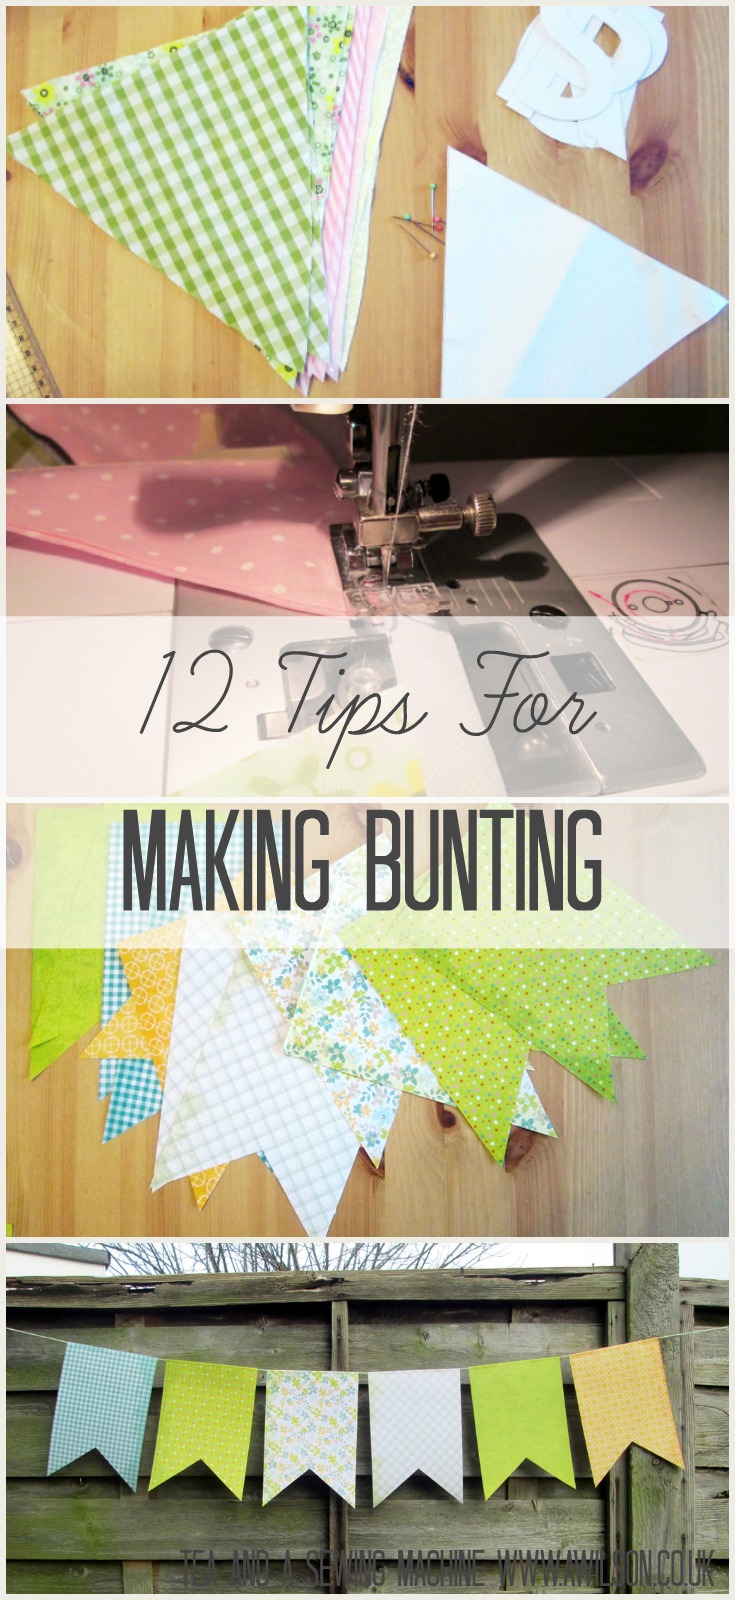
12 Tips For Making Bunting
It probably comes as no surprise that I love bunting!
At home I have it everywhere. I even have mini bunting for the Christmas tree! I had it across the front of my house too until some bright spark decided to swing on the hanging basket and the bracket I’d tied the bunting too came off the wall.
There’s something so cheery about those little flags, and it makes me think of a time when life was perhaps simpler.
I recently made some autumn themed bunting for a guest post I wrote for All Free Sewing and Seam and Scissors for National Sewing Month.
The flags are made from plain cotton from the Kona Solids range. For the trees, I chose patterned fabric in autumn colours. The trunks of the trees are made from felt. There’s a template you can download for the trees if drawing is not your thing. You can read the full tutorial here.
And if you live in the US or Canada you can win a sewing machine, so when you’ve finished reading this, hop over there and have a look!
12 Tips For Making Bunting
As I make bunting quite a lot, I’m going to share with you 12 tips for making bunting.
1. Make a template out of cardboard. A cereal packet will do, but a cardboard box is better because it’s thicker.
2. When you are cutting out, draw round the template onto fabric first. If you flip the template upside down for every second flag, you’ll get more flags out of your fabric.
3. If you are making a lot of bunting, don’t bother drawing round the template, just cut round it with a rotary cutter. It’s much quicker that way!
4. Quilting weight cotton is nice to work with. However, if you are on a budget, polycotton is fine. You are unlikely to need to wash your bunting so the issue of polycotton going bobbly in the wash won’t be a problem.
5. Use bias binding to string the flags together. Fold the bias binding in half, slip the flags in between the fold and sew them in place.
6. It’s easiest to keep the bias binding on the roll and unroll and fold as you go.
7. If you are in a hurry, fuse some interfacing onto the back of your fabric and cut out one set of flags instead of 2. Then just sew them straight to the bias binding. This way works better if you’re using polycotton as it doesn’t fray as much as cotton.
8. If you are appliqueing shapes to your bunting, keep them simple. It’ll make it much easier to sew round them!
9. Before appliqueing shapes to the flags, fuse some interfacing to the shapes and to the wrong side of the flags. This will make the shapes less likely to fray and the flags less like to pucker.
10. Bunting is great for using up small bits of fabric left over from other projects! If you’ve been sewing for a while, you probably have something you can use already. If you don’t have anything in your fabric pile but you don’t want to buy more fabric, consider using old clothes (shirts are great), tea towels, duvets or tablecloths.
11. Bunting doesn’t just have to be made from fabric! You could try paper. Scrapbooking paper is good because it’s nice and thick. Another alternative would be plastic. For this you could use shopping bags or a plastic tablecloth.
12. Experiment with bunting of different sizes. Smaller flags are great for hanging on dressers and Christmas trees. I have Christmas tree bunting kits for sale on Etsy! Tiny flags can be added to wreaths. You could sew bunting to a cushion or a bag.
Don’t forget to pop over to All Free Sewing to enter the sewing machine competition!


hello my granddaughter wants star shaped bunting in pink and gold – I have found the colours in plain poly cotton material – it is for her bedroom so shouldn’t need washing?? but its just been so difficult to find the right colours online – my question is how would you make star bunting please – any advice would be welcome thank you
Hi Mary, I would make 5 pointed stars probably 15-20 cm across, and applique smaller stars to the centre. Then I’d attach the stars to the bias binding using the points at the top. xx