Tea Towel Projects: Quick and Easy Messenger Bag Tutorial
Tea towels are a great source of inexpensive fabric, especially for small projects.
They’re usually made from good quality cotton fabric, they come in a variety of prints and colours and if you buy a set of them, they all co-ordinate. Also, if you are careful, you can often use the existing hems and avoid having to sew new hems yourself!
For this project, I wanted to see how quick it would be to make an easy messenger bag out of a couple of tea towels.
I am happy to tell you that it was very easy and fairly quick! In total it took me about an hour and a half, including a tea break.
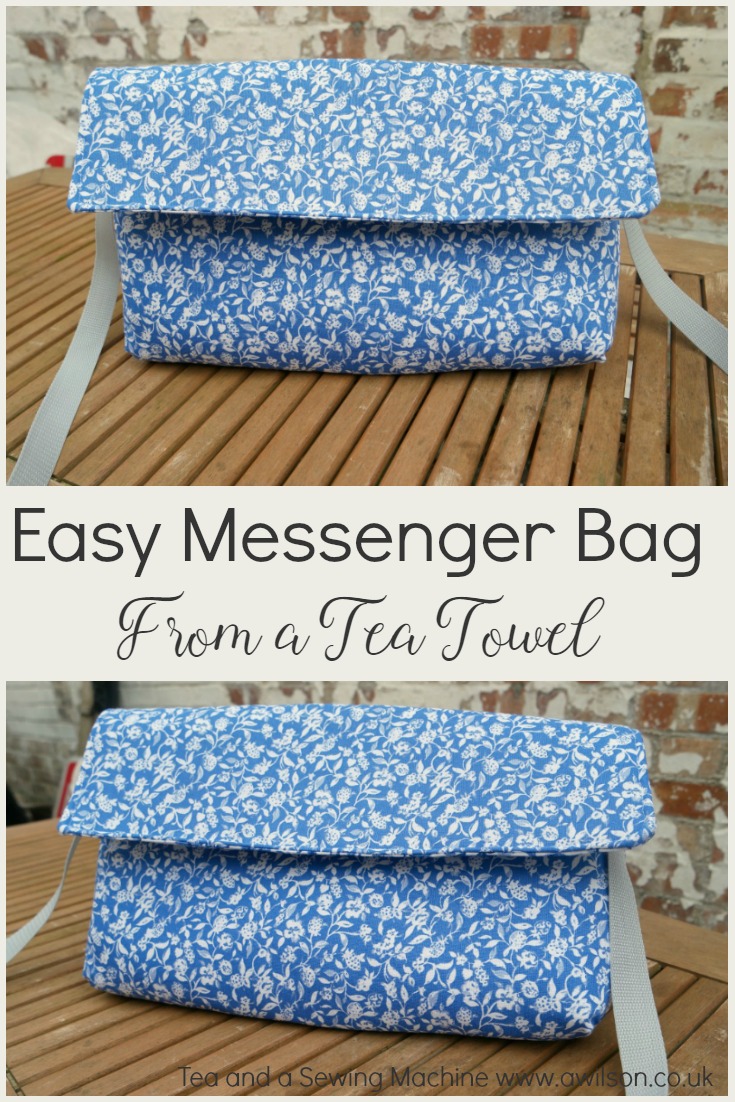
As I prefer not to trek into town unless I really need to, I bought some tea towels from Amazon. I love the blue and white and the print is not too kitcheny. This is an affiliate link to the tea towels I used.
I was careful to choose a non directional print as that would have involved extra cutting. I used some sew in interfacing with the tea towels to give the bag some firmness.
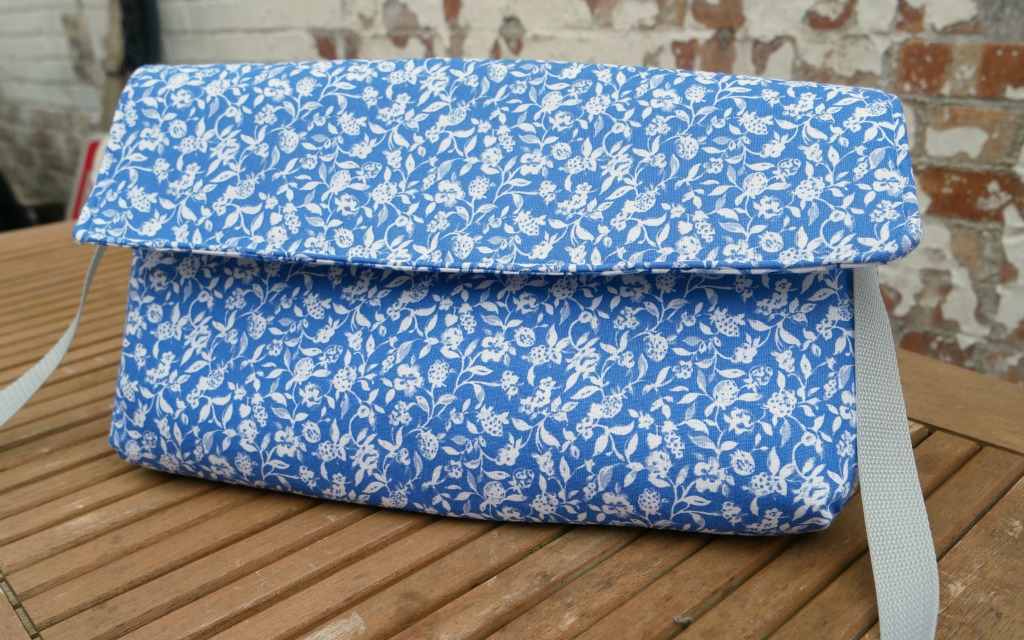
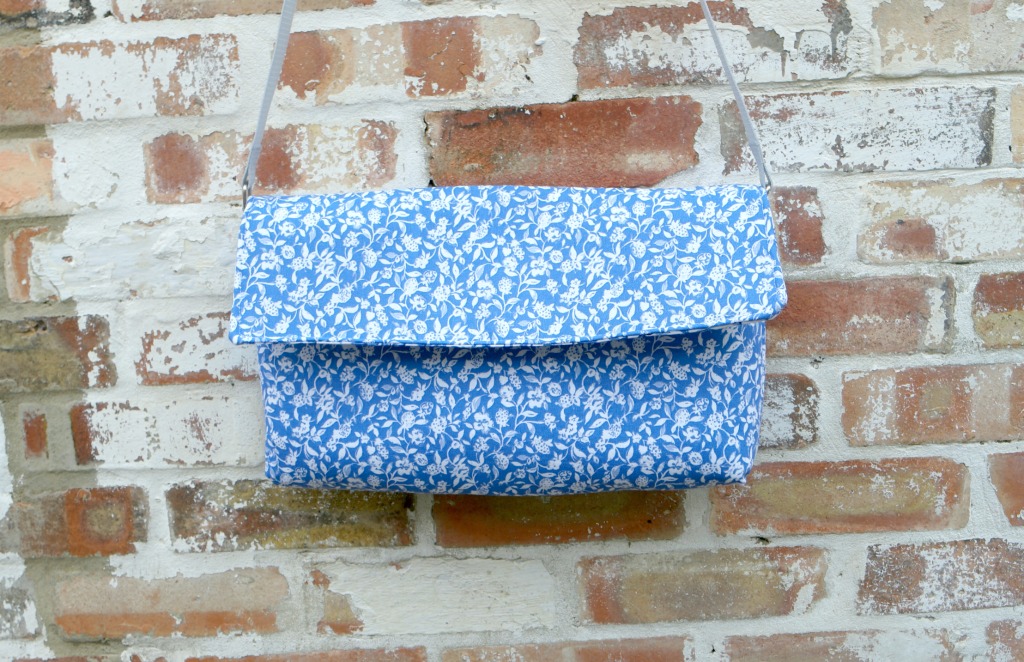
For the strap I used webbing for convenience (I already had some left over from another project), but I could have used the third tea towel. The bag doesn’t have a closure. I toyed with the idea of buttons but as I didn’t have 2 the same, I decided to leave it.
Here’s my quick and easy messenger bag tutorial!
Quick and Easy Messenger Bag Tutorial
You Will Need
2 cotton tea towels, sew in interfacing, webbing, 2 D rings, usual sewing supplies.
1. Cut a piece of interfacing the same size as the tea towels.
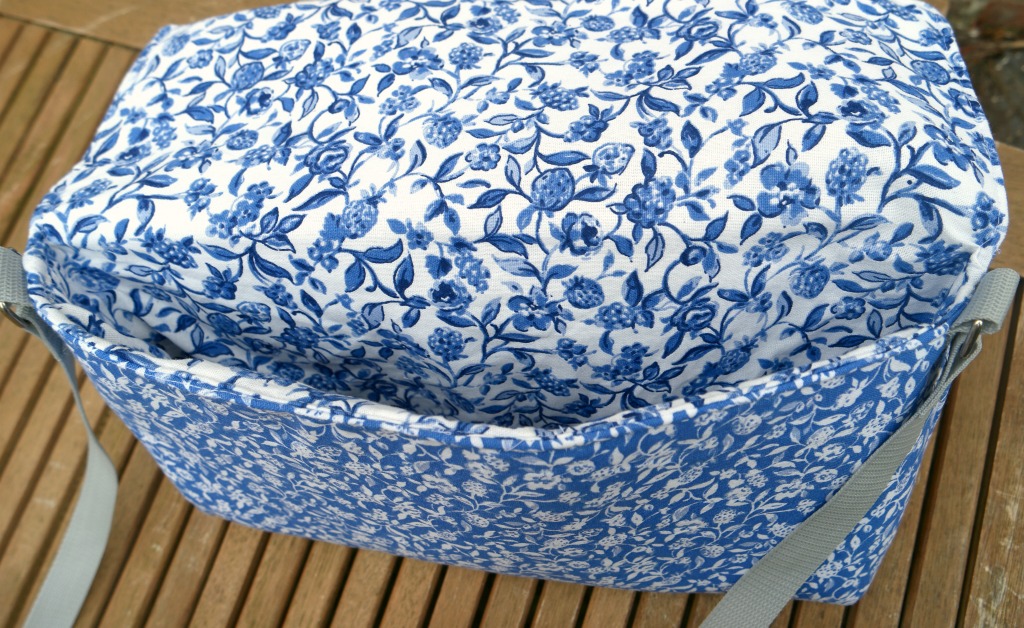
2. Take the tea towel you are going to use for the lining. Identify the bottom third and fold it upwards. Pin the sides and sew. Trim the seams.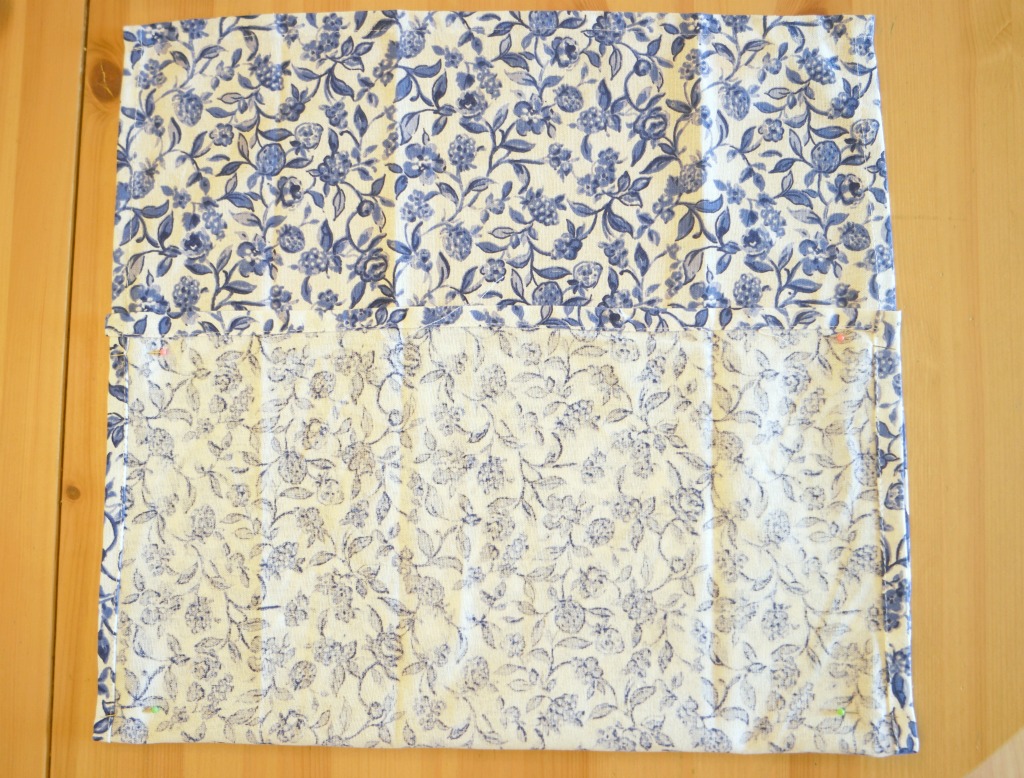
3. Squash one of the corners so that the side seam is next to the fold at the bottom. Pin 2.5 cm up, then sew across the corner at right angles to the seam. 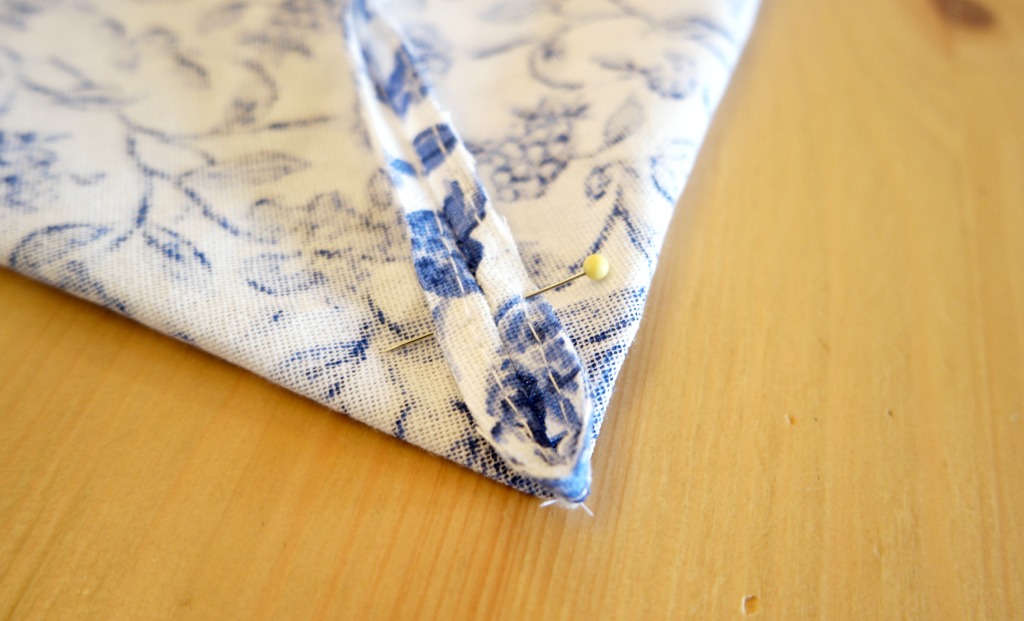 Repeat for the other corner. Cut the corners off.
4. Make the outer in the same way. Sew the interfacing with the outer.
5. Pop the lining inside the outer so that the right sides are together. Sew around the edge of the flap and the top of the main part of the bag, leaving an opening of about 10 – 15 cm. 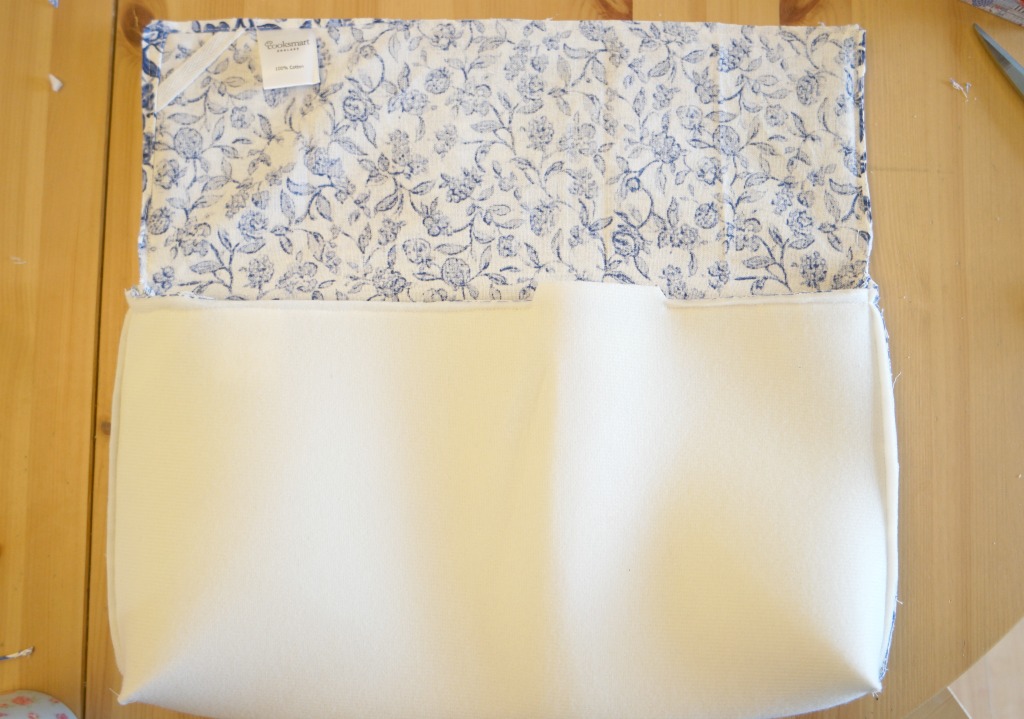 Trim the seams. Where the flap meets the bag, snip right into the corner, being careful not to cut the stitches.
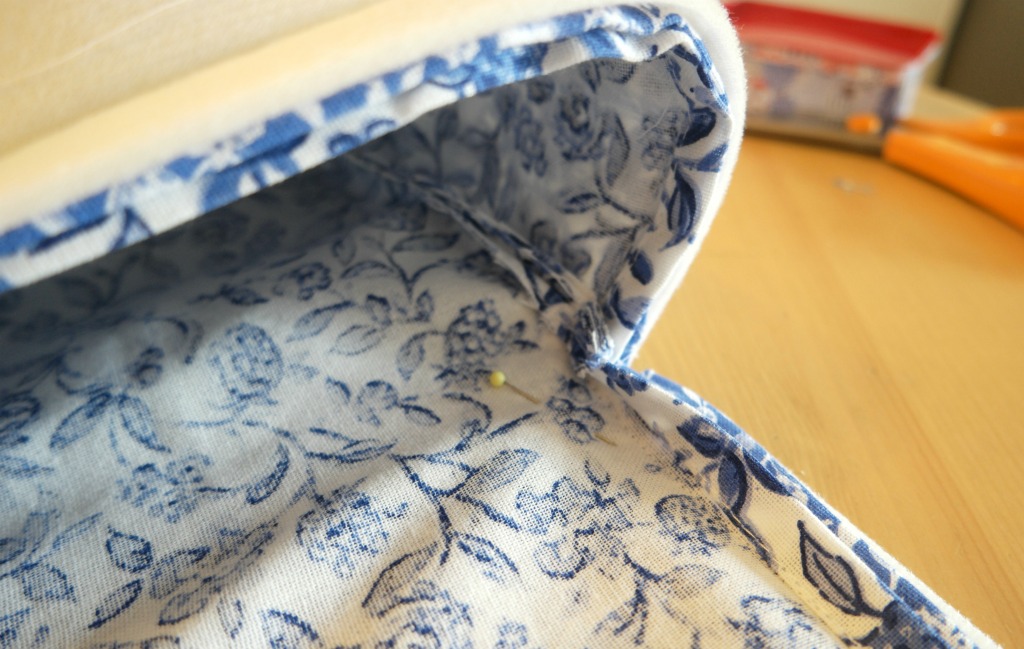
6. Turn the bag the right way out with the lining on the inside. Slip stitch the opening.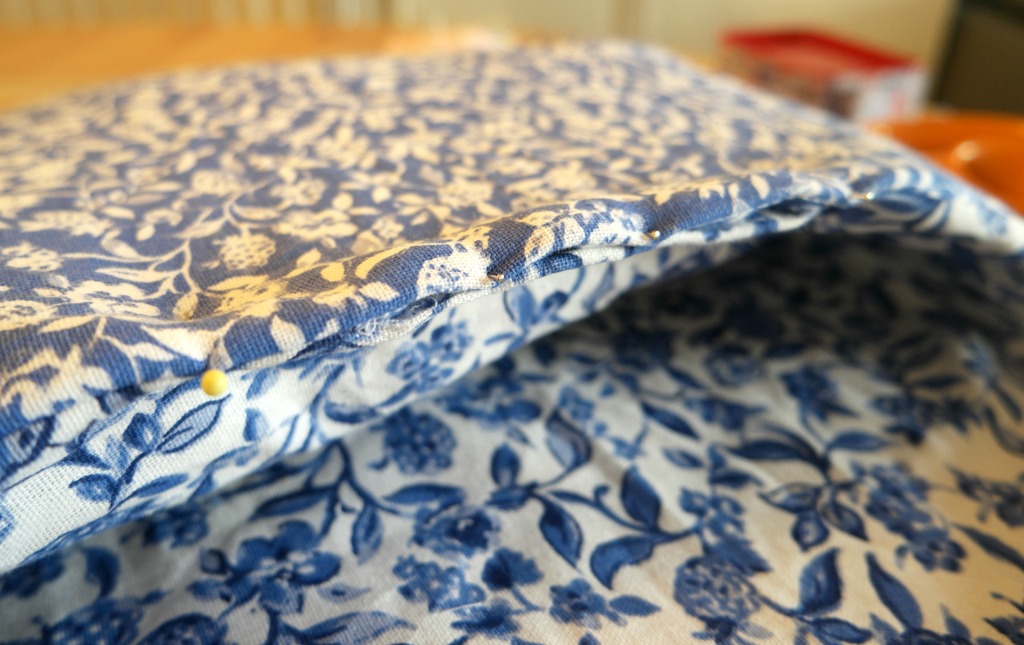
7. Cut 2 pieces of webbing 8 cm long. Using a candle, carefully melt the ends by passing them over the candle a couple of cm above the flame.
8. Fold the webbing pieces in half and slip a D ring onto each of them.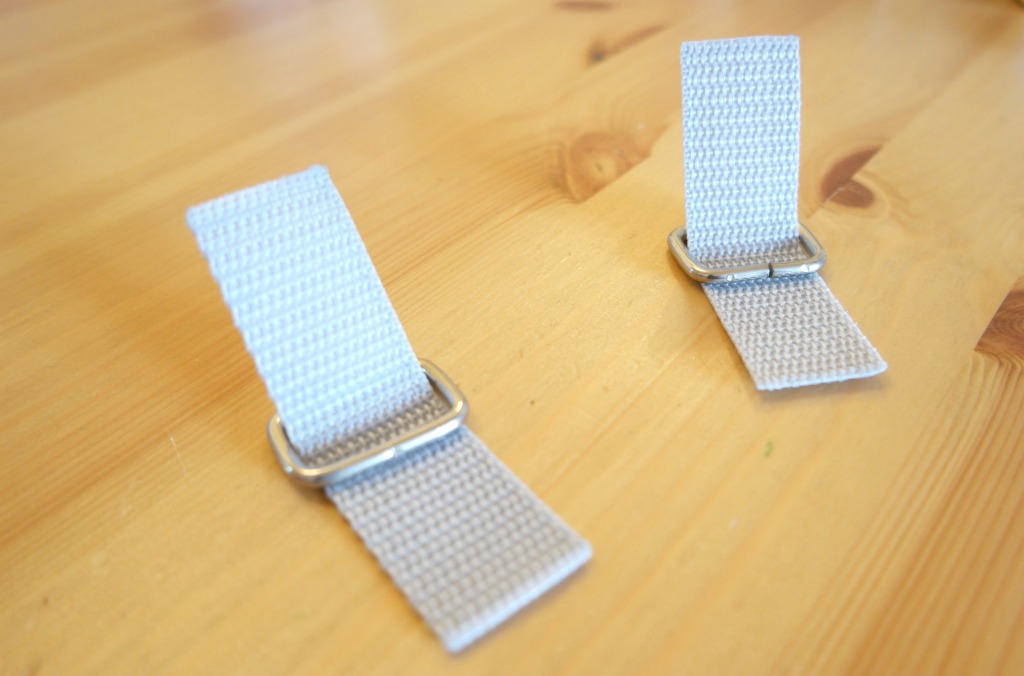
9. Sew the webbing with the D rings to the sides of the bag.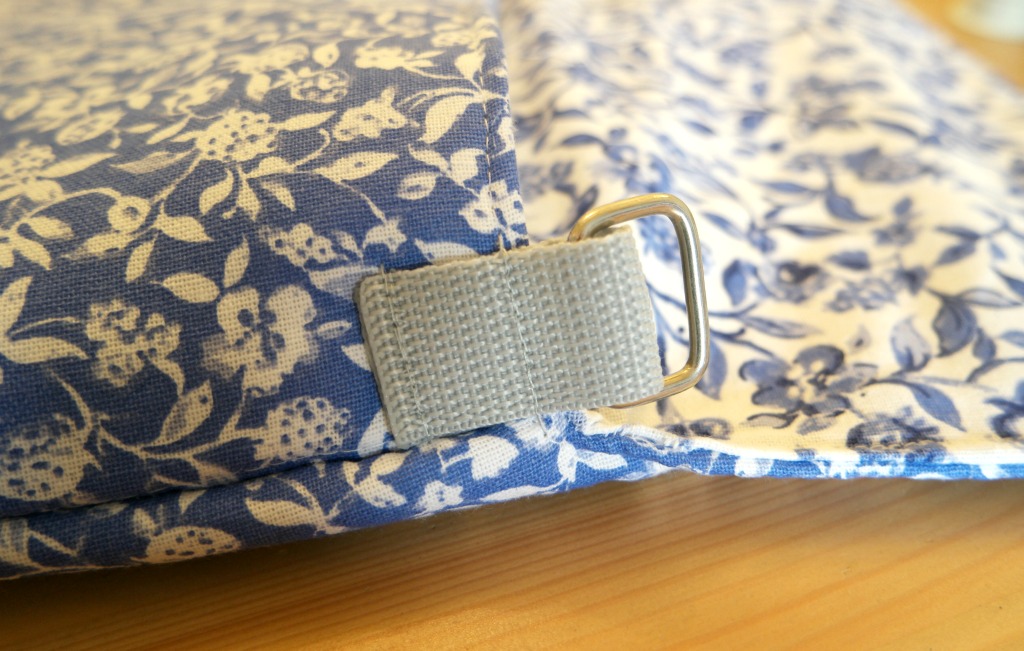
10. Cut a length of webbing long enough to across your body, from your shoulder to your waist, twice. Melt the ends with the candle, then fold one end over one of the D rings. Sew in place. Repeat with the other end of the strap.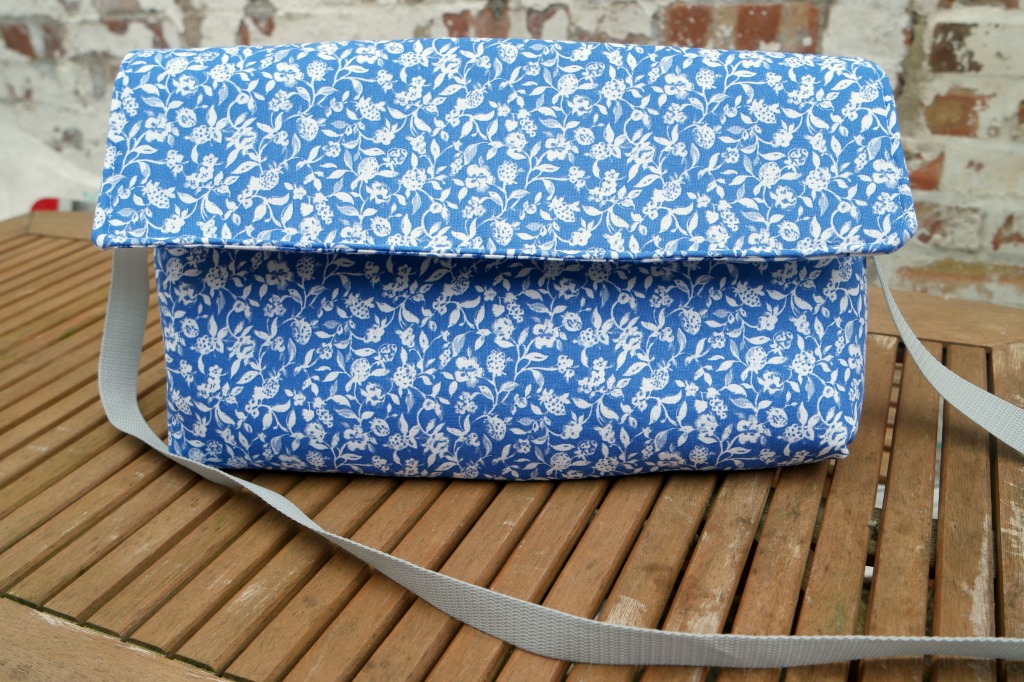
Tips
Using a non directional print will save you time. Otherwise you’ll have to cut and re sew the back of the bag and the flap.
Using webbing for the strap and the D rings will take less time than sewing a strap.
Quick and easy closures include velcro, magnetic snaps (there’s a tutorial here if you haven’t used these before) or buttons and elastic.
If you liked this easy messenger bag tutorial, you might also like these.
Quick and Easy Backpack Tutorial
Linking up here.


Beautiful bag.
Going further:
You could add a patch pocket to lining before assembling bag
You could attach a ring / keyring / clip at seam inside to keep your keys safe.
Thank you for such a clear tutorial.
Great suggestions, thanks Ru 🙂
this would be a great way of using tea towels brought back from holiday and make the souvenir much more useable. #Trash2Treasure
That’s a good idea 🙂
What a lovely idea to use a tea towel and a very sensible tip about the print design. This looks really stylish and far from the orginal tea towel. A great upcycle idea.
Thank you for sharing with me on #Trash2Treasure
Thank you 🙂
Such a great idea to use a tea-towel!

Caroline J recently posted…Marvellous Mabel
Thank you 🙂
love this! thanks so much for sharing on craft schooling Sunday!
Thank you 🙂