
Lined Curtains Tutorial
Living in an older house means that it’s often a bit draughty. Although our house is not listed, being in a conservation area means that there are rules about what we can and cannot do to our house. UPVC is out. So the windows at the back have double glazing but the ones at the front do not. It’s fine in the summer but it’s not great in the winter. Nobody wants to watch tv while there’s a draught blowing right on the back of their neck.
We had curtains in the front room, of course, nice red velvet ones I made when we first moved here. Unfortunately, due to an error ( I forgot to measure the windows before buying the fabric!), they were only just long enough. The hem at the bottom was tiny and they only just reached the windowsill, which meant that the draughts escaped under the curtains.
Since we’ve redecorated the front room, I decided it was time for some new curtains, and this time I measured the window before fabric shopping!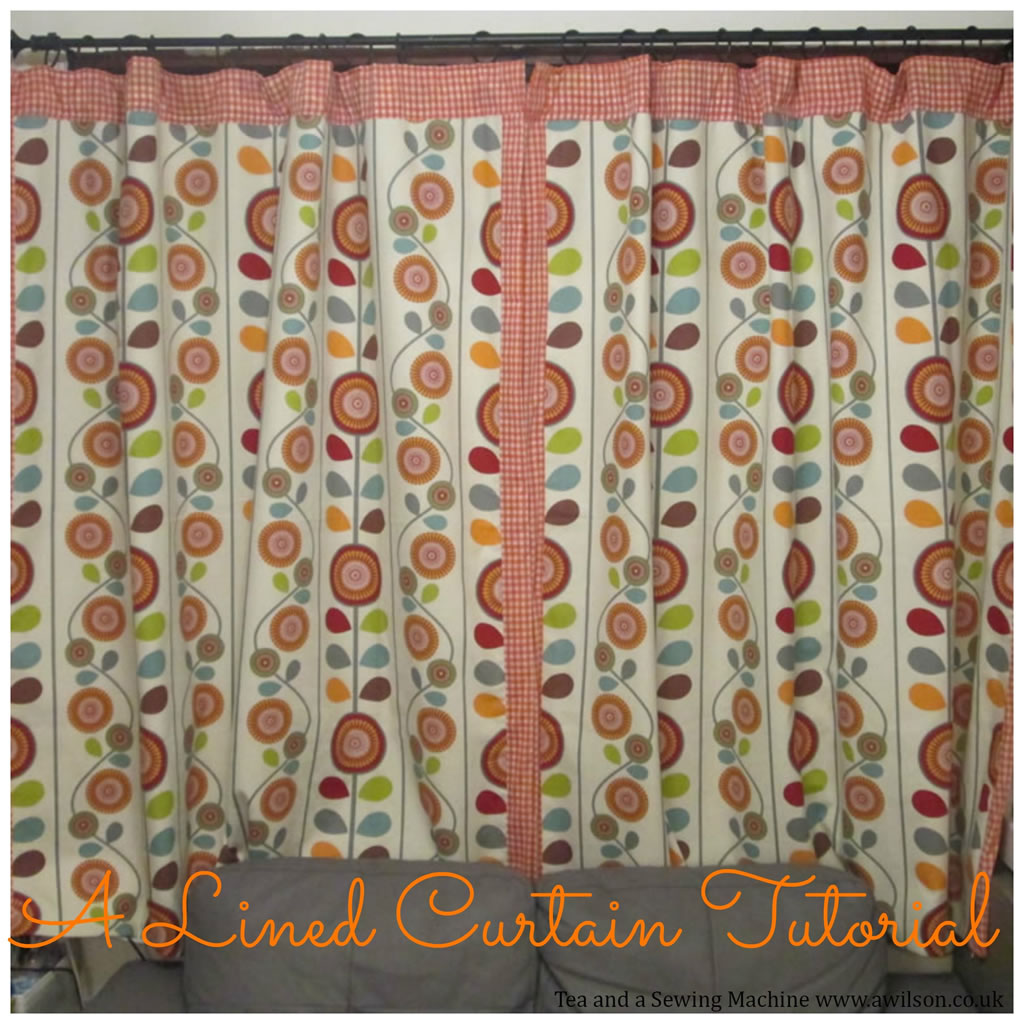
Here is my lined curtains tutorial. I don’t know whether this is the right way to make lined curtains, but it’s the way I made them.
How to Make Lined Curtains
You will need: fabric for the curtains, fabric for the lining, thermal interlining (optional), curtain tape, sewing machine or needle and thread.
1. Measure the window. This is very important! You will need to measure from the curtain rail. to just past the windowsill, then add a bit for the hem. Then measure the width of the windown, divide in two (unless you’re making one giant curtain to cover the whole window) and add a bit for the hems at the sides. You might want to add a bit more depending on how you like your curtains to hang.
If the fabric you have chosen isn’t wide enough, you will either have to join in extra pieces or you can use the lining to make it slightly wider.
2. Buy your fabric. You will need enough to cover the window from curtain pole to just past the window sill plus a bit extra, and enough to cover half the width of the window plus a bit extra, twice.
If you are using a bold print or if you are going to be joining pieces together, you might need to allow a bit extra for pattern matching.
For the lining, you will need enough for it to extend past the edges of the curtain fabric by 10 cm at the top and the sides, and enough to hem the bottom.
For the interlining, you will need a 2 pieces, one for each curtain, the same size as the outer fabric.
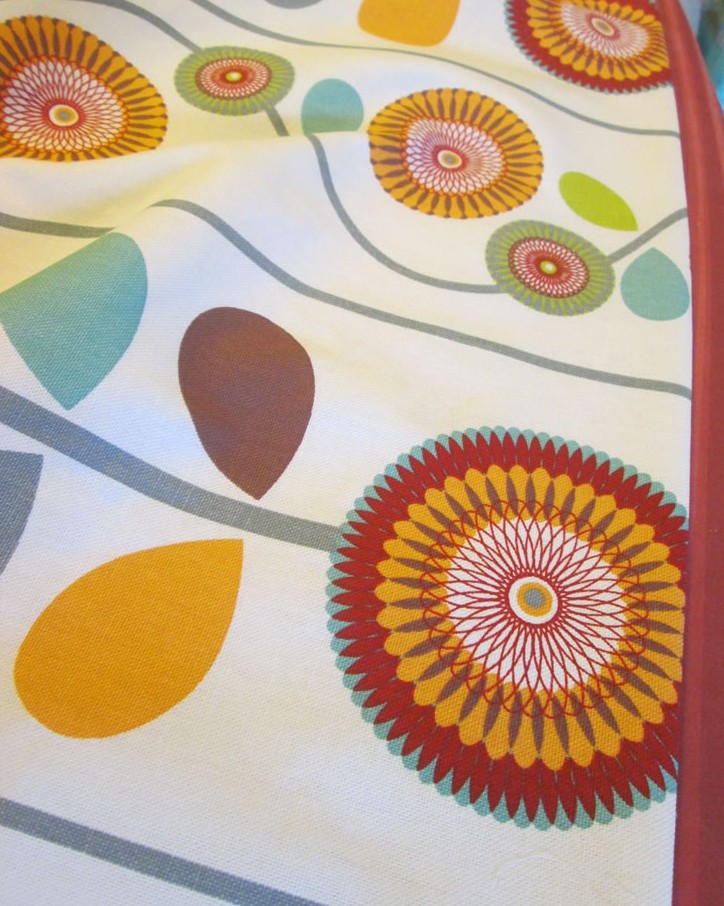
3. Get your fabric ready. Mine was the correct width already, so I just had to cut it in half for the length. Conveniently the pattern matched perfectly!
Ironing it might also be an idea.
The lining was not wide enough. I needed 1.5 m in length for each curtain plus a bit more, so I got enough for both curtains (3 m) then enough for 1 extra curtain ( another 1.5 m) which cut in half and sewn to the other 2 pieces would make both pieces wide enough. I could only buy the fabric in whole metres, so 5 m also gave me enough for the possibility that my maths was slightly off.
4. To assemble the curtains, lay your lining piece right side up, then the curtain fabric wrong side up so that the right sides are together. Place the interlining on top of the curtain fabric. Now you should have a weird kind of sandwich with the lining protruding from all sides with a bit less at the bottom.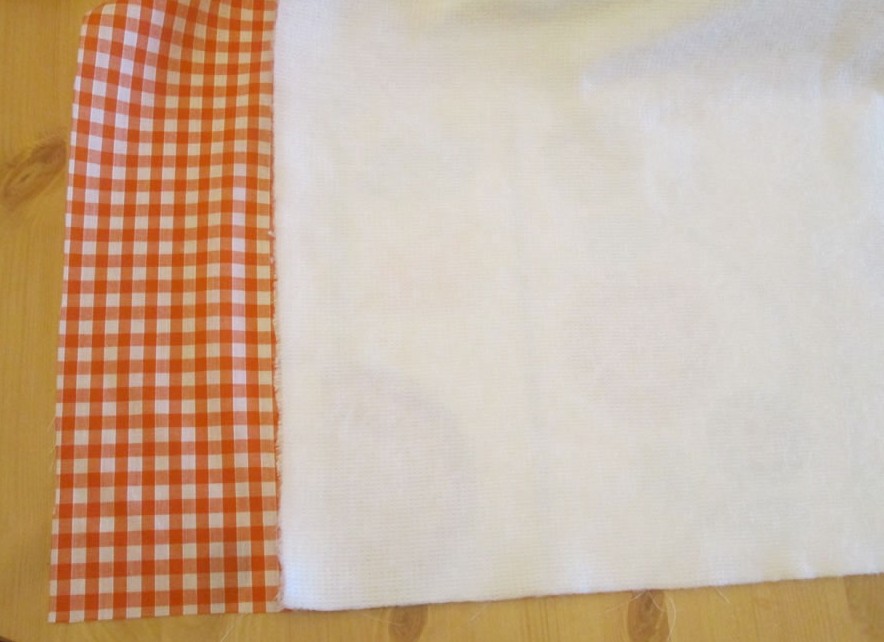
5. Pin along the bottom edge then sew. Press the seam towards the lining. 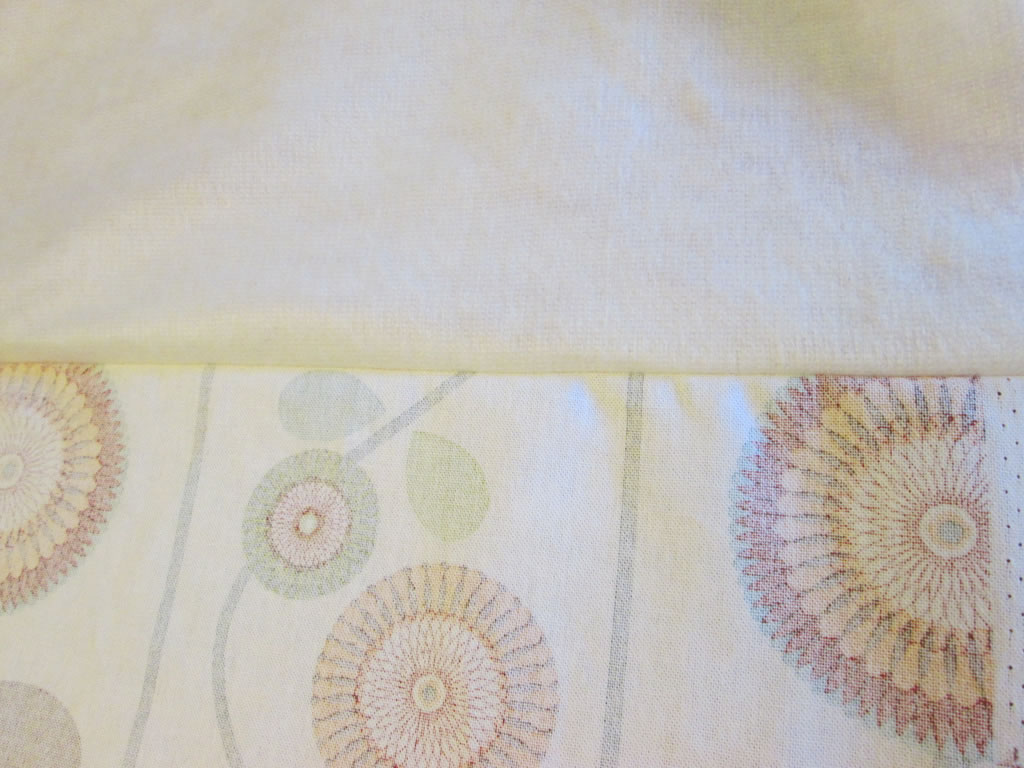 You might need to give it another quick press with the right sides out to be sure that the lining is not visible.
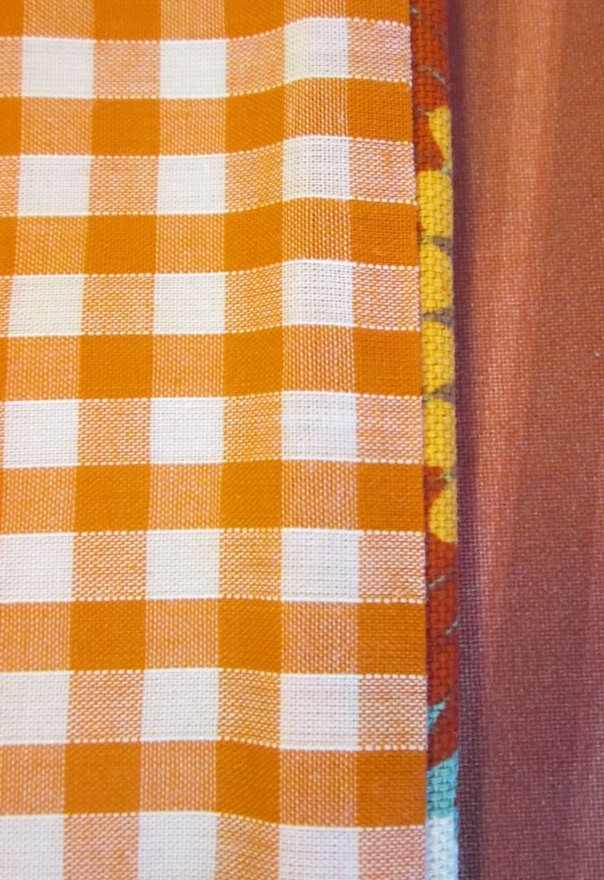
6. With the curtains the right side out and the lining at the bottom, take one of the side edges and fold the raw edge over. Then fold the folded edge over so that it covers the edge of the curtain and the interlining. How much of the edge the lining covers depends on how wide you need the curtains to be. Pin in place. Sew. 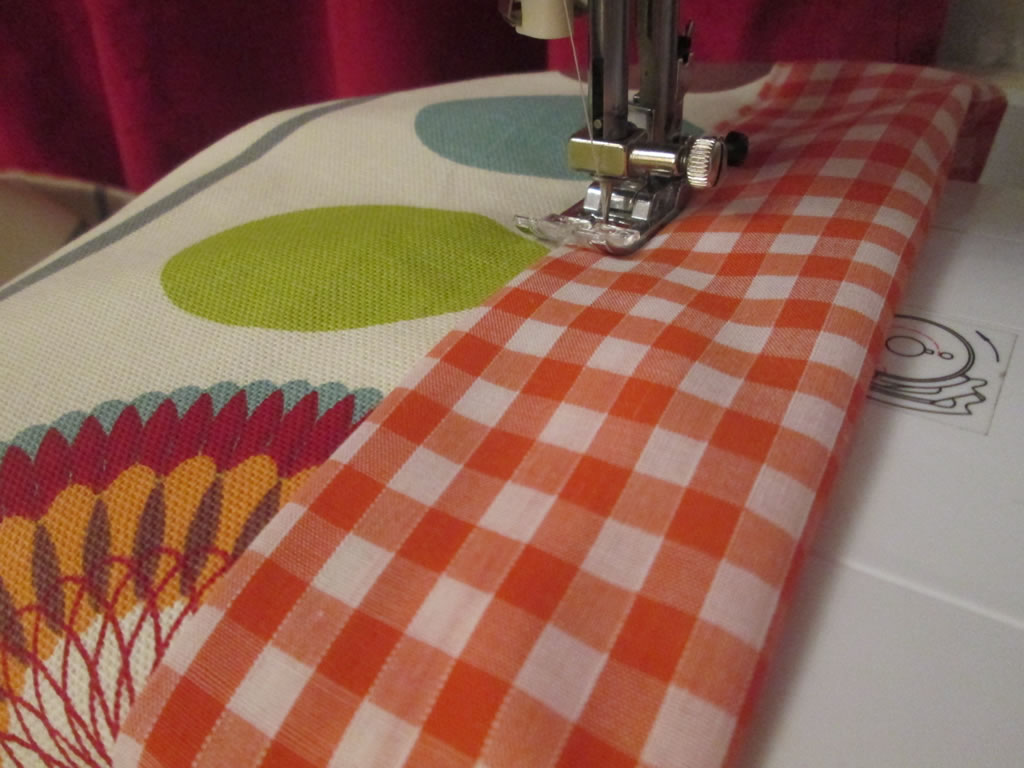 Repeat for the other side. Check that they match!
7. Repeat for the top edge, taking into account how long you need the curtains to be.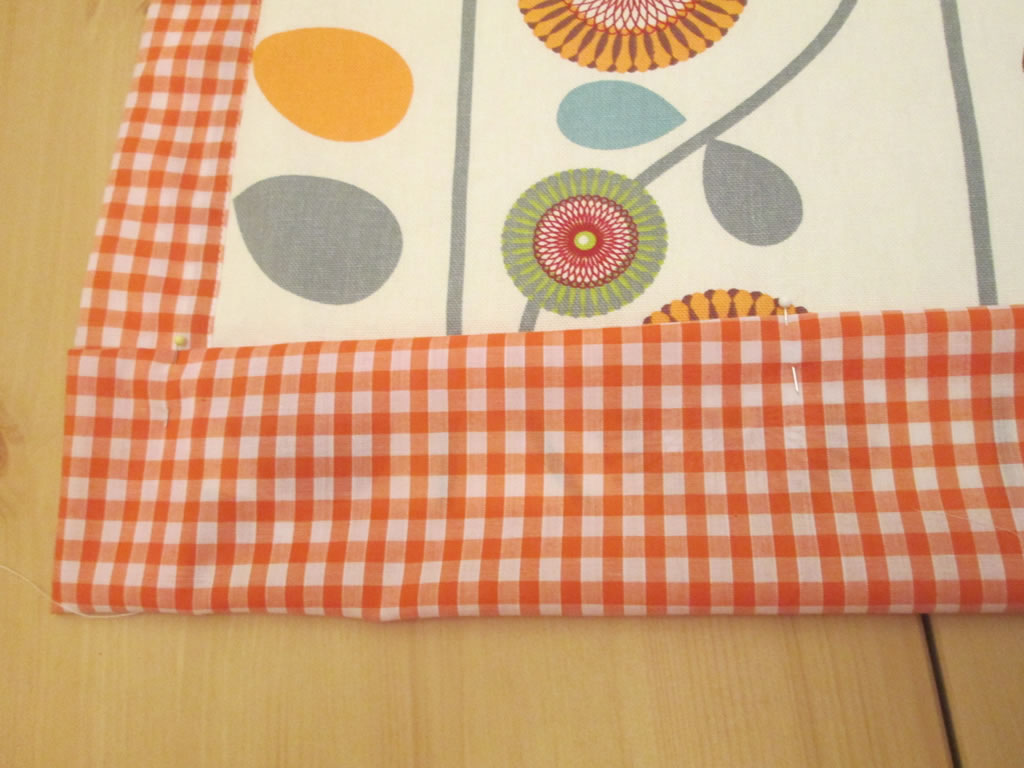 8. Attach curtain tape along the top edge on the lining side.
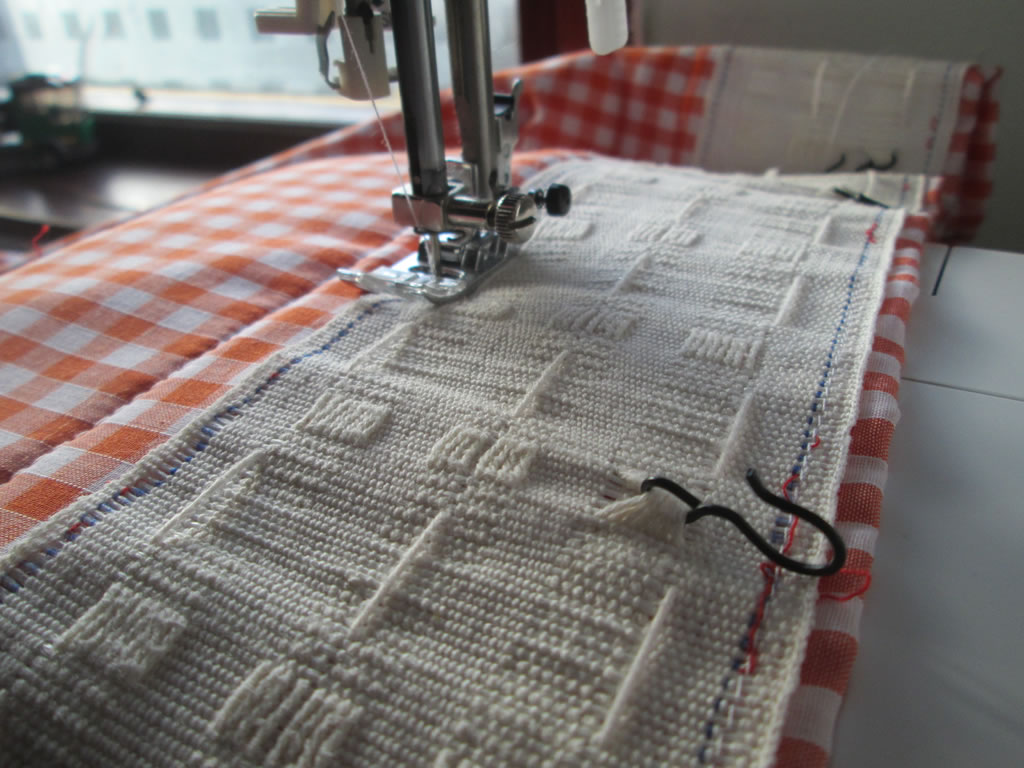
9. Repeat for the other curtain.
Your curtains are now finished! Just check the bottom edge at the sides as the bit where the lining folds over might need slip stitching if it looks a bit messy.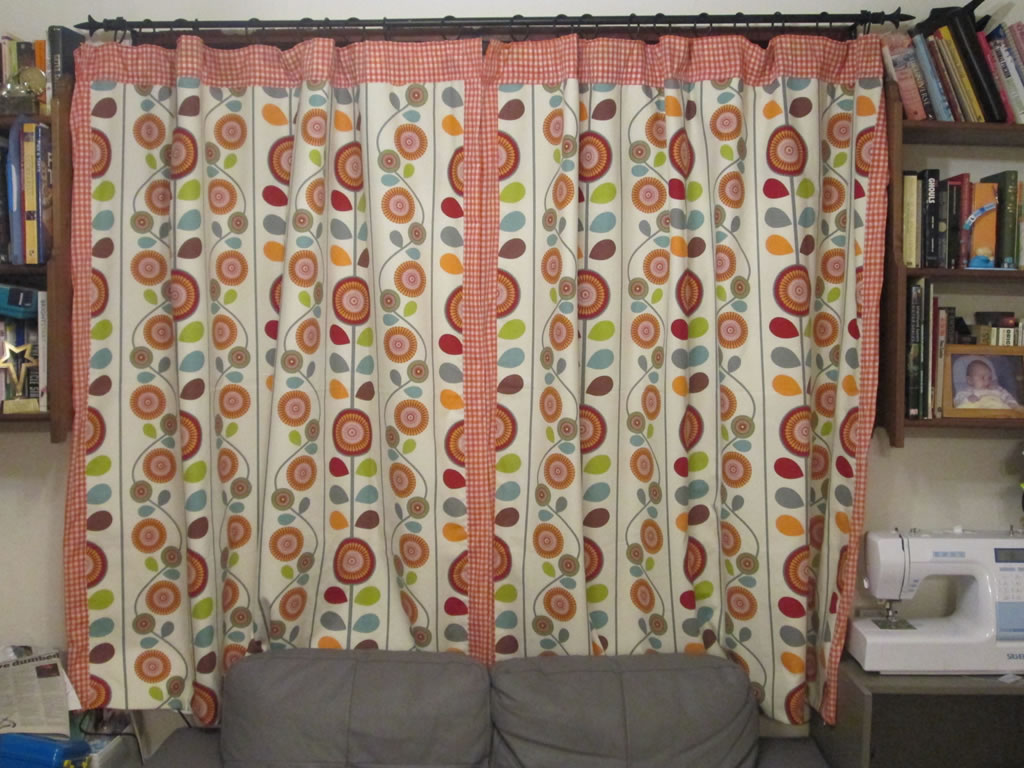 As you can see, they don’t quite match. I am not sure how that happened. I checked, I did! I decided to post this anyway because, sometimes, however hard you try, things still go a bit wrong.
The other thing with these curtains is that because they are a busy print, I’m suddenly very aware of the clutter! I opted not to crop out the messy bookshelves to reassure you all that I don’t live in some bloggers’ parallel universe where there is no mess and our houses look like something out of a magazine. My house would only be in a magazine if the title was called “Goodness, What a Mess!” or something like that.
If I kept my house spotless I would have no time to make anything!
Happy crafting xx

Such a fantastic post on dyeing and curtains! The insights you’ve shared on the process are extremely helpful for anyone looking to personalize their home decor. If you’re also considering beautiful, custom window treatments, Fenstermann LLC offers a range of high-quality blinds and shades to enhance any space. Check them out here: https://fenstermann.com/.
Simply love it!
Thank you! I love to sew and do crafts. I appreciate you sharing this curtain pattern project.
Jean
You’re welcome 🙂