Continuing with the theme of stuff that I thought was wizardry until I found out it was easy, here is a little tutorial showing how to make covered buttons!
Covering buttons yourself is another little way in which you can add a smart touch to your handmade stuff. They look especially good on coats, bags and cushions.
How to Make Covered Buttons
You Will Need: the button base. These are sometimes metal and sometimes plastic, available in a variety of sizes. There are some on Amazon here Hemline Self Cover Buttons/Trims – Nylon 22mm, pk of 5 (affiliate link). You will also need a scrap of fabric slightly larger than the button, a needle and thread.
1. Identify the bits of the button. There should be a piece with a shank and another piece that clips onto the shank piece.
2. Using the button as a guide, cut a circle from the scrap of fabric. It will need to be large enough to cover the button and be drawn up round the back. An extra couple of cm should be enough, depending on the size of the button.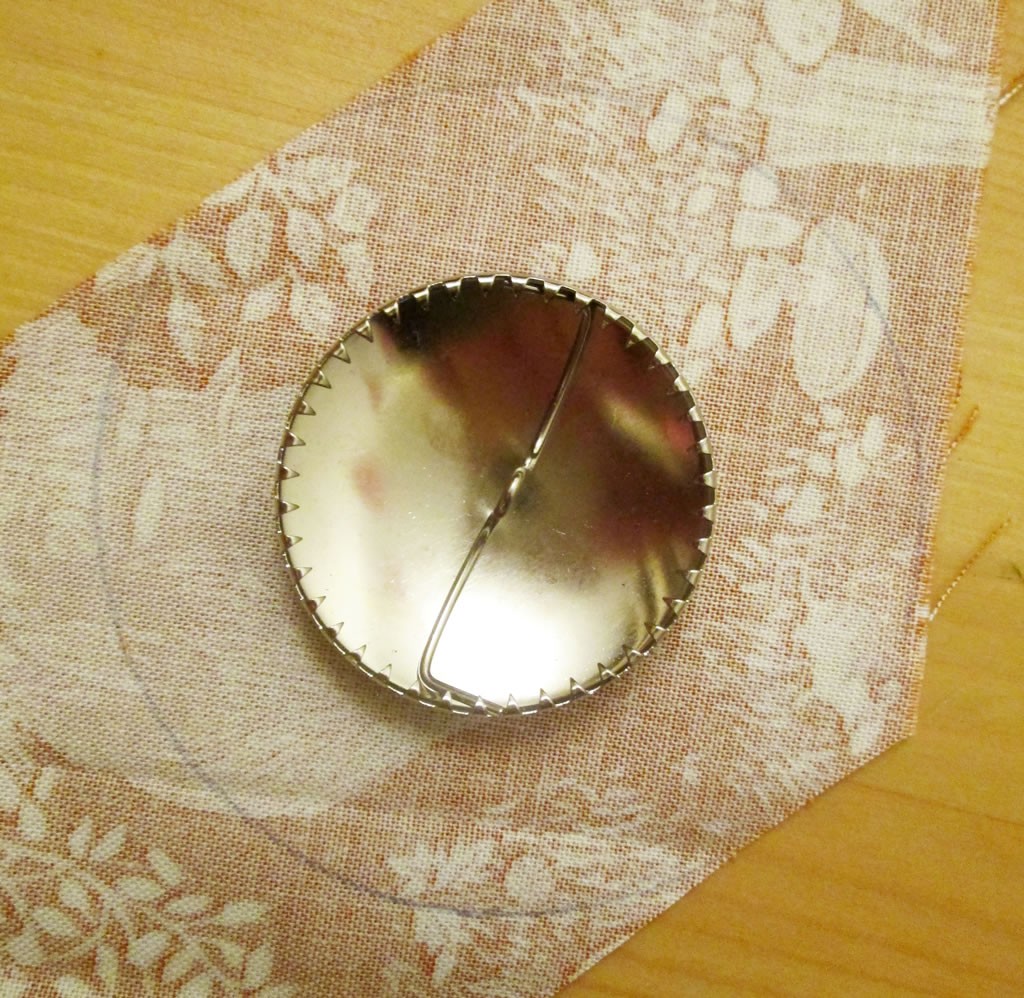
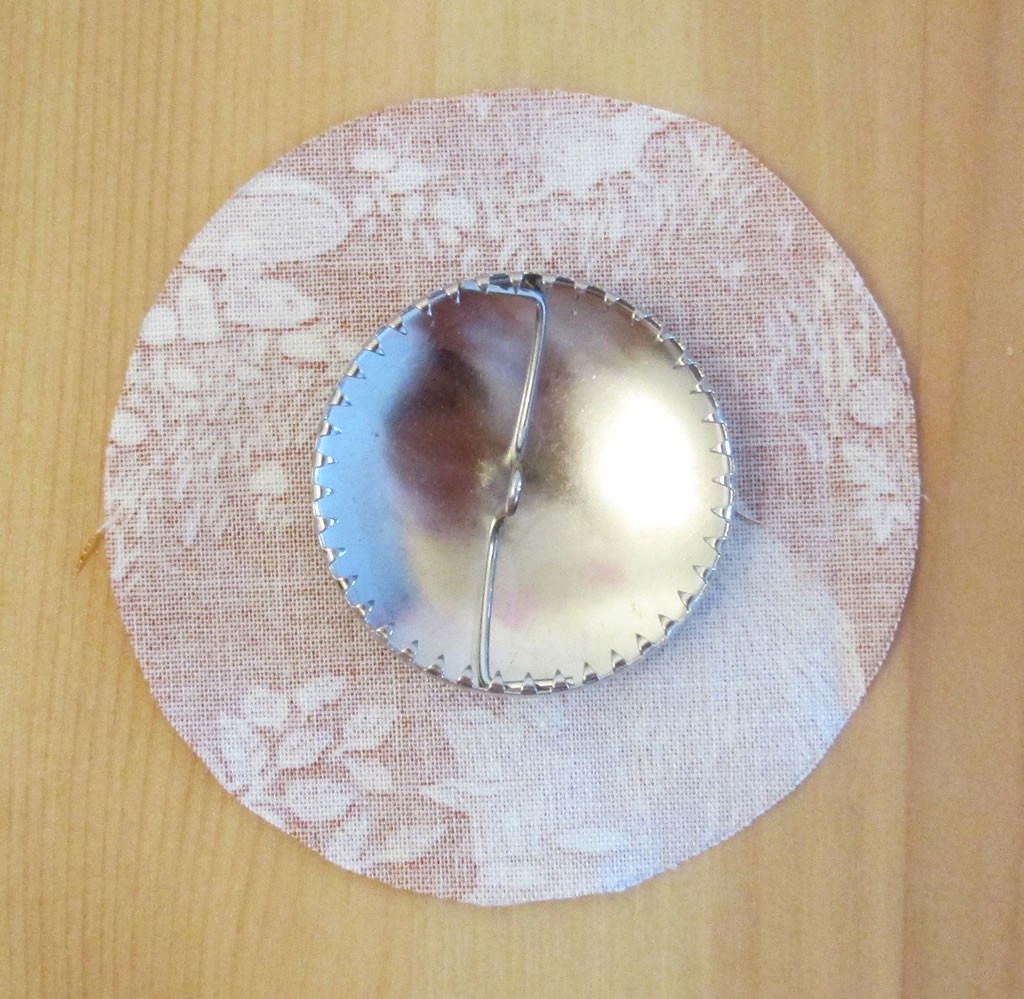 3. With the needle and thread, sew running stitch around the edge. Take care that you do not sew so close to the edge that the fabric starts to fray and the thing disintegrates.
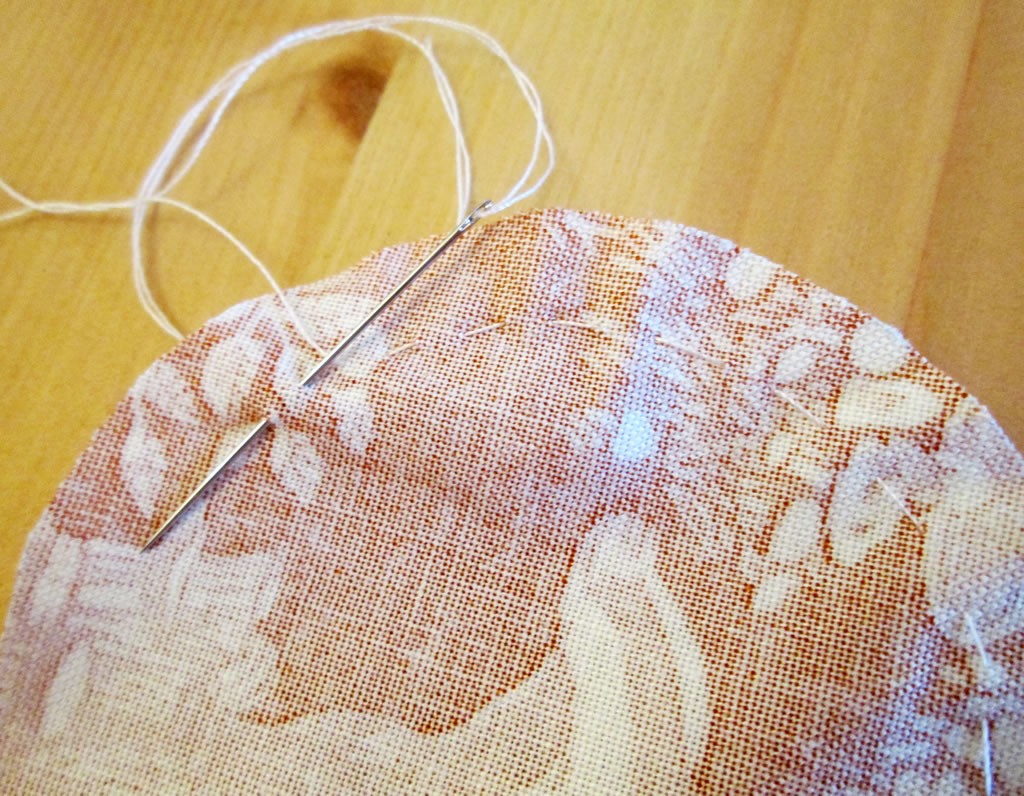
If the fabric you are using frays easily, you could iron some fusible interfacing onto you scrap of fabric.
4. With your fabric wrong side up, pop the top part of the button into the middle of the circle. Gently pull the thread so that it gathers around the button. Pull it tight and tie off the thread.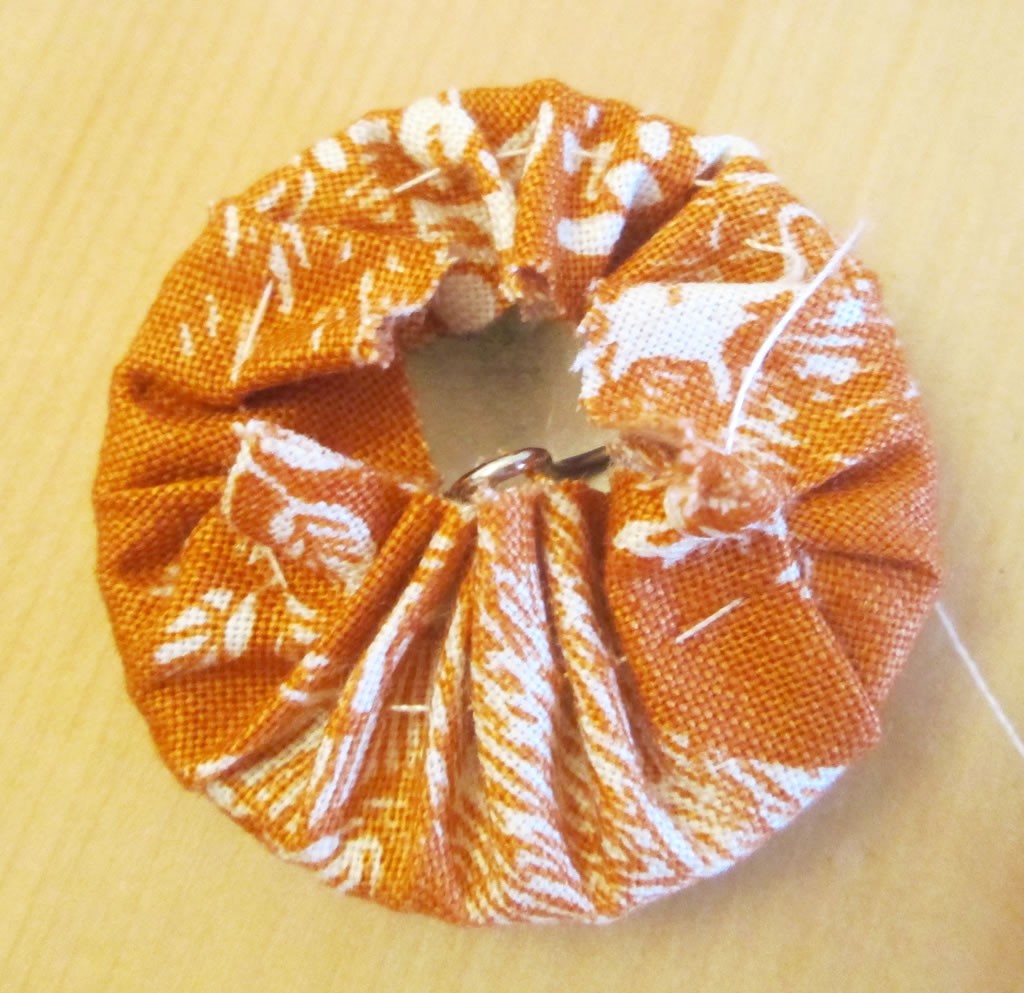
5. Clip the covered section onto the base. 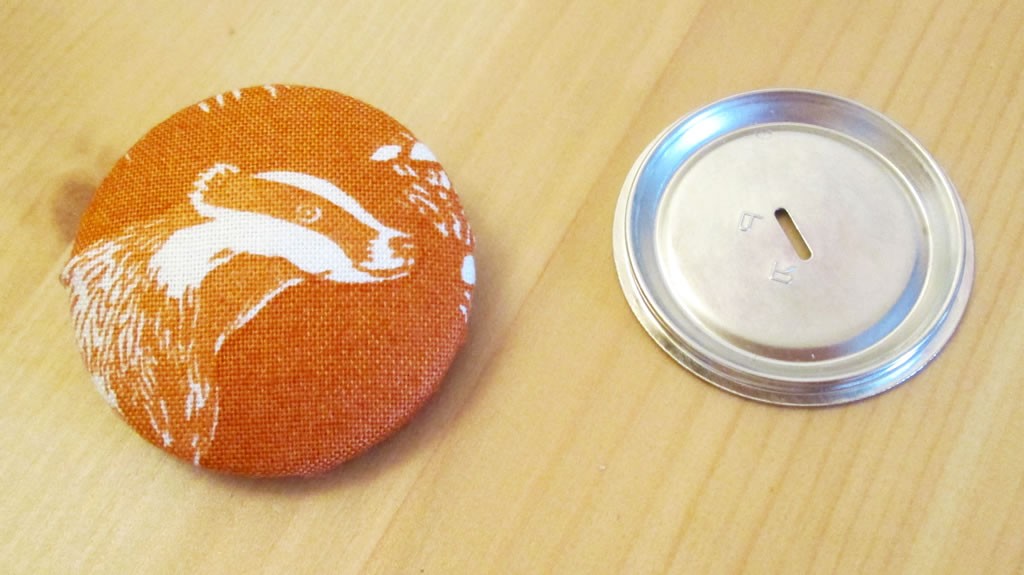
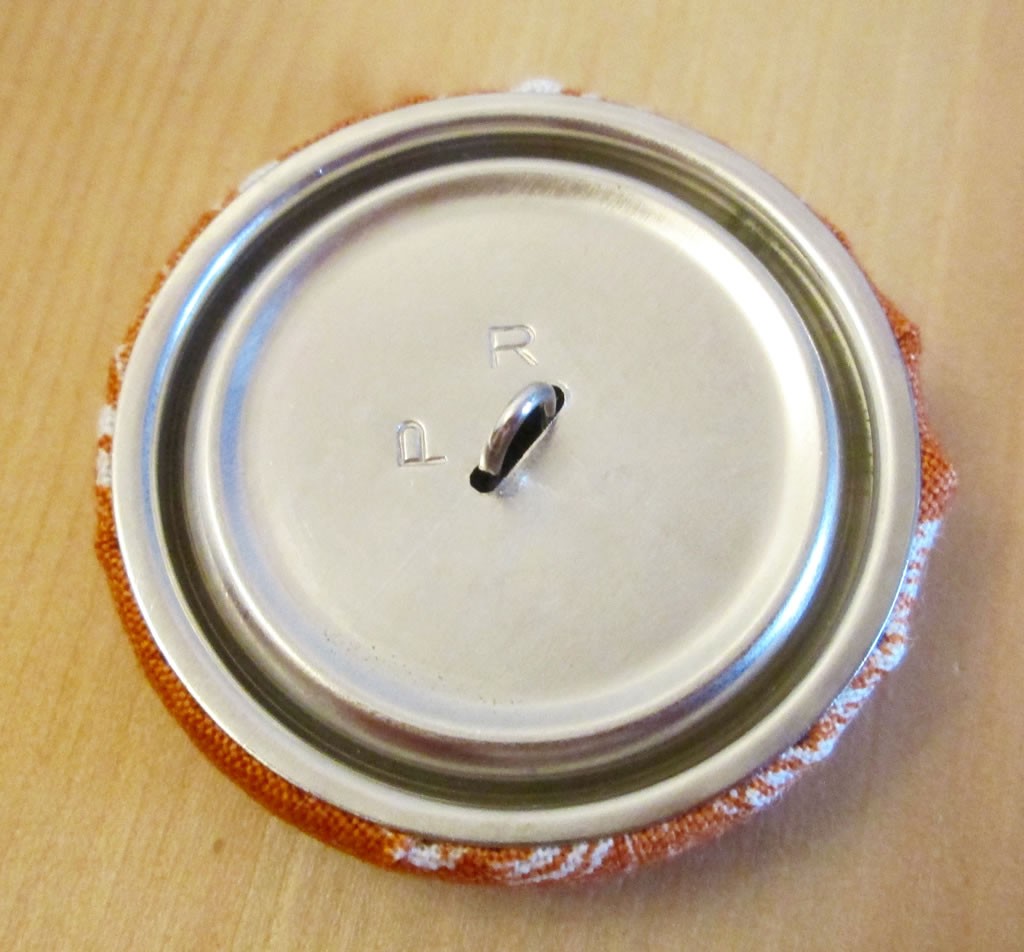 Your covered button is now ready to use!
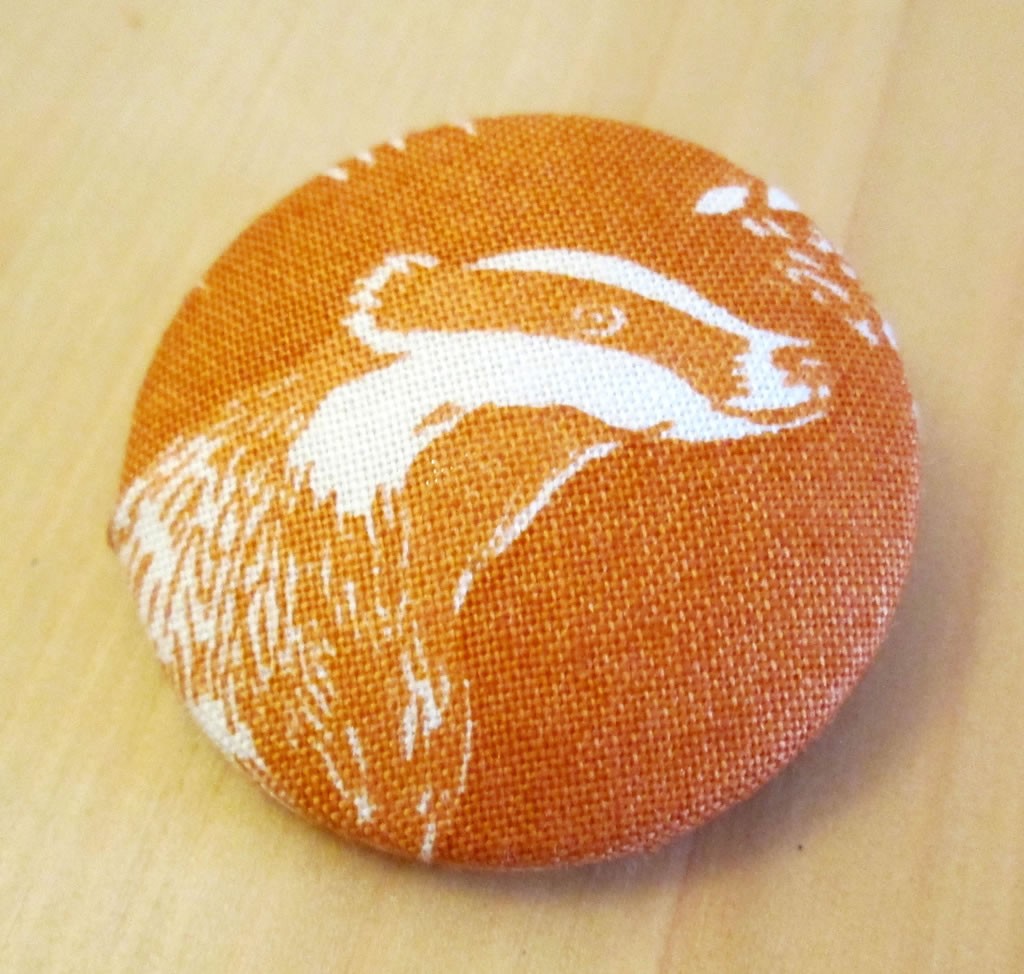
This covered button I used on a cushion. I’ll be posting the tutorial for making this over the next couple of weeks!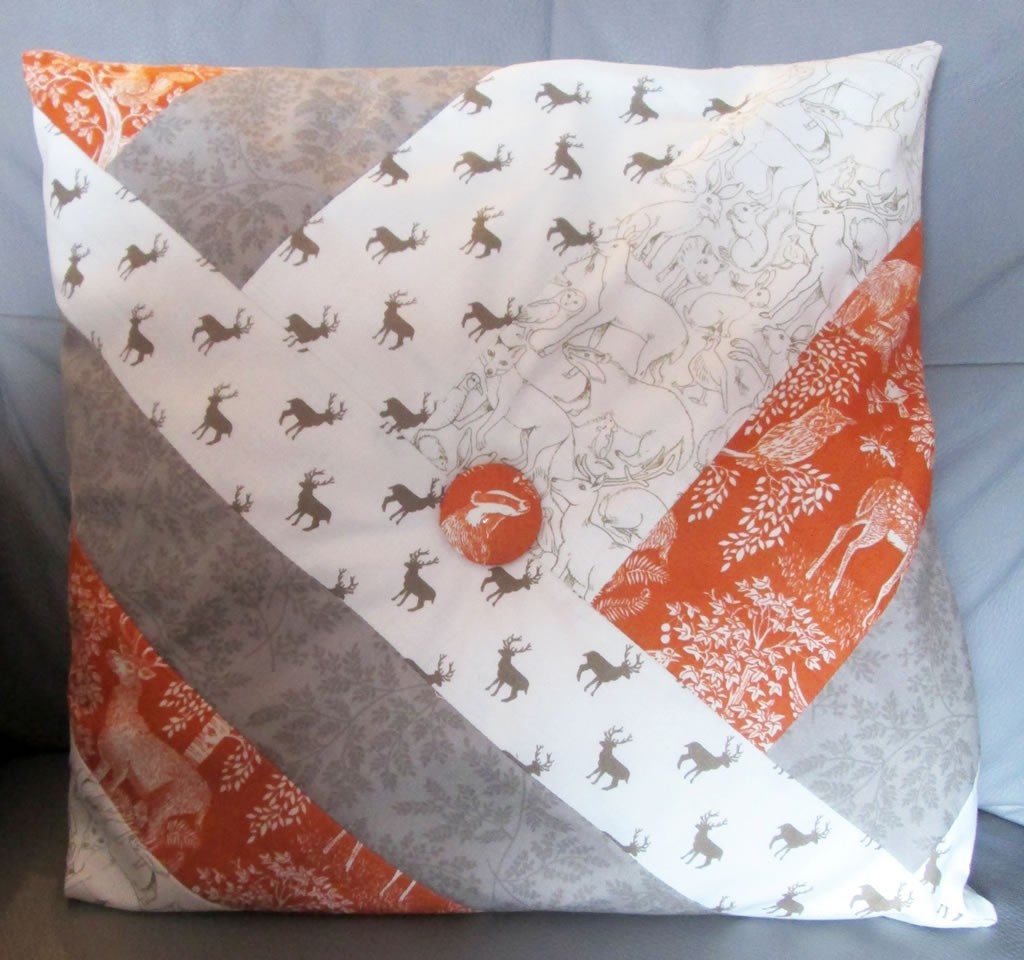
I’m also going to make some more for a coat that I’m working on.
If you like this post, you might also like this one about finishing buttonholes. Bound buttonholes would be perfect for your covered buttons!


What a cute little button, thanks for sharing how to make them.
Thanks!
Love to cover buttons and add earring backs to them.
That’s a really good idea!
what an adorable badger. I thought covered buttons were wizardry too for ages! lovely tutorial, thanks.
I love the badger too!
Ooh these look fun! I’ve never tried them before but I’m very tempted after seeing how easy they look to do!
They are very easy and you can make them to match anything you like!