**This post contains affiliate links. This means that if you click on the link and make a purchase, I will be paid a small amount. Please be assured that all the opinions expressed are my own!**
A few weeks ago I needed to buy a new stroller for Boy 4. His little umbrella stroller had developed a problem with its wheels, in that the ones at the back were so worn down that it was becoming difficult to push. Especially with a chunky little two year old in it.
I started to have a look on the internet for a replacement, which turned out to be a bad idea because I saw several pushchairs that I really wanted (I used to have a bit of a pushchair addiction!). After an hour or two i managed to reign myself in and did the sensible thing. I bought a replacement umbrella stroller the same as the one that was worn out.
It’s actually a decent little buggy, it’s nice and sturdy and it’s not too heavy to push. It reclines, there is padding on the seat and it comes with a hood, shopping basket and raincover. I have had pushchairs that have cost a lot more and have been a lot worse! Obviously the wheels wearing out was an issue but as I liked it so much I got another one the same anyway. I got it from Amazon and the link is here:
To cheer myself up over the whole buggy thing and Boy 4 not really being a baby any more, I have decided to customise it a little bit, starting with the hood!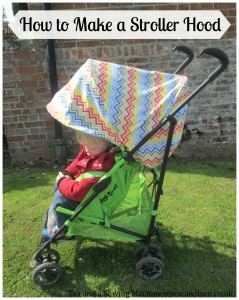
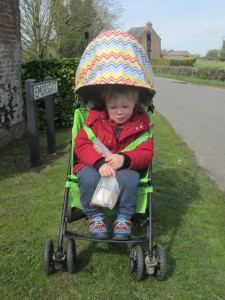
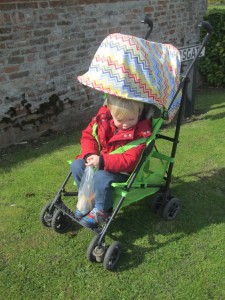
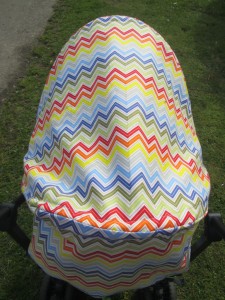
I used the existing hood as a pattern but added an extra piece at the front.
I sewed the new hood to the existing struts and a coat hanger the extra front piece.
As the fabric was lightweight, I used curtain lining to make it thicker.
How to Make a Stroller Hood
1. The easiest thing to do is to use the existing hood as a pattern, so remove the hood and try to flatten it out.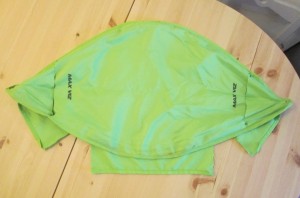

On some pushchairs they come off easily. On cheapy ones they do not. I had to resort to using the unpicker and even the scissors in the end!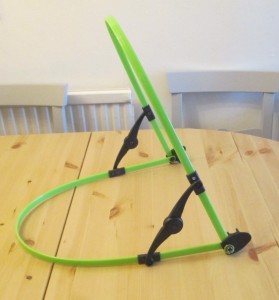
2. Lay it out flat and pin it to the fabric. Cut out the pieces. You might find it easier to separate out the pieces of the hood. I was able to cut mine out without doing this, although I did have to unpick the darts in the back of the hood.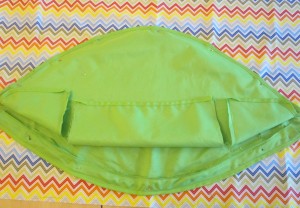
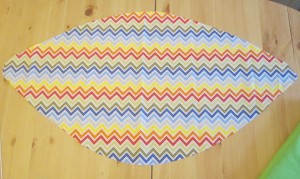
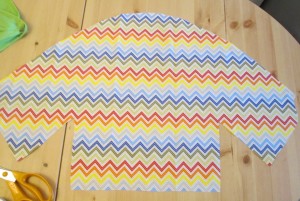 I had a bit of an issue with the existing hood in that it did not come very far forward. This meant that if the sun was in front of us, Boy 4 got the sun in his eyes. To solve this problem, I cut an extra piece to go on the front.
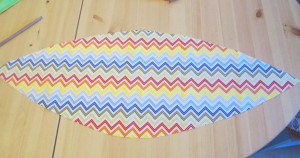
To make this extra piece, I used the curved edge of the front of the front, then measured how much further forward the hood needed to be. I marked this off at the middle then joined it up at the sides, allowing enough to make the casing for the coat hanger. I folded in half to ensure that it would be symmetrical.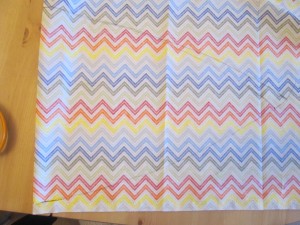
3. Cut out the lining. If the fabric you are using is already quite thick you probably won’t need to line the hood unless you want to! The fabric I had chosen was quite lightweight, so it needed a lining. As I had some curtain lining in my fabric hoard, I used that. It has the added bonus that it is possibly waterproof and also keeps the sun out.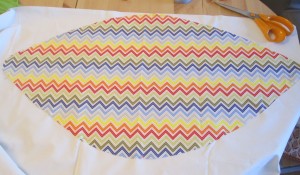
4. Sew up the darts in the back piece if your hood needs them.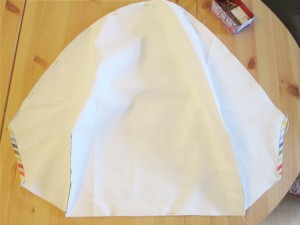
5. Hem the bits at the side.
6. Make the casing for the coat hanger in the front section.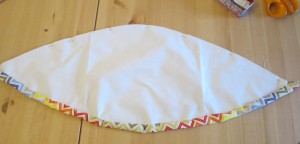
I also added casing at the back for some elastic as I didn’t like how baggy the original hood looked at the back.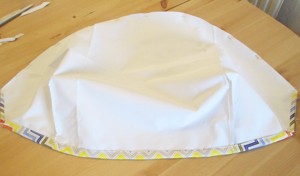
7. Sew the pieces together. Make your pushchair try its new hood on! I found that, despite careful measuring, it didn’t for quite right and I had to take the back seam in a little bit.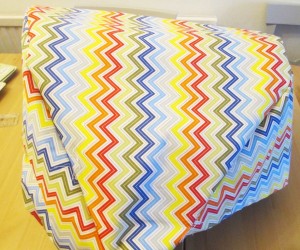
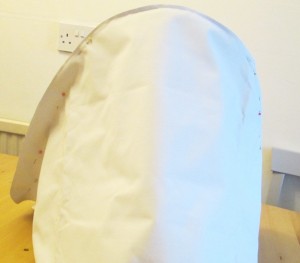
8. Cut strips of your lining fabric for the struts.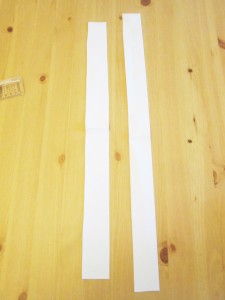 I allowed more width than was needed so that it didn’t matter if it was not a perfect fit. Sew the to the inside of the hood. If you have to sew the struts in, sew the casing pieces along the inside edge first. That will make it slightly easier!
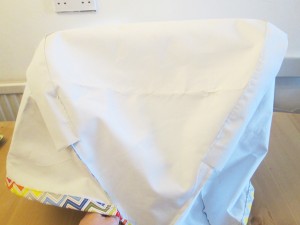
9. Depending on your buggy, sew up the other side of the casing either with or without the struts inside. I had to sew it onto the frame and to say it was a fiddly nightmare would be putting it mildly! In the end I wedged one end of the struts between the sewing machine and the wall and slid the casing along as I sewed.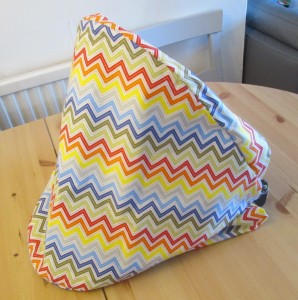
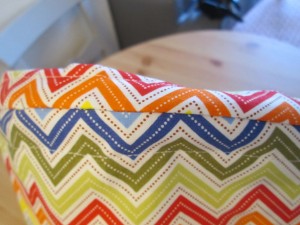
10. Add the elastic at the back. The easiest way is to attach one end to a safety pin and wiggle it through the casing. Pin both ends then hand sew in place.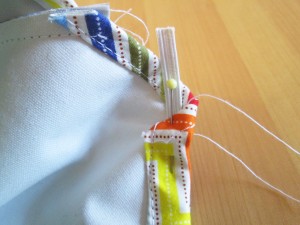
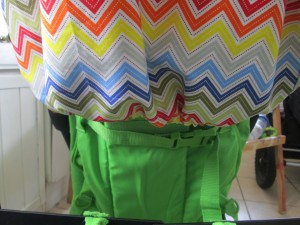
11. Thread the wire coat hanger through the casing at the front. 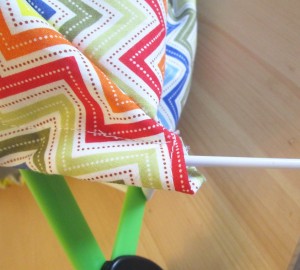 Bend the ends into the a loop around the front strut and tuck the ends into the casing.
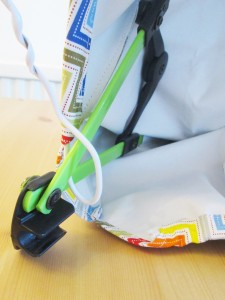 This is where having been generous with the casing can make a difference! I tried sticking the end of the loop with gorilla tape but that made it too bulky.
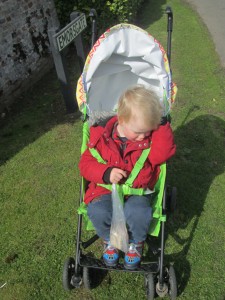
12. Trim the threads off, reattach your hood, grab your babba and go out for a walk!
Tips
- If the fabric you love is too thin, make a lining.
- When cutting out, put a pin in the top of the piece. You might remember which edge is the top, but after the disastrous car seat cover episode, I didn’t want to take any chances (You can read about that here!).
- Be generous in how wide you make the casings. This will allow for the hood not being a perfect fit.
- Just as if you were making a dress, keep getting your pushchair to try the hood on!
- Use the existing hood as much as you can, for pattern pieces and for the struts. If your pushchair doesn’t have a hood, you could probably rig something up using a couple of wire coat hangers in a similar way to how I made the extra piece at the front.
- If your existing hood is too small or doesn’t offer enough protection from the elements at the sides or the front, make extra pieces and use wire if they need structure.
Happy crafting! xx


This is such a brilliant idea! I recently bought a buggy for my grandson to use when he visits, but it didn’t have a hood. I was thinking of giving it away, but now I might try this idea instead. Thank you so much! xx
Thank you for share this in fo to me. Now I know how to make a stroller hood!
Great Post! Thank you so much for sharing this very helpful and informative blog
Such a wonderful blog.
We bought a new mountain buggy duet v3 and it is great except for the sunshade being too short!! I am going to put fabric in the back end (from stroller to back of hood) since I can tilt my shade down further it just needs “fill” material. So that’s another option for people checking – I love your tutorial – was considering an entire new hood until I realized that a partial will do!
Modifying what you have already is a good idea. Sometimes hoods and things are fine up to a point, and fixing their shortcomings is a better answer than making a new one xx
I realize that this tutorial is relatively ‘old’ now, but thought I might put a thought in for anyone (like me) who is looking for this sort of thing. Instead of a coat-hanger, you could use boning (like what is in corsets).. it’s flat and will curve evenly, whereas I know if I was attempting to bend a coat-hanger straight and then curved again, I’d get some dinks. Hemline have one that is less than £2 per meter, in a pack and that could even stretch to a roll-down mosquito net/sunshade net for when little one fancies a nap.
Great tutorial, I’ve been thinking of completely re-styling out Cosatto Supa Stroller as it’s quite boy-is and I’d really love a girly one for our Monkey, so it’s a new hood, liner, cosytoes and possibly side panels- wish me luck, haha!
Using boning is a genius idea actually, much better than a coat hanger! Revamping a pushchair is fun and usually cheaper than buying a new one. Have fun! 🙂
great idea – i too have a pushchair addiction although mine is definatly not mild i just made a bag to match my spotty pushchair now i think i might make a spotty hood for the back seat as well – by the way i live not too far away from you just the other side of the lincolnshire/norfolk boder lindseyx
Hi Lindsey, yes, make the hood! Mine definitely needs a bag and I’m considering making a matching cosy toes! Nice to hear that you’re local 🙂
I absolutely LOVE this and so simple to make too! Love it. Thanks for linking up! #MMWBH
Thank you!
I love the fact you have customised the buggy, much more fun:)
Also much cheaper than giving in to my pushchair addiction!
Wow, this is a fabulous idea. I recently bought a buggy for my grandson for when he stays, and it did not have a hood on it. I was going to give it away, but i may try this idea instead. Thank you xx
Like I said in the post, if you don’t have a frame for the hood you can rig something up with a couple of wire coat hangers xx
A great tutorial and it certainly made the stroller stylish
Thank you 🙂
That’s fantastic! And i love the patterned material. You’ll never lose in in a crowd.
Thank you 🙂
What a great tutorial and a great upcycle for the pushchair.
Thank you!