DIY Bag Organiser: The End of Losing Stuff in Your Bag!
Back in July, one of my lovely readers emailed me to ask if I could write a tutorial showing how to sew a DIY bag organiser. She said that she is forever losing stuff at the bottom of her bag, and some sort of organiser might help.
Having found myself more than once frantically hunting for my phone because it’s ringing but being unable to find it because it’s sunk to the bottom under all the other stuff and the assorted junk, I thought this was a very good idea!
My first attempt at making a DIY bag organiser wasn’t a success. It involved sewing canvas, buckram and a lining and to be honest, it was a bit of a nightmare. I had imagined something fairly simple that would come together quickly, but this really didn’t.
In the end, I ran out of time because we were going on holiday, and when we got back I didn’t have any inclination to finish it.
Sometimes when things aren’t working, the best thing to do to give up and try again, and I’d definitely reached that point!
So having had a few weeks to re think, I’ve had another go and this time it was a success!
Instead of using fabric that needed lining and a stiffener added, I used some firm felt that didn’t need either.
I’ve also kept the design very simple. The pockets don’t have gathering, zips or anything fancy, and they’re only on the outside of the organiser, not on the inside. As felt doesn’t fray, I could trim the seams closely and the raw edges didn’t need finishing.
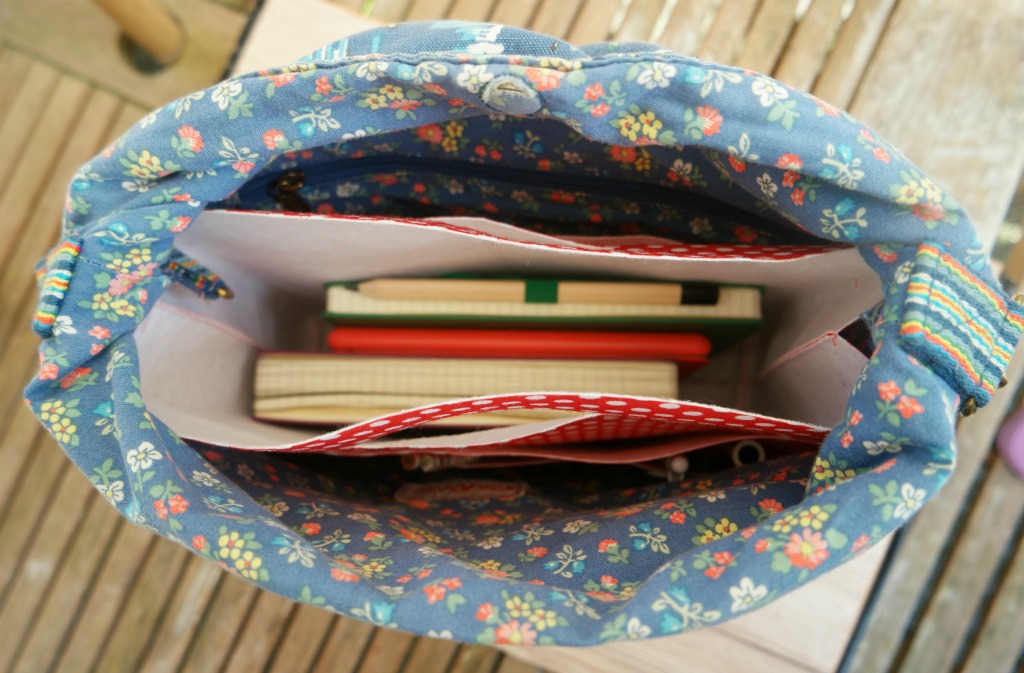
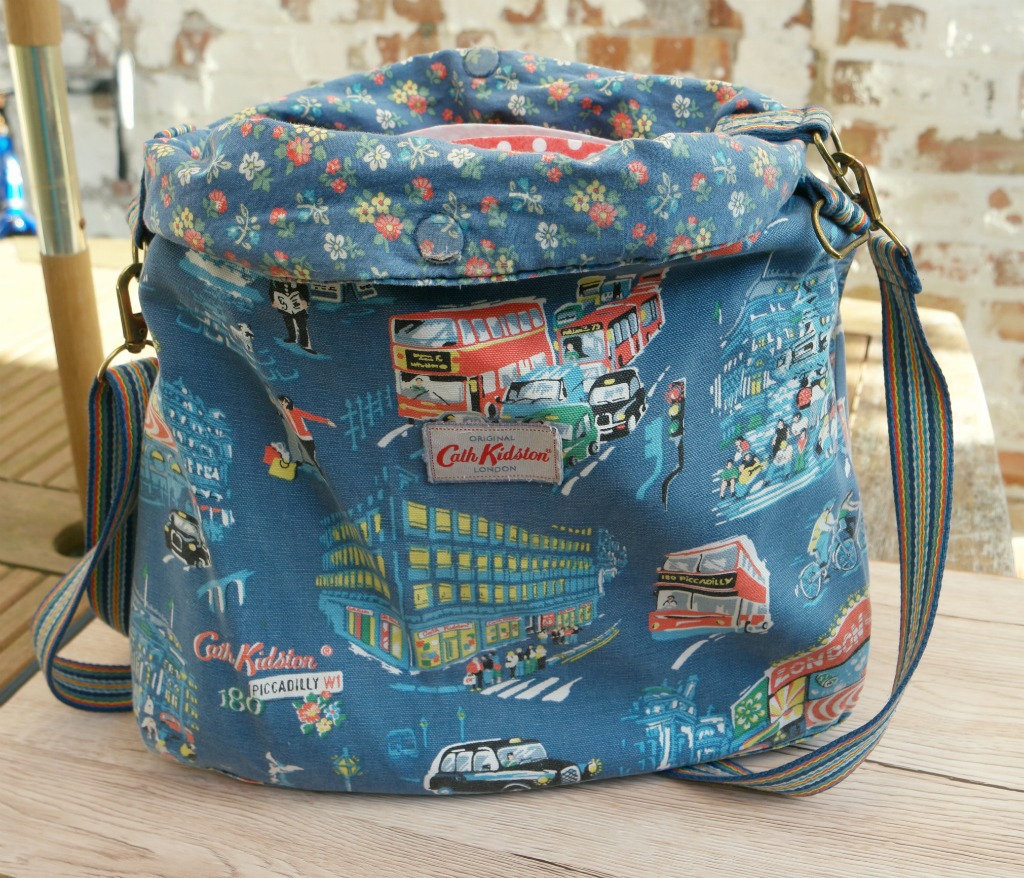
The organiser I made fits my Kath Kidston bus bag. If you have a bag that is a similar size this will work for you. If not, just adjust the dimensions so that it fits your bag. The finished dimensions of the bag organiser I made are 28 cm x 8 cm x 28 cm.
The felt came from Minerva Crafts (affiliate link) and I would recommend using this as it made the whole thing so much easier and quicker!
Here are the instructions for making a diy bag organiser! If you don’t fancy making your own pattern, you buy a pattern for it from my Etsy shop here.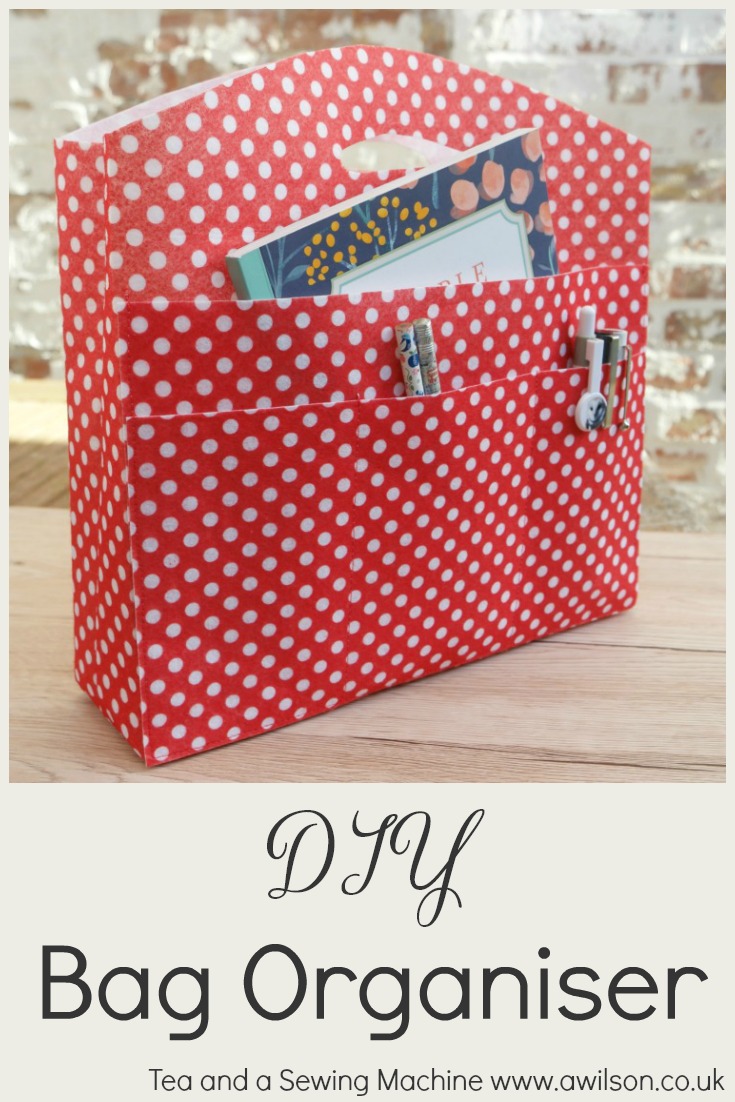
How To Make a DIY Bag Organiser.
You Will Need
Stiff felt (affiliate link) or other fabric with fusible stiffener added, usual sewing supplies.
Cutting Out
From the felt, cut 2 rectangles 33 cm x 33 cm, 2 rectangles 28 cm x 14 cm and 2 rectangles 28 cm x 18 cm.
The bag main pieces include a 1 cm (1/4 inch) seam allowance.
You might want to cut a handle in the top of the bag main pieces. The handle in mine is 9 cm long and 3.5 cm down from the top. If you want to make the top of the bag main pieces curved, you could use a French curve or a plate.
OR skip this stage by buying the pattern.
If you are using a bag with different dimensions, you will need to measure from the centre of one side to the centre of the other, and from the bottom of your bag to 3/4 of the way up the front.
The pocket pieces will need to fit on the front and the back without going round to the sides (unless you want them to!).
Sewing Up
1. Take one of the larger pocket pieces and one of the smaller pocket pieces. With the right sides face upwards, pin the smaller piece to the larger piece. Mark 1 third and 2 thirds along the smaller piece.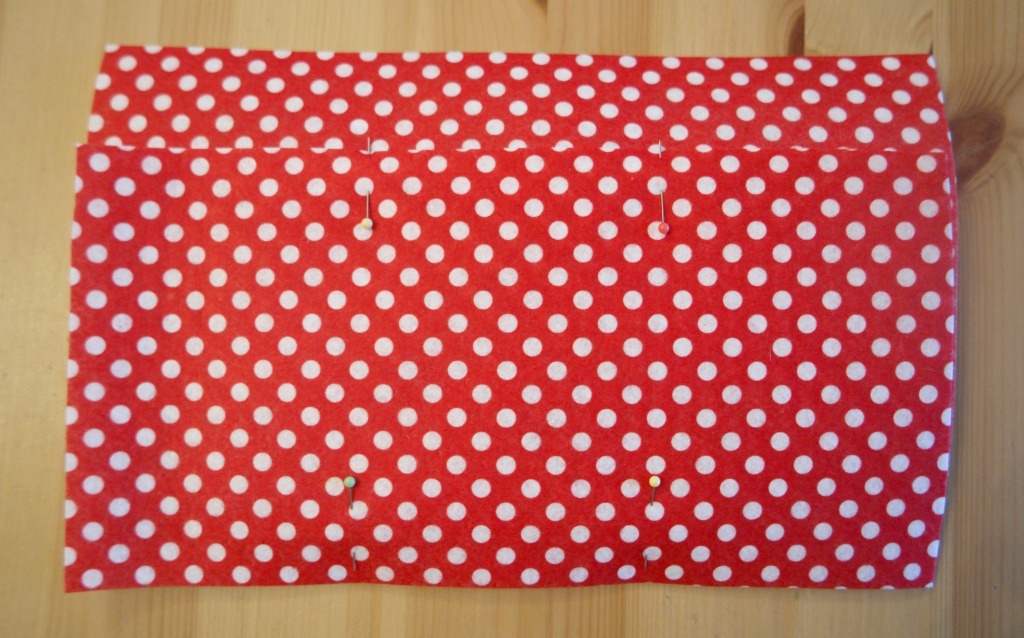
2. Sew along where you marked so that the pocket pieces are sewn together. The front pocket piece here will have 3 sections.
3. Now pin the pocket pieces you’ve just made to one of the bag main pieces. If you are using the same dimensions as I did, the bottom of the pocket pieces will need to be 5 cm up from the bottom of the bag main, and 5 cm in at each side.
Sew the edges and the bottom of the pocket pieces to the bag main. The front pocket will have 3 sections and the pocket behind it will have 1 large section.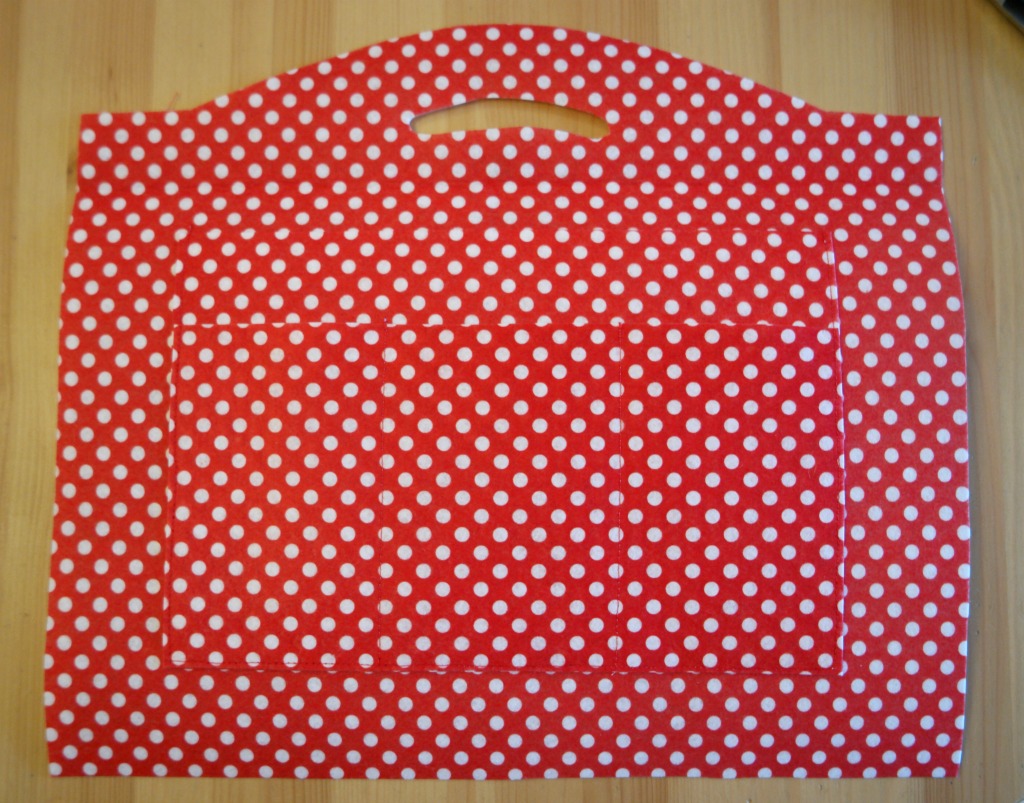
4. To construct the pockets for the other side of the bag organiser, pin the smaller one to the larger one in the same way as you did with the other pocket section. Mark half way along on both pocket pieces.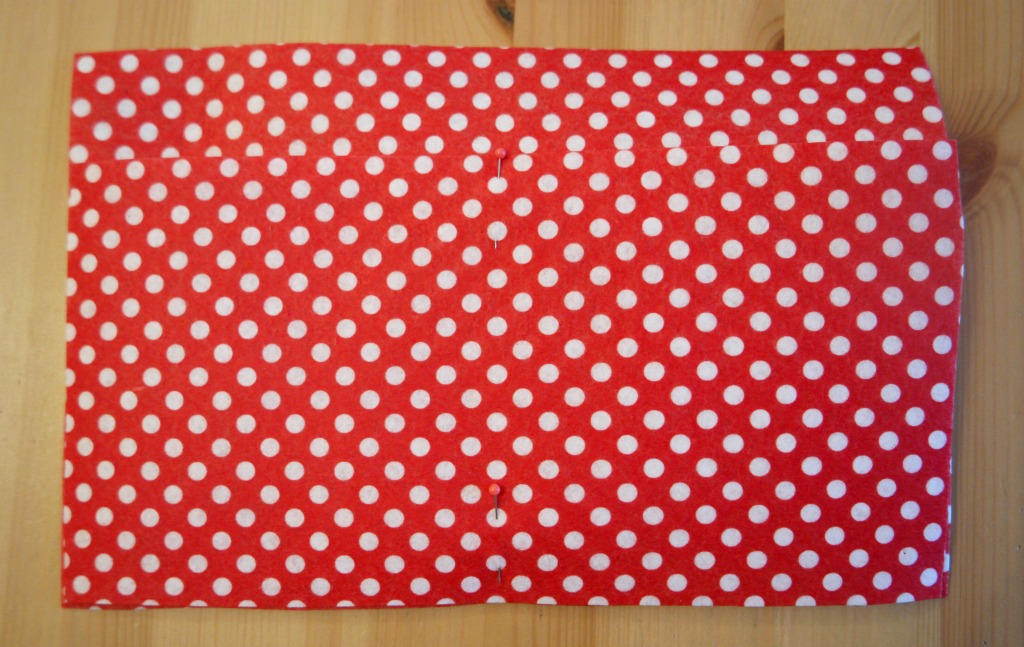
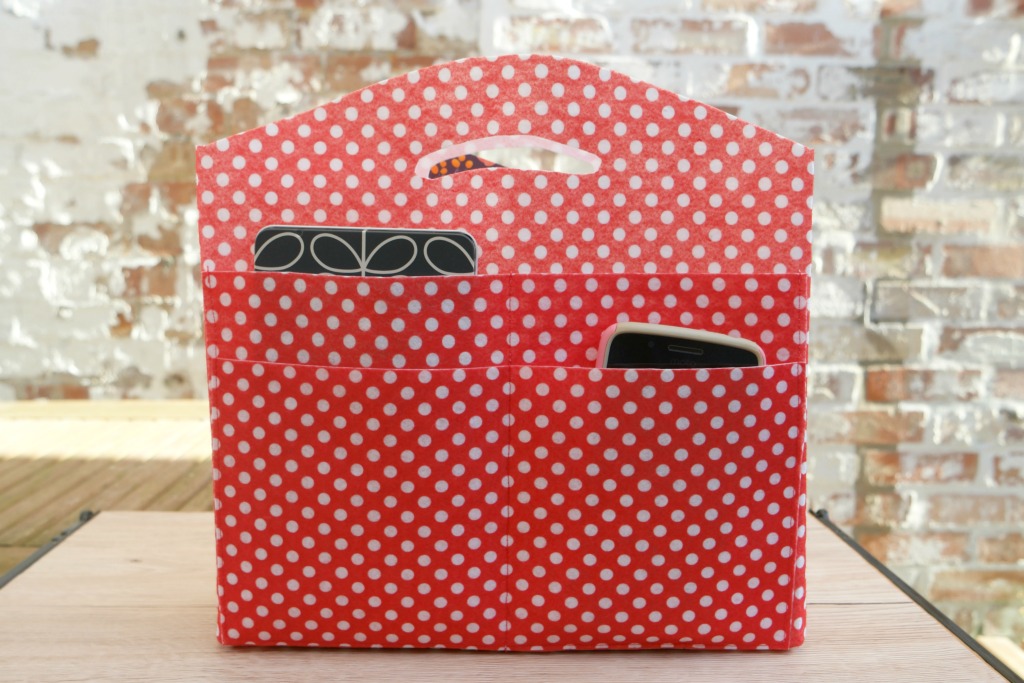
5. Pin this pocket section to the other bag main piece. Sew around the bottom and edges of the pocket pieces. Then sew down the centre of both pieces where you marked in the previous step. This will give you 2 pockets in the front, with 2 taller pockets behind.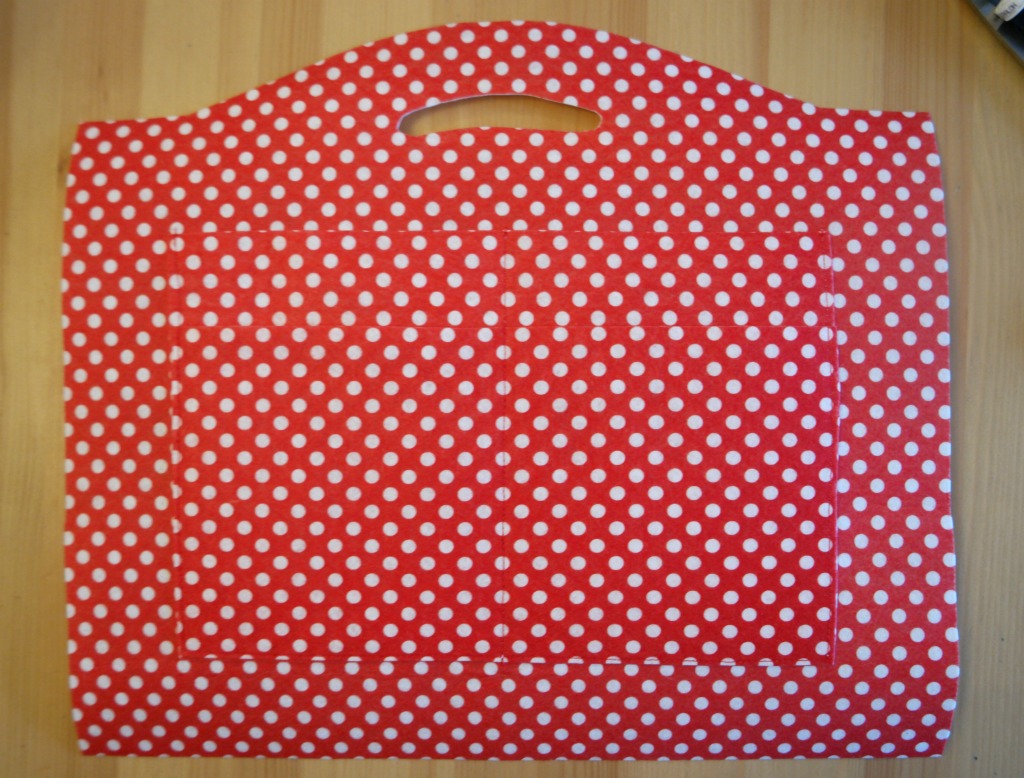
6. With the right sides together, pin the bag main pieces, then sew along the sides and the bottom. Trim the seams.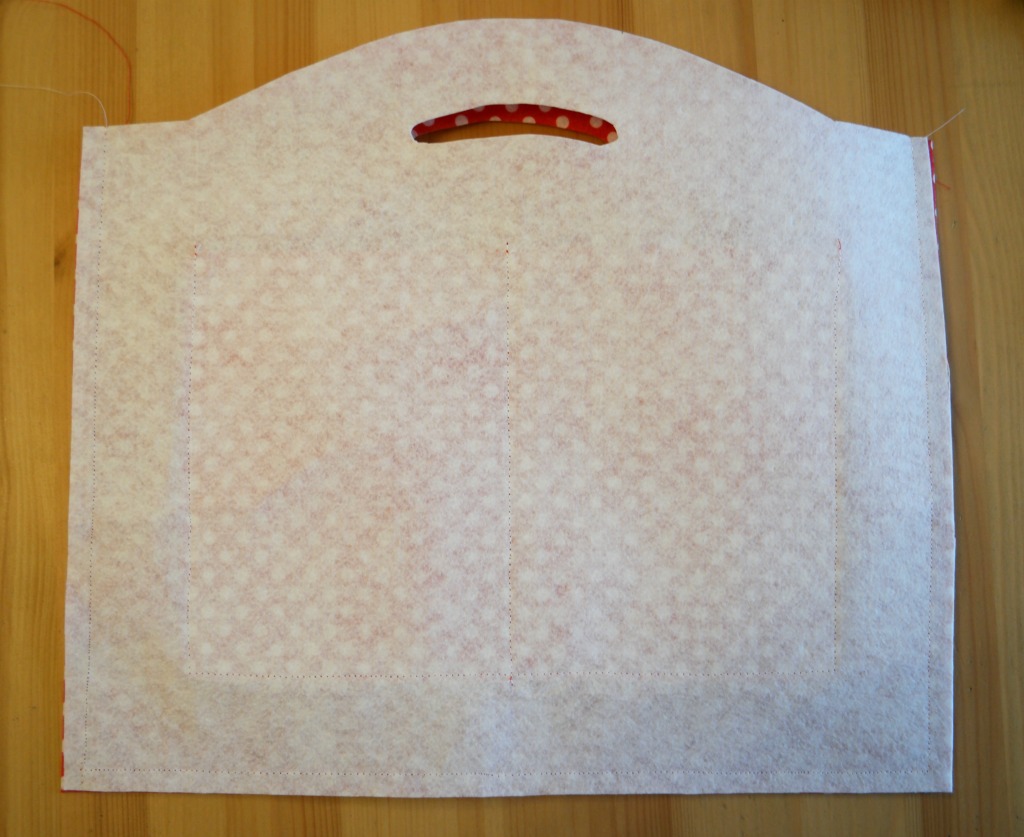
7. Take one of the corners and open it out. Then squash it flat so that the seams are together. This will give your bag organiser some depth without having to faff about with a gusset. 🙂 Pin to hold it.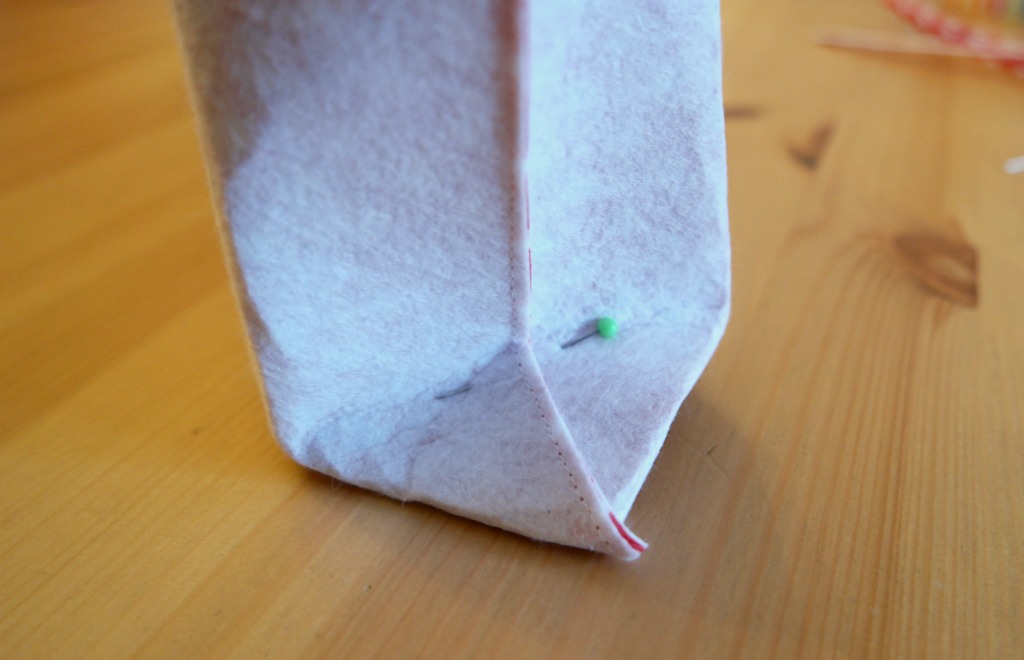
8. Sew across the corner at right angles to the seam, close to the bottom corners of the pockets. Repeat with the other corner, then cut the corners off.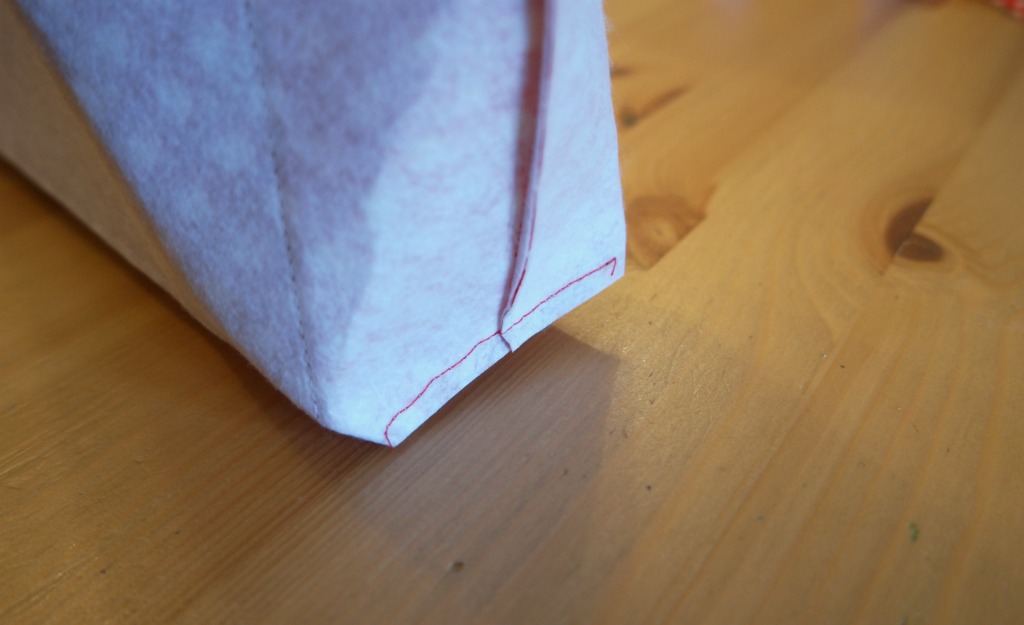
Your DIY bag organiser is done! Trim the threads and turn it out. Now you never need to lose your phone or pen in the bottom of your bag again!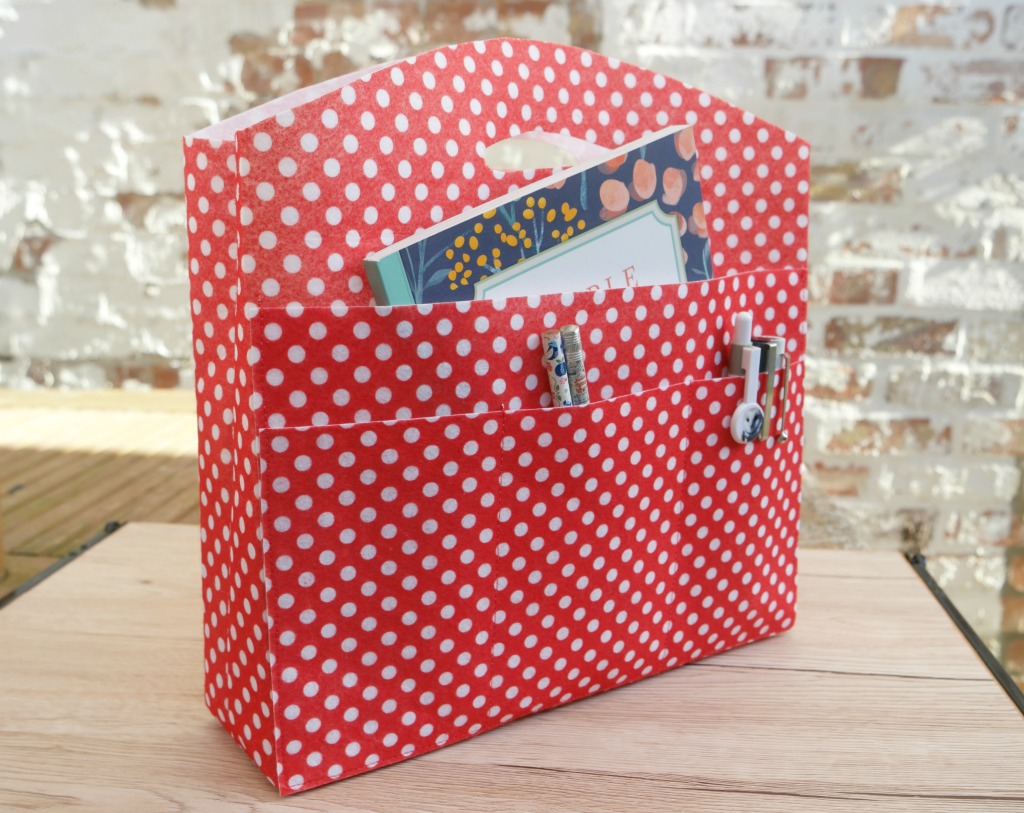


I love this polka dots bag organizer, very useful .
Thank you 🙂
This is a fab idea! I despair of my handbag sometimes! It is a disaster! I emptied so much rubbish out of it yesterday! In fact, I decided to do one of those ‘What’s in your handbag?’ blog posts to shame myself, though not posted it yet!!

Kezzie recently posted…Friday letters
The worst thing ever is a banana that you forgot about! ?
Great idea as if you also use different bags you can just lift the contents out to transfer. Using the stiff felt is a good idea as sometimes you don’t want to faff about, especially for details that are never seen. Super post. x

Dianne recently posted…A New Dress Started
Thank you ? Definitely useful if you want to switch bags!
These are such a good idea it makes me wonder why I’ve never tried to make one.

I love the polka dots, always a favourite of mine!
Julie recently posted…Easy DIY Abstract Art
Spots are always a winner 🙂