
Christmas Lantern Arrangement
Christmas Lantern Arrangement
I’m always so happy that Christmas is at the darkest time of the year.
I love the winter anyway, and one of my favourite things is putting the lamps on and lighting the fire. You can’t do that in the summer when it’s warm and still light at 9.30 pm!
Since visiting Oslo last year, we now eat breakfast by candlelight on dark mornings. And with Christingles, carols by candlelight and remembering that Jesus came as the light of the world all coming up, Christmas is the perfect excuse for more candles!
If you’re not big on flower arrangements, don’t worry. This is easy :).
I’d actually planned to use one fat candle, but they didn’t have any at the weird little shop in my village, so I used 3 standard candles instead.
You could also use tealights, or even fairy lights in a tangle in the centre if you didn’t want to use candles at all.
For the greenery and berries, I raided the hedgerows on my way home from taking my boys to school! You could try the garden or even a bunch of Christmas flowers from the supermarket. For the actual greenery, an out of control leyland cypress hedge is ideal!
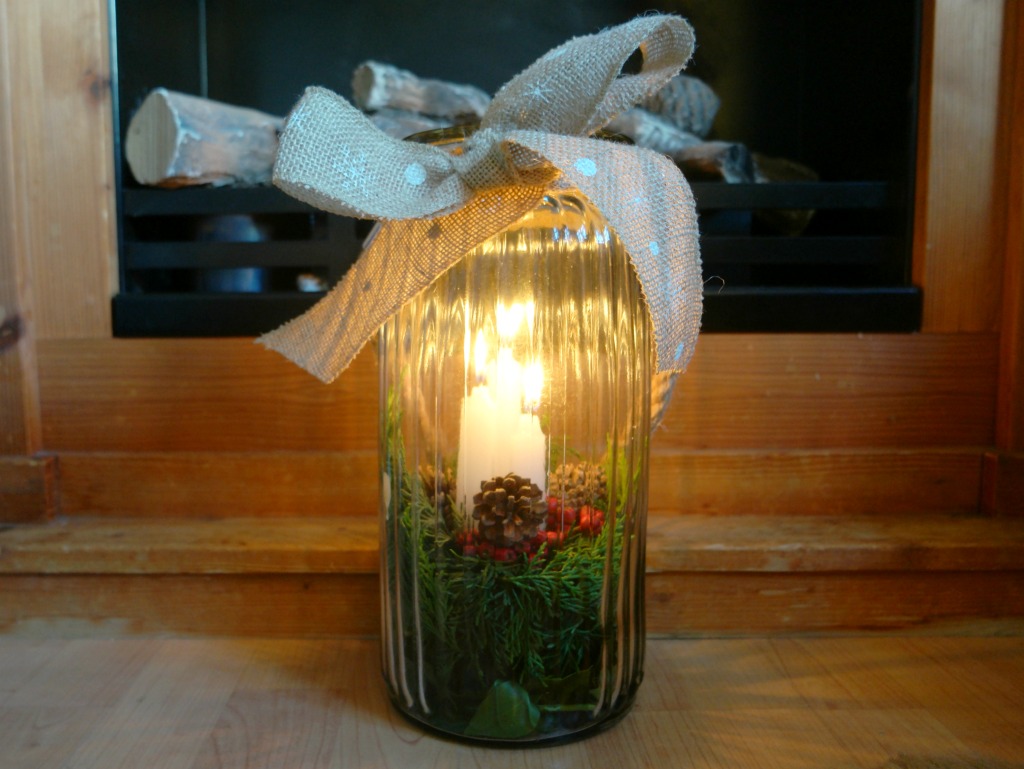
Here are the instructions for making a Christmas lantern arrangement.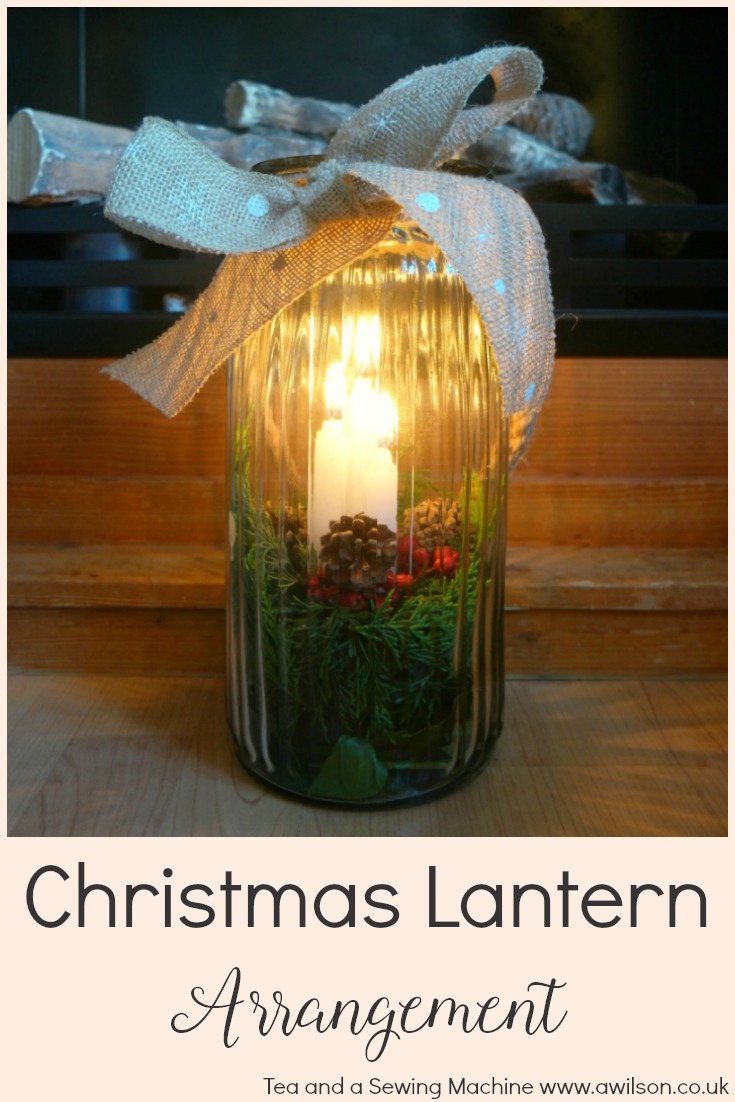
Instructions For Making a Christmas Lantern Arrangement
You Will Need
A lantern (I was sent this one by Oasis Home and Hobby), some oasis, ribbon (I used this, again from Oasis Home and Hobby), candles, berries, greenery, pinecones, florists’ wire.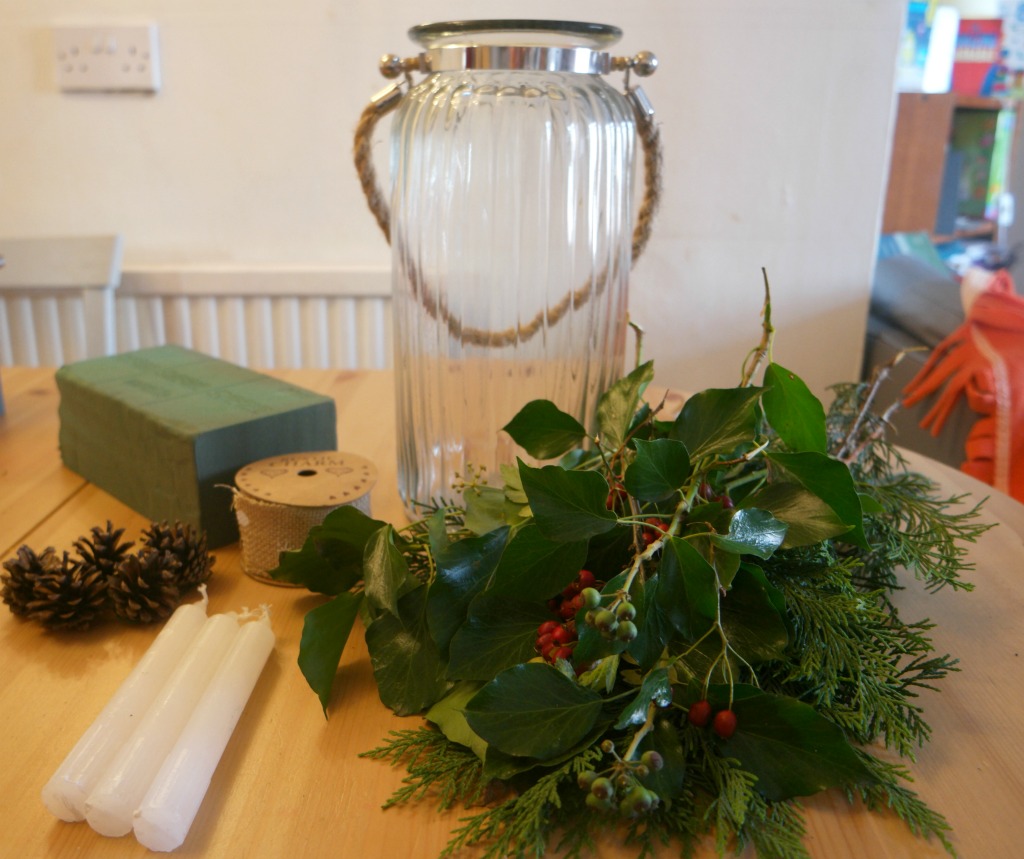
Making the Christmas Lantern Arrangement
1. Cut the oasis to size. You only need a smallish piece as it needs to fit through the neck of the lantern. About 6-7 cm high and about the same across is a good size. If you’re using the ribbon on the roll, this is actually the perfect size, so you can just cut the oasis down to the same size as the roll of ribbon.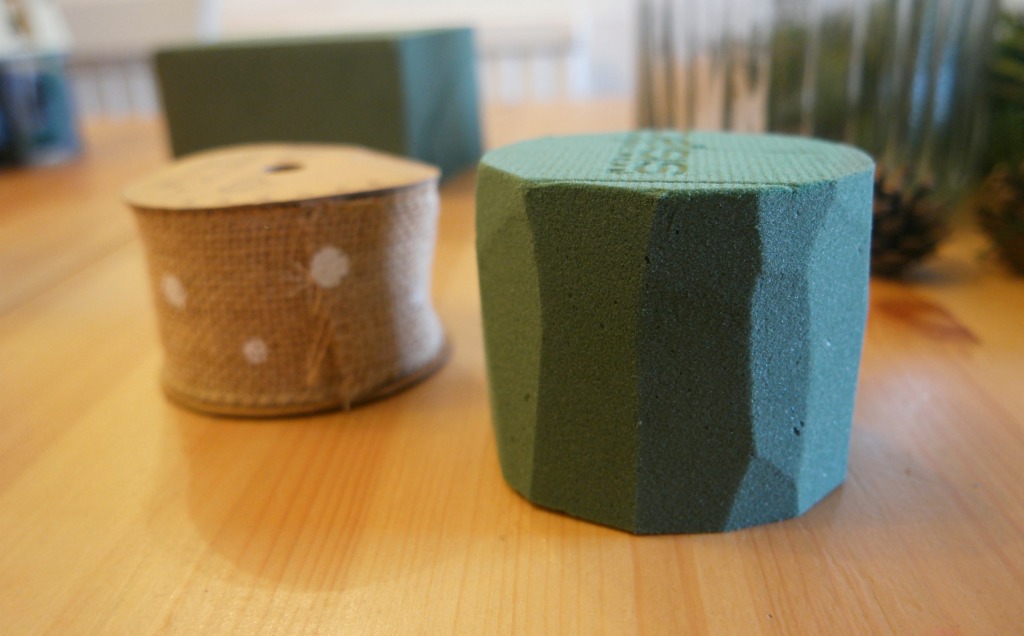
When you’ve cut the oasis down to the right size, pop it in the sink to soak. Being a small piece, it won’t need very long, so if you do this first, it should be ready to use by the time you’ve sorted out the other bits.
2. Cut a length of ribbon about 150 cm long. To tie it around the top of the lantern, you’ll need to take the handle off by unscrewing it at the neck.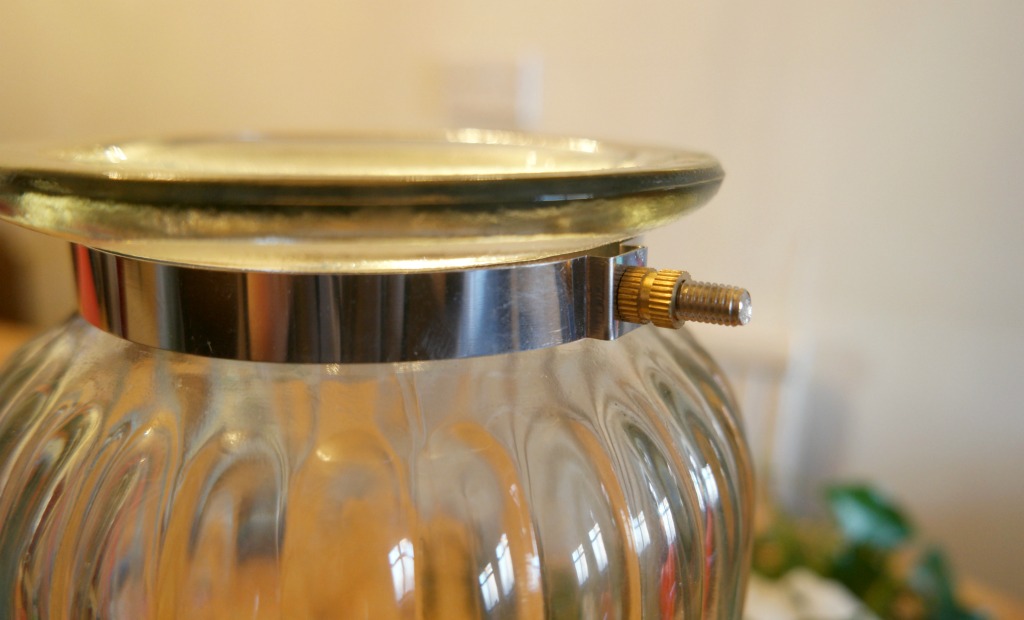
On the ribbon, mark where the screws are and make 2 little holes. You could cut it if you’re using a ribbon with a close weave. As the ribbon I used was loosely woven, I just poked the blades of the scissors into it and wiggled them about to make a hole.
Wrap the ribbon around the neck of the lantern, poking the screws through the holes you made. Tie the ribbon in a bow and reattach the handle.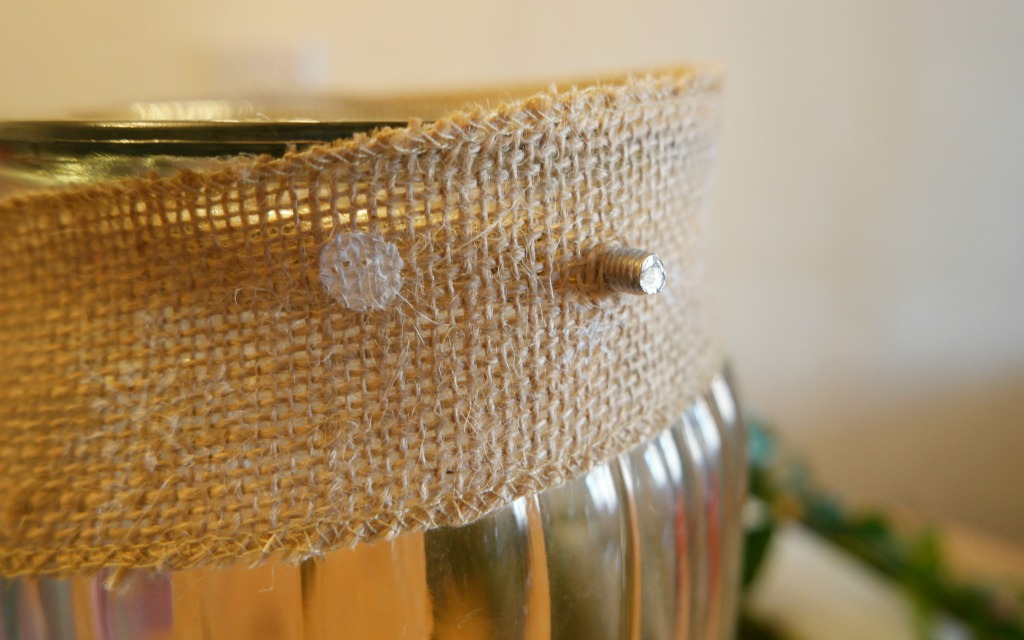
3. Cut the greenery into pieces 10-15 cm long. Cut the berries into smaller bunches. Wrap florist’s wire around the bottom of the pine cones.
4. If you’re using 3 candles, you might like to cut a bit off the bottom of 2 of them so that they are different heights. This is what I did :).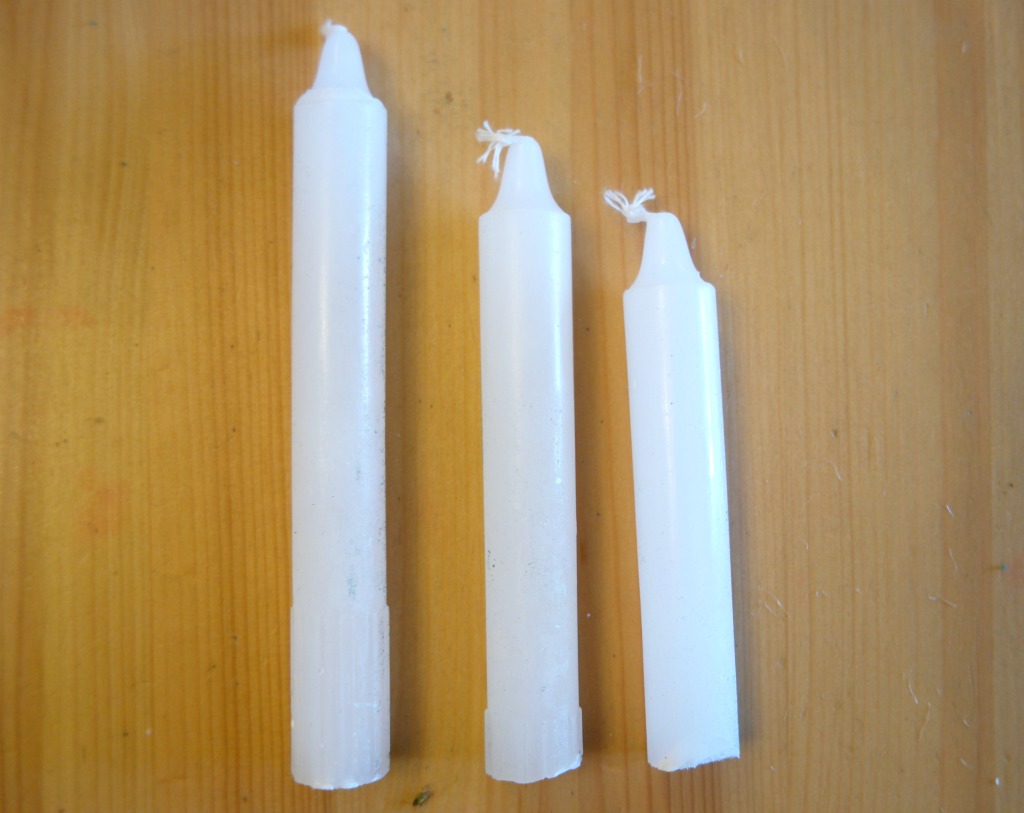
5. Now retrieve the oasis from the sink. Push the candles into the middle.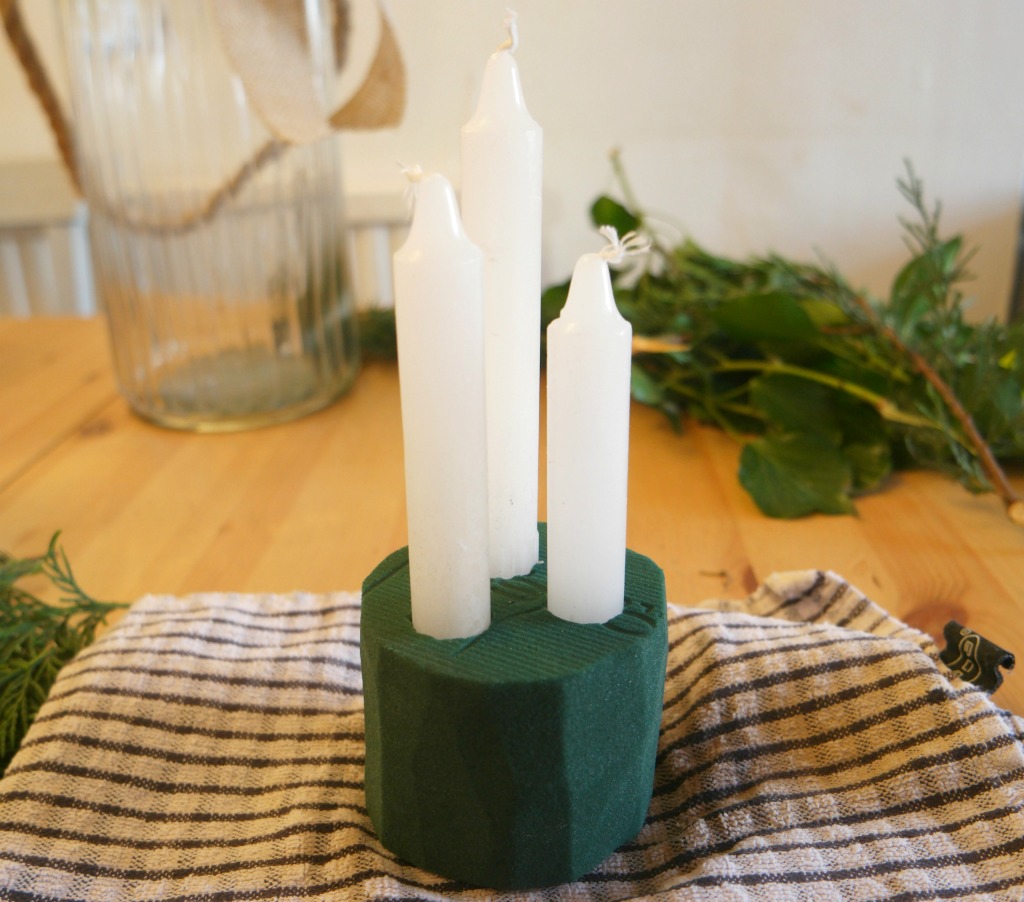
6. Start arranging the greenery around the candles. I started at the edge, then filled in the centre. Remember to leave some space for the berries and pine cones!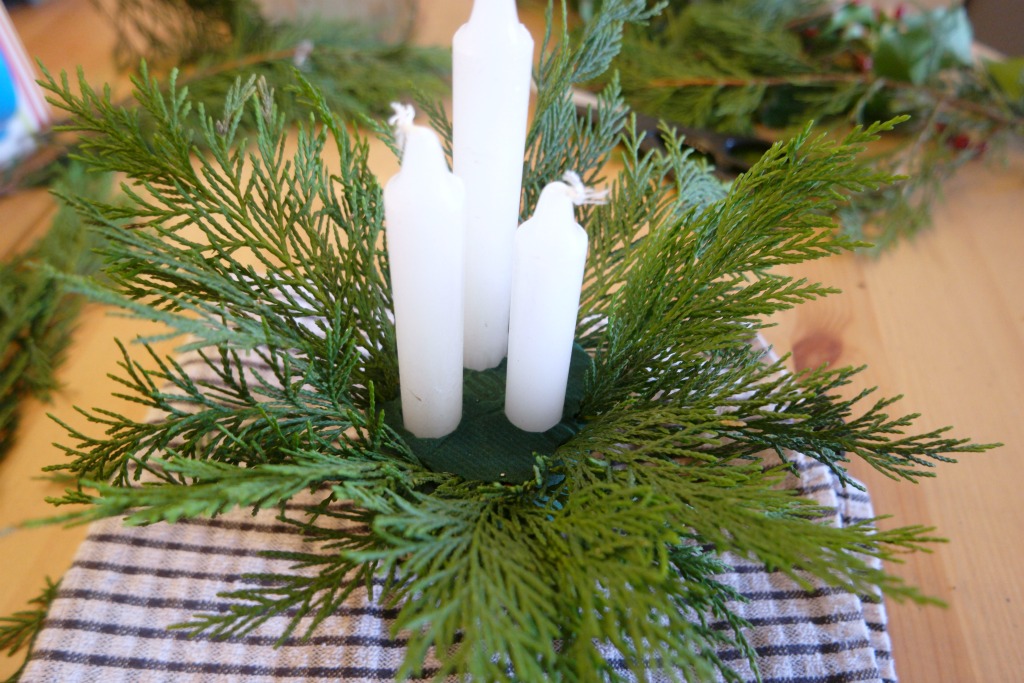
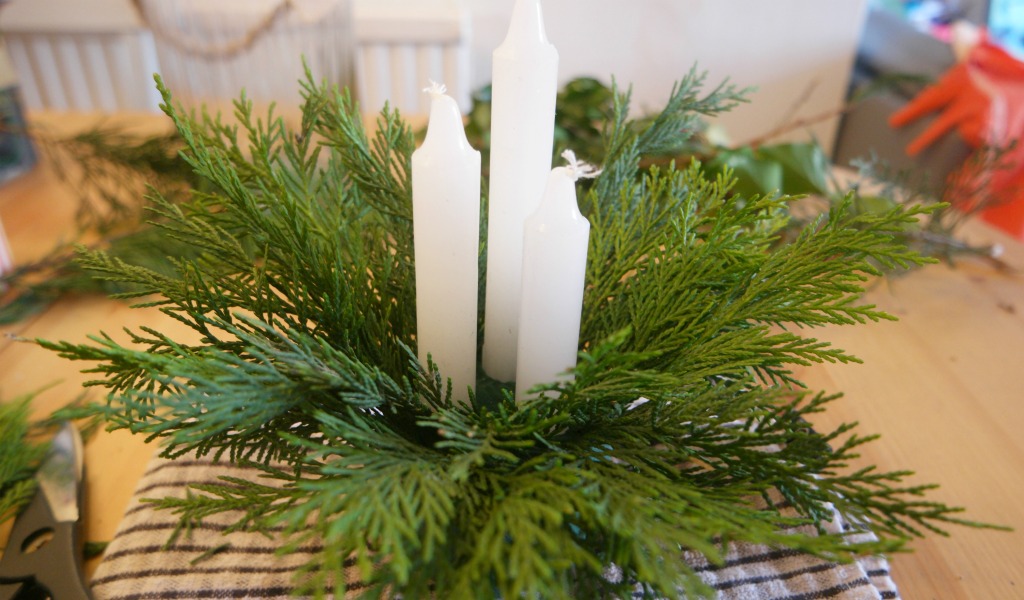
Don’t put any into the sides or you won’t be able to get it into the lantern!
7. Push the berries into the oasis around the candles, then add the pine cones. You won’t need many berries and probably only 3-5 pine cones.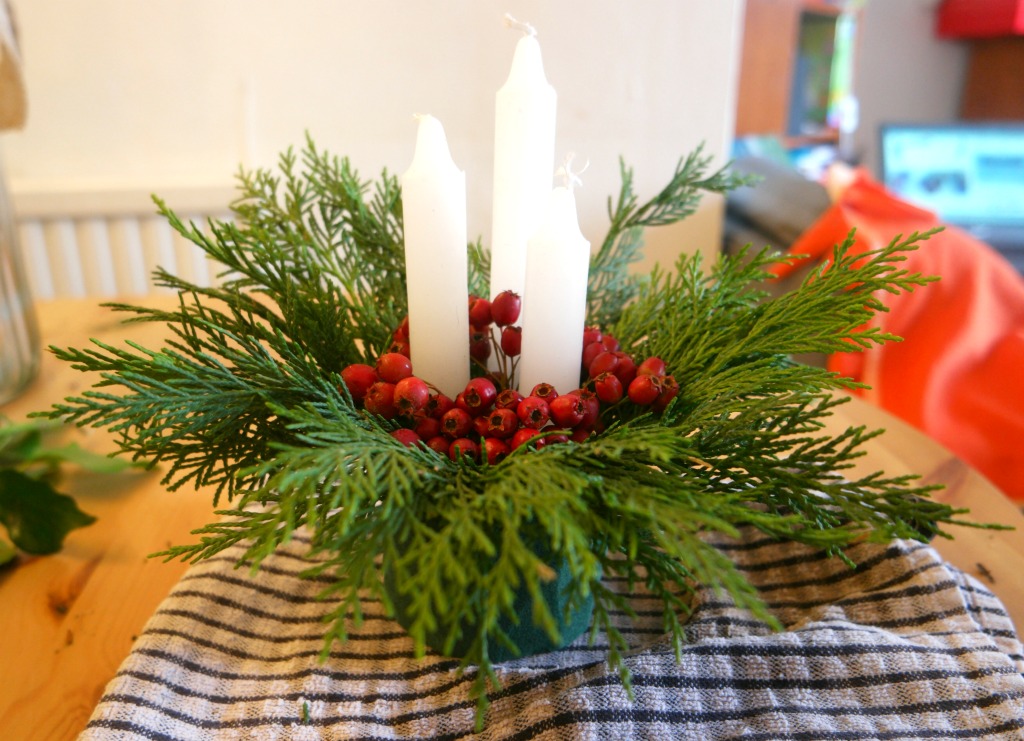

8. Drop some greenery into the bottom of the lantern and push it to the edges. This is to cover the sides of the oasis.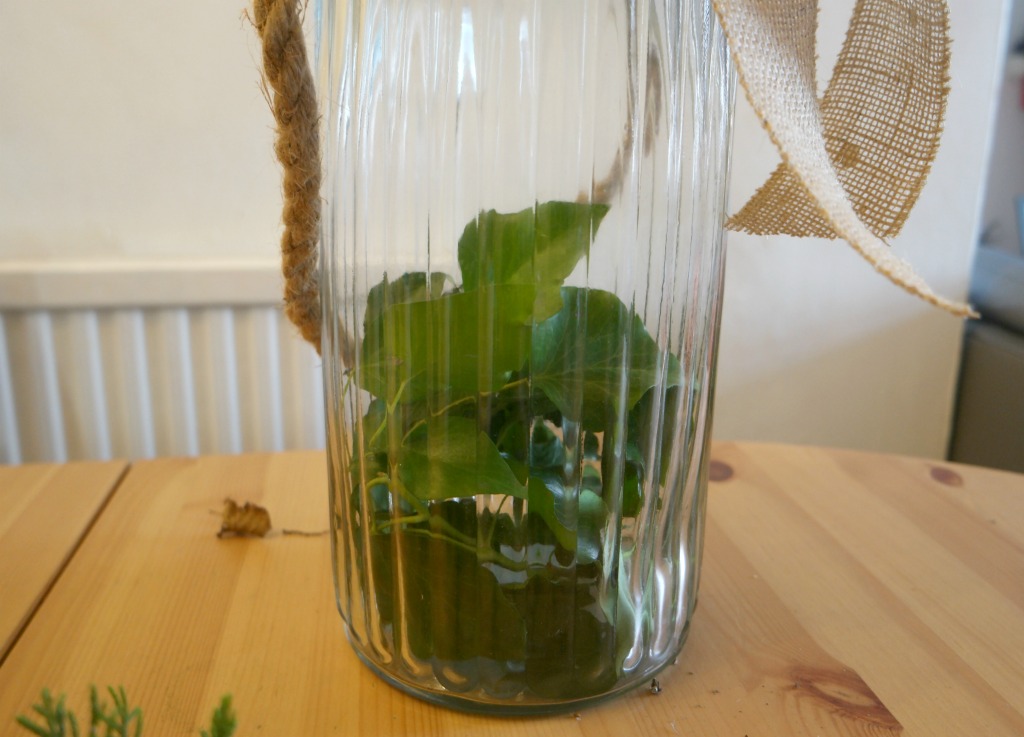
9. Carefully drop the arrangement into the lantern. If you’ve pushed the candles in quite far, you might be able to use them as a handle.
I found that I needed to remove the pine cones first, then I put them back in once the arrangement was inside the lantern.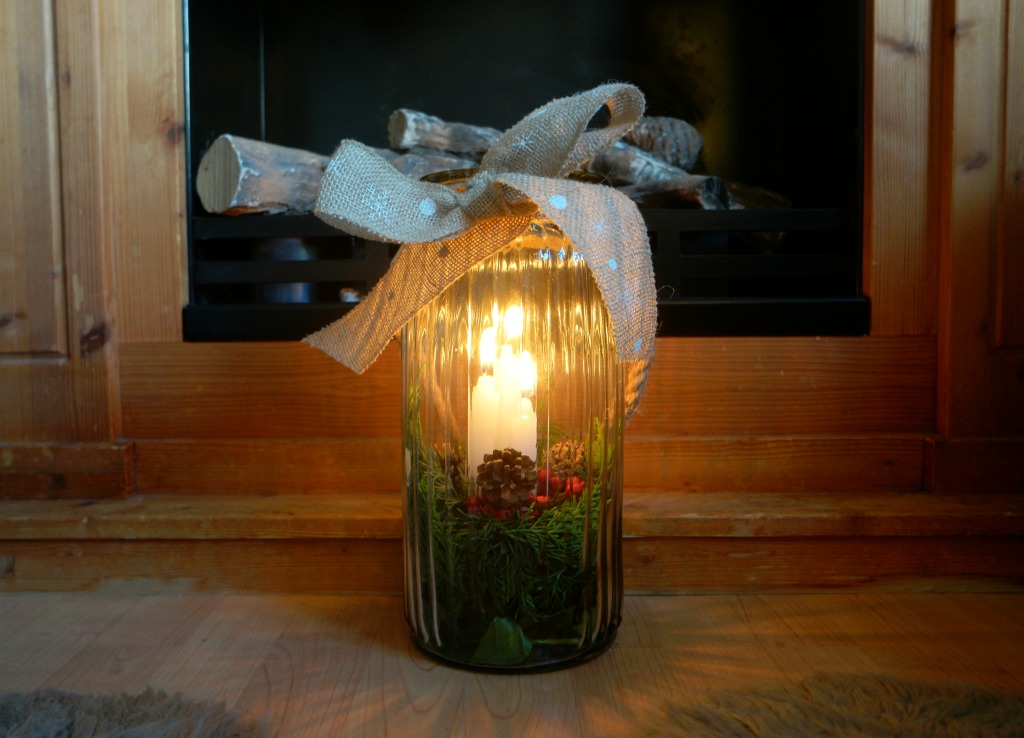
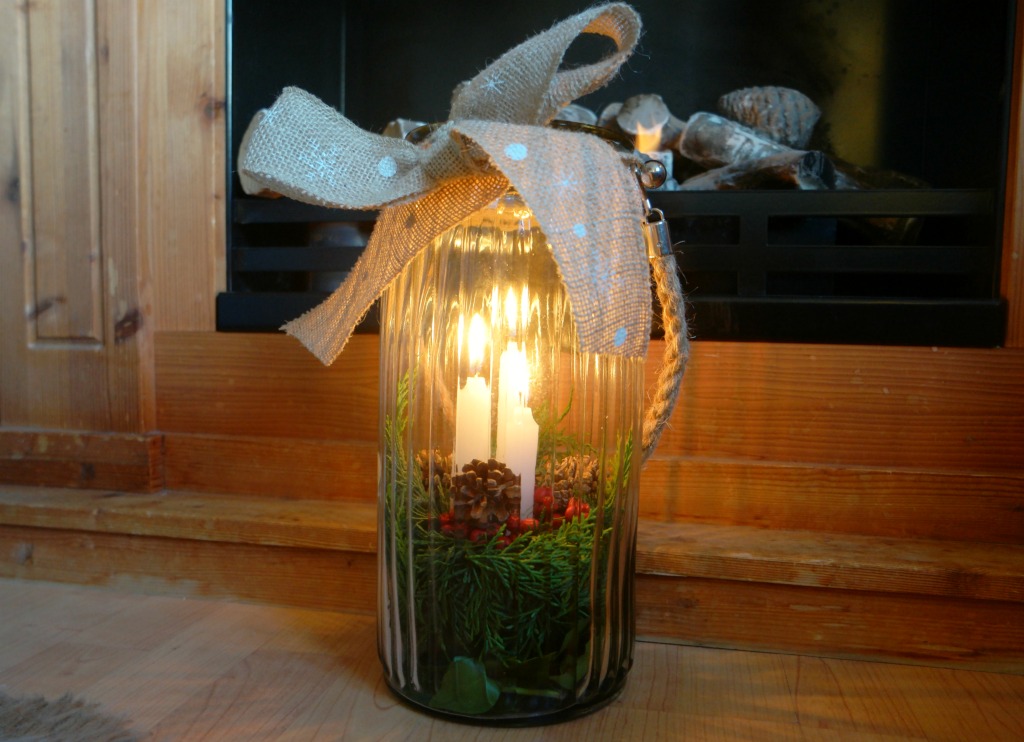 Just one word of warning: use a taper or another candle to light it or you will burn your fingers! Not only does this hurt, but burnt fingernail smells bad!
You might also like these posts:

Your lantern and wreaths are beautiful thanks for tutorial will make wreath
Thank you 🙂